2012 DODGE GRAND CARAVAN Fluid
[x] Cancel search: FluidPage 51 of 643
NOTE:
•After setting the Child Protection Door Lock system,
always test the door from the inside to make certain it
is in the desired position.
•The power sliding side door switches will not open the
power sliding doors if the vehicle is in gear or the
vehicle speed is above 0 mph (0 km/h).
•The power sliding door will operate from the outside
door handle, the RKE transmitter, the switches on the
overhead console, or the switches located on the trim
panel just in front of the power sliding door when the
shift lever is in PARK, regardless of the child lock lever
position.
LIFTGATE
On vehicles equipped with power locks, the liftgate can
be unlocked using the Remote Keyless Entry (RKE)
transmitter button, or by activating the power door lock
switches located on the front doors.To open the liftgate, press the liftgate release handle
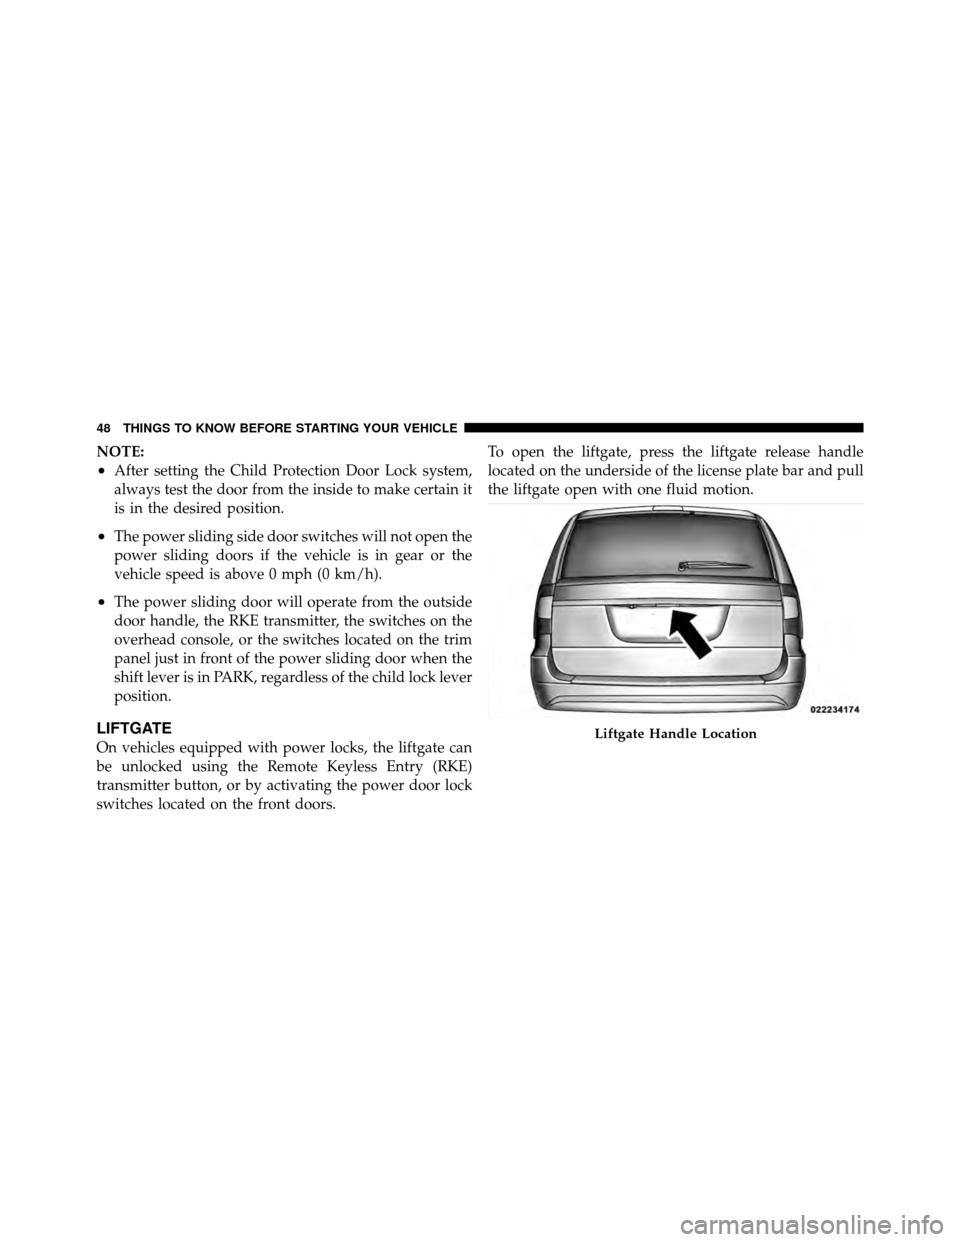
located on the underside of the license plate bar and pull
the liftgate open with one fluid motion.Liftgate Handle Location
48 THINGS TO KNOW BEFORE STARTING YOUR VEHICLE
Page 106 of 643

WARNING! (Continued)
•Always make sure that objects cannot fall into the
driver footwell while the vehicle is moving. Ob-
jects can become trapped under the brake pedal
and accelerator pedal causing a loss of vehicle
control.
•If required, mounting posts must be properly
installed, if not equipped from the factory.
Failure to properly follow floor mat installation or
mounting can cause interference with the brake
pedal and accelerator pedal operation causing loss
of control of the vehicle.
Periodic Safety Checks You Should Make Outside
The Vehicle
Tires
Examine tires for excessive tread wear and uneven wear
patterns. Check for stones, nails, glass, or other objectslodged in the tread or sidewall. Inspect the tread for cuts
and cracks. Inspect sidewalls for cuts, cracks and bulges.
Check the wheel nuts for tightness. Check the tires
(including spare) for proper cold inflation pressure.
Lights
Have someone observe the operation of exterior lights
while you work the controls. Check turn signal and high
beam indicator lights on the instrument panel.
Door Latches
Check for positive closing, latching, and locking.
Fluid Leaks
Check area under vehicle after overnight parking for fuel,
engine coolant, oil, or other fluid leaks. Also, if gasoline
fumes are detected or if fuel, power steering fluid, or
brake fluid leaks are suspected, the cause should be
located and corrected immediately.
2
THINGS TO KNOW BEFORE STARTING YOUR VEHICLE 103
Page 209 of 643
•At driving speeds above 10 mph (16 km/h), the delay
can be regulated from a maximum of approximately
18 second between cycles (first detent), to a cycle every
one second (fifth detent).
Windshield Wiper Operation
Rotate the end of the lever upward, to the first detent past
the intermittent settings for low-speed wiper operation.
Rotate the end of the lever upward to the second detent
past the intermittent settings for high-speed operation.
Windshield Washers
To use the Washer, push on the end of the lever to the
second detent and hold while spray is desired. If the lever
is pushed while on the intermittent setting, the wipers
will turn on and operate for several wipe cycles after the
lever is released, and then resume the intermittent inter-
val previously selected. If the lever is pushed while the
wipers are in the off position, the wipers will operate
several wipe cycles, then turn off.
Mist Feature
Press the end of the multifunction lever inward (toward
the steering column) to the first detent and release for a
single wiping cycle.
NOTE:The mist feature does not activate the washer
pump; therefore, no washer fluid will be sprayed on the
windshield. The wash function must be used in order to
spray the windshield with washer fluid.
Rear Wiper And Washer
Rotating the rotary ring to the first detent activates the
rear intermittent wipers. To activate the washers, rotate
the rotary ring fully forward and the washers will spray
until the ring is released, and then resume the intermit-
tent interval.
NOTE: Rear window wipers function in the intermittent
wiper speed only.
206 UNDERSTANDING THE FEATURES OF YOUR VEHICLE
Page 297 of 643

16. Shift Lever Indicator
The Shift Lever Indicator is self-contained within the
instrument cluster. It displays the gear position of the
automatic transmission.
NOTE:
•You must apply the brakes before shifting from PARK.
•The highest available transmission gear is displayed in
the lower right corner of the Electronic Vehicle Infor-
mation Center (EVIC) whenever the Electronic Range
Select (ERS) feature is active. Use the +/- selector on
the shift lever to activate ERS. Refer to “Automatic
Transmission” in “Starting And Operating” for further
information.
17. Vehicle Security Light — If Equipped This light will flash at a fast rate for approxi-
mately 15 seconds, when the vehicle security
alarm is arming, and then will flash slowly
until the vehicle is disarmed. 18. Brake Warning Light
This light monitors various brake functions,
including brake fluid level and parking brake
application. If the brake light turns on it may
indicate that the parking brake is applied, that
the brake fluid level is low, or that there is a problem with
the anti-lock brake system reservoir.
If the light remains on when the parking brake has been
disengaged, and the fluid level is at the full mark on the
master cylinder reservoir, it indicates a possible brake
hydraulic system malfunction or that a problem with the
Brake Booster has been detected by the Anti-Lock Brake
System (ABS) / Electronic Stability Control (ESC) system.
In this case, the light will remain on until the condition
has been corrected. If the problem is related to the brake
booster, the ABS pump will run when applying the brake
and a brake pedal pulsation may be felt during each stop.
294 UNDERSTANDING YOUR INSTRUMENT PANEL
Page 298 of 643
The dual brake system provides a reserve braking capac-
ity in the event of a failure to a portion of the hydraulic
system. A leak in either half of the dual brake system is
indicated by the Brake Warning Light, which will turn on
when the brake fluid level in the master cylinder has
dropped below a specified level.
The light will remain on until the cause is corrected.
NOTE:The light may flash momentarily during sharp
cornering maneuvers, which change fluid level condi-
tions. The vehicle should have service performed, and
the brake fluid level checked.
If brake failure is indicated, immediate repair is neces-
sary.WARNING!
Driving a vehicle with the red brake light on is
dangerous. Part of the brake system may have failed.
It will take longer to stop the vehicle. You could have
a collision. Have the vehicle checked immediately.
Vehicles equipped with the Anti-Lock Brake System
(ABS), are also equipped with Electronic Brake Force
Distribution (EBD). In the event of an EBD failure, the
Brake Warning Light will turn on along with the ABS
Light. Immediate repair to the ABS system is required.
Operation of the Brake Warning Light can be checked by
turning the ignition switch from the OFF position to the
ON/RUN position. The light should illuminate for ap-
proximately two seconds. The light should then turn off
unless the parking brake is applied or a brake fault is
detected. If the light does not illuminate, have the light
inspected by an authorized dealer.
4
UNDERSTANDING YOUR INSTRUMENT PANEL 295
Page 302 of 643

26. Transmission Temperature Warning LightDuring sustained high speed driving or trailer
towing up long grades on hot days, the auto-
matic transmission oil may become too hot.
When the transmission overheat warning light
turns on, you will experience reduced vehicle perfor-
mance until the automatic transmission cools down.
Once the transmission has cooled down and the light
turns off, you may continue to drive normally. If the high
speed is maintained, the overheating will continue to
occur.
If the overheating continues, it may become necessary to
stop the vehicle and run the engine at idle with the
transmission in NEUTRAL until the light turns off.CAUTION!
Continuous driving with the Transmission Tempera-
ture Warning Light illuminated will eventually cause
severe transmission damage or transmission failure.
WARNING!
If the Transmission Temperature Warning Light is
illuminated and you continue operating the vehicle,
in some circumstances you could cause the fluid to
boil over, come in contact with hot engine or exhaust
components and cause a fire.
4
UNDERSTANDING YOUR INSTRUMENT PANEL 299
Page 307 of 643
•Damaged Key
•Key not programmed
•Vehicle Not in Park
•Press Brake Pedal and Push Button to Start
•Door(s) Ajar (with a single chime, if vehicle is in
motion)
•Liftgate Ajar (chime will sound when vehicle starts
moving)
•Low Tire Pressure
•Service TPM System (refer to “Tire Pressure Monitor-
ing System” in “Starting And Operating”)
•Premium TPM Service Graphic Display
•Turn Signal On
•RKE Battery Low
•LOW WASHER FLUID
•Oil Change Required
•Left Front Turn Signal Light Out
•Left Rear Turn Signal Light Out
•Right Front Turn Signal Light Out
•Right Rear Turn Signal Light Out
•Park Assist Disabled
•Service Park Assist System
•Personal Settings Not Available — Vehicle Not In Park
•Blind Spot System Off — This message is displayed
when the ignition is turned to ON to indicate the Blind
Spot System has been turned off.
304 UNDERSTANDING YOUR INSTRUMENT PANEL
Page 309 of 643
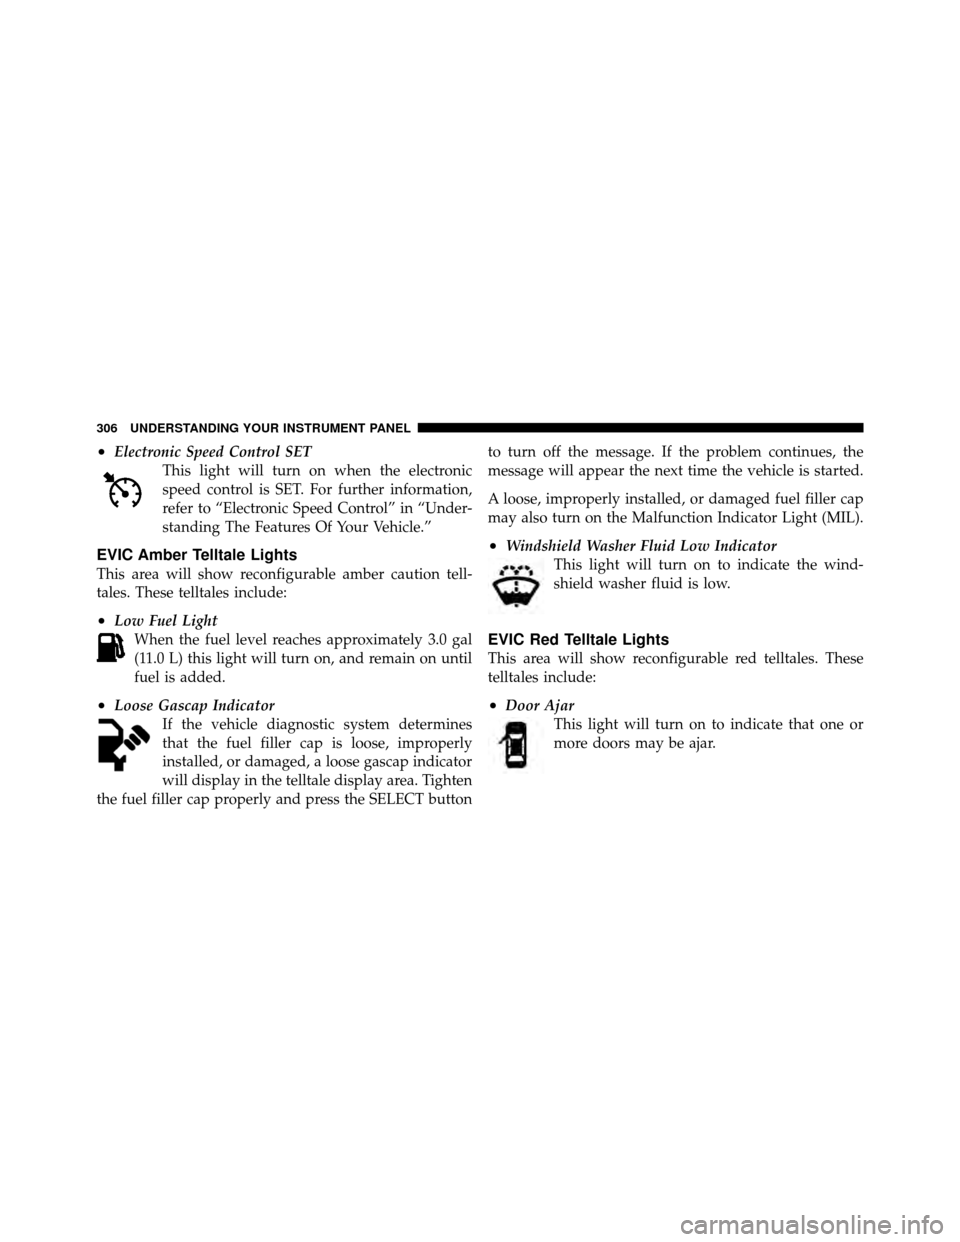
•Electronic Speed Control SETThis light will turn on when the electronic
speed control is SET. For further information,
refer to “Electronic Speed Control” in “Under-
standing The Features Of Your Vehicle.”
EVIC Amber Telltale Lights
This area will show reconfigurable amber caution tell-
tales. These telltales include:
•Low Fuel LightWhen the fuel level reaches approximately 3.0 gal
(11.0 L) this light will turn on, and remain on until
fuel is added.
•Loose Gascap Indicator If the vehicle diagnostic system determines
that the fuel filler cap is loose, improperly
installed, or damaged, a loose gascap indicator
will display in the telltale display area. Tighten
the fuel filler cap properly and press the SELECT button to turn off the message. If the problem continues, the
message will appear the next time the vehicle is started.
A loose, improperly installed, or damaged fuel filler cap
may also turn on the Malfunction Indicator Light (MIL).
•Windshield Washer Fluid Low Indicator
This light will turn on to indicate the wind-
shield washer fluid is low.
EVIC Red Telltale Lights
This area will show reconfigurable red telltales. These
telltales include:
•Door AjarThis light will turn on to indicate that one or
more doors may be ajar.
306 UNDERSTANDING YOUR INSTRUMENT PANEL