Page 115 of 594

•The vehicle must be in PARK.
1. You can do either of the following: a. Press the “Settings” hard-key, Page down to the
“Phone/Bluetooth�” soft-key, press it and you will see
the “Paired Phones” screen. If there are no paired
phones you will see as the first device name.
b. Press the MORE hard-key, then press the Phone
soft-key and you will go to the Uconnect™ Phone main
screen. Press the “Settings” soft-key. If there are no
phones currently paired a pop-up will appear. If you
select “Yes” you will go the “Paired Phones” screen, if
you select “No” you will return to the Uconnect™
Phone main menu.
2. At the “Paired Phones” screen press the “Add Device”
soft-key and a pop-up with instructions will appear. 3. Search for available devices on your Bluetooth�
en-
abled mobile phone. When prompted on the phone,
select the “Uconnect™” device and enter the PIN.
4. When the pairing process has successfully completed,
the system will prompt you to choose whether or not this
is your favorite phone. Selecting “Yes” will make this
phone the highest priority. This phone will take prece-
dence over other paired phones within range.
Pair A Bluetooth� Streaming Audio Device
•
Touch the “Player” hard-key to begin,
•Press the “Source” soft-key,
•Change the Source to Bluetooth�,
•Touch the “Add Device” soft-key,
•Search for available devices on your Bluetooth� en-
abled Audio Device. When prompted on the device,
select the “Uconnect™” device and enter the PIN,
3
UNDERSTANDING THE FEATURES OF YOUR VEHICLE 113
Page 140 of 594

You can also use the following VR commands to bring up
the Paired Phone screen from any screen on the radio:
•“Show Paired Phones” or
•“Connect My Phone”
Pair A Bluetooth�Streaming Audio Device
•
Touch the “Player” soft-key to begin,
•Change the Source to Bluetooth�,
•Touch the “Bluetooth�” soft-key,
•Touch the “Add Device” soft-key,
NOTE: If there is no device currently connected with the
system, a pop-up will appear.
•Search for available devices on your Bluetooth� en-
abled audio device. When prompted on the device,
enter the name and PIN shown on the Uconnect
Touch™ screen,
•Uconnect™ Phone will display an in process screen
while the system is connecting,
•When the pairing process has successfully completed,
the system will prompt you to choose whether or not
this is your favorite device. Selecting Yes will make
this device the highest priority. This device will take
precedence over other paired devices within range.
NOTE: For devices which are not made a favorite, the
device priority is determined by the order in which it was
paired. The latest device paired will have the higher
priority.
You can also use the following VR command to bring up
a list of paired audio devices.
•“Show Paired Audio Devices”
138 UNDERSTANDING THE FEATURES OF YOUR VEHICLE
Page 166 of 594

VOICE COMMAND
Uconnect Touch™ 8.4/8.4 Nav
The Uconnect™ Voice Command system al-
lows you to control your AM, FM radio, satel-
lite radio, disc player, SD Card, USB/iPod and
Sirius Travel Link.
NOTE: Take care to speak into the Voice Command
system as calmly and normally as possible. The ability of
the Voice Command system to recognize user voice
commands may be negatively affected by rapid speaking
or a raised voice level.
WARNING!
Any voice commanded system should be used only
in safe driving conditions following local laws. All
attention should be kept on the roadway ahead.
Failure to do so may result in a collision causing
serious injury or death. When you press the Uconnect™ Voice Command
button, you will hear a beep. The beep is your signal to
give a command.
If no command is spoken the system will say one of two
responses:
•I didn’t understand
•I didn’t get that, etc.,
If a command is not spoken a second time, the system
will respond with an error and give some direction as
what can be said based on the context you are in. After
three consecutive failures of a spoken command the VR
session with end.
Pressing the Uconnect™ Voice Command
button
while the system is speaking is known as “barging in.”
The system will be interrupted, and after the beep, you
can say a command. This will become helpful once you
start to learn the options.
164 UNDERSTANDING THE FEATURES OF YOUR VEHICLE
Page 169 of 594
Changing the Volume
1. Start a dialogue by pressing the Voice Command
button.
2. Say a command (e.g., “Help”).
3. Use the ON/OFF VOLUME rotary knob to adjust the
volume to a comfortable level while the Voice Command
system is speaking. Please note the volume setting for
Voice Command is different than the audio system.
Starting Voice Recognition (VR) Session in
Radio/Player Modes
In this mode, you can say the following commands:
NOTE: The commands can be said on any screen when
a call is not active after pushing the Uconnect™ Voice
Command
button.
Disc
To switch to the disc mode, say “Change source to Disc”.
This command can be given in any mode or screen:
•“Track” (#) (to change the track)
3
UNDERSTANDING THE FEATURES OF YOUR VEHICLE 167
Page 177 of 594
NOTE:
1. Only available with Navigation equipped vehicles.
2. You can replace “Player” with “Radio”, “Navigation”,
“Phone”, “Climate”, “More” or “Settings”.3. Navigation commands only work if equipped with
Navigation.
4. Available Voice Commands are shown in bold face
and shaded grey.
3
UNDERSTANDING THE FEATURES OF YOUR VEHICLE 175
Page 192 of 594

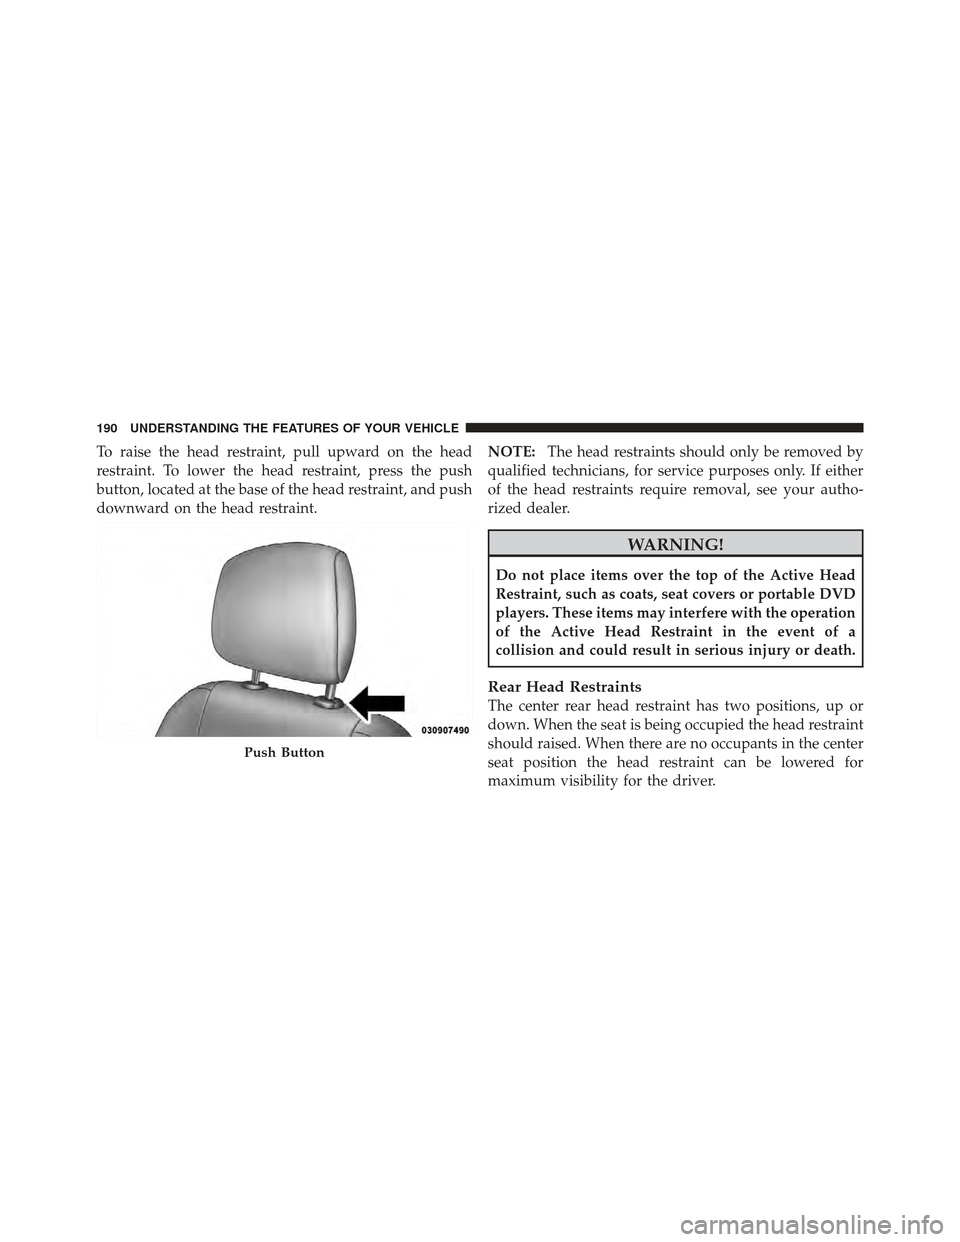
To raise the head restraint, pull upward on the head
restraint. To lower the head restraint, press the push
button, located at the base of the head restraint, and push
downward on the head restraint.NOTE:
The head restraints should only be removed by
qualified technicians, for service purposes only. If either
of the head restraints require removal, see your autho-
rized dealer.
WARNING!
Do not place items over the top of the Active Head
Restraint, such as coats, seat covers or portable DVD
players. These items may interfere with the operation
of the Active Head Restraint in the event of a
collision and could result in serious injury or death.
Rear Head Restraints
The center rear head restraint has two positions, up or
down. When the seat is being occupied the head restraint
should raised. When there are no occupants in the center
seat position the head restraint can be lowered for
maximum visibility for the driver.
Push Button
190 UNDERSTANDING THE FEATURES OF YOUR VEHICLE
Page 281 of 594
Console Features
There is an open cubby bin located forward of the shift
lever.
Two separate storage compartments are also located
underneath the center console armrest.Inside the center console armrest, there is a removable
upper storage tray that can be slid forward/rearward on
rails for access to the lower storage area. This tray has an
integrated coin holder, along with additional area for
small items like an ipod or phone. Below the upper tray,
the lower storage compartment is made for larger items,
like CDs and tissue boxes. In addition, the 12 volt power
outlet, USB and Aux jack are located here.
WARNING!
Do not operate this vehicle with a console compart-
ment lid in the open position. Cellular phones, music
players, and other handheld electronic devices
should be stowed while driving. Use of these devices
while driving can cause an accident due to distrac-
tion, resulting in death or injury.
Center Console
3
UNDERSTANDING THE FEATURES OF YOUR VEHICLE 279
Page 288 of 594

▫Turn Menu Off ...................... 313
� Uconnect Touch™ Settings ............... 313
▫ Hard-Keys ......................... 313
▫ Soft-Keys .......................... 314
▫ Customer Programmable Features —
Uconnect Touch™ 4.3 Settings ........... 314
▫ Customer Programmable Features —
Uconnect Touch™ System 8.4 Settings ...... 327
� iPod�/USB/MP3 Control — If Equipped ..... 341
� Harman Kardon� Logic7�High Performance
Multichannel Surround Sound System With
Driver-Selectable Surround (DSS) — If
Equipped ............................ 342 �
Steering Wheel Audio
Controls — If Equipped .................. 343
▫ Radio Operation ..................... 344
▫ CD Player ......................... 344
� CD/DVD Disc Maintenance .............. 345
� Radio Operation And Mobile Phones ....... 345
� Climate Controls ...................... 346
▫ General Overview .................... 346
▫ Climate Control Functions .............. 353
▫ Automatic Temperature Control (ATC) ..... 354
▫ Operating Tips ...................... 355
286 UNDERSTANDING YOUR INSTRUMENT PANEL