Page 30 of 594

NOTE:To avoid unintentional shutdowns, the system
will disable the one time press of the REMOTE START
button for two seconds after receiving a valid Remote
Start request.
To Exit Remote Start Mode And Drive The Vehicle
Before the end of 15 minute cycle, press and release the
UNLOCK button on the RKE transmitter to unlock the
doors and disarm the Vehicle Security Alarm (if
equipped). Then, prior to the end of the 15 minute cycle,
press and release the START/STOP button.
NOTE: The message “Push Start Button” will display in
the EVIC until you push the START button.
DOOR LOCKS
Manual Door Locks
To lock each door, push the door lock knob on each door
trim panel downward. To unlock the front doors, pull the inside door handle to the first detent. To unlock the rear
doors, pull the door lock knob on the door trim panel
upward.
If the door lock knob is down when you shut the door,
the door will lock. Therefore, make sure the Key Fob is
not inside the vehicle before closing the door.
Door Lock Knob
28 THINGS TO KNOW BEFORE STARTING YOUR VEHICLE
Page 35 of 594
•If the vehicle is unlocked by the RKE transmitter or
Passive Entry and no door goes ajar within 60 seconds,
the vehicle will re-lock and if equipped will arm the
theft alarm.
To Unlock From The Driver’s Side:
With a valid Passive Entry RKE transmitter within 5 ft
(1.5 m) of the driver door handle, grab the front driver
door handle to unlock the driver’s door automatically.
The interior door panel lock knob will raise when the
door is unlocked.
NOTE:If “Unlock All Doors 1st Press” is programmed
all doors will unlock when you grab hold of the front
driver ’s door handle. To select between “Unlock Driver
Door 1st Press” and “Unlock All Doors 1st Press”, refer to
“Uconnect Touch™ Settings” in “Understanding Your
Instrument Panel” for further information.
Grabbing The Driver’s Door Handle
2
THINGS TO KNOW BEFORE STARTING YOUR VEHICLE 33
Page 59 of 594

WARNING!
•No objects should be placed over or near the air
bag on the instrument panel, because any such
objects could cause harm if the vehicle is in a
collision severe enough to cause the air bag to
inflate.
•Do not put anything on or around the air bag
covers or attempt to open them manually. You may
damage the air bags and you could be injured
because the air bags may no longer be functional.
The protective covers for the air bag cushions are
designed to open only when the air bags are
inflating.
•Do not drill, cut or tamper with the knee bolster in
any way.
•Do not mount any accessories to the knee bolster
such as alarm lights, stereos, citizen band radios,
etc.
Supplemental Seat-Mounted Side Air Bags (SAB)
Supplemental Seat-Mounted Side Air Bags (SAB) may
provide enhanced protection to help protect an occupant
during a side impact. The SAB is marked with an air bag
label sewn into the outboard side of the front seats.
Supplemental Seat-Mounted Side Air Bag Label
2
THINGS TO KNOW BEFORE STARTING YOUR VEHICLE 57
Page 108 of 594

NOTE:In a parking lot situation, oncoming vehicles can
be obscured by vehicles parked on either side. If the
sensors are blocked by other structures or vehicles, the
system will not be able to alert the driver.
When RCP is on and the vehicle is in REVERSE, the
driver is alerted using both the visual and audible
alarms, including reducing the radio volume.
WARNING!
RCP is not a Back Up Aid system. It is intended to be
used to help a driver detect an oncoming vehicle in a
parking lot situation. Drivers must be careful when
backing up, even when using RCP. Always check
carefully behind your vehicle, look behind you, and
be sure to check for pedestrians, animals, other
vehicles, obstructions, and blind spots before back-
ing up. Failure to do so can result in serious injury or
death.
Modes Of Operation
Three selectable modes of operation are available in the
Uconnect Touch™ System. Refer to “Uconnect Touch™
Settings” in “Understanding Your Instrument Panel” for
further information.
Blind Spot Alert
When operating in Blind Spot Alert mode, the BSM
system will provide a visual alert in the appropriate side
view mirror based on a detected object. However, when
the system is operating in RCP, the system will respond
with both visual and audible alerts when a detected
object is present. Whenever an audible alert is requested,
the radio volume is reduced.
Blind Spot Alert Lights/Chime
When operating in Blind Spot Alert Lights/Chime mode,
the BSM system will provide a visual alert in the appro-
priate side view mirror based on a detected object. If the
turn signal is then activated, and it corresponds to an
106 UNDERSTANDING THE FEATURES OF YOUR VEHICLE
Page 244 of 594

WARNING!
In the normal Cruise Control mode, the system will
not react to vehicles ahead. In addition, the proximity
warning does not activate and no alarm will sound
even if you are too close to the vehicle ahead since
neither the presence of the vehicle ahead nor the
vehicle-to vehicle distance is detected. Be sure to
maintain a safe distance between your vehicle and
the vehicle ahead. Always be aware which mode is
selected.
To Set A Desired Speed
When the vehicle reaches the speed desired, press the
SET-button and release. The EVIC will display the set
speed.
NOTE: You must observe the display when setting or
changing speed, not the speedometer.
To Vary The Speed Setting
There are two ways to change the set speed:
•Use the accelerator pedal to adjust the vehicle to the
desired speed and press the SET -button.
•Tap the RES +or SET -button to increase or decrease
the set speed in 1 mph (1.6 km/h) increments respec-
tively. Hold the RES +or SET -button for 5 mph
(8 km/h) increments.
To Cancel
The system will disable normal Cruise Control without
erasing the memory if:
•You softly tap or depress the brake pedal.
•You press the CANCEL button.
•The Electronic Stability Control/Traction Control Sys-
tem (ESC/TCS) activates.
242 UNDERSTANDING THE FEATURES OF YOUR VEHICLE
Page 261 of 594
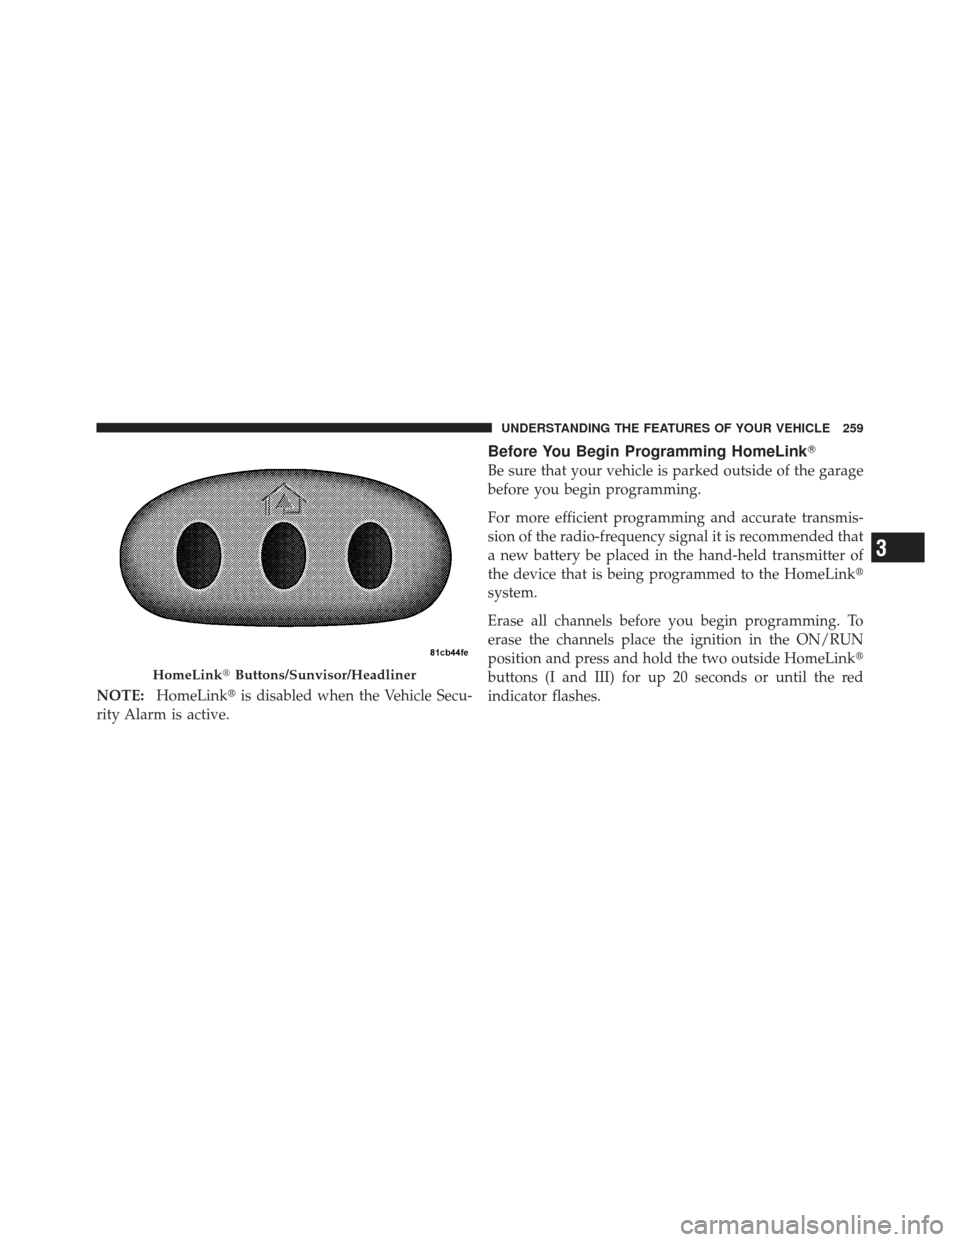
NOTE:HomeLink� is disabled when the Vehicle Secu-
rity Alarm is active.
Before You Begin Programming HomeLink �
Be sure that your vehicle is parked outside of the garage
before you begin programming.
For more efficient programming and accurate transmis-
sion of the radio-frequency signal it is recommended that
a new battery be placed in the hand-held transmitter of
the device that is being programmed to the HomeLink �
system.
Erase all channels before you begin programming. To
erase the channels place the ignition in the ON/RUN
position and press and hold the two outside HomeLink �
buttons (I and III) for up 20 seconds or until the red
indicator flashes.
HomeLink� Buttons/Sunvisor/Headliner
3
UNDERSTANDING THE FEATURES OF YOUR VEHICLE 259
Page 267 of 594
Security
It is advised to erase all channels before you sell or turn
in your vehicle.
To do this, press and hold the two outside buttons for
20 seconds until the red indicator flashes. Note that all
channels will be erased. Individual channels cannot be
erased.
The HomeLink�Universal Transceiver is disabled when
the Vehicle Security Alarm is active.
Troubleshooting Tips
If you are having trouble programming HomeLink�, here
are some of the most common solutions:
•Replace the battery in the original hand-held transmit-
ter.
•Press the LEARN button on the Garage Door Opener
to complete the training for a Rolling Code.
•Did you unplug the device for programming and
remember to plug it back in?
If you have any problems, or require assistance, please
call toll-free 1–800–355–3515 or, on the Internet at
www.HomeLink.com for information or assistance.
3
UNDERSTANDING THE FEATURES OF YOUR VEHICLE 265
Page 297 of 594
 LightThis light monitors the Anti")
dealer as soon as possible. Refer to “Occupant Restraints”
in “Things To Know Before Starting Your Vehicle” for
further information.
14. Anti-Lock Brake (ABS) LightThis light monitors the Anti-Lock Brake System
(ABS). The light will turn on when the ignition
switch is turned to the ON/RUN position and
may stay on for as long as four seconds.
If the ABS light remains on or turns on while driving, it
indicates that the Anti-Lock portion of the brake system
is not functioning and that service is required. However,
the conventional brake system will continue to operate
normally if the BRAKE warning light is not on.
If the ABS light is on, the brake system should be serviced
as soon as possible to restore the benefits of Anti-Lock
brakes. If the ABS light does not turn on when the
ignition switch is turned to the ON/RUN position, have
the light inspected by an authorized dealer. 15. Sport Mode — If Equipped
This light will illuminate when the sport mode
is selected. This mode provides performance
based tuning. For further information, refer to
”Sport Mode” in “Starting And Operating”.
16. Vehicle Security Light — If Equipped This light will flash at a fast rate for approxi-
mately 15 seconds, when the vehicle security
alarm is arming, and then will flash slowly
until the vehicle is disarmed.
17. Electronic Stability Control (ESC) OFF Indicator
Light — If Equipped This light indicates the Electronic Stability Con-
trol (ESC) is off.
4
UNDERSTANDING YOUR INSTRUMENT PANEL 295