Page 166 of 514
On steep hills, a greater speed loss or gain may occur so
it may be preferable to drive without Electronic Speed
Control.
WARNING!
Electronic Speed Control can be dangerous where the
system cannot maintain a constant speed. Your ve-
hicle could go too fast for the conditions, and you
could lose control and have an accident. Do not use
Electronic Speed Control in heavy traffic or on roads
that are winding, icy, snow-covered or slippery.
GARAGE DOOR OPENER — IF EQUIPPED
HomeLink�replaces up to three hand-held transmitters
that operate devices such as garage door openers, motor-
ized gates, lighting or home security systems. The
HomeLink� unit is powered by your vehicles 12 Volt
battery. The HomeLink�
buttons, located on either the overhead
console, headliner or sunvisor, designate the three differ-
ent HomeLink� channels. The HomeLink� indicator is
located above the center button.
HomeLink� Buttons/Overhead Consoles
164 UNDERSTANDING THE FEATURES OF YOUR VEHICLE
Page 179 of 514
A second power outlet is located inside the center con-
sole.The center console power outlet is powered directly from
the battery (power available at all times). Items plugged
into this power outlet may discharge the battery and/or
prevent the engine from starting.
NOTE:
To ensure proper operation a MOPAR� knob
and element must be used.
CAUTION!
•Do not exceed the maximum power of 160 Watts
(13 Amps) at 12 Volts. If the 160 Watt (13 Amp)
power rating is exceeded the fuse protecting the
system will need to be replaced.
(Continued)
Center Console
3
UNDERSTANDING THE FEATURES OF YOUR VEHICLE 177
Page 182 of 514
CIGAR LIGHTER AND ASH RECEIVER — IF
EQUIPPED
An optional ash receiver is available from your autho-
rized dealer and will fit in the center console front
cupholder.
The optional ash receiver also comes with a cigar lighter
that can be used with the power outlets. Refer to “Power
Outlets” in “Understanding the Features of Your Vehicle”
for further information.
CUPHOLDERS
There are two cupholders located in the center console
for the front passengers.
Front Cupholders
180 UNDERSTANDING THE FEATURES OF YOUR VEHICLE
Page 184 of 514
STORAGE
Glovebox Storage Compartment
The glovebox storage compartment is located on the right
side of the instrument panel.
Pull on the handle to open the glovebox.
CONSOLE FEATURES
Storage
The center console is located between the front driver
and passenger seats. The center console armrest slides
forward from design position to provide added user
comfort. The center console can be used for storage and
Glovebox Storage Compartment
Opened Glovebox
182 UNDERSTANDING THE FEATURES OF YOUR VEHICLE
Page 185 of 514
is also equipped with an electrical power outlet. Refer to
“Power Outlets” in “Understanding The Feature of Your
Vehicle” for further information.
Two separate storage compartments are also located
underneath the armrest.The top compartment holds small items, such as a pen
and note pad, while the larger bottom compartment will
hold CDs and alike. The bottom compartment also con-
tains a 12 Volt power outlet. The console’s front opening
lid allows for easy access to these compartments.
Center Console
Center Console Storage
3
UNDERSTANDING THE FEATURES OF YOUR VEHICLE 183
Page 328 of 514

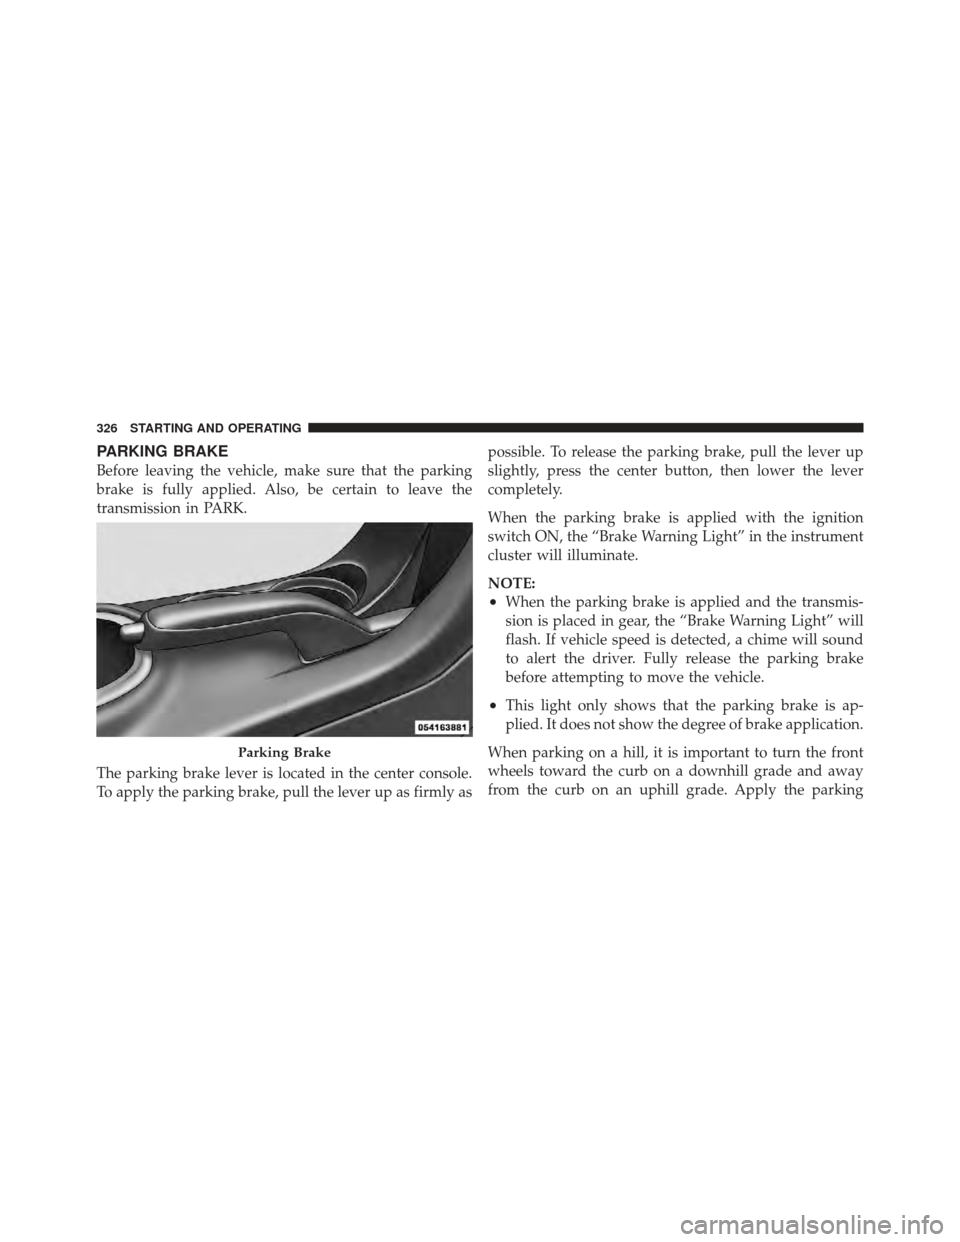
PARKING BRAKE
Before leaving the vehicle, make sure that the parking
brake is fully applied. Also, be certain to leave the
transmission in PARK.
The parking brake lever is located in the center console.
To apply the parking brake, pull the lever up as firmly aspossible. To release the parking brake, pull the lever up
slightly, press the center button, then lower the lever
completely.
When the parking brake is applied with the ignition
switch ON, the “Brake Warning Light” in the instrument
cluster will illuminate.
NOTE:
•When the parking brake is applied and the transmis-
sion is placed in gear, the “Brake Warning Light” will
flash. If vehicle speed is detected, a chime will sound
to alert the driver. Fully release the parking brake
before attempting to move the vehicle.
•This light only shows that the parking brake is ap-
plied. It does not show the degree of brake application.
When parking on a hill, it is important to turn the front
wheels toward the curb on a downhill grade and away
from the curb on an uphill grade. Apply the parking
Parking Brake
326 STARTING AND OPERATING
Page 418 of 514
▫Exhaust System ..................... 433
▫ Cooling System ..................... 436
▫ Brake System ....................... 441
▫ Automatic Transmission ............... 443
▫ Appearance Care And Protection From
Corrosion .......................... 446
▫ Cleaning Center Console Cupholders ...... 452
� Fuses .............................. 453
▫ Integrated Power Module .............. 453
� Vehicle Storage ....................... 458
� Replacement Bulbs .................... 458 �
Bulb Replacement ..................... 459
▫ Headlamp ......................... 459
▫ Fog Lamps ......................... 461
▫ Backup Lamps ...................... 461
▫ License Plate Lamp ................... 462
� Fluid Capacities ...................... 463
� Fluids, Lubricants, And Genuine Parts ....... 464
▫ Engine ............................ 464
▫ Chassis ........................... 465
416 MAINTAINING YOUR VEHICLE
Page 454 of 514

1. Clean with a wet, soft rag. A mild soap solution may
be used, but do not use high alcohol content or abrasive
cleaners. If soap is used, wipe clean with a clean damp
rag.
2. Dry with a soft cloth.
Seat Belt Maintenance
Do not bleach, dye, or clean the belts with chemical
solvents or abrasive cleaners. This will weaken the fabric.
Sun damage can also weaken the fabric.
If the belts need cleaning, use a mild soap solution or
lukewarm water. Do not remove the belts from the car to
wash them. Dry with a soft cloth.
Replace the belts if they appear frayed or worn or if the
buckles do not work properly.
Cleaning Center Console Cupholders
Removal
Grab the rubber portion of the cupholder and lift
upward.
Cleaning
Soak the rubber cupholder liner in a mixture of medium
hot tap water and one teaspoon of mild liquid dish soap.
Let soak for approximately one hour. After one hour pull
the liner from the water and dip it back into the water
about six times. This will loosen any remaining debris.
Rinse the liner thoroughly under warm running water.
Shake the excess water from the liner and dry the outer
surfaces with a clean soft cloth.
Installation
Align the liner in the cupholder and press down firmly.
452 MAINTAINING YOUR VEHICLE