Page 431 of 514
Air Conditioner Maintenance
For best possible performance, your air conditioner
should be checked and serviced by an authorized dealer
at the start of each warm season. This service should
include cleaning of the condenser fins and a performance
test.
CAUTION!
Do not use chemical flushes in your air conditioning
system as the chemicals can damage your air condi-
tioning components. Such damage is not covered by
the New Vehicle Limited Warranty.
WARNING!
•Use only refrigerants and compressor lubricants
approved by the manufacturer for your air condi-
tioning system. Some unapproved refrigerants are
flammable and can explode, injuring you. Other
unapproved refrigerants or lubricants can cause
the system to fail, requiring costly repairs. Refer to
Warranty Information Book, located on the DVD,
for further warranty information.
•The air conditioning system contains refrigerant
under high pressure. To avoid risk of personal
injury or damage to the system, adding refrigerant
or any repair requiring lines to be disconnected
should be done by an experienced technician.
7
MAINTAINING YOUR VEHICLE 429
Page 432 of 514
Refrigerant Recovery And Recycling
R-134a air conditioning refrigerant is a hydrofluoro-
carbon (HFC) that is endorsed by the Environmental
Protection Agency and is an ozone-saving product. How-
ever, the manufacturer recommends that air conditioning
service be performed by authorized dealers or other
service facilities using recovery and recycling equipment.
NOTE:Use only manufacturer approved A/C System
Sealers, Stop Leak Products, Seal Conditioners, Compres-
sor Oil, and Refrigerants.
A/C Air Filter – If Equipped
Refer to the “Maintenance Schedule” for the proper
maintenance intervals.
WARNING!
Do not remove the A/C Air Filter while the blower is
operating or personal injury may result. The A/C Air Filter is located in the fresh air inlet behind
the glove box. Perform the following procedure to re-
place the filter:
1. Open the glove box and remove all contents.
2. Push in on the sides of the glove box and lower the
door.
3. Disconnect the glove box door dampener from the slot
on the side of the box. This is done by grasping the
dampener connector (on the outside of the box) and the
end of the connector pin (on the inside of the box) with
your thumb and forefinger and pulling outward while
lightly lifting upward on the door with your other hand.
Once disconnected, the dampener will retract under-
neath the instrument panel if you release it.
4. Pivot the glove box downward.
5. Disengage the two retaining tabs that secure the filter
cover to the HVAC housing and remove the cover.
430 MAINTAINING YOUR VEHICLE
Page 443 of 514
•Make sure that the radiator and coolant recovery
bottle overflow hoses are not kinked or obstructed.
•Keep the front of the radiator clean. If your vehicle is
equipped with air conditioning, keep the front of the
condenser clean.
•Do not change the thermostat for Summer or Winter
operation. If replacement is ever necessary, install
ONLY the correct type thermostat. Other designs may
result in unsatisfactory cooling performance, poor gas
mileage, and increased emissions.
Brake System
In order to assure brake system performance, all brake
system components should be inspected periodically.
Refer to the “Maintenance Schedule” for the proper
maintenance intervals.
WARNING!
Riding the brakes can lead to brake failure and
possibly a collision. Driving with your foot resting or
riding on the brake pedal can result in abnormally
high brake temperatures, excessive lining wear, and
possible brake damage. You would not have your full
braking capacity in an emergency.
Master Cylinder – Brake Fluid Level Check
Check the fluid level in the master cylinder immediately
if the brake system warning light indicates system fail-
ure.
Check the fluid level in the master cylinder when per-
forming underhood services.
7
MAINTAINING YOUR VEHICLE 441
Page 449 of 514
road surfaces on which the vehicle is operated, extreme
hot or cold weather and other extreme conditions will
have an adverse effect on paint, metal trim, and under-
body protection.
The following maintenance recommendations will enable
you to obtain maximum benefit from the corrosion
resistance built into your vehicle.
What Causes Corrosion?
Corrosion is the result of deterioration or removal of
paint and protective coatings from your vehicle.
The most common causes are:
•Road salt, dirt, and moisture accumulation.
•Stone and gravel impact.
•Insects, tree sap, and tar.
•Salt in the air near seacoast localities.
•Atmospheric fallout/industrial pollutants.
Washing
•
Wash your vehicle regularly. Always wash your ve-
hicle in the shade using MOPAR�Car Wash or equiva-
lent, or a mild car wash soap, and rinse the panels
completely with clear water.
•If insects, tar, or other similar deposits have accumu-
lated on your vehicle, use MOPAR� Super Kleen Bug
and Tar Remover or equivalent to remove.
•Use a high quality cleaner wax, such as MOPAR �
Cleaner Wax or equivalent to remove road film, stains
and to protect your paint finish. Take care never to
scratch the paint.
•Avoid using abrasive compounds and power buffing
that may diminish the gloss or thin out the paint
finish.
7
MAINTAINING YOUR VEHICLE 447
Page 460 of 514

VEHICLE STORAGE
If you will not be using your vehicle for more than
21 days, you may want to take steps to preserve your
battery.
•Disengage the mini-fuse in the Power Distribution
Center labeled IOD (Ignition Off-Draw).
•Or disconnect the negative cable from the battery.
•Anytime you store your vehicle, or keep it out of
service (i.e., vacation) for two weeks or more, run the
air conditioning system at idle for about five minutes
in the fresh air and high blower setting. This will
ensure adequate system lubrication to minimize the
possibility of compressor damage when the system is
started again.
REPLACEMENT BULBS
All the inside bulbs are brass or glass wedge base.
Aluminum base bulbs are not approved and should not
be used for replacement.
LIGHT BULBS – Interior Bulb No.
Front Courtesy/Reading Lamp..........578/W5W
Center Courtesy/Reading Lamp ..........578/W5W
Visor Vanity Lamp ...................... A6220
Glove Box Lamp ....................... A6220
Shift Indicator Lamp ................. IKLE14140
Rear Compartment (Trunk) Lamp ............. 579
NOTE: For lighted switches, see your authorized dealer
for replacement.
458 MAINTAINING YOUR VEHICLE
Page 473 of 514
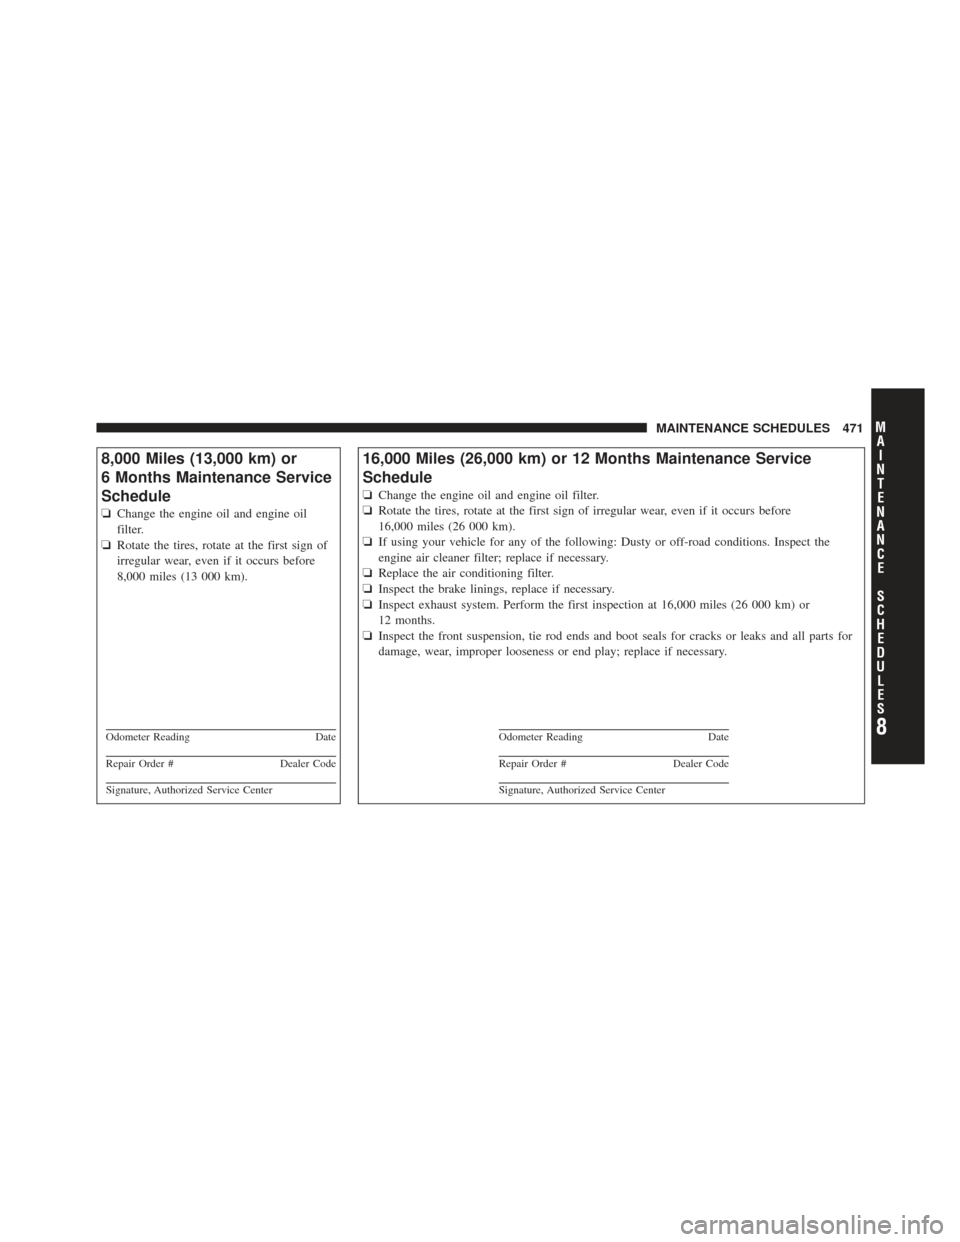
8,000 Miles (13,000 km) or
6 Months Maintenance Service
Schedule
❏Change the engine oil and engine oil
filter.
❏ Rotate the tires, rotate at the first sign of
irregular wear, even if it occurs before
8,000 miles (13 000 km).
Odometer Reading Date
Repair Order #Dealer Code
Signature, Authorized Service Center
16,000 Miles (26,000 km) or 12 Months Maintenance Service
Schedule
❏Change the engine oil and engine oil filter.
❏ Rotate the tires, rotate at the first sign of irregular wear, even if it occurs before
16,000 miles (26 000 km).
❏ If using your vehicle for any of the following: Dusty or off-road conditions. Inspect the
engine air cleaner filter; replace if necessary.
❏ Replace the air conditioning filter.
❏ Inspect the brake linings, replace if necessary.
❏ Inspect exhaust system. Perform the first inspection at 16,000 miles (26 000 km) or
12 months.
❏ Inspect the front suspension, tie rod ends and boot seals for cracks or leaks and all parts for
damage, wear, improper looseness or end play; replace if necessary.
Odometer Reading Date
Repair Order #Dealer Code
Signature, Authorized Service Center
8
M
A I
N T
E
N A
N CE
S
C
H E
D
U L
E
SMAINTENANCE SCHEDULES 471
Page 474 of 514

24,000 Miles (39,000 km) or
18 Months Maintenance
Service Schedule
❏Change the engine oil and engine oil
filter.
❏ Rotate the tires, rotate at the first sign of
irregular wear, even if it occurs before
24,000 miles (39 000 km).
❏ Inspect the CV joints.
❏ Inspect exhaust system.
Odometer Reading Date
Repair Order #Dealer Code
Signature, Authorized Service Center
32,000 Miles (52,000 km) or 24 Months Maintenance Service
Schedule
❏Change the engine oil and engine oil filter.
❏ Rotate the tires, rotate at the first sign of irregular wear, even if it occurs before
32,000 miles (52 000 km).
❏ Replace the spark plugs (2.4L Engine).
❏ Replace the engine air cleaner filter.
❏ Replace the air conditioning filter.
❏ Inspect the brake linings, replace if necessary.
❏ Adjust parking brake on all vehicles equipped with four wheel disc brakes.
❏ Inspect the front suspension, tie rod ends and boot seals for cracks or leaks and all parts for
damage, wear, improper looseness or end play; replace if necessary.
Odometer Reading Date
Repair Order #Dealer Code
Signature, Authorized Service Center
8
M
A I
N T
E
N A
N CE
S
C
H E
D
U L
E
S472 MAINTENANCE SCHEDULES
Page 475 of 514
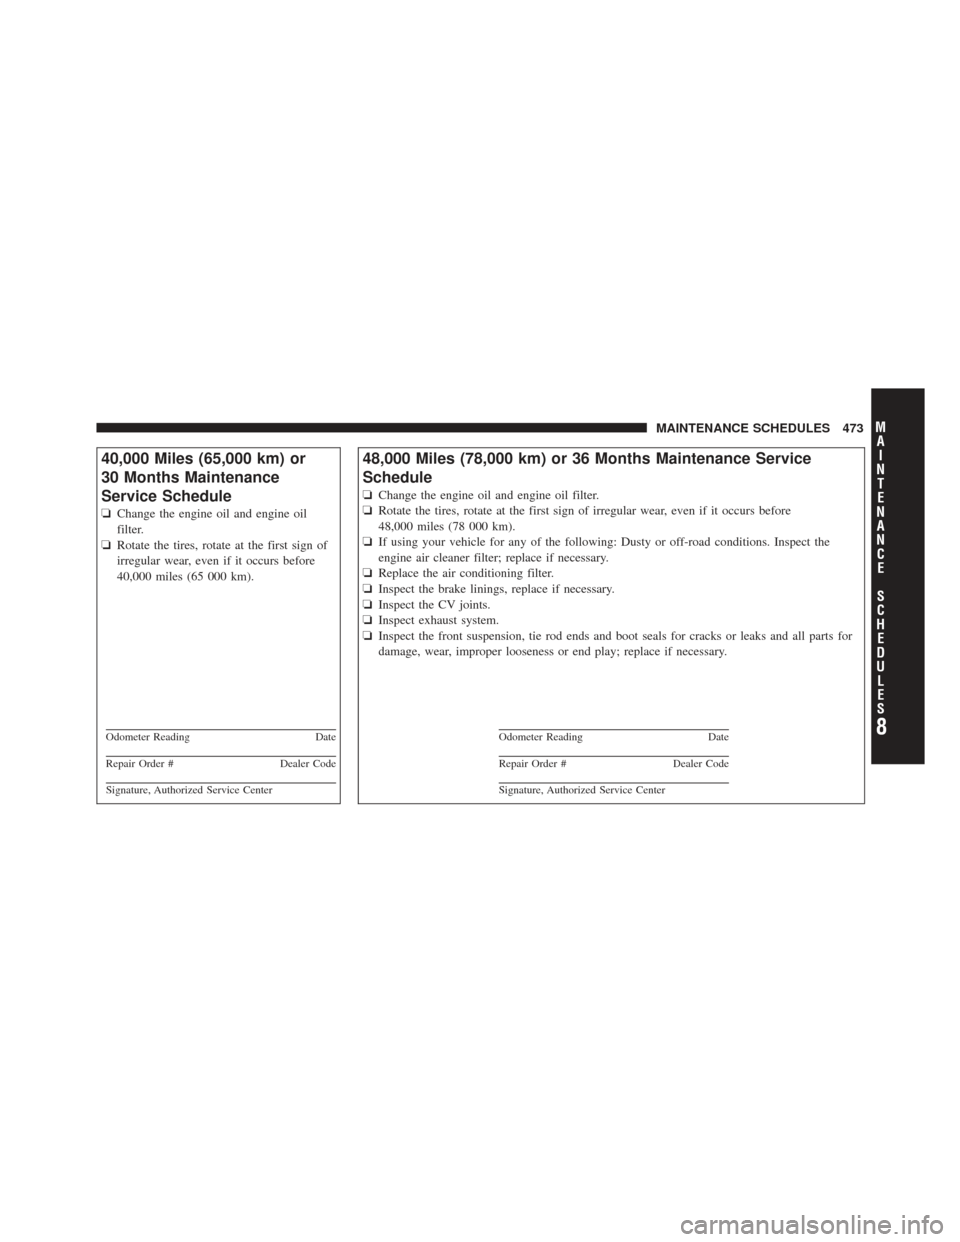
40,000 Miles (65,000 km) or
30 Months Maintenance
Service Schedule
❏Change the engine oil and engine oil
filter.
❏ Rotate the tires, rotate at the first sign of
irregular wear, even if it occurs before
40,000 miles (65 000 km).
Odometer Reading Date
Repair Order #Dealer Code
Signature, Authorized Service Center
48,000 Miles (78,000 km) or 36 Months Maintenance Service
Schedule
❏Change the engine oil and engine oil filter.
❏ Rotate the tires, rotate at the first sign of irregular wear, even if it occurs before
48,000 miles (78 000 km).
❏ If using your vehicle for any of the following: Dusty or off-road conditions. Inspect the
engine air cleaner filter; replace if necessary.
❏ Replace the air conditioning filter.
❏ Inspect the brake linings, replace if necessary.
❏ Inspect the CV joints.
❏ Inspect exhaust system.
❏ Inspect the front suspension, tie rod ends and boot seals for cracks or leaks and all parts for
damage, wear, improper looseness or end play; replace if necessary.
Odometer Reading Date
Repair Order #Dealer Code
Signature, Authorized Service Center
8
M
A I
N T
E
N A
N CE
S
C
H E
D
U L
E
SMAINTENANCE SCHEDULES 473