Page 315 of 352

313
04
1
2
3
SOURCE
The MP3 format, an abbreviation of MPEG 1.2 & 2.5 Audio Layer 3,
is an audio compression standard which permits the recording of several tens of music fi les on a single disc.
In order to be able to play a recorded
CDR or CDRW, when recording, the ISO 9660 level 1.2 or Joliet fi le format isrecommended.
If the disc is recorded in another format, it ma
y not be playedcorrectly.
It is recommended that the same recordin
g format is always used for an individual disc, with as low a speed as possible(4x maximum) for optimum sound quality.
In the particular case o
f a multi-session CD, the Joliet format is recommended.
The audio s
ystem will only play fi les with the extension ".mp3" with
a sampling rate of 22.05 KHz or 44.1 KHz. No other type of fi le(.wma, .mp4, .m3u...) can be played.
It is advisable to restrict fi le names to 20 characters without usin
gspecial characters (e.g. " ? ; ù) to avoid any playing or displaying problems.
MP3 CD
INFORMATION AND ADVICE
AUDIO
Empty CDs are not recognised and may damage the system.
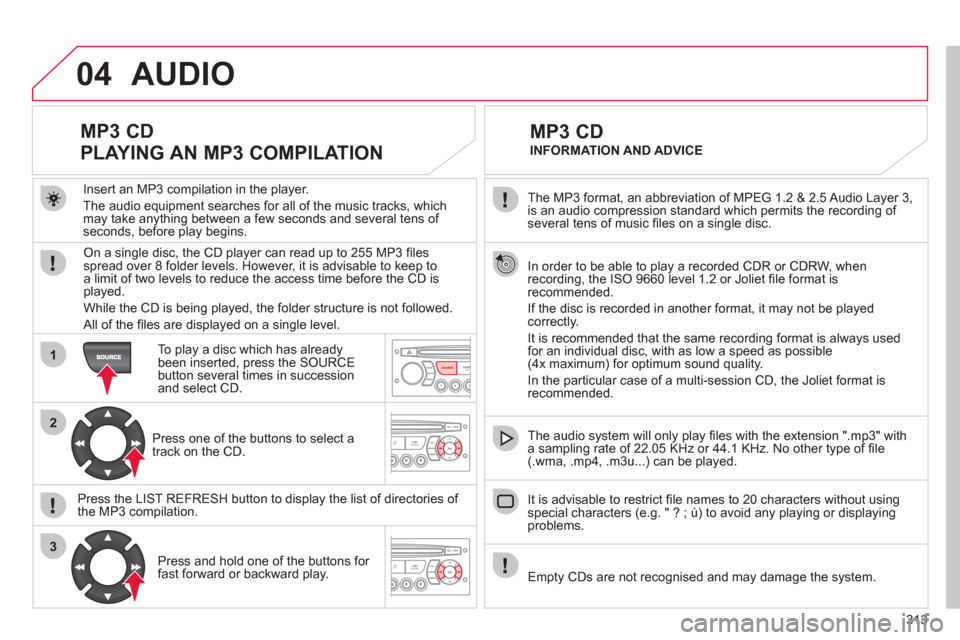
Insert an MP3 compilation in the pla
yer.
The audio equipment searches
for all of the music tracks, which
may take anything between a few seconds and several tens of seconds, before play begins.
MP3 CD
PLAYING AN MP3 COMPILATION
On a single disc, the CD player can read up to 255 MP3 fi lesspread over 8 folder levels. However, it is advisable to keep to
a limit of two levels to reduce the access time before the CD isplayed.
While the CD is bein
g played, the folder structure is not followed.
All of the fi les are displayed on a single level.
To play a disc which has already
been inserted, press the SOURCE button several times in successionand select CD.
Pr
ess one of the buttons to select atrack on the CD.
Press the LI
ST REFRESH button to display the list of directories of
the MP3 compilation.
Pr
ess and hold one of the buttons for fast forward or backward play.
Page 317 of 352

315
3
4
05
2
1
LISTREFRESH
LISTREFRESH
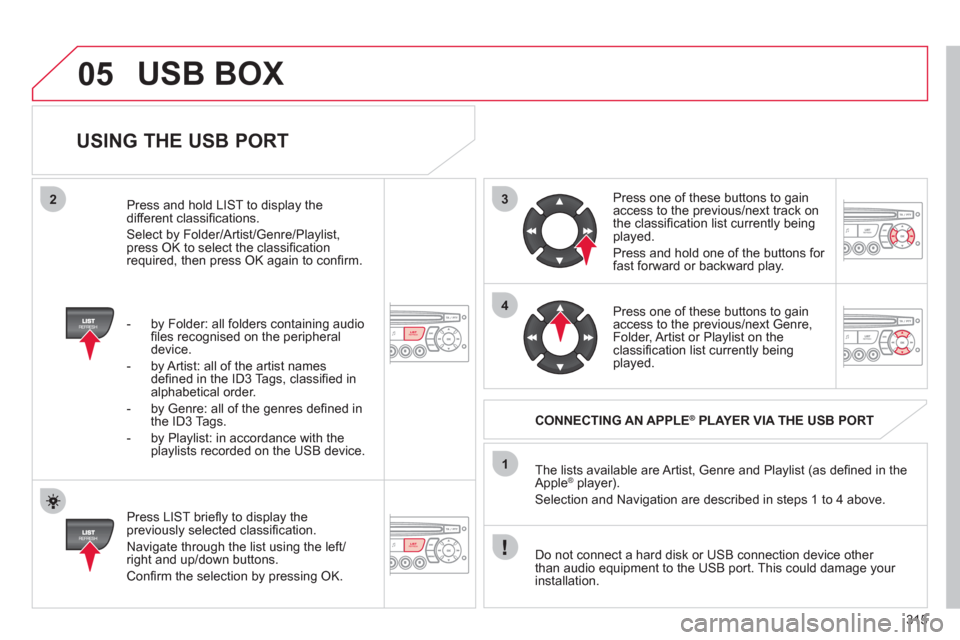
USING THE USB PORT
Press LIST briefl y to display thepreviously selected classifi cation.
Navi
gate through the list using the left/right and up/down buttons.
Confi rm the selection by pressing OK. The lists available are Artist, Genre and Pla
ylist (as defi ned in the
Apple ®player).
Selection and Navigation are described in steps 1 to 4 above.
Do not connect a hard disk or
USB connection device other
than audio equipment to the USB port. This could damage your
installation.
CONNECTING AN APPLE®PLAYER VIA THE USB PORT®
Press one of these buttons to gain
access to the previous/next track on
the classifi cation list currently beingplayed.
Pr
ess and hold one of the buttons for fast forward or backward play.
Press one of these buttons to
gain
access to the previous/next Genre,
Folder, Artist or Playlist on theclassifi cation list currently being played.
Press and hold LI
ST to display the different classifi cations.
Select b
y Folder/Artist/Genre/Playlist, press OK to select the classifi cation required, then press OK again to confi rm.
- b
y Folder: all folders containing audio fi les recognised on the peripheraldevice.
- by Artist: all o
f the artist names
defi ned in the ID3 Tags, classifi ed in alphabetical order.
- b
y Genre: all of the genres defi ned in
the ID3 Tags.
- b
y Playlist: in accordance with the
playlists recorded on the USB device.
USB BOX
Page 320 of 352
318
06
1
2
1
2
1
OK
RECEIVING A CALL
An incomin
g call is announced by a ring and a superimposed
display in the vehicle's screen.
Select the YES tab on the display
using the buttons and confi rm bypressing OK.
Press this button to acce
pt the call.
MAKING A CALL
From the Bluetooth telephone
function Audio menu, select Manage
the telephone call then Call, Call list or Directory.
Pr
ess this button for more than two seconds for
access to your directory, then navigate with the
thumb wheel.
Or
To dial a number, use your telephone's keypad,with the vehicle stationary.
Durin
g a call, press this button for more than2 seconds.
Confi rm with OK to end the call.
BLUETOOTH FUNCTIONS
ENDING A CALL
Page 321 of 352

319
1
2
3
SOURCE
06
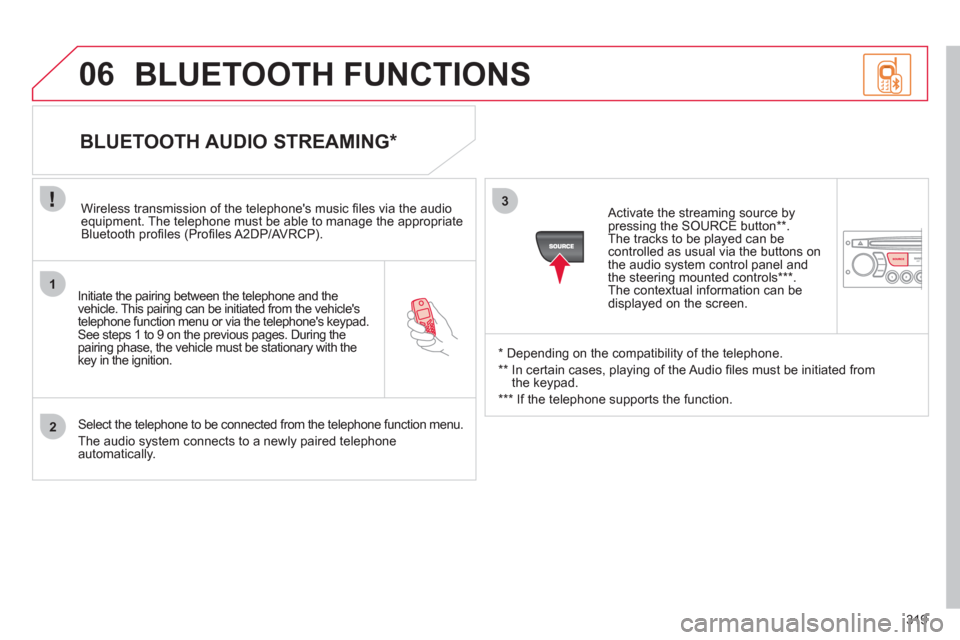
Initiate the pairing between the telephone and the
vehicle. This pairing can be initiated from the vehicle's
telephone function menu or via the telephone's keypad. See steps 1 to 9 on the previous pages. During the pairing phase, the vehicle must be stationary with thekey in the ignition.
Select the telephone to be connected from the telephone function menu.
The audio s
ystem connects to a newly paired telephone automatically.
BLUETOOTH AUDIO STREAMING *
Wireless transmission of the telephone's music fi les via the audioequipment. The telephone must be able to manage the appropriate
Bluetooth profi les (Profi les A2DP/AV RCP).
*
Depending on the compatibility of the telephone.
**
In certain cases, playing of the Audio fi les must be initiated from
the keypad.
***
If the tele
phone supports the function.
Activate the streamin
g source by
pressing the SOURCE button ** .The tracks to be played can becontrolled as usual via the buttons on
the audio system control panel andthe steering mounted controls *** .
The contextual information can bedisplayed on the screen.
BLUETOOTH FUNCTIONS
Page 333 of 352
331
99
7788
11111010122
133
144
15555
44166
22
11188
17733
66
01FIRST STEPS
REMOTE CONTROL
1. Power On/Off, Eject.
2.
Selection of the source from DVD, audio CD and AUX.
3.
Change screen.
4. DVD screen adjustments
(brightness, contrast, …).
5. Selection confi rmation.
6. Fast forward/backward.
In th
e menus: move the cursor
left/right, up/down.
7. Volume increase
/decrease.
8. Pla
y/Pause.
9. Next chapter.
10.
SHIFT: activation of the yellow buttons.
11.
Selection of the audio
language.
With
SHIFT: selection of thesubtitle language. 12. Chan
ge chapter.
With SHIFT: chan
ge title.
13. Previous chapter.
14.
Stop play.
15. RETURN:
Short press: return to
the previous menu.
Lon
g press: return to the main menu.
16. Displa
y the main DVD menu.
17. Z
OOM: Selection of different
image formats.
18. Displa
y/mask the screen.
Power:
2 batteries R03/AAA 1.5 V.
Numeric keypad
Page 334 of 352
332
02
1
2
3
5
4
1
2
3
CONFIGURATION
SETUP MENU
The "Settings" menu appears on the screen:
"Video settings", "Languages", "Users", "Defaultsettings".
Select the options using the �� and ��
buttons.
Press the
SETUP button.
Press the
OK button to confi rm your choice.
The "Video settings" menu appears on the screen:"Brightness", "Contrast", "Colour", "Back-lighting".
Select the "Video settings" menu using the ��and ��buttons. Press the
SETUP button. The "Settings" menu
appears on the screen.
Press the
OK button to confi rm your choice.
The settin
g is saved. Select the input required usin
g the��and ��
buttons.
VIDEO SETTINGS
Page 338 of 352

336
FREQUENTLY ASKED QUESTIONS
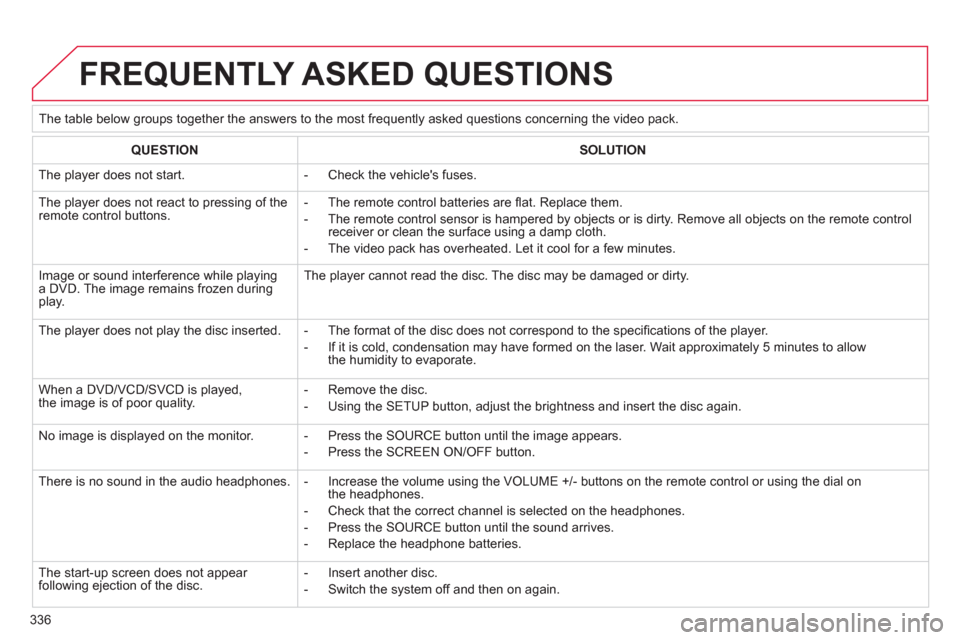
The table below groups together the answers to the most frequently asked questions concerning the video pack.
QUESTIONSOLUTION
The player does not start.
- Check the vehicle's fuses.
The player does not react to pressing of theremote control buttons.
- The remote control batteries are fl at. Replace them.
- The remote control sensor is hampered by objects or is dirty. Remove all objects on the remote control receiver or clean the surface using a damp cloth.
- The video pack has overheated. Let it cool for a few minutes.
Image or sound interference while playinga DVD. The image remains frozen during play.
The player cannot read the disc. The disc may be damaged or dirty.
The player does not play the disc inserted.
- The format of the disc does not correspond to the specifi cations of the player.
- If it is cold, condensation may have formed on the laser. Wait approximately 5 minutes to allowthe humidity to evaporate.
When a DVD/VCD/SVCD is played,the image is of poor quality.
- Remove the disc.
- Using the SETUP button, adjust the brightness and insert the disc again.
No image is displayed on the monitor.
- Press the SOURCE button until the image appears.
- Press the SCREEN ON/OFF button.
There is no sound in the audio headphones.
- Increase the volume using the VOLUME +/- buttons on the remote control or using the dial onthe headphones.
- Check that the correct channel is selected on the headphones.
- Press the SOURCE button until the sound arrives.
- Replace the headphone batteries.
The start-up screen does not appear following ejection of the disc.
- Insert another disc.
- Switch the system off and then on again.
Page:
< prev 1-8 9-16 17-24