Page 74 of 132

Phone Pairing
NOTE:Pairing is a one-time initial setup before using the phone.
• Press the “Phone” button
to begin.
• Wait for the “ready” prompt and BEEP.
• (After the BEEP), say ”setup” or “Uconnect device setup”.
• (After the BEEP), say “device pairing”. • (After the BEEP), say “pair a device”.
• Follow the audible prompts.
• You will be asked to say a four-digitPersonal Identification Number (PIN),
which you will later need to enter into your
mobile phone. You can say any four-digit
PIN. You will not need to remember this
PIN after the initial pairing process.
• You will then be prompted to give the phone pairing a name (each phone paired should have a unique name).
• Next you will be asked to give this new pairing a priority of 1 thru 7 (up to seven phones may be paired); 1 is the highest and 7 is the lowest priority. The system will only connect
to the highest priority phone that exists within the proximity of the vehicle.
• You will then need to start the pairing procedure on your cell phone. Follow the Bluetooth® instructions in your cell phone Owner's Manual to complete the phone pairing
setup.
Phonebook
Phonebook Download – Automatic Phonebook Transfer From Mobile Phone
If equipped and specifically supported by your
phone, Uconnect™ Phone automatically
downloads names (text names) and number
entries from your mobile phone’s phonebook.
Specific Bluetooth® Phones with Phone Book
Access Profile may support this feature.
Automatic Transfer is indicated by a green
arrow at the bottom of the screen. See
Uconnect™ website for supported phones.
• Automatic download and update, if supported, begins as soon as the Bluetooth® wireless phone connection is made to the Uconnect™ Phone, for example, after you start the
vehicle.
• A maximum of 1000 entries per phone will be downloaded and updated every time a phone is connected to the Uconnect™ Phone.
• Depending on the maximum number of entries downloaded, there may be a short delay before the latest downloaded names can be used. Until then, if available, the previously
downloaded phonebook is available for use.
ELECTRONICS
70
Page 78 of 132

Bluetooth® STREAMING AUDIO
• If equipped with Uconnect™ VoiceCommand, your Bluetooth-equipped
iPod® devices, cell phones or other media
players, may also be able to stream music
to your vehicle's speakers. Your connected
device must be Bluetooth-compatible,
and paired with your Media Center radio
(see Uconnect™ Phone for pairing
instructions). Non-Touch-Screen Radios:
Press the “AUX” button on the radio faceplate until "BT" or “Audio Streaming” is
displayed on the radio screen. Touch-Screen-Radios: Press the “RADIO/MEDIA” or
“MEDIA” hard-key and then touch the “AUX” soft-key tab.
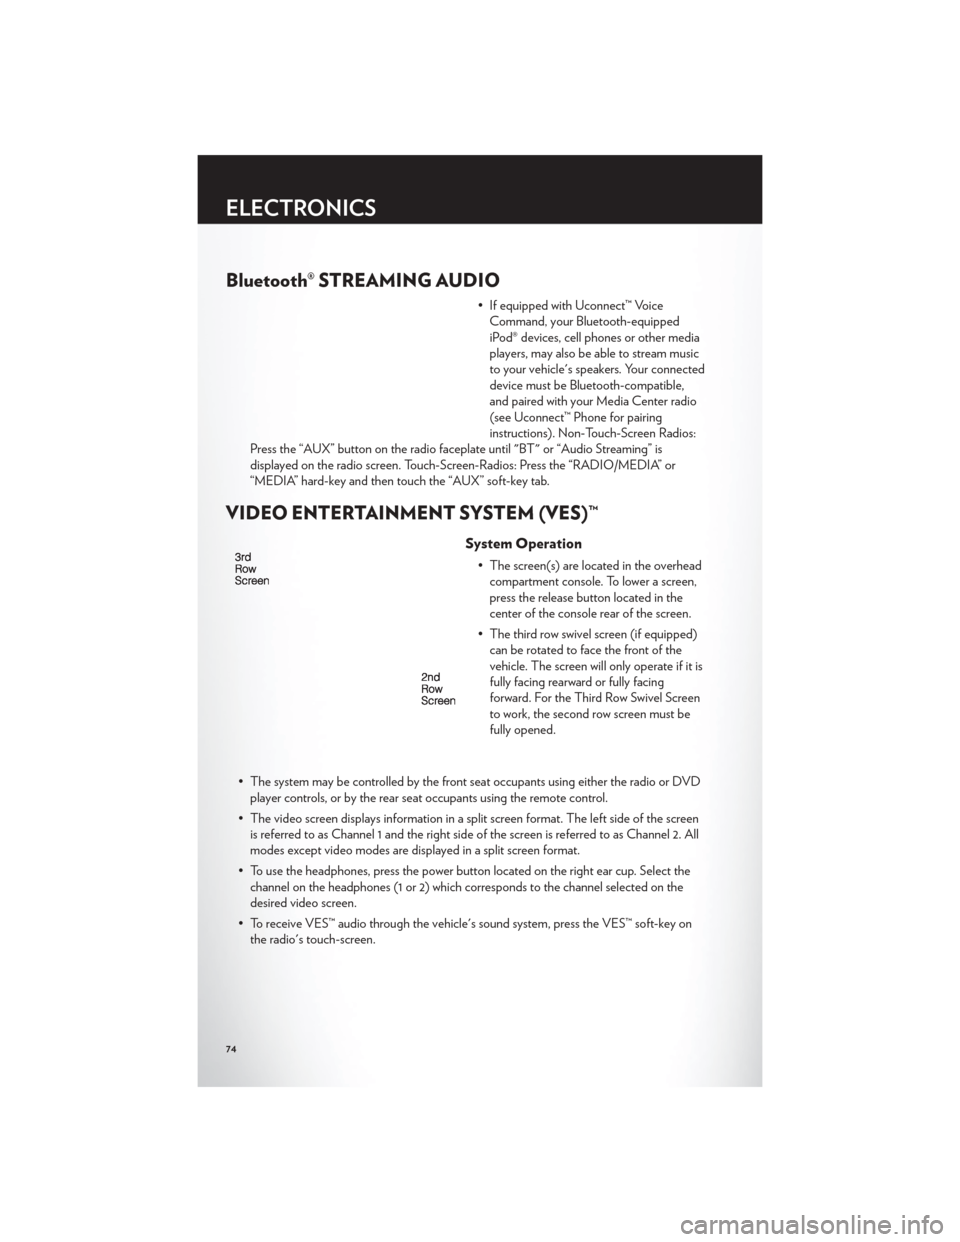
VIDEO ENTERTAINMENT SYSTEM (VES)™
System Operation
• The screen(s) are located in the overhead compartment console. To lower a screen,
press the release button located in the
center of the console rear of the screen.
• The third row swivel screen (if equipped) can be rotated to face the front of the
vehicle. The screen will only operate if it is
fully facing rearward or fully facing
forward. For the Third Row Swivel Screen
to work, the second row screen must be
fully opened.
• The system may be controlled by the front seat occupants using either the radio or DVD player controls, or by the rear seat occupants using the remote control.
• The video screen displays information in a split screen format. The left side of the screen is referred to as Channel 1 and the right side of the screen is referred to as Channel 2. All
modes except video modes are displayed in a split screen format.
• To use the headphones, press the power button located on the right ear cup. Select the channel on the headphones (1 or 2) which corresponds to the channel selected on the
desired video screen.
• To receive VES™ audio through the vehicle's sound system, press the VES™ soft-key on the radio's touch-screen.
ELECTRONICS
74
Page 127 of 132

Inverter Outlet (115V)...........80
Inverter, Power ..............80
iPod®/USB/MP3 Control .........68
Bluetooth Streaming Audio .......74
Jack Location ...............91
Jack Operation ..............91
Jump Starting ...............101
KeyFob...................8
Key Fob Programmable Features ......77
Keyless Enter-N-Go™ ...........10
Lock/Unlock ............. 11,12
Starting/Stopping ............12
Lane Change Assist ............26
LATCH (Lower Anchors and Tether for
CHildren) .................16
Liftgate, Power ...............8
Lights TurnSignal ...............26
Warning (Instrument Cluster
Description) ...............6
Luggage Rack (Roof Rack) ........83
Maintenance Record ...........112
Maintenance Schedule ..........111
Media Center Radio ..........42,44
Memory Seat ...............18
Mirrors Heated .............. 31,32,34
MOPAR® Accessories ..........121
Navigation ............... 52,61
New Vehicle Break-In Period ........26
Oil Change Indicator ...........89
Oil, Engine Capacity ................110
Outlet Power ..................81
Overheating, Engine ...........90
Panic Alarm .................8
Phone (Pairing) ..............70 Phone (Uconnect)
.............69
Placard, Tire and Loading Information . . . 117
Power Glass Sunroof ..............37
Inverter .................80
LiftGate .................8
Outlet (Auxiliary Electrical Outlet) . . . 81
Seats ..................18
Steering ................110
Preparation for Jacking ..........95
Programmable Electronic Features .....77
Radio Operation ............ 46,55
Rain Sensitive Wiper System ........27
RearCrossPath ..............35
Rear Heated Seats .............23
Recreational Towing ............85
Remote Starting System ..........10
Removal, Start/Stop Button .......8,12
Replacement Bulbs ............118
Reporting Safety Defects .........120
Restraints, Child ..............16
Rocking Vehicle When Stuck .......
105
Roof Rack (Luggage Rack) ........83
Seat Belts .................14
Seats ....................18
Adjustment ...............18
Fold in Floor (Stow `n Go) .......19
Heated .................23
Lumbar Support .............18
Memory.................18
Power ..................18
Stow `n Go (Fold in Floor) .......19
Seek Button ............. 42,43,45
Setting the Clock .........42,44,47,56
Shift Lever Override ...........103
Short Message Service (SMS) .......73
Signals, Turn ................26
SIRIUSTravelLink .............67
SmartBeams ................28
SpareTire .................91
Spark Plugs ................110
Speed Control Accel/Decel ..............29
Cancel .................29
Resume .................29
INDEX
123