Page 579 of 652
WARNING! (Continued)
•To avoid contamination from foreign matter or
moisture, use only new brake fluid or fluid that
has been in a tightly closed container. Keep the
master cylinder reservoir cap secured at all times.
Brake fluid in a open container absorbs moisture
from the air resulting in a lower boiling point.
This may cause it to boil unexpectedly during hard
or prolonged braking, resulting in sudden brake
failure. This could result in a collision.
•Overfilling the brake fluid reservoir can result in
spilling brake fluid on hot engine parts, causing
the brake fluid to catch fire. Brake fluid can also
damage painted and vinyl surfaces, care should be
taken to avoid its contact with these surfaces.(Continued)
WARNING! (Continued)
•Do not allow petroleum based fluid to contami-
nate the brake fluid. Brake seal components could
be damaged, causing partial or complete brake
failure. This could result in a collision.
Automatic Transmission
The automatic transmission and differential assembly are
contained within a single housing.
The fluid level in the automatic transmission should be
checked whenever the vehicle is serviced. Operation with
an improper fluid level will greatly reduce the life of the
transmission and the fluid.
The six–speed transmission is equipped with a capped
dipstick tube. It is sealed and should not be tampered
with. Your authorized dealer has the necessary tools to
ensure that the fluid level is set properly.
7
MAINTAINING YOUR VEHICLE 577
Page 581 of 652
CAUTION!
Do not use chemical flushes in your transmission as
the chemicals can damage your transmission compo-
nents. Such damage is not covered by the New
Vehicle Limited Warranty.
Fluid Level Check
The six-speed automatic transmission is a sealed unit and
has no dipstick. See your authorized dealer to have the
transmission fluid checked or serviced.
Fluid And Filter Changes
Refer to the “Maintenance Schedule” for the proper
maintenance intervals.
If the transmission is disassembled for any reason, the
fluid and filter should be changed.
Appearance Care And Protection From Corrosion
Protection Of Body And Paint From Corrosion
Vehicle body care requirements vary according to geo-
graphic locations and usage. Chemicals that make roads
passable in snow and ice, and those that are sprayed on
trees and road surfaces during other seasons, are highly
corrosive to the metal in your vehicle. Outside parking,
which exposes your vehicle to airborne contaminants,
road surfaces on which the vehicle is operated, extreme
hot or cold weather and other extreme conditions will
have an adverse effect on paint, metal trim, and under-
body protection.
The following maintenance recommendations will enable
you to obtain maximum benefit from the corrosion
resistance built into your vehicle.
What Causes Corrosion?
Corrosion is the result of deterioration or removal of
paint and protective coatings from your vehicle.
7
MAINTAINING YOUR VEHICLE 579
Page 594 of 652
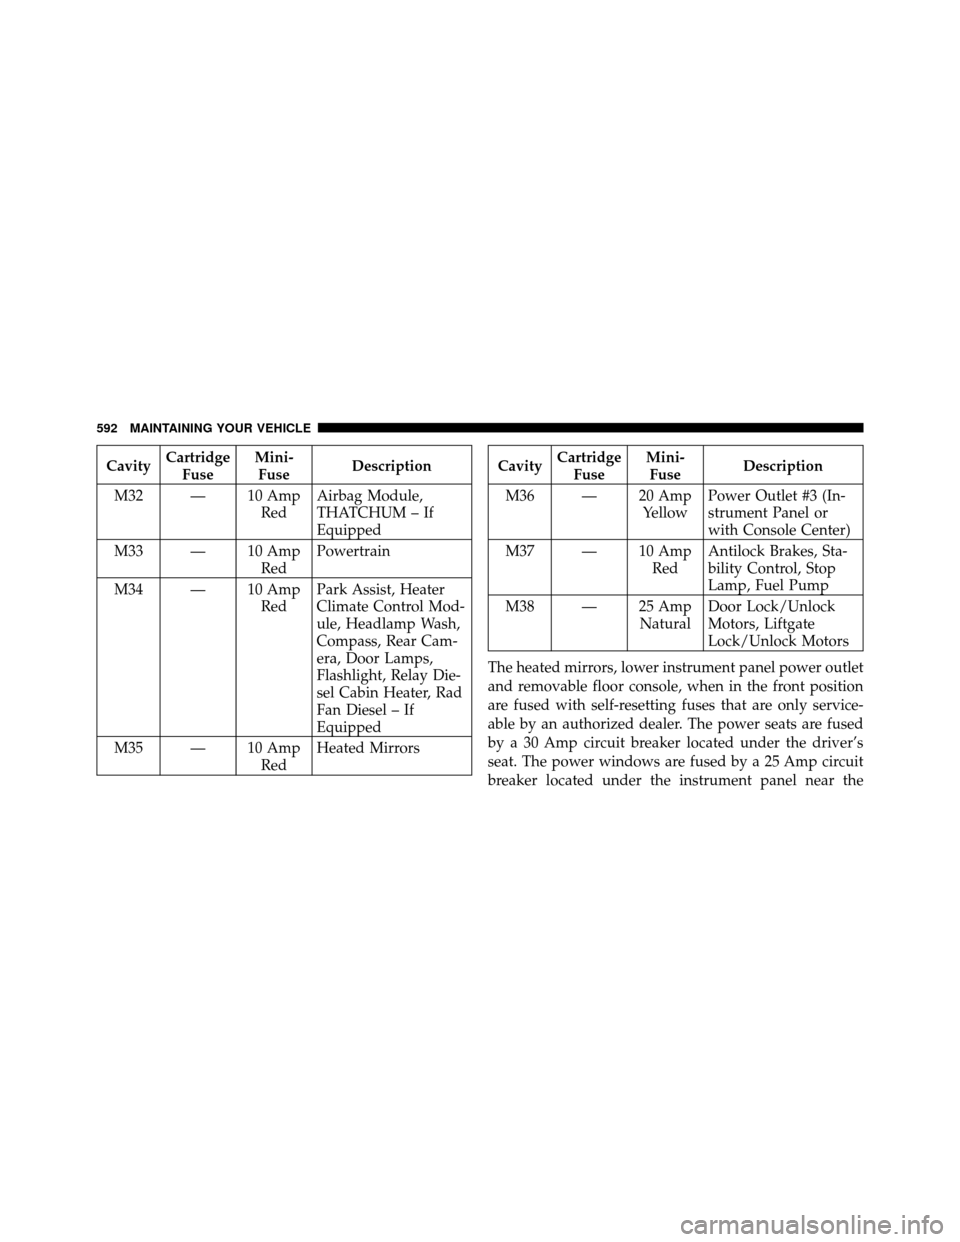
CavityCartridge
Fuse Mini-
Fuse Description
M32 — 10 Amp RedAirbag Module,
THATCHUM – If
Equipped
M33 — 10 Amp RedPowertrain
M34 — 10 Amp RedPark Assist, Heater
Climate Control Mod-
ule, Headlamp Wash,
Compass, Rear Cam-
era, Door Lamps,
Flashlight, Relay Die-
sel Cabin Heater, Rad
Fan Diesel – If
Equipped
M35 — 10 Amp RedHeated MirrorsCavity
Cartridge
Fuse Mini-
Fuse Description
M36 — 20 Amp YellowPower Outlet #3 (In-
strument Panel or
with Console Center)
M37 — 10 Amp RedAntilock Brakes, Sta-
bility Control, Stop
Lamp, Fuel Pump
M38 — 25 Amp NaturalDoor Lock/Unlock
Motors, Liftgate
Lock/Unlock Motors
The heated mirrors, lower instrument panel power outlet
and removable floor console, when in the front position
are fused with self-resetting fuses that are only service-
able by an authorized dealer. The power seats are fused
by a 30 Amp circuit breaker located under the driver’s
seat. The power windows are fused by a 25 Amp circuit
breaker located under the instrument panel near the
592 MAINTAINING YOUR VEHICLE
Page 595 of 652
steering column. If you experience temporary or perma-
nent loss of these systems, see your authorized dealer for
service.
VEHICLE STORAGE
If you are leaving your vehicle dormant for more than
21 days, you may want to take steps to protect your
battery. You may do the following:
•Remove the 20 Amp mini-fuse in the Totally Inte-
grated Power Module (TIPM) labeled Ignition-Off
Draw (IOD).
•Or, disconnect the negative cable from the battery.
•Anytime you store your vehicle, or keep it out of
service for two weeks or more, run the air conditioning
system at idle for about five minutes in the fresh air
and high blower setting. This will ensure adequate
system lubrication to minimize the possibility of com-
pressor damage when the system is started again.
REPLACEMENT BULBS
LIGHT BULBS – InteriorBulb Number
Center & Rear Dome Lamp ................. 578
Center & Rear Reading Lamps ............... 578
Front Door Courtesy Lamp .................. 578
Front Header Reading Lamps – If Equipped ..... 578
Instrument Cluster Lamps .................PC74
Liftgate Lamp(s) ......................... 578
Overhead Console Reading Lamps ..........PC579
Removable Console Lamp – If Equipped ........ 194
Visor Vanity Lamps .................... 6501966
NOTE: For lighted switches, see your authorized dealer
for replacement instructions.
All of the interior bulbs are glass wedge base or glass
cartridge types. Aluminum base bulbs are not approved
and should not be used for replacement.
7
MAINTAINING YOUR VEHICLE 593
Page 596 of 652
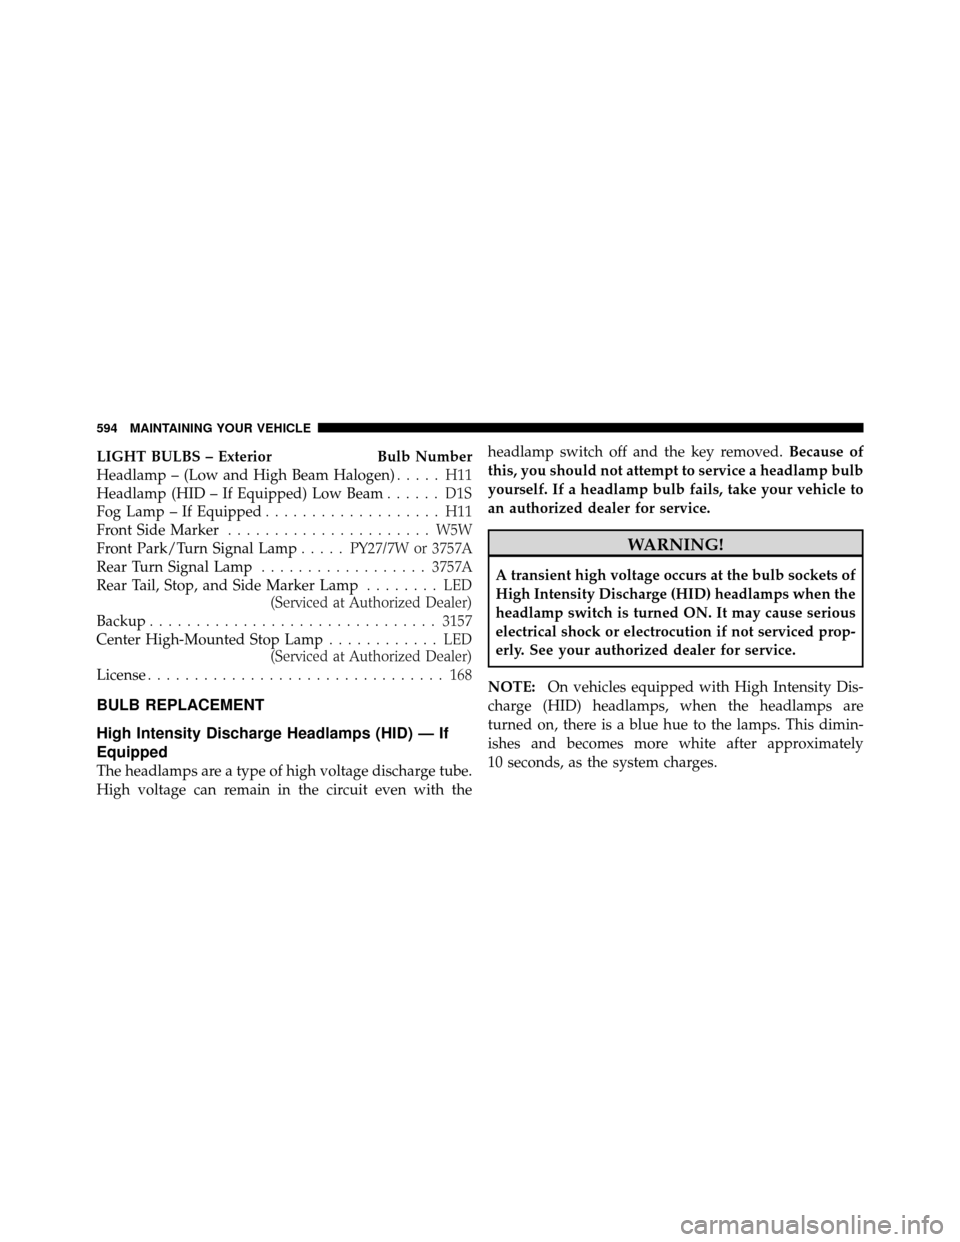
LIGHT BULBS – ExteriorBulb Number
Headlamp – (Low and High Beam Halogen) ..... H11
Headlamp (HID – If Equipped) Low Beam ...... D1S
Fog Lamp – If Equipped ................... H11
Front Side Marker ...................... W5W
Front Park/Turn Signal Lamp .....PY27/7W or 3757A
Rear Turn Signal Lamp .................. 3757A
Rear Tail, Stop, and Side Marker Lamp ........ LED
(Serviced at Authorized Dealer)
Backup ............................... 3157
Center High-Mounted Stop Lamp ............ LED
(Serviced at Authorized Dealer)
License ................................ 168
BULB REPLACEMENT
High Intensity Discharge Headlamps (HID) — If
Equipped
The headlamps are a type of high voltage discharge tube.
High voltage can remain in the circuit even with the headlamp switch off and the key removed.
Because of
this, you should not attempt to service a headlamp bulb
yourself. If a headlamp bulb fails, take your vehicle to
an authorized dealer for service.
WARNING!
A transient high voltage occurs at the bulb sockets of
High Intensity Discharge (HID) headlamps when the
headlamp switch is turned ON. It may cause serious
electrical shock or electrocution if not serviced prop-
erly. See your authorized dealer for service.
NOTE: On vehicles equipped with High Intensity Dis-
charge (HID) headlamps, when the headlamps are
turned on, there is a blue hue to the lamps. This dimin-
ishes and becomes more white after approximately
10 seconds, as the system charges.
594 MAINTAINING YOUR VEHICLE
Page 600 of 652
3. Twist the socket and remove it from the lamp assem-
bly.
4. Pull the bulb to remove it from the socket.
5. Replace the bulb, reinstall the socket, and reattach the
lamp assembly.
Center High-Mounted Stop Lamp (CHMSL)
The CHMSL uses LED lamps that are not serviceable
separately. The CHMSL must be replaced as an assembly,
see your authorized dealer.
License Lamp
The license plate lamp is located under the tailgate light
bar and above the license plate.
1. Using a small screwdriver, press inward the locking
tab on the outboard side of the lamp assembly and pull
down on the lamp assembly for removal.
2. Twist and remove the socket from the lamp assembly
and pull the bulb out to remove.
3. Push the bulb into the socket, twist the socket into the
lamp assembly and reinstall the lamp assembly into place
ensuring the locking tab is secure.
598 MAINTAINING YOUR VEHICLE
Page 606 of 652
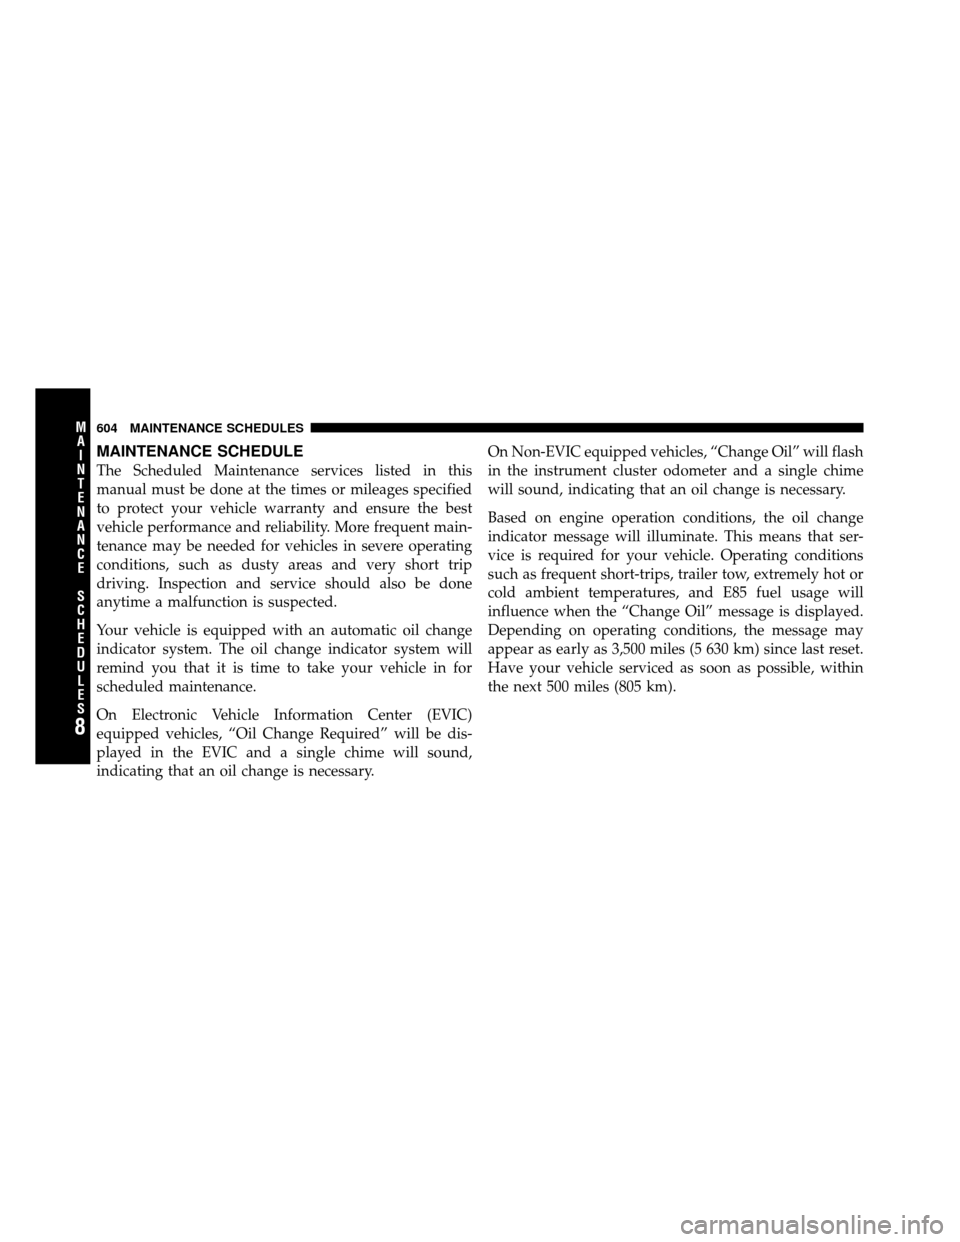
MAINTENANCE SCHEDULE
The Scheduled Maintenance services listed in this
manual must be done at the times or mileages specified
to protect your vehicle warranty and ensure the best
vehicle performance and reliability. More frequent main-
tenance may be needed for vehicles in severe operating
conditions, such as dusty areas and very short trip
driving. Inspection and service should also be done
anytime a malfunction is suspected.
Your vehicle is equipped with an automatic oil change
indicator system. The oil change indicator system will
remind you that it is time to take your vehicle in for
scheduled maintenance.
On Electronic Vehicle Information Center (EVIC)
equipped vehicles, “Oil Change Required” will be dis-
played in the EVIC and a single chime will sound,
indicating that an oil change is necessary.On Non-EVIC equipped vehicles, “Change Oil” will flash
in the instrument cluster odometer and a single chime
will sound, indicating that an oil change is necessary.
Based on engine operation conditions, the oil change
indicator message will illuminate. This means that ser-
vice is required for your vehicle. Operating conditions
such as frequent short-trips, trailer tow, extremely hot or
cold ambient temperatures, and E85 fuel usage will
influence when the “Change Oil” message is displayed.
Depending on operating conditions, the message may
appear as early as 3,500 miles (5 630 km) since last reset.
Have your vehicle serviced as soon as possible, within
the next 500 miles (805 km).
8
M
A I
N T
E
N A
N CE
S
C
H E
D
U L
E
S604 MAINTENANCE SCHEDULES
Page 609 of 652
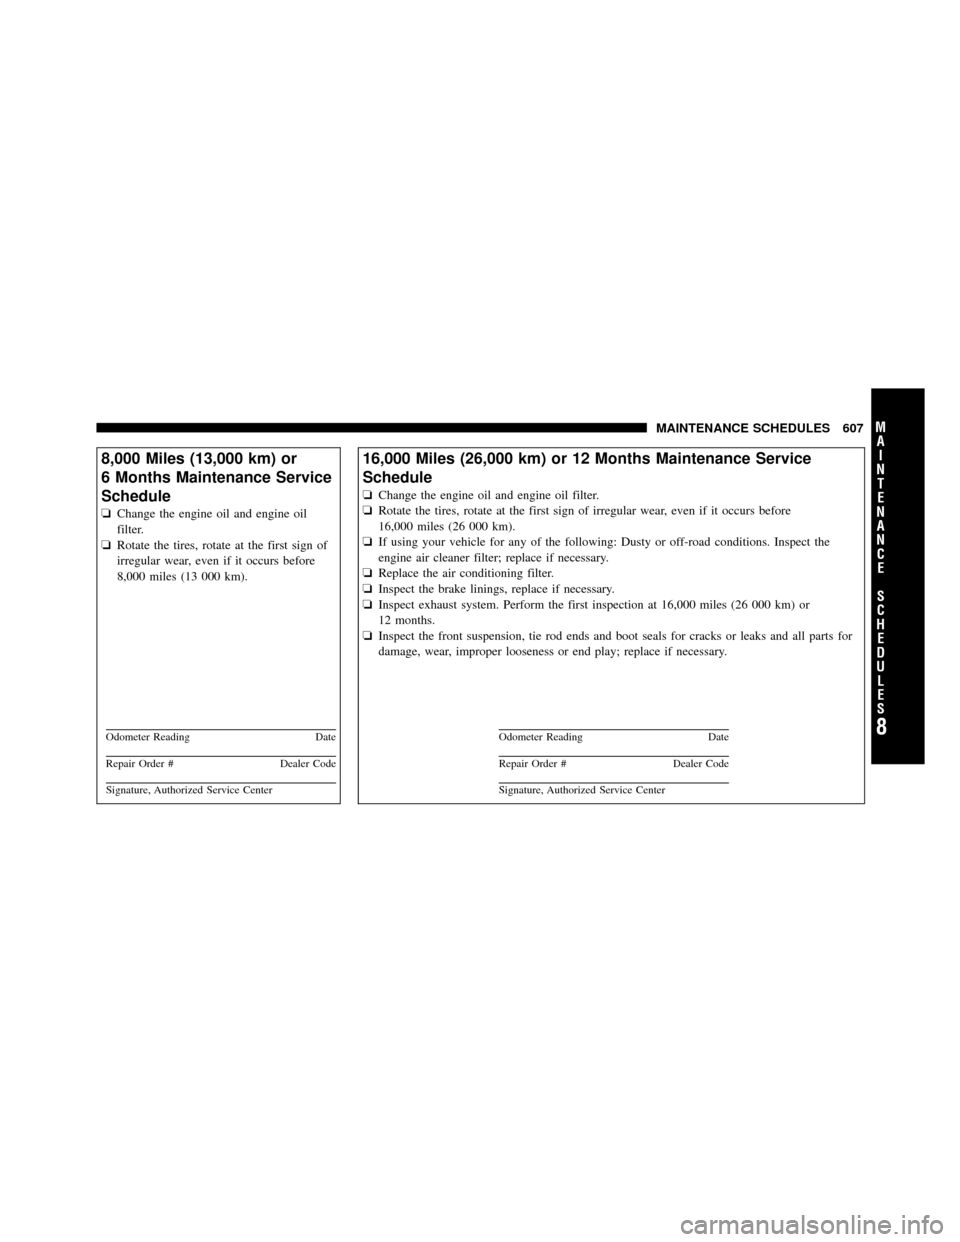
8,000 Miles (13,000 km) or
6 Months Maintenance Service
Schedule
❏Change the engine oil and engine oil
filter.
❏ Rotate the tires, rotate at the first sign of
irregular wear, even if it occurs before
8,000 miles (13 000 km).
Odometer Reading Date
Repair Order #Dealer Code
Signature, Authorized Service Center
16,000 Miles (26,000 km) or 12 Months Maintenance Service
Schedule
❏Change the engine oil and engine oil filter.
❏ Rotate the tires, rotate at the first sign of irregular wear, even if it occurs before
16,000 miles (26 000 km).
❏ If using your vehicle for any of the following: Dusty or off-road conditions. Inspect the
engine air cleaner filter; replace if necessary.
❏ Replace the air conditioning filter.
❏ Inspect the brake linings, replace if necessary.
❏ Inspect exhaust system. Perform the first inspection at 16,000 miles (26 000 km) or
12 months.
❏ Inspect the front suspension, tie rod ends and boot seals for cracks or leaks and all parts for
damage, wear, improper looseness or end play; replace if necessary.
Odometer Reading Date
Repair Order #Dealer Code
Signature, Authorized Service Center
8
M
A I
N T
E
N A
N CE
S
C
H E
D
U L
E
SMAINTENANCE SCHEDULES 607