Page 437 of 557
5. Uncoil the Power Plug (8) and insert the plug into the
vehicle’s 12 Volt power outlet.
NOTE:Do not remove foreign objects (e.g., screws or
nails) from the tire.
(C) Injecting TIREFIT Sealant Into The Deflated
Tire:
•
Always start the engine before turning ON the TIRE-
FIT kit.
NOTE: Manual transmission vehicles must have the
parking brake engaged and the shift lever in NEUTRAL.
•After pressing the Power Button (4), the sealant (white
fluid) will flow from the Sealant Bottle (1) through the
Sealant Hose (6) and into the tire.
NOTE: Sealant may leak out through the puncture in
the tire. If the sealant (white fluid) does not flow
within 0 –
10 seconds through the Sealant Hose (6):
1. Press the Power Button (4) to turn Off the TIREFIT kit.
Disconnect the Sealant Hose (6) from the valve stem.
Make sure the valve stem is free of debris. Reconnect the
Sealant Hose (6) to the valve stem. Check that the Mode
Select Knob (5) is in the Sealant Mode position and not
Air Mode. Press the Power Button (4) to turn On the
TIREFIT kit.
2. Connect the Power Plug (8) to a different 12 Volt
power outlet in your vehicle or another vehicle, if avail-
able. Make sure the engine is running before turning ON
the TIREFIT kit.
3. The Sealant Bottle (1) may be empty due to previous
use. Call for assistance.
NOTE: If the Mode Select Knob (5) is on Air Mode and
the pump is operating, air will dispense from the Air
Pump Hose (7) only, not the Sealant Hose (6).
6
WHAT TO DO IN EMERGENCIES 435
Page 438 of 557
If the sealant (white fluid) does flowthrough the
Sealant Hose (6):
1. Continue to operate the pump until sealant is no
longer flowing through hose (typically takes 30 - 70 sec-
onds). As the sealant flows through the Sealant Hose (6),
the Pressure Gauge (3) can read as high as 70 psi (5 Bar).
The Pressure Gauge (3) will decrease quickly from ap-
proximately 70 psi (5 Bar) to the actual tire pressure when
the Sealant Bottle (1) is empty.
2. The pump will start to inject air into the tire immedi-
ately after the Sealant Bottle (1) is empty. Continue to
operate the pump and inflate the tire to the pressure
indicated on the tire pressure label on the driver-side
latch pillar (recommended pressure). Check the tire pres-
sure by looking at the Pressure Gauge (3). If the tire does not inflate to at least 26 psi (1.8 Bar)
pressure within 15 minutes:
•The tire is too badly damaged. Do not attempt to drive
the vehicle further. Call for assistance.
NOTE: If the tire becomes over-inflated, press the
Deflation Button to reduce the tire pressure to the recom-
mended inflation pressure before continuing.
If the tire inflates to the recommended pressure or is at
least 26 psi (1.8 Bar) pressure within 15 minutes:
1. Press the Power Button (4) to turn off the TIREFIT kit.
2. Remove the Speed Limit sticker from the top of the
Sealant Bottle (1) and place the sticker on the instrument
panel.
436 WHAT TO DO IN EMERGENCIES
Page 439 of 557
3. Immediately disconnect the Sealant Hose (6) from the
valve stem, reinstall the cap on the fitting at the end of the
hose, and place the TIREFIT kit in the vehicle storage
location. Quickly proceed to (D) “Drive Vehicle”.
CAUTION!
•The metal end fitting from Power Plug (8) may get
hot after use, so it should be handled carefully.
•Failure to reinstall the cap on the fitting at the end
of the Sealant Hose (6) can result in sealant con-
tacting your skin, clothing, and the vehicle’s inte-
rior. It can also result in sealant contacting internal
TIREFIT kit components which may cause perma-
nent damage to the kit.
(D) Drive Vehicle:
Immediately after injecting sealant and inflating the tire,
drive the vehicle 5 miles (8 km) or 10 minutes to ensure
distribution of the TIREFIT Sealant within the tire. Do not
exceed 55 mph (88 km/h).
WARNING!
TIREFIT is not a permanent flat tire repair. Have the
tire inspected and repaired or replaced after using
TIREFIT. Do not exceed 55 mph (88 km/h) until the
tire is repaired or replaced. Failure to follow this
warning can result in injuries that are serious or fatal
to you, your passengers, and others around you.
6
WHAT TO DO IN EMERGENCIES 437
Page 440 of 557
(E) After Driving:
Pull over to a safe location. Refer to “Whenever You Stop
to Use TIREFIT” before continuing.
1. Turn the Mode Select Knob (5) to the Air Mode
position.
2. Uncoil the power plug and insert the plug into the
vehicle’s 12 Volt power outlet.
3. Uncoil the Air Pump Hose (7) (black in color) and
screw the fitting at the end of hose (7) onto the valve
stem.
4. Check the pressure in the tire by reading the Pressure
Gauge (3).
If tire pressure is less than 19 psi (1.3 Bar), the tire is too
badly damaged. Do not attempt to drive the vehicle
further. Call for assistance. If the tire pressure is 19 psi (1.3 bar) or higher:
1. Press the Power Button (4) to turn on TIREFIT and
inflate the tire to the pressure indicated on the tire and
loading information label on the driver-side door open-
ing.
NOTE:
If the tire becomes over-inflated, press the
Deflation Button to reduce the tire pressure to the recom-
mended inflation pressure before continuing.
2. Disconnect the TIREFIT kit from the valve stem,
reinstall the cap on the valve stem and unplug from 12
Volt outlet.
3. Place the TIREFIT kit in its proper storage area in the
vehicle.
4. Have the tire inspected and repaired or replaced at the
earliest opportunity at an authorized dealer or tire ser-
vice center.
438 WHAT TO DO IN EMERGENCIES
Page 534 of 557
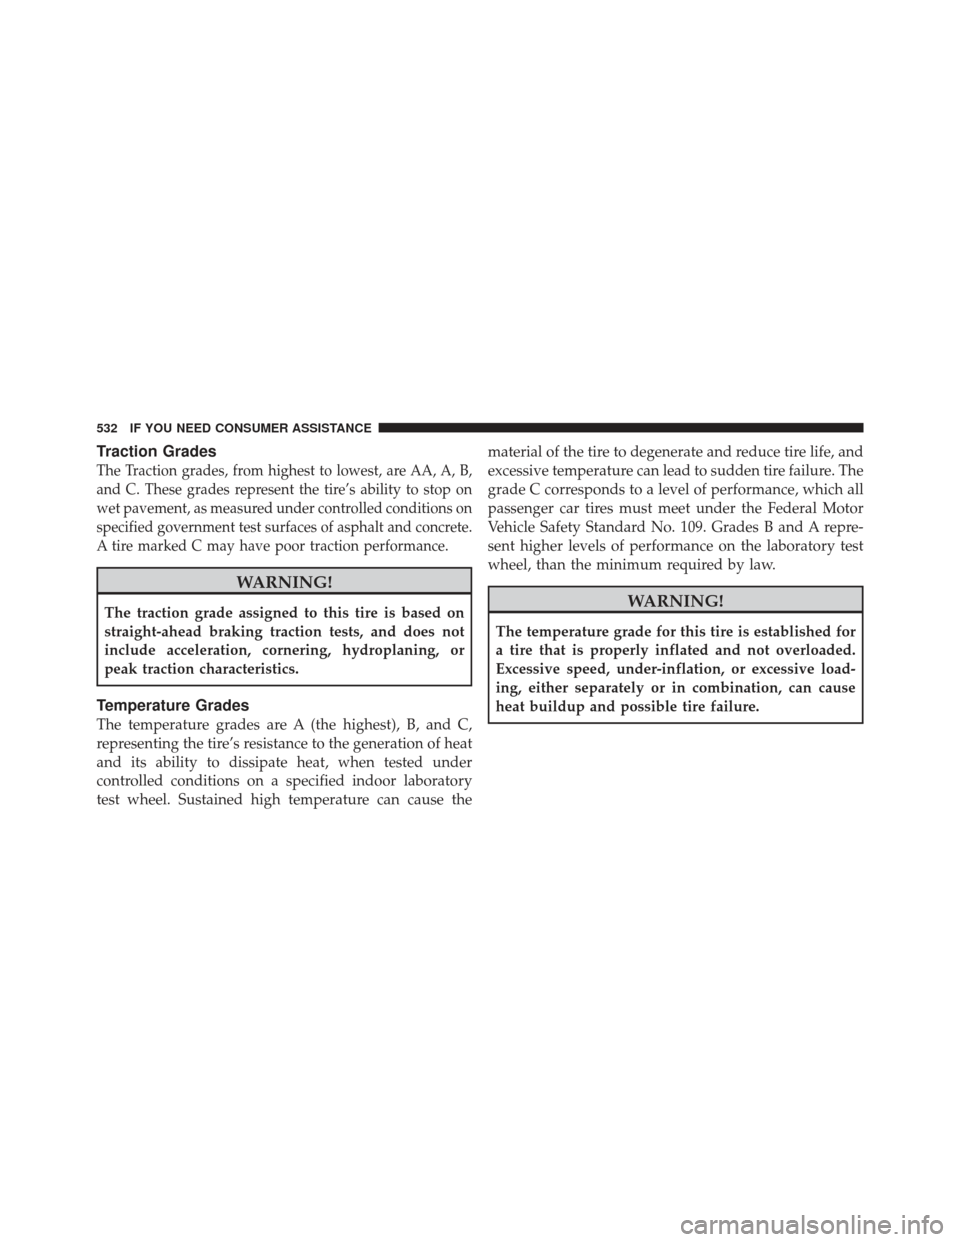
Traction Grades
The Traction grades, from highest to lowest, are AA, A, B,
and C. These grades represent the tire’s ability to stop on
wet pavement, as measured under controlled conditions on
specified government test surfaces of asphalt and concrete.
A tire marked C may have poor traction performance.
WARNING!
The traction grade assigned to this tire is based on
straight-ahead braking traction tests, and does not
include acceleration, cornering, hydroplaning, or
peak traction characteristics.
Temperature Grades
The temperature grades are A (the highest), B, and C,
representing the tire’s resistance to the generation of heat
and its ability to dissipate heat, when tested under
controlled conditions on a specified indoor laboratory
test wheel. Sustained high temperature can cause thematerial of the tire to degenerate and reduce tire life, and
excessive temperature can lead to sudden tire failure. The
grade C corresponds to a level of performance, which all
passenger car tires must meet under the Federal Motor
Vehicle Safety Standard No. 109. Grades B and A repre-
sent higher levels of performance on the laboratory test
wheel, than the minimum required by law.
WARNING!
The temperature grade for this tire is established for
a tire that is properly inflated and not overloaded.
Excessive speed, under-inflation, or excessive load-
ing, either separately or in combination, can cause
heat buildup and possible tire failure.
532 IF YOU NEED CONSUMER ASSISTANCE
Page 553 of 557
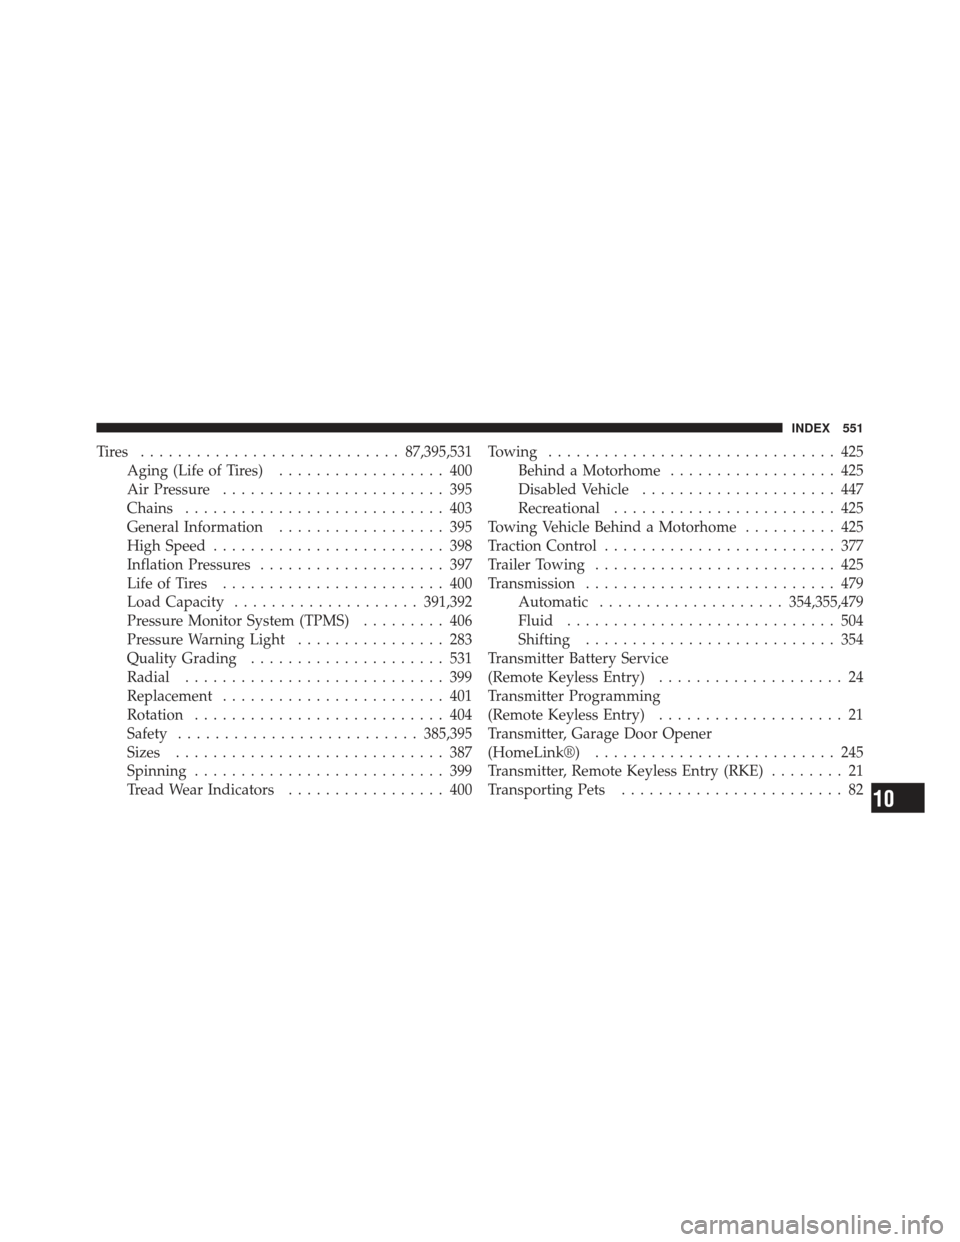
Tires ............................87,395,531
Aging (Life of Tires) .................. 400
Air Pressure ........................ 395
Chains ............................ 403
General Information .................. 395
High Speed ......................... 398
Inflation Pressures .................... 397
Life of Tires ........................ 400
Load Capacity .................... 391,392
Pressure Monitor System (TPMS) ......... 406
Pressure Warning Light ................ 283
Quality Grading ..................... 531
Radial ............................ 399
Replacement ........................ 401
Rotation ........................... 404
Safety .......................... 385,395
Sizes ............................. 387
Spinning ........................... 399
Tread Wear Indicators ................. 400 Towing
............................... 425
Behind a Motorhome .................. 425
Disabled Vehicle ..................... 447
Recreational ........................ 425
Towing Vehicle Behind a Motorhome .......... 425
Traction Control ......................... 377
Trailer Towing .......................... 425
Transmission ........................... 479
Automatic .................... 354,355,479
Fluid ............................. 504
Shifting ........................... 354
Transmitter Battery Service
(Remote Keyless Entry) .................... 24
Transmitter Programming
(Remote Keyless Entry) .................... 21
Transmitter, Garage Door Opener
(HomeLink®) .......................... 245
Transmitter, Remote Keyless Entry (RKE) ........ 21
Transporting Pets ........................ 82
10
INDEX 551