Page 361 of 557
CAUTION!
•Before moving the shift lever out of PARK, you
must turn the ignition switch from the LOCK/OFF
position to the ON/RUN position, and also press
the brake pedal. Otherwise, damage to the shift
lever could result.
•DO NOT race the engine when shifting from
PARK or NEUTRAL into another gear range, as
this can damage the drivetrain.
The following indicators should be used to ensure that
you have engaged the shift lever into the PARK position:
•When shifting into PARK, move the shift lever all the
way forward and to the left until it stops and is fully
seated.
•Look at the shift lever position display and verify that
it indicates the PARK position.
•With brake pedal released, verify that the shift lever
will not move out of PARK.
REVERSE
This range is for moving the vehicle backward. Shift into
REVERSE only after the vehicle has come to a complete
stop.
NEUTRAL
Use this range when the vehicle is standing for prolonged
periods with engine running. The engine may be started
in this range. Set the parking brake and shift the trans-
mission into PARK if you must leave the vehicle.
5
STARTING AND OPERATING 359
Page 362 of 557
WARNING!
Do not coast in NEUTRAL and never turn off the
ignition to coast down a hill. These are unsafe
practices that limit your response to changing traffic
or road conditions. You might lose control of the
vehicle and have a collision.
CAUTION!
Towing the vehicle, coasting, or driving for any other
reason with the transmission in NEUTRAL can result
in severe transmission damage. Refer to “Recre-
ational Towing” in “Starting And Operating” and
“Towing A Disabled Vehicle” in “What To Do In
Emergencies” for further information.
DRIVE
This range should be used for most city and highway
driving. It provides the smoothest upshifts and down-
shifts, and the best fuel economy. The transmission
automatically upshifts through underdrive first, second,
and third gears, direct fourth gear and overdrive fifth
gear. The DRIVE position provides optimum driving
characteristics under all normal operating conditions.
When frequent transmission shifting occurs (such as
when operating the vehicle under heavy loading condi-
tions, in hilly terrain, traveling into strong head winds, or
while towing heavy trailers), use the “AutoStick�” mode
(refer to “AutoStick�” in this section) to select a lower
gear. Under these conditions, using a lower gear will
improve performance and extend transmission life by
reducing excessive shifting and heat buildup.
360 STARTING AND OPERATING
Page 367 of 557
•Automatic (Auto) Mode — This is the default position
when vehicle ignition is first turned on. This mode will
give a sporty, but comfortable ride. Within this mode,
the suspension will adapt to the vehicle inputs, includ-
ing vehicle speed, steering inputs, braking and accel-
eration.
•Sport Mode — This mode is driver selectable when the
vehicle is placed in SPORT mode (press the CON-
TROLS button and then the SPORT button on the
display screen). This mode will set suspension for
maximum performance handling and is intended for
spirited driving.
NOTE: The SPORT setting will provide a firmer ride. When SPORT mode is enabled, a flag will light up in the
instrument cluster. Refer to “Instrument Cluster Descrip-
tion” in “Understanding Your Instrument Panel” for
further information.
AUTO mode will provide a sporty comfortable ride,
where as SPORT or TRACK will be a firmer, sportier
suspension with better handling.
•Track Mode — This mode includes SPORT Suspension
and affects transmission shifting in either Auto or
Manual mode. Refer to “AutoStick” in “Starting And
Operating” for further information. In TRACK mode,
the transmission has a sportier, more aggressive shift
pattern. In Manual mode, the transmission will hold
gear at redline during manual shifting (console shifter
or paddle shifters).
5
STARTING AND OPERATING 365
Page 373 of 557
PARKING BRAKE
Before leaving the vehicle, make sure that the parking
brake is fully applied and place the shift lever in the
PARK position.
The foot operated parking brake is located below the
lower left corner of the instrument panel. To apply the
park brake, firmly push the park brake pedal fully. To
release the parking brake, press the park brake pedal a
second time and let your foot up as you feel the brake
disengage.When the parking brake is applied with the ignition
switch in the ON position, the “Brake Warning Light” in
the instrument cluster will illuminate.
Parking Brake
5
STARTING AND OPERATING 371
Page 374 of 557
NOTE:
•When the parking brake is applied and the transmis-
sion is placed in gear, the “Brake Warning Light” will
flash. If vehicle speed is detected, a chime will sound
to alert the driver. Fully release the parking brake
before attempting to move the vehicle.
•This light only shows that the parking brake is ap-
plied. It does not show the degree of brake application.
When parking on a hill, it is important to turn the front
wheels toward the curb on a downhill grade and away
from the curb on an uphill grade. Apply the parking
brake before placing the shift lever in PARK, otherwise
the load on the transmission locking mechanism may
make it difficult to move the shift lever out of PARK. The
parking brake should always be applied whenever the
driver is not in the vehicle.
WARNING!
•Never use the PARK position as a substitute for
the parking brake. Always apply the parking
brake fully when parked to guard against vehicle
movement and possible injury or damage.
•When leaving the vehicle, always remove the key
fob from the ignition and lock your vehicle.
•Never leave children alone in a vehicle, or with
access to an unlocked vehicle. Allowing children
to be in a vehicle unattended is dangerous for a
number of reasons. A child or others could be
seriously or fatally injured. Children should be
warned not to touch the parking brake, brake
pedal or the shift lever. (Continued)
372 STARTING AND OPERATING
Page 378 of 557
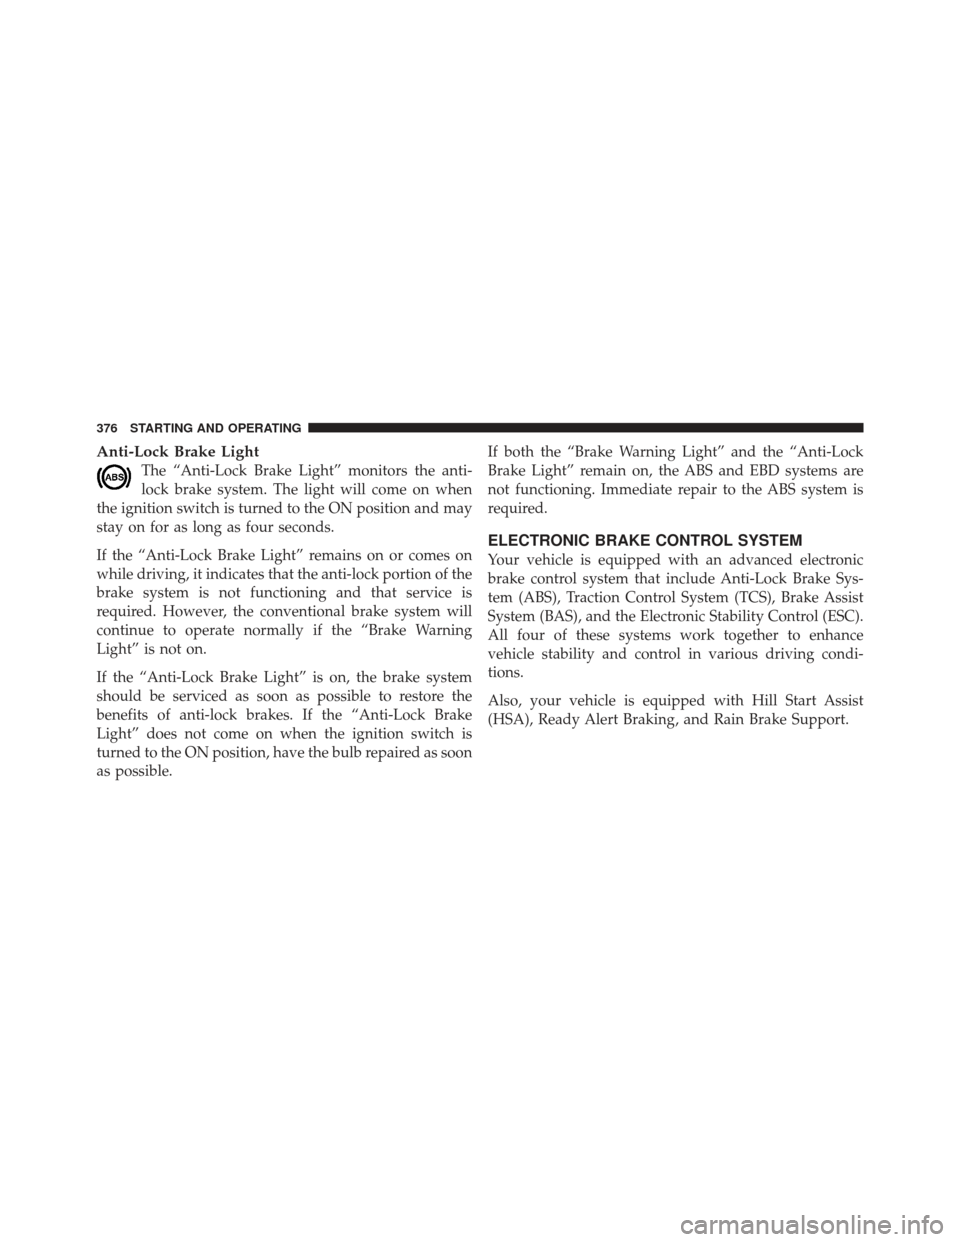
Anti-Lock Brake Light
The “Anti-Lock Brake Light” monitors the anti-
lock brake system. The light will come on when
the ignition switch is turned to the ON position and may
stay on for as long as four seconds.
If the “Anti-Lock Brake Light” remains on or comes on
while driving, it indicates that the anti-lock portion of the
brake system is not functioning and that service is
required. However, the conventional brake system will
continue to operate normally if the “Brake Warning
Light” is not on.
If the “Anti-Lock Brake Light” is on, the brake system
should be serviced as soon as possible to restore the
benefits of anti-lock brakes. If the “Anti-Lock Brake
Light” does not come on when the ignition switch is
turned to the ON position, have the bulb repaired as soon
as possible. If both the “Brake Warning Light” and the “Anti-Lock
Brake Light” remain on, the ABS and EBD systems are
not functioning. Immediate repair to the ABS system is
required.
ELECTRONIC BRAKE CONTROL SYSTEM
Your vehicle is equipped with an advanced electronic
brake control system that include Anti-Lock Brake Sys-
tem (ABS), Traction Control System (TCS), Brake Assist
System (BAS), and the Electronic Stability Control (ESC).
All four of these systems work together to enhance
vehicle stability and control in various driving condi-
tions.
Also, your vehicle is equipped with Hill Start Assist
(HSA), Ready Alert Braking, and Rain Brake Support.
376 STARTING AND OPERATING
Page 386 of 557
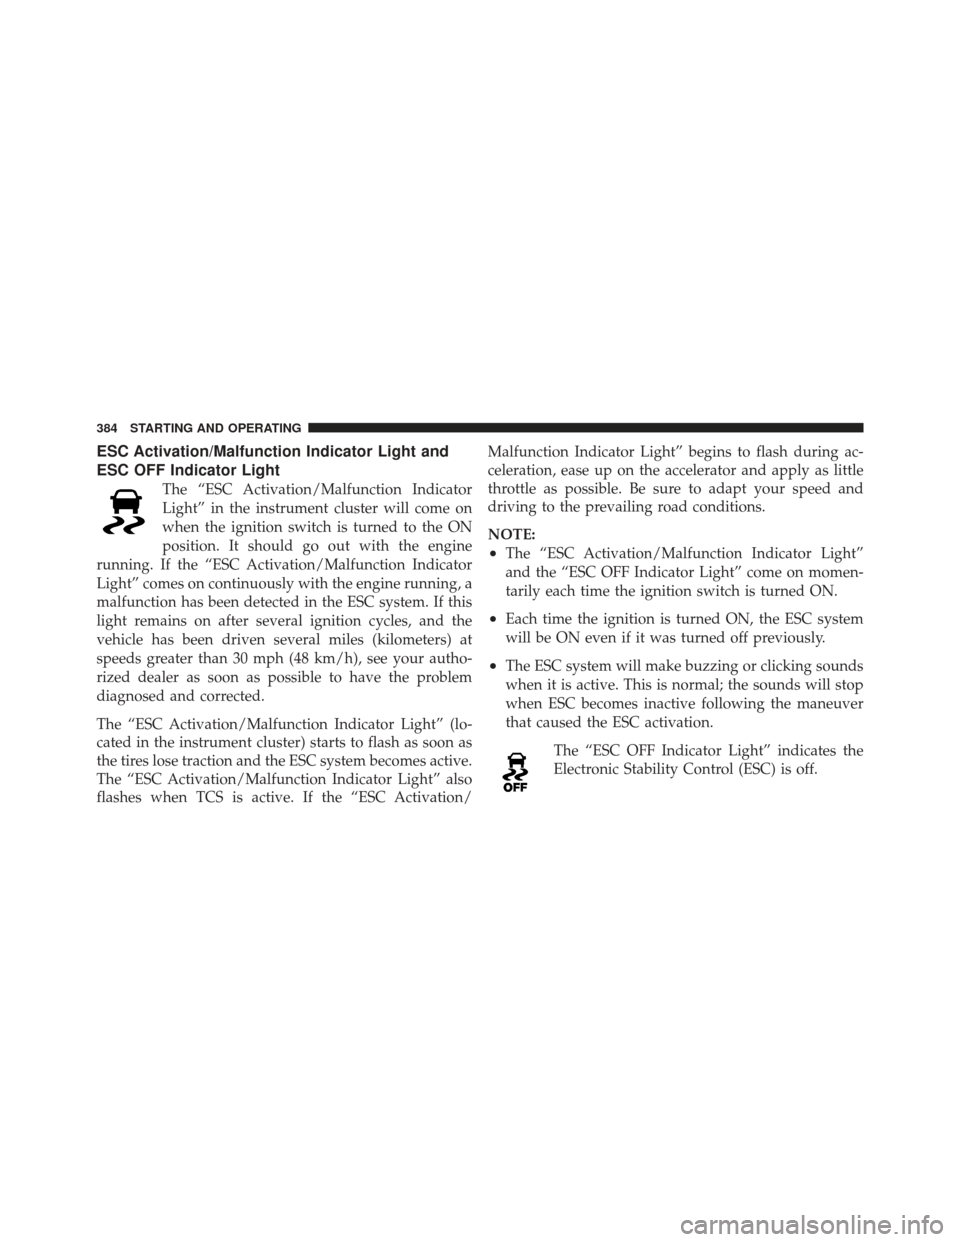
ESC Activation/Malfunction Indicator Light and
ESC OFF Indicator Light
The “ESC Activation/Malfunction Indicator
Light” in the instrument cluster will come on
when the ignition switch is turned to the ON
position. It should go out with the engine
running. If the “ESC Activation/Malfunction Indicator
Light” comes on continuously with the engine running, a
malfunction has been detected in the ESC system. If this
light remains on after several ignition cycles, and the
vehicle has been driven several miles (kilometers) at
speeds greater than 30 mph (48 km/h), see your autho-
rized dealer as soon as possible to have the problem
diagnosed and corrected.
The “ESC Activation/Malfunction Indicator Light” (lo-
cated in the instrument cluster) starts to flash as soon as
the tires lose traction and the ESC system becomes active.
The “ESC Activation/Malfunction Indicator Light” also
flashes when TCS is active. If the “ESC Activation/ Malfunction Indicator Light” begins to flash during ac-
celeration, ease up on the accelerator and apply as little
throttle as possible. Be sure to adapt your speed and
driving to the prevailing road conditions.
NOTE:
•The “ESC Activation/Malfunction Indicator Light”
and the “ESC OFF Indicator Light” come on momen-
tarily each time the ignition switch is turned ON.
•Each time the ignition is turned ON, the ESC system
will be ON even if it was turned off previously.
•The ESC system will make buzzing or clicking sounds
when it is active. This is normal; the sounds will stop
when ESC becomes inactive following the maneuver
that caused the ESC activation.
The “ESC OFF Indicator Light” indicates the
Electronic Stability Control (ESC) is off.
384 STARTING AND OPERATING
Page 413 of 557

If the ignition switch is cycled, this sequence will repeat,
providing the system fault still exists. If the system fault
no longer exists, the TPM Telltale Light will no longer
flash, and the�SERVICE TPM SYSTEM� message will no
longer display, and a pressure value will display in place
of the dashes. A system fault can occur due to any of the
following:
1. Signal interference due to electronic devices or driving
next to facilities emitting the same radio frequencies as
the TPM sensors.
2. Installing aftermarket window tinting that contains
materials that may block radio wave signals.
3. Accumulation of snow or ice around the wheels or
wheel housings. 4. Using tire chains on the vehicle.
5. Using wheels/tires not equipped with TPM sensors.
The EVIC will also display a
�SERVICE TPM SYSTEM�
message for a minimum of five seconds when a system
fault related to an incorrect sensor location fault is
detected. In this case, the �SERVICE TPM SYSTEM�
message is then followed with a graphic display with
pressure values still shown. This indicates that the pres-
sure values are still being received from the TPM sensors
but they may not be located in the correct vehicle
position. The system still needs to be serviced as long as
the �SERVICE TPM SYSTEM� message is displayed.
5
STARTING AND OPERATING 411