2012 CHRYSLER 200 navigation system
[x] Cancel search: navigation systemPage 33 of 108

• Your radio has many features that add to the comfort and convenience of you and yourpassengers. Some of these radio features should not be used when driving because they
take your eyes from the road or your attention from driving.
Clock Setting
• Turn the radio on, then touch the screen where the time is displayed.
• Touch the “USER CLOCK” soft-key (Navigation radio only).
• To adjust the hours, touch either the “HOUR FORWARD” or “HOUR BACKWARD”soft-key.
• To adjust the minutes, touch either the “MINUTE FORWARD” or “MINUTE BACKWARD” soft-key.
• To save the new time setting, touch the screen where the word “Save” is displayed.
Menu
• Press the “MENU” hard-key to access the System Setup menu and the My Files menu.
• Press the “MENU” hard-key in an active mode (SAT, CD, AUX, etc.) in order to change mode specific settings.
Equalizer, Balance And Fade
Audio Control Menu
• Press the “AUDIO” hard-key on the rightside of the radio.
• Use either the arrow soft-keys or the cross-hair on the screen to change
Balance and Fade. The “CENTER”
soft-key resets the settings.
• Touch the “Equalizer” soft-key and use either the arrow soft-keys or the sliders on the screen to adjust BASS, MID, and/or TREBLE.
Display Settings
• Press the “MENU” hard-key and touchthe “Display Settings” soft-key to access
the Display Settings menu.
• Select the “Daytime Colors” soft-key to switch to manual daytime mode and to
adjust the brightness of the display using
daytime colors.
• Select the “Nighttime Colors” soft-key to switch to manual nighttime mode and to adjust the brightness of the display using nighttime colors.
ELECTRONICS
31
Page 38 of 108

Playing Music From The HDD
• Press the “MEDIA” hard key to display themedia source tabs at the top of the screen.
Touch the “HDD” soft-key tab. Touch the
desired track soft-key to play or touch the
“SEARCH/BROWSE” soft-key to search
by artist, by album, by song, by genre,
from a folder, or from Favorites.
Cleaning Your Touch-Screen Radio
• Do not spray any liquid or caustic chemicals directly on the screen. Use a clean and drymicro fiber lens cleaning cloth in order to clean the touch-screen.
• If necessary, use a lint-free cloth dampened with a cleaning solution such as isopropyl alcohol or an isopropyl alcohol and water solution ratio of 50:50. Be sure to follow the
solvent manufacturer's precautions and directions.
Garmin® Navigation
• Media Center 430N integrates Garmin’s consumer-friendly navigation into your vehicle.Garmin Navigation includes a database with over 6 million points of interest.
• Touch the “NAV” soft-key in the upper right corner of the screen to access the Navigation system.
NOTE:For your own safety and the safety of others, it is not possible to use certain features
while the vehicle is in motion.
ELECTRONICS
36
Page 39 of 108

Main Navigation Menu
Finding Points Of Interest
• From the main Navigation menu, touch“Where To?,” then touch “Points of
Interest.”
• Select a Category and then a subcategory, if necessary.
• Select your destination and touch “Go.”
Finding A Place By Spelling The Name
• From the Main Navigation Menu, touch “Where to?,” then touch “Points of Interest” and then touch “Spell Name.”
• Enter the name of your destination.
• Touch “Done.”
• Select your destination and touch “Go.”
Entering A Destination Address
• From the main Navigation menu, touch “Where To?,” then touch “Address.”
• Follow the on-screen prompts to enter the address and touch “Go.”
Searching Near Another Location
• From the main Navigation menu, touch “Where To?,” then touch a destination and then touch “Near.”
• Select an option from the available choices.
Setting Your Home Location
• From the main Navigation menu, touch “Where To?,” then touch “Go Home.”
• You may enter your address directly, use your current location as your home address, or choose from recently found locations.
Edit Home Location
• From the main Navigation menu, touch “Where To?,” then touch “Favorites.”
• Next, touch the location you would like to edit, then touch “Press for More,” and then“Edit.”
Go Home
• A Home location must be saved in the system. From the Main Navigation menu, touch“Where To?,” then touch “Go Home.”
ELECTRONICS
37
Page 48 of 108

NAVIGATION
• Your navigation system receives GPS signals from up to 16 satellites to display theposition of your vehicle. Map and database information is supplied through a hard disk
drive.
• Touch the “NAV” hard-key on the radio face plate to access the Navigation system and the NAV – Main Menu.
NOTE:For your own safety and the safety of others, it is not possible to use certain features
while the vehicle is in motion.
Main Navigation Menu
Finding Points Of Interest
• From the NAV main menu, touch the “Points of Interest” soft-key.
• Select a Category and then a subcategory, if necessary.
• Select your destination and touch “GO.”
ELECTRONICS
46
Page 49 of 108

Finding A Place By Entering The Street Address
• From the NAV main menu, touch “New Destination,” then touch “Street Address.”
NOTE:If the wrong State and/or Country displayed are incorrect, touch the corresponding
soft-key to make the correction.
• Once the Country and State are set and the Street Address screen is displayed, beginspelling the street name in the speller. In the upper right corner the number of possible
roads decreases.
• Touch the “LIST” soft-key to display a list of possible street names. Select the correct street name.
• Next input the number.
• In the Confirm Route screen the navigation radio displays the complete address, a map of the destination area, and the current routing method for you to verify.
• Touch the “GO” soft-key to activate the route guidance.
Entering Your Home Location
• Press the “NAV” hard-key on the right side of the radio.
• From the Nav – Main Menu, touch “Guide Me Home” to enter your home address. If no home address has been set, touch “YES” to access the Enter Home Address menu.
• Touch “Street Address” to enter your address. Touch the soft-key with your state’s name and enter your street name into the speller.
• Once the street name has been input, touch “CONTINUE” to confirm. Enter the house number into the next screen. If more than one city has this address, you will then need to
select your city from a list.
• Once the address is entered completely, the system shows a map of your home address area. Touch “SAVE” to confirm the address. The system will then ask if you want to go
there, yes or no.
Change Home Address
• This procedure will allow you to change your Home Address if one has already beenentered.
• Press the “MENU” hard-key, touch “My Files” and then touch “My Address Book.”
• Touch “Home,” then touch “Edit Contacts” and then “Change Address.”
• Touch the soft-key with your state’s name and enter your street name into the speller.
• Once the street name has been input, touch “CONTINUE” to confirm.
• Enter the house number into the next screen. If more than one city has this address, you will then need to select your city from a list.
• Touch the “SAVE” soft-key to confirm the address.
Go Home
• From the NAV main menu, touch “Guide Me Home” when you want to route to your home destination.
ELECTRONICS
47
Page 50 of 108

Where Am I Now?
• From the NAV main menu, touch “Where Am I Now?.” The Where Am I Now? menudisplays location information for the current vehicle position.
• Touch the “NEARBY POI”soft-key to search for a local Point of Interest.
• Touch the “SAVE LOCATION” soft-key to save the current location in the Saved Locations memory.
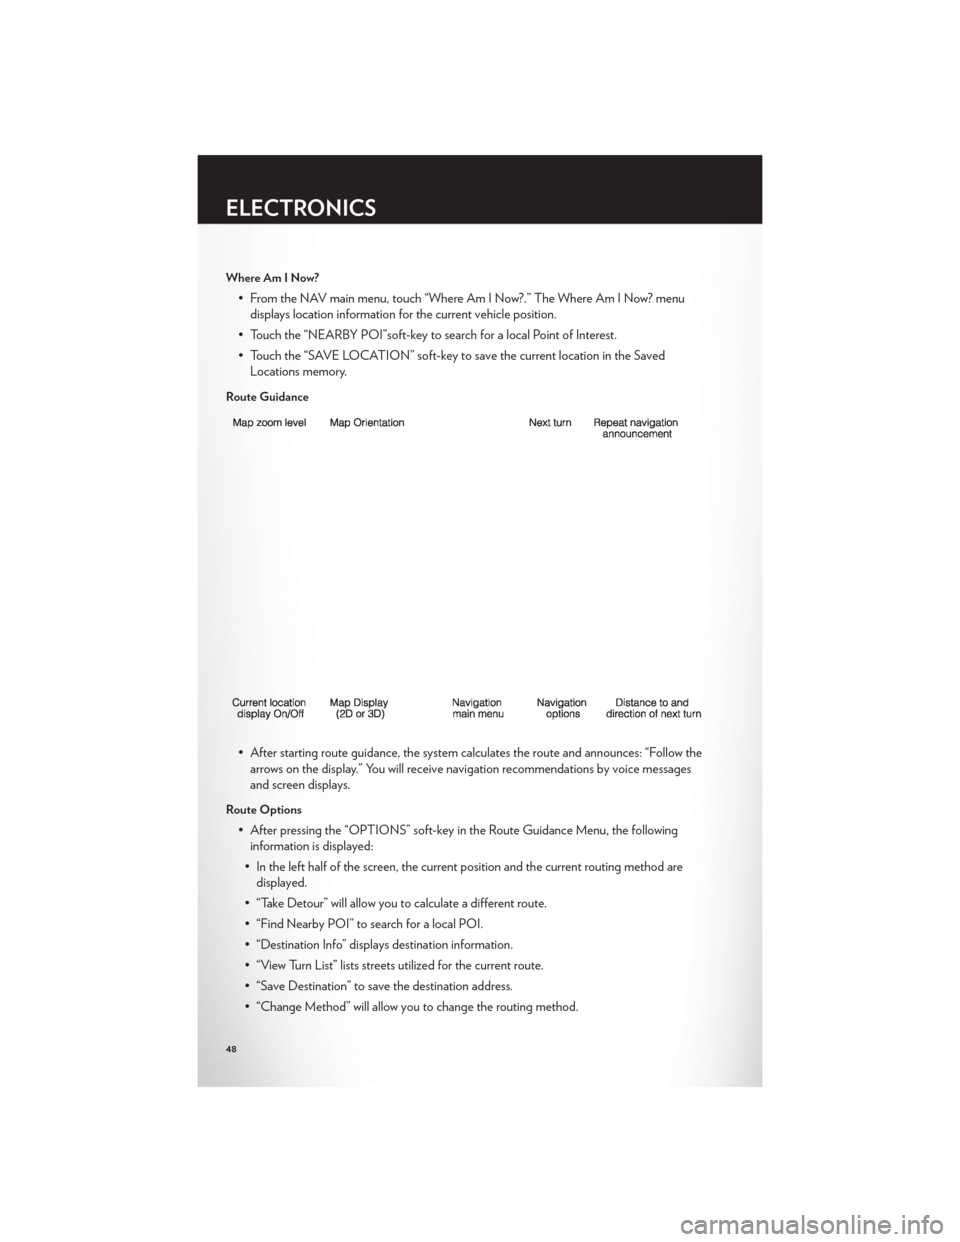
Route Guidance
• After starting route guidance, the system calculates the route and announces: “Follow thearrows on the display.” You will receive navigation recommendations by voice messages
and screen displays.
Route Options
• After pressing the “OPTIONS” soft-key in the Route Guidance Menu, the followinginformation is displayed:
• In the left half of the screen, the current position and the current routing method are displayed.
• “Take Detour” will allow you to calculate a different route.
• “Find Nearby POI” to search for a local POI.
• “Destination Info” displays destination information.
• “View Turn List” lists streets utilized for the current route.
• “Save Destination” to save the destination address.
• “Change Method” will allow you to change the routing method.
ELECTRONICS
48
Page 97 of 108

AUTHENTIC ACCESSORIES BY MOPAR®
• The following highlights just some of the many Authentic Chrysler Accessories by Moparfeaturing a fit, finish, and functionality specifically for your Chrysler 200.
• In choosing Authentic Accessories you gain far more than expressive style, premium protection, or extreme entertainment, you also benefit from enhancing your vehicle with
accessories that have been thoroughly tested and factory-approved.
• For the full line of Authentic Chrysler Accessories by Mopar, visit your local Chrysler dealership or online at mopar.com.
CHROME:
• Exhaust Tips
EXTERIOR:
• Flat Splash Guards • Sunroof Air Deflector • Vehicle Cover
• Hitch Receiver • Front End Cover • Molded Splash Guards
• Trailer Accessories • Locking Fuel Cap • Wheel Locks
INTERIOR:
• Premium Carpet Floor Mats • Door Sill Guards • Heated Seats
• Slush Mats • Ambient Light Kit • Roadside Safety Kit
• Katzkin Leather Interiors • Molded Cargo Tray
ELECTRONICS:
• Portable Navigation Systems • Uconnect™ Web (WiFi) • Uconnect™ Phone
• iPod® Adapter • Electronic Vehicle Tracking System• Park Distance Sensors
• Kicker® Sound System • Radio Upgrades • Remote Start
• Ecometer • Rearview Mirror with Back-up
Camera and Bluetooth®
Hands Free Phone
CARRIERS:
• Hitch-mount Bike Carrier • Roof-mount Bike Carrier • Roof Box Cargo Carrier
• Roof-mount Ski and Snowboard Carrier • Roof-mount Water Sports
Carrier • Roof-mount Canoe Carrier
• Roof-mount Cargo Bag
• iPod® is a registered trademark of Apple, Inc.
• Kicker® is a registered trademark of Stillwater Designs and Audio, Inc.
MOPAR ACCESSORIES
95
Page 99 of 108

Instrument ClusterIndicators .................7
Instrument Cluster Warning Lights .....66
Integrated Power Module (Fuses) .....89
Intermittent Wipers (Delay Wipers) ....19
Introduction .................2
iPod®/USB/MP3 Control .........52
Bluetooth Streaming Audio .......58
Jack Location ...............71
Jack Operation ............. 71,72
Jacking Instructions ............72
Jump Starting ...............76
KeyFob...................8
Key Fob Programmable Features .....59
Lane Change Assist ............18
LATCH (Lower Anchors and Tether for
CHildren) .................11
LightBulbs ................92
Lights Airbag .................69
Anti-Lock ................69
Brake Warning .............68
Charging System ............68
Electronic Throttle Control Warning . . 69
Engine Temperature Warning ......67
Malfunction Indicator
(Check Engine) .............68
Oil Pressure ...............68
Transmission Warning ..........69
TurnSignal ...............18
Maintenance Record ...........88
Maintenance Schedule ...........87
Media Center Radio ..........26,28
Mirrors Heated ................ 21,22
MOPAR® Accessories ...........95
Navigation ............... 36,46
New Vehicle Break-In Period ........17
Oil Change Indicator ...........69 Oil, Engine
Capacity ................85
Outlet Power ..................63
Overheating, Engine ...........70
Panic Alarm .................8
Phone (Pairing) ..............54
Phone (Uconnect) .............53
Placard, Tire and Loading Information . . . 91
Power Glass Sunroof ..............22
Outlet (Auxiliary Electrical Outlet) . . . 63
Seats ..................13
Steering .................85
Preparation for Jacking ...........71
Programmable Electronic Features .....59
Radio Operation ............ 30,39
Rain Sensitive Wiper System ........19
Rear Seat, Folding .............14
Recreational Towing ............65
Remote Starting System ..........8
Replacement Bulbs ............92
R
eporting Safety Defects .........94
Restraints, Child ..............11
Seat Belts ..................9
Seats ....................13
Adjustment ...............13
Heated .................15
Power ..................13
Rear Folding ..............14
Seek Button ............... 27,29
Setting the Clock .........26,28,31,39
Shift Lever Override ............78
Short Message Service (SMS) .......57
Signals, Turn ................18
SIRIUSTravelLink .............51
SpareTire .................71
Spark Plugs ................85
Speed Control Accel/Decel ..............20
Cancel .................20
Resume .................20
Speed Control (Cruise Control) ......19
INDEX
97