Page 153 of 508
Automatic Headlights — If Equipped
Turning the end of the multifunction lever to the third
detent (AUTO), will activate the automatic headlight
system.With the engine running and the multifunction lever in
the AUTO position, the headlights will turn on and turn
off based on the surrounding light levels.
Headlight Time Delay
There is also a feature that delays turning off the vehicle
lights for 30, 60 or 90 seconds after the ignition switch is
turned OFF. To activate the headlight delay, the multi-
function lever must be rotated to the off position after the
ignition switch is turned OFF. Only the headlights will
illuminate during this time. Refer to “Electronic Vehicle
Information Center (EVIC)/Customer-Programmable
Features” in “Understanding Your Instrument Panel” for
further information.
Headlight Switch
3
UNDERSTANDING THE FEATURES OF YOUR VEHICLE 151
Page 155 of 508
Flash-To-Pass
You can signal another vehicle with your headlights by
lightly pulling the multifunction lever toward you. This
will turn on the high beam headlights until the lever is
released.
NOTE:If the multifunction lever is held in the flash-to-
pass position for more than 15 seconds, the high beams
will shut off. If this occurs, wait 30 seconds for the next
flash-to-pass operation.
Fog Lights — If Equipped
The front fog light switch is on the multifunction
lever. To activate the front fog lights, turn on the
parking lights or the low beam headlights and pull
out the end of the multifunction lever. NOTE:
The front fog lights will only operate with the
headlights on low beam. Selecting high beam headlights
will turn off the front fog lights.
Daytime Running Lights — If Equipped
The front turn signal lamps will turn on as Daytime
Running Lights whenever the ignition is ON, the engine
Front Fog Light Control
3
UNDERSTANDING THE FEATURES OF YOUR VEHICLE 153
Page 156 of 508

is running, the headlight switch is off, the parking brake
is released and the shift lever is in any position except
PARK.
NOTE:The Daytime Running Lights will flash when a
turn signal is in operation and return to DRL mode when
the turn signal is not operating.
Lights On Reminder
If the headlights or parking lights are on after the ignition
is turned OFF, a chime will sound to alert the driver
when the driver’s door is opened.
Instrument Panel Dimmer
Rotate the center portion of the lever to the extreme
bottom position to fully dim the instrument panel lights
and prevent the interior lights from illuminating when a
door is opened.
Rotate the center portion of the lever up to increase the
brightness of the instrument panel lights when the park-
ing lights or headlights are on. Rotate the center portion of the lever upward to the next
detent position to brighten the odometer and radio when
the parking lights or headlights are on.
Rotate the center portion of the lever upward to the last
detent to turn on the interior lighting.
Dimmer Control
154 UNDERSTANDING THE FEATURES OF YOUR VEHICLE
Page 158 of 508
To protect the battery, the interior lights will turn off
automatically 10 minutes after the ignition switch is
moved to the LOCK position. This will occur if the
interior lights were switched on manually or are on
because a door is open. To restore interior light operation,
either turn the ignition switch ON or cycle the light
switch.
WINDSHIELD WIPERS AND WASHERS
The wipers and washers are operated by a switch
on the control lever. The lever is located on the
right side of the steering column.Rotate the end of the lever to the LO position for
low-speed wiper operation, or to the HI position for
high-speed wiper operation.
Windshield Wiper/Washer Lever
156 UNDERSTANDING THE FEATURES OF YOUR VEHICLE
Page 159 of 508

NOTE:The wipers will automatically return to the park
position if you turn the ignition switch OFF while they
are operating. The wipers will resume operation when
you turn the ignition switch to the ON position again.
CAUTION!
•Turn the windshield wipers off when driving
through an automatic car wash. Damage to the
windshield wipers may result if the wiper control
is left in any position other than off.
•Always remove any buildup of snow that prevents
the windshield wiper blades from returning to the
off position. If the windshield wiper control is
turned off and the blades cannot return to the off
position, damage to the wiper motor may occur.
Intermittent Wiper System
Use the intermittent wiper system when weather condi-
tions make a single wiping cycle with a variable pause
between cycles desirable. Rotate the end of the wind-
shield wiper/washer control lever to the first detent, and
then turn the end of the lever to select the desired delay
interval. There are five delay settings, which allow you to
Changing Wiper Speeds
3
UNDERSTANDING THE FEATURES OF YOUR VEHICLE 157
Page 164 of 508

the same time. If this occurs, the Electronic Speed Control
System can be reactivated by pushing the Electronic
Speed Control ON/OFF button and resetting the desired
vehicle set speed.
To Activate
Push the ON/OFF button. The Cruise Indicator Light in
the instrument cluster will illuminate. To turn the system
off, push the ON/OFF button a second time. The Cruise
Indicator Light will turn off. The system should be
turned off when not in use.
WARNING!
Leaving the Electronic Speed Control system on
when not in use is dangerous. You could accidentally
set the system or cause it to go faster than you want.
You could lose control and have an accident. Always
leave the system OFF when you are not using it.
To Set A Desired Speed
Turn the Electronic Speed Control ON. When the vehicle
has reached the desired speed, press the SET (-) button
and release. Release the accelerator and the vehicle will
operate at the selected speed.
NOTE:The vehicle should be traveling at a steady
speed and on level ground before pressing the SET
button.
To Deactivate
A soft tap on the brake pedal, pushing the CANCEL
button, or normal brake pressure while slowing the
vehicle will deactivate Electronic Speed Control without
erasing the set speed memory. Pressing the ON/OFF
button or turning the ignition switch OFF erases the set
speed memory.
162 UNDERSTANDING THE FEATURES OF YOUR VEHICLE
Page 167 of 508
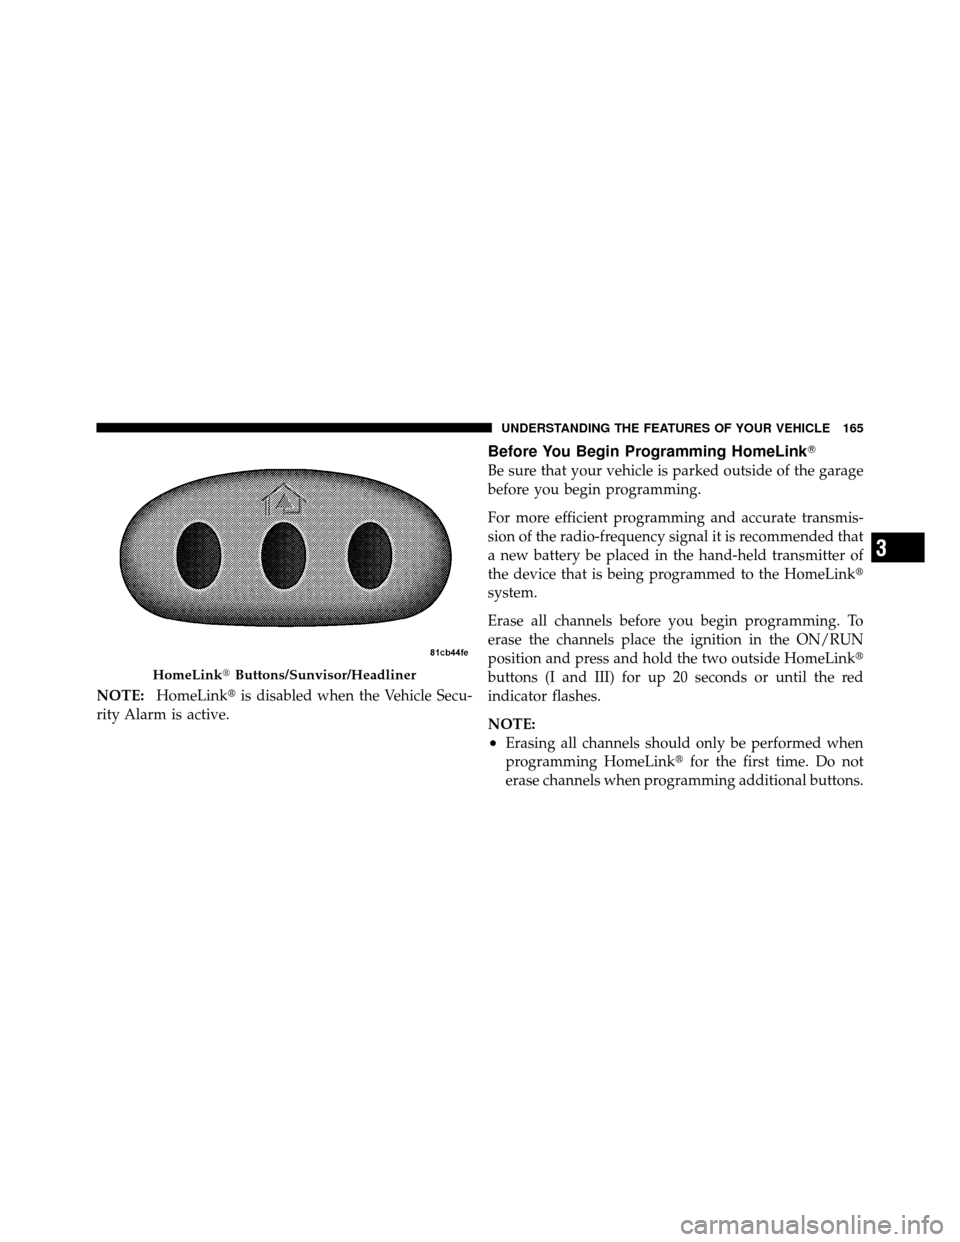
NOTE:HomeLink� is disabled when the Vehicle Secu-
rity Alarm is active.
Before You Begin Programming HomeLink�
Be sure that your vehicle is parked outside of the garage
before you begin programming.
For more efficient programming and accurate transmis-
sion of the radio-frequency signal it is recommended that
a new battery be placed in the hand-held transmitter of
the device that is being programmed to the HomeLink�
system.
Erase all channels before you begin programming. To
erase the channels place the ignition in the ON/RUN
position and press and hold the two outside HomeLink�
buttons (I and III) for up 20 seconds or until the red
indicator flashes.
NOTE:
•Erasing all channels should only be performed when
programming HomeLink� for the first time. Do not
erase channels when programming additional buttons.
HomeLink� Buttons/Sunvisor/Headliner
3
UNDERSTANDING THE FEATURES OF YOUR VEHICLE 165
Page 168 of 508
•If you have any problems, or require assistance, please
call toll-free 1–800–355–3515 or, on the Internet at
www.HomeLink.com for information or assistance.
Programming A Rolling Code
For programming garage door openers that were manu-
factured after 1995. These garage door openers can be
identified by the “LEARN” or “TRAIN” button located
where the hanging antenna is attached to the garage door
opener. It is NOT the button that is normally used to
open and close the door. The name and color of the
button may vary by manufacturer.1. Turn the ignition switch to the ON/RUN position.
2. Place the hand-held transmitter 1 to 3 in (3 to 8 cm)
away from the HomeLink�button you wish to program
while keeping the HomeLink� indicator light in view.
Training The Garage Door Opener
1 — Door Opener
2 — Training Button
166 UNDERSTANDING THE FEATURES OF YOUR VEHICLE
, will activate the automatic headlight
system.With the engine running and the multifunction l")