Page 154 of 508
Turn Signals
Move the multifunction lever up or down and the arrows
on each side of the instrument cluster flash to show
proper operation of the front and rear turn signal lights.NOTE:
If either light remains on and does not flash, or
there is a very fast flash rate, check for a defective outside
light bulb. If an indicator fails to light when the lever is
moved, it would suggest that the indicator bulb is
defective.
Lane Change Assist
Tap the lever up or down once, without moving beyond
the detent, and the turn signal (right or left) will flash
three times then automatically turn off.
High/Low Beam Switch
Push the multifunction lever away from you to switch
the headlights to high beam. Pull the lever toward you, to
switch the headlights back to low beam.
Turn Signal Control
152 UNDERSTANDING THE FEATURES OF YOUR VEHICLE
Page 155 of 508
Flash-To-Pass
You can signal another vehicle with your headlights by
lightly pulling the multifunction lever toward you. This
will turn on the high beam headlights until the lever is
released.
NOTE:If the multifunction lever is held in the flash-to-
pass position for more than 15 seconds, the high beams
will shut off. If this occurs, wait 30 seconds for the next
flash-to-pass operation.
Fog Lights — If Equipped
The front fog light switch is on the multifunction
lever. To activate the front fog lights, turn on the
parking lights or the low beam headlights and pull
out the end of the multifunction lever. NOTE:
The front fog lights will only operate with the
headlights on low beam. Selecting high beam headlights
will turn off the front fog lights.
Daytime Running Lights — If Equipped
The front turn signal lamps will turn on as Daytime
Running Lights whenever the ignition is ON, the engine
Front Fog Light Control
3
UNDERSTANDING THE FEATURES OF YOUR VEHICLE 153
Page 156 of 508

is running, the headlight switch is off, the parking brake
is released and the shift lever is in any position except
PARK.
NOTE:The Daytime Running Lights will flash when a
turn signal is in operation and return to DRL mode when
the turn signal is not operating.
Lights On Reminder
If the headlights or parking lights are on after the ignition
is turned OFF, a chime will sound to alert the driver
when the driver’s door is opened.
Instrument Panel Dimmer
Rotate the center portion of the lever to the extreme
bottom position to fully dim the instrument panel lights
and prevent the interior lights from illuminating when a
door is opened.
Rotate the center portion of the lever up to increase the
brightness of the instrument panel lights when the park-
ing lights or headlights are on. Rotate the center portion of the lever upward to the next
detent position to brighten the odometer and radio when
the parking lights or headlights are on.
Rotate the center portion of the lever upward to the last
detent to turn on the interior lighting.
Dimmer Control
154 UNDERSTANDING THE FEATURES OF YOUR VEHICLE
Page 161 of 508

WARNING!
Sudden loss of visibility through the windshield
could lead to a collision. You might not see other
vehicles or other obstacles. To avoid sudden icing of
the windshield during freezing weather, warm the
windshield with defroster before and during wind-
shield washer use.
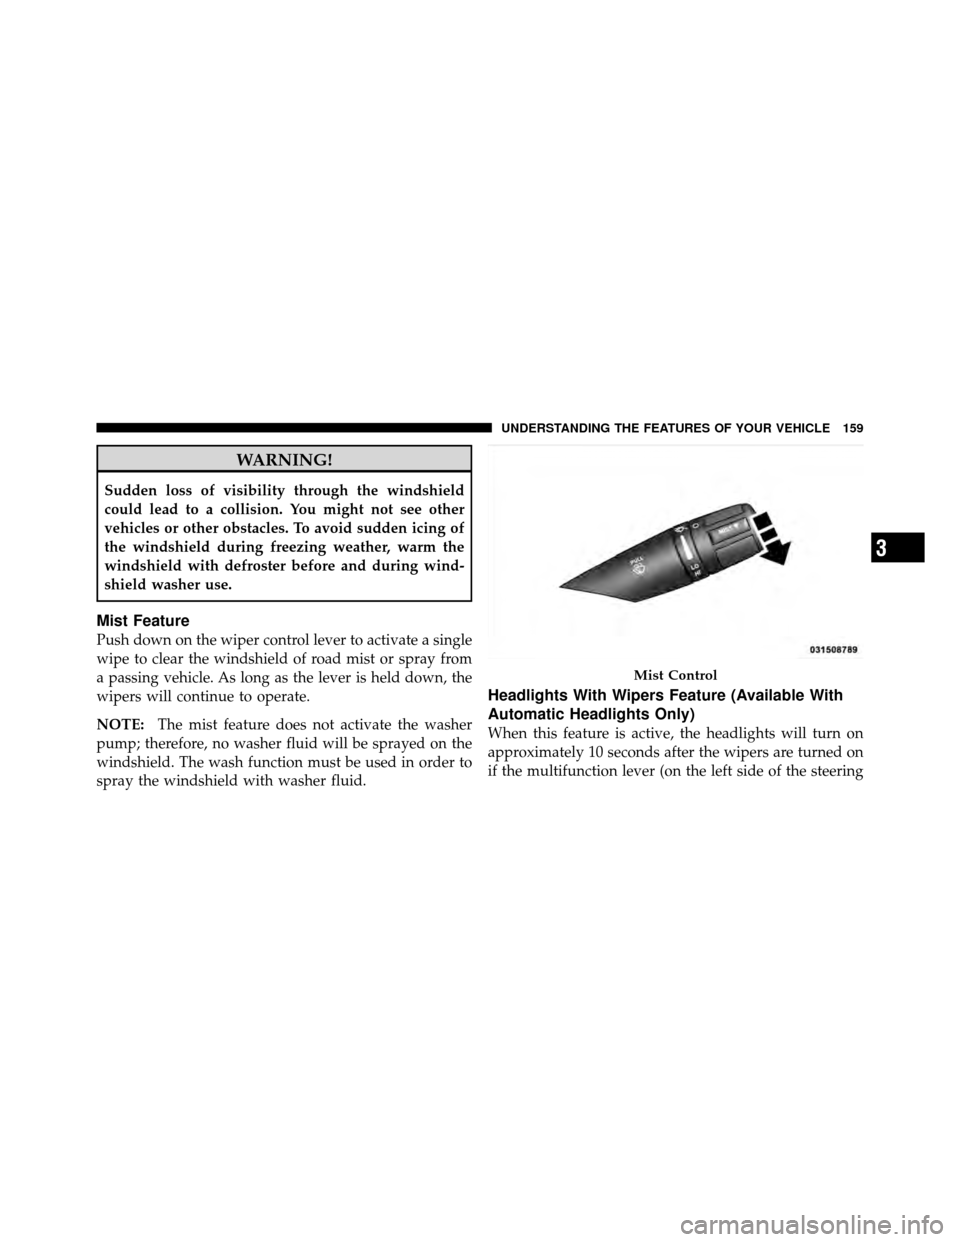
Mist Feature
Push down on the wiper control lever to activate a single
wipe to clear the windshield of road mist or spray from
a passing vehicle. As long as the lever is held down, the
wipers will continue to operate.
NOTE:The mist feature does not activate the washer
pump; therefore, no washer fluid will be sprayed on the
windshield. The wash function must be used in order to
spray the windshield with washer fluid.
Headlights With Wipers Feature (Available With
Automatic Headlights Only)
When this feature is active, the headlights will turn on
approximately 10 seconds after the wipers are turned on
if the multifunction lever (on the left side of the steering
Mist Control
3
UNDERSTANDING THE FEATURES OF YOUR VEHICLE 159
Page 162 of 508

column) is placed in the AUTO position. In addition, the
headlights will turn off when the wipers are turned off if
they were turned on by this feature.
The headlights with wipers feature can be turned on or
off through the Electronic Vehicle Information Center
(EVIC) — if equipped. Refer to “Electronic Vehicle Infor-
mation Center (EVIC)/Personal Settings (Customer-
Programmable Features)” in “Understanding Your In-
strument Panel” for further information.
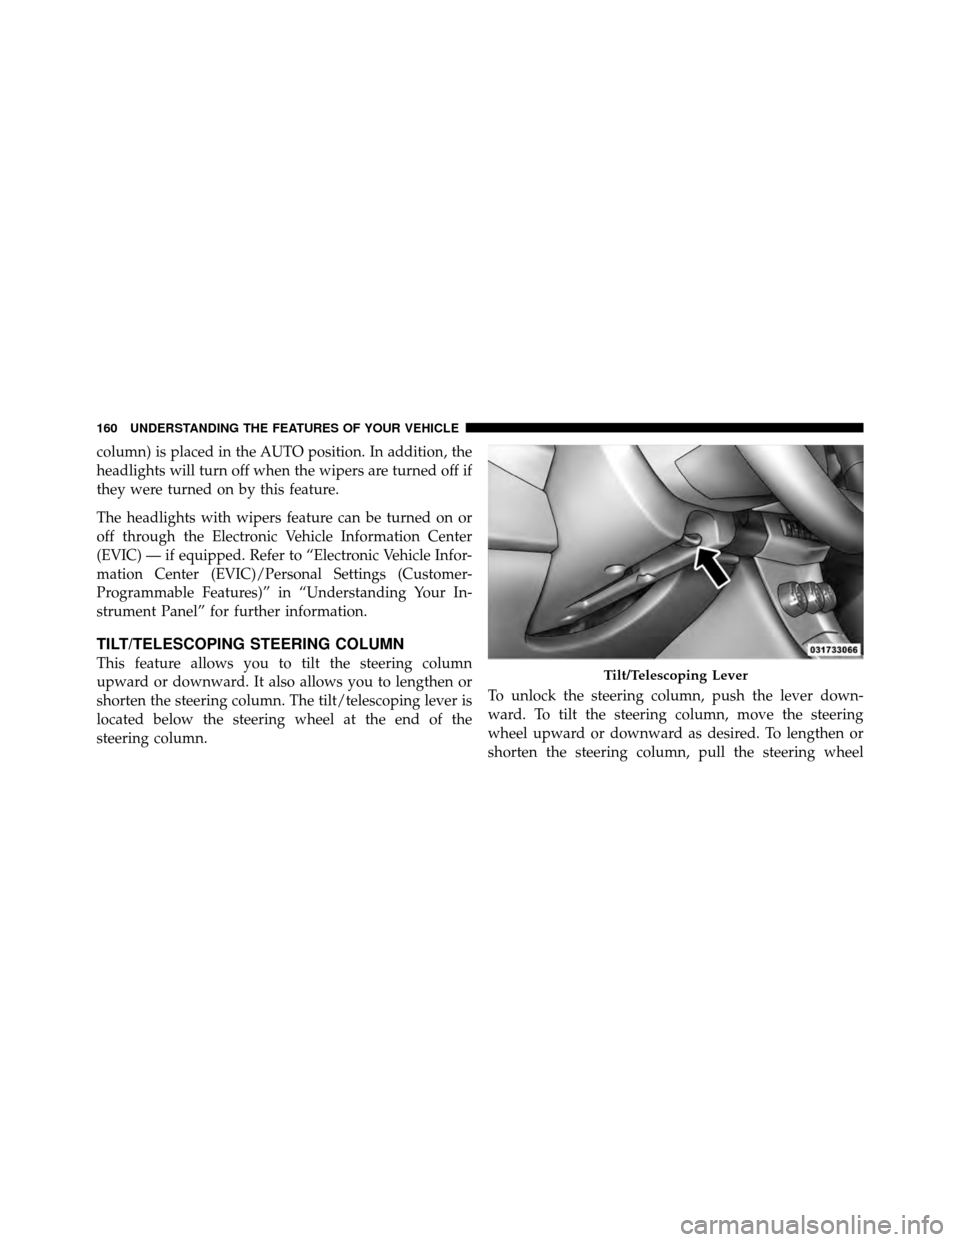
TILT/TELESCOPING STEERING COLUMN
This feature allows you to tilt the steering column
upward or downward. It also allows you to lengthen or
shorten the steering column. The tilt/telescoping lever is
located below the steering wheel at the end of the
steering column.To unlock the steering column, push the lever down-
ward. To tilt the steering column, move the steering
wheel upward or downward as desired. To lengthen or
shorten the steering column, pull the steering wheelTilt/Telescoping Lever
160 UNDERSTANDING THE FEATURES OF YOUR VEHICLE
Page 204 of 508

18. Park/Headlight ON Indicator — If EquippedThis indicator will illuminate when the park
lights or headlights are turned on.
19. Electronic Stability Control (ESC) OFF Indicator
Light — If Equipped This light indicates the Electronic Stability Con-
trol system (ESC) has been turned off by the
driver.
20. Turn Signal Indicators The arrows will flash in unison with the exterior
turn signal, when using the turn signal lever. A
chime will sound if the vehicle is driven more than 1 mile
(1.6 km) with either turn signal on.
NOTE: If either indicator flashes at a rapid rate, check
for a defective outside light bulb. 21. Front Fog Light Indicator — If Equipped
This indicator will illuminate when the front fog
lights are on.
22. Vehicle Security Light — If Equipped This light will flash rapidly for approximately
16 seconds when the alarm system is arming.
The light will begin to flash slowly indicating
that the system is armed. The light will stop
flashing when the vehicle is disarmed.
23. Anti-Lock Brake (ABS) Light — If Equipped This light monitors the ABS. This light will
come on when the ignition key is turned to the
ON/RUN position and may stay on for ap-
proximately three seconds.
202 UNDERSTANDING YOUR INSTRUMENT PANEL
Page 209 of 508

CAUTION!
Continuous driving with the Transmission Tempera-
ture Warning Light illuminated will eventually cause
severe transmission damage or transmission failure.
WARNING!
If the Transmission Temperature Warning Light is
illuminated and you continue operating the vehicle,
in some circumstances you could cause the fluid to
boil over, come in contact with hot engine or exhaust
components and cause a fire.
28. High Beam Indicator This light indicates that the headlights are on high
beam. Pull the turn signal lever toward the steer-
ing wheel to switch the headlights to low beam. 29. Electronic Vehicle Information Center (EVIC)
Display — If Equipped
This display shows the EVIC messages when the appro-
priate conditions exist. Refer to “Electronic Vehicle Infor-
mation Center (EVIC)” for further information.
MINI-TRIP COMPUTER — IF EQUIPPED
The Mini-Trip Computer is located in the instrument
cluster and features a driver-interactive trip information
and temperature display.
NOTE:
The system will display the last known outside
temperature when starting the vehicle and may need to
be driven several minutes before the updated tempera-
ture is displayed. Engine temperature can also affect the
displayed temperature; therefore, temperature readings
are not updated when the vehicle is not moving.4
UNDERSTANDING YOUR INSTRUMENT PANEL 207
Page 222 of 508

Sound Horn with Lock
When ON is selected, a short horn sound will occur when
the RKE transmitter LOCK button is pressed. This feature
may be selected with or without the Flash Lamp with
Lock feature. To make your selection, press and release
the SELECT button until ON or OFF appears.
Flash Lamp with Lock
When ON is selected, the front and rear turn signals will
flash when the doors are locked or unlocked with the
RKE transmitter. This feature may be selected with or
without the Sound Horn on lock feature selected. To
make your selection, press and release the SELECT
button until ON or OFF appears.
Headlamp Off Delay
When this feature is selected, the driver can choose to
have the headlights remain on for 0, 30, 60, or 90 seconds
when exiting the vehicle. To make your selection, press
the SELECT button until 0, 30, 60, or 90 seconds appears.
Headlamps With Wipers
(Available with Auto Headlights Only)
When ON is selected, and the headlight switch is in the
AUTO position, the headlights will turn on approxi-
mately 10 seconds after the wipers are turned on. The
headlights will also turn off when the wipers are turned
off if they were turned on by this feature. To make your
selection, press the SELECT button until ON or OFF
appears.
NOTE:Turning the headlights on during the daytime
causes the instrument panel lights to dim. To increase the
brightness, refer to “Lights” in “Understanding The
Features Of Your Vehicle.”
Key-Off Power Delay
When this feature is selected, the power window
switches, radio, Uconnect™ phone (if equipped), and
power outlets will remain active for up to 10 minutes
after the ignition switch is turned to the LOCK position.
220 UNDERSTANDING YOUR INSTRUMENT PANEL