Page 206 of 430

Black plate (8,1)Chevrolet Express Owner Manual - 2012
8-8 Climate Controls
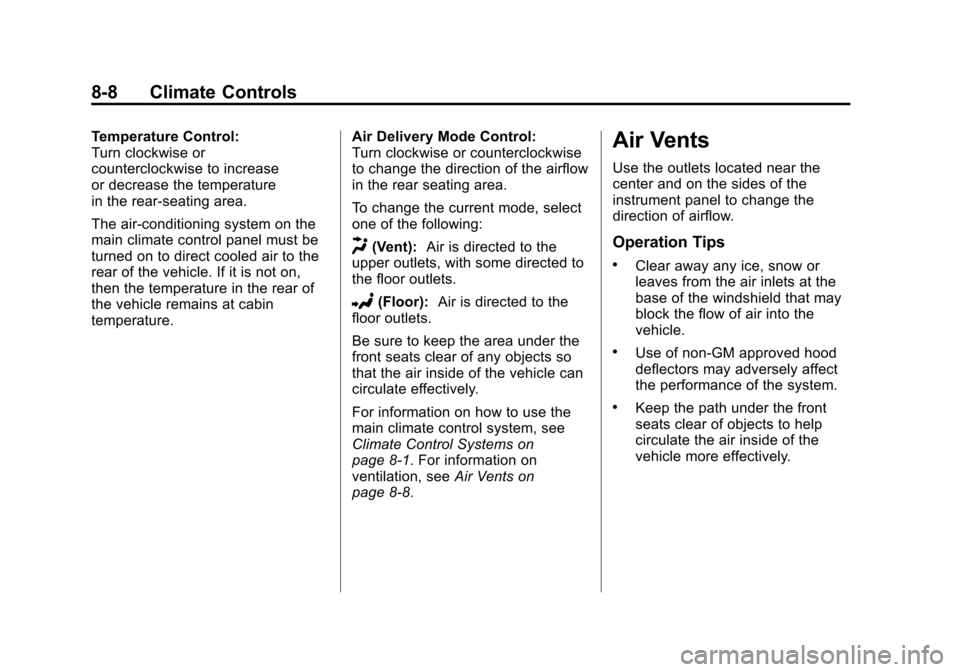
Temperature Control:
Turn clockwise or
counterclockwise to increase
or decrease the temperature
in the rear‐seating area.
The air-conditioning system on the
main climate control panel must be
turned on to direct cooled air to the
rear of the vehicle. If it is not on,
then the temperature in the rear of
the vehicle remains at cabin
temperature.Air Delivery Mode Control:
Turn clockwise or counterclockwise
to change the direction of the airflow
in the rear seating area.
To change the current mode, select
one of the following:
H(Vent):
Air is directed to the
upper outlets, with some directed to
the floor outlets.
2(Floor): Air is directed to the
floor outlets.
Be sure to keep the area under the
front seats clear of any objects so
that the air inside of the vehicle can
circulate effectively.
For information on how to use the
main climate control system, see
Climate Control Systems on
page 8‑1. For information on
ventilation, see Air Vents on
page 8‑8.
Air Vents
Use the outlets located near the
center and on the sides of the
instrument panel to change the
direction of airflow.
Operation Tips
.Clear away any ice, snow or
leaves from the air inlets at the
base of the windshield that may
block the flow of air into the
vehicle.
.Use of non-GM approved hood
deflectors may adversely affect
the performance of the system.
.Keep the path under the front
seats clear of objects to help
circulate the air inside of the
vehicle more effectively.
Page 250 of 430

Black plate (44,1)Chevrolet Express Owner Manual - 2012
9-44 Driving and Operating
Filling the Tank
{WARNING
Fuel vapor burns violently and a
fuel fire can cause bad injuries.
To help avoid injuries to you and
others, read and follow all the
instructions on the fuel pump
island. Turn off the engine when
refueling. Do not smoke near fuel
or when refueling the vehicle.
Do not use cellular phones.
Keep sparks, flames, and
smoking materials away from fuel.(Continued)
WARNING (Continued)
Do not leave the fuel pump
unattended when refueling the
vehicle. This is against the law in
some places. Do not re-enter the
vehicle while pumping fuel. Keep
children away from the fuel pump;
never let children pump fuel.
The tethered fuel cap is located
behind a hinged fuel door on the
driver side of the vehicle.
If the vehicle has E85 fuel capability,
the fuel cap will be yellow and state
that E85 or gasoline can be used.
See Fuel E85 (85% Ethanol) on
page 9‑42. To remove the fuel cap, turn it
slowly counterclockwise.
While refueling, hang the tethered
fuel cap from the hook on the
fuel door.
{WARNING
Fuel can spray out on you if you
open the fuel cap too quickly.
If you spill fuel and then
something ignites it, you could be
badly burned. This spray can
happen if the tank is nearly full,
and is more likely in hot weather.
Open the fuel cap slowly and wait
for any hiss noise to stop. Then
unscrew the cap all the way.
Be careful not to spill fuel. Do not
top off or overfill the tank and wait a
few seconds after you have finished
pumping before removing the
nozzle. Clean fuel from painted
surfaces as soon as possible.
See Exterior Care on page 10‑93.
Page 251 of 430

Black plate (45,1)Chevrolet Express Owner Manual - 2012
Driving and Operating 9-45
When replacing the fuel cap, turn it
clockwise until it clicks. Make sure
the cap is fully installed. The
diagnostic system can determine if
the fuel cap has been left off or
improperly installed. This would
allow fuel to evaporate into the
atmosphere. SeeMalfunction
Indicator Lamp on page 5‑21.
{WARNING
If a fire starts while you are
refueling, do not remove the
nozzle. Shut off the flow of fuel by
shutting off the pump or by
notifying the station attendant.
Leave the area immediately.
Notice: If you need a new fuel
cap, be sure to get the right type.
Your dealer can get one for you.
If you get the wrong type, it may
not fit properly. This may cause
the malfunction indicator lamp to
light and may damage the fuel tank and emissions system. See
Malfunction Indicator Lamp on
page 5‑21.
Filling a Portable Fuel
Container
{WARNING
Never fill a portable fuel container
while it is in the vehicle. Static
electricity discharge from the
container can ignite the fuel
vapor. You can be badly burned
and the vehicle damaged if
this occurs. To help avoid injury to
you and others:
.Dispense fuel only into
approved containers.
.Do not fill a container while it
is inside a vehicle, in a
vehicle's trunk, pickup bed,
or on any surface other than
the ground.
(Continued)
WARNING (Continued)
.Bring the fill nozzle in contact
with the inside of the fill
opening before operating the
nozzle. Contact should be
maintained until the filling is
complete.
.Do not smoke while
pumping fuel.
.Do not use a cellular phone
while pumping fuel.
Page 285 of 430

Black plate (21,1)Chevrolet Express Owner Manual - 2012
Vehicle Care 10-21
WARNING (Continued)
the surge tank pressure
cap—even a little —they can
come out at high speed. Never
turn the cap when the cooling
system, including the surge tank
pressure cap, is hot. Wait for the
cooling system and surge tank
pressure cap to cool if you ever
have to turn the pressure cap.
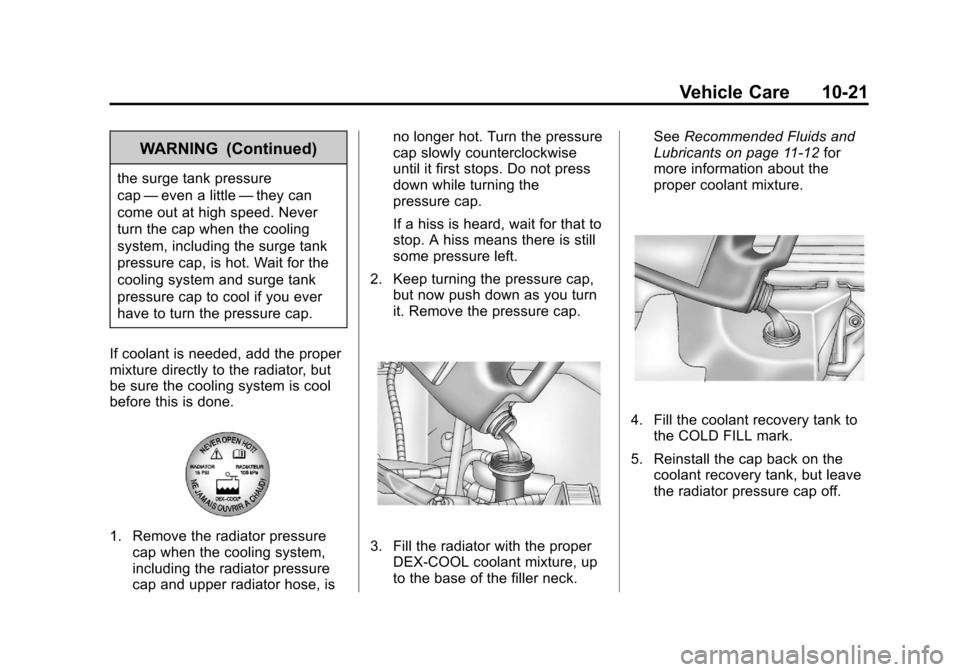
If coolant is needed, add the proper
mixture directly to the radiator, but
be sure the cooling system is cool
before this is done.
1. Remove the radiator pressure cap when the cooling system,
including the radiator pressure
cap and upper radiator hose, is no longer hot. Turn the pressure
cap slowly counterclockwise
until it first stops. Do not press
down while turning the
pressure cap.
If a hiss is heard, wait for that to
stop. A hiss means there is still
some pressure left.
2. Keep turning the pressure cap, but now push down as you turn
it. Remove the pressure cap.3. Fill the radiator with the properDEX-COOL coolant mixture, up
to the base of the filler neck. See
Recommended Fluids and
Lubricants on page 11‑12 for
more information about the
proper coolant mixture.
4. Fill the coolant recovery tank to the COLD FILL mark.
5. Reinstall the cap back on the coolant recovery tank, but leave
the radiator pressure cap off.
Page 300 of 430
Black plate (36,1)Chevrolet Express Owner Manual - 2012
10-36 Vehicle Care
5. Disconnect the electricalconnector.
6. Turn the bulb counterclockwise one quarter turn to remove it
from the headlamp assembly.
7. Install the new bulb into the headlamp assembly and connect
the electrical connector.
8. Reverse the steps to reinstall the headlamp assembly. To prevent headlamp vibration
and shortened bulb life, be sure
to insert the headlamp assembly
tabs in the slots at the lower
portion of the housing.
Sealed‐Beam Headlamp
A. Headlamp retainer screws
B. Headlamp retainer
C. Sealed‐beam headlamp bulb
1. Remove the four screws (A)
from the headlamp retainer (B).
Pull the retainer (B) out and set
it aside. 2. Pull the bulb (C) forward to gain
access to the electrical
connector.
3. Disconnect the electrical
connector (B) and remove the
headlamp bulb (A).
4. Reverse Steps 1 through 3 to reinstall the headlamp.
Page 301 of 430
Black plate (37,1)Chevrolet Express Owner Manual - 2012
Vehicle Care 10-37
Front Turn Signal,
Sidemarker, and
Parking Lamps
A. Front Parking and TurnSignal Lamp
B. Front Sidemarker Lamp To replace the front turn signal,
sidemarker, and/or parking lamp
bulb(s):
1. Use a small tool to unlatch the
outboard clip on the lamp by
pushing inboard and prying the
lamp assembly forward.
2. Remove the lamp from the grille.
3. Turn the bulb socket counterclockwise one quarter
turn and remove it from the
lamp assembly. 4. Remove the bulb from the
socket by pulling it straight out.
5. Replace the bulb.
6. Turn the bulb socket clockwise to reinstall it in the lamp
assembly.
7. Reinstall the lamp assembly into the grille until the outboard clip
snaps into place.
Page 302 of 430
Black plate (38,1)Chevrolet Express Owner Manual - 2012
10-38 Vehicle Care
Taillamps
To replace a taillamp/turn signal
lamp or back‐up lamp bulb:
1. Remove the two inboard nutsfrom the inside of the taillamp
assembly.
2. The third nut (C) is under theapplique piece (B) above the
lamp. Remove the two inboard
applique nuts. Pull the
applique (B) straight rearward
slightly to clear the studs. Then
rotate the applique (B) just far
enough to gain access to the
outer push pins (A).
3. Carefully disconnect the push pins (A) from the applique
bracket
4. Remove the third nut (C) from the upper outboard side of
the lamp. 5. Remove the taillamp assembly
from the vehicle.
6. Remove the taillamp/turn signallamp (A) or back‐up lamp (B)
bulb socket by turning it
counterclockwise one quarter
turn and pulling it out of the lamp
assembly.
7. Remove the bulb by pulling it straight out.
Page 303 of 430
Black plate (39,1)Chevrolet Express Owner Manual - 2012
Vehicle Care 10-39
8. Push the new bulb into thesocket.
9. Reinstall the bulb socket by turning it clockwise into the lamp
assembly.
10. Reverse Steps 1 through 5 to reinstall the taillamp assembly
and applique.Center High-Mounted
Stoplamp (CHMSL)
The Center High-Mounted Stoplamp
(CHMSL) is located above the rear
doors at the center of the vehicle.
To replace a bulb:
1. Remove the two screws from theCHMSL assembly.
2. Remove the CHMSL assembly. 3. Turn the bulb socket
counterclockwise one quarter
turn to remove it from the lamp
assembly.
4. Pull the old bulb straight out of the socket and push the new
bulb into the socket.
5. Turn the bulb socket clockwise one quarter turn to install it in the
lamp assembly.
6. Reinstall the CHMSL assembly and two screws.
Do not block or damage the CHMSL
when items are loaded on the roof
of the vehicle.