Page 289 of 428
Black plate (9,1)Chevrolet Equinox Owner Manual - 2012
Vehicle Care 10-9
A.Engine Air Cleaner/Filter on
page 10‑14.
B. Power Steering Fluid Reservoir (Under Engine Cover). See
Power Steering Fluid (2.4L L4
Engine) on page 10‑22 or
Power Steering Fluid (3.0L
V6 Engine) on page 10‑22.
C. Engine Oil Fill Cap. See Engine
Oil on page 10‑10.
D. Engine Cover on page 10‑9.
E. Engine Oil Dipstick (Out of View). See Engine Oil on
page 10‑10.
F. Brake Fluid Reservoir. See Brakes on page 10‑23. G.
Engine Compartment Fuse
Block on page 10‑37.
H. Remote Positive (+) Terminal. See Jump Starting on
page 10‑74.
I. Remote Negative (−) Terminal. See Jump Starting on
page 10‑74.
J. Battery on page 10‑26 (Out
of View).
K. Engine Coolant Surge Tank and Pressure Cap. See Engine
Coolant on page 10‑17.
L. Windshield Washer Fluid Reservoir. See Washer Fluid on
page 10‑23.Engine Cover
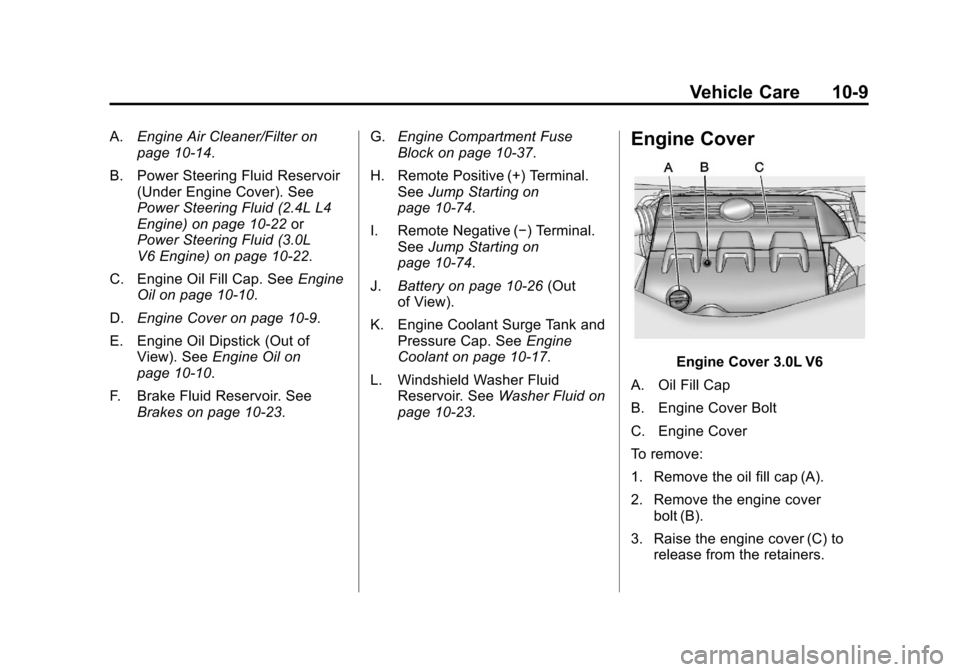
Engine Cover 3.0L V6
A. Oil Fill Cap
B. Engine Cover Bolt
C. Engine Cover
To remove:
1. Remove the oil fill cap (A).
2. Remove the engine cover bolt (B).
3. Raise the engine cover (C) to release from the retainers.
Page 306 of 428
Black plate (26,1)Chevrolet Equinox Owner Manual - 2012
10-26 Vehicle Care
Battery
Refer to the replacement number on
the original battery label when a
new battery is needed.
{WARNING
Battery posts, terminals, and
related accessories contain lead
and lead compounds, chemicals
known to the State of California to
cause cancer and reproductive
harm. Wash hands after handling.
Vehicle Storage
{WARNING
Batteries have acid that can burn
you and gas that can explode.
You can be badly hurt if you are
not careful. SeeJump Starting on
page 10‑74 for tips on working
around a battery without
getting hurt. Infrequent Usage: Remove the
black, negative (−) cable from the
battery to keep the battery from
running down.
Extended Storage: Remove the
black, negative (−) cable from the
battery or use a battery trickle
charger.
All-Wheel Drive
Transfer Case
When to Check and Change
Lubricant
Refer to the Maintenance Schedule
to determine how often to check the
lubricant and when to change it.
See
Maintenance Schedule on
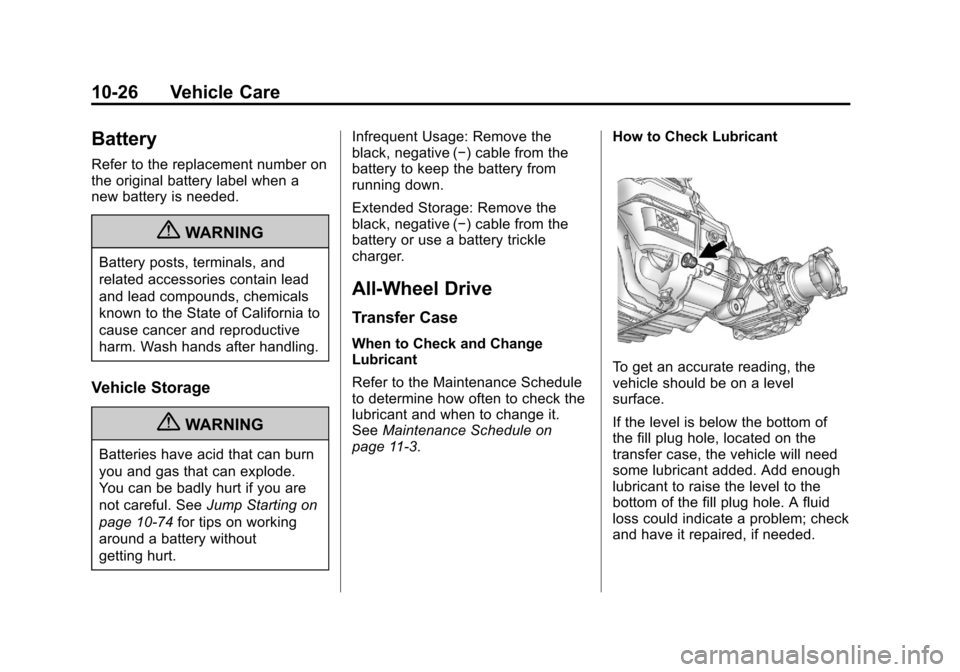
page 11‑3. How to Check Lubricant
To get an accurate reading, the
vehicle should be on a level
surface.
If the level is below the bottom of
the fill plug hole, located on the
transfer case, the vehicle will need
some lubricant added. Add enough
lubricant to raise the level to the
bottom of the fill plug hole. A fluid
loss could indicate a problem; check
and have it repaired, if needed.
Page 318 of 428
Black plate (38,1)Chevrolet Equinox Owner Manual - 2012
10-38 Vehicle Care
J-CaseFuses Usage
6 Power Seat –Left
7 Instrument Panel
Fuse Block 1
8 Rear Defogger
9 Starter
10 AIR Pump Motor
11 Instrument Panel
Fuse Block 2
12 Sunroof
13 Antilock Brake
System Pump
14 Instrument Panel
Fuse Block 3
15 Power
Windows
–Left
16 Antilock Brake
System Module Mini Fuses Usage
17 Transmission
Control Module
Battery
18 Trailer Parking Light
19 AIR Pump Solenoid
20 Engine Control
Module Battery
21 Canister Vent
22 Trailer Left Side
(If Equipped)
23 Lift Gate Module
24 Power Lumbar
25 Trailer Right Side
(If Equipped)
26 Rear Accessory
Power Outlet
27 Memory Mirror
Module
28 Regulated Voltage
Control Battery
Sensor Mini Fuses Usage
29 Front Wiper
30 Rear Wiper
31 Air Conditioning
Compressor
32 Rear Latch
33 Heated Mirrors
34 Horn
35 Right High‐Beam
Headlamp
36 Left High‐Beam
Headlamp
37 Ignition Even Coil
38 Ignition Odd Coil
39 Windshield Washer
40 Front Fog Lamps
41 Post Catalytic
Converter Oxygen
Sensor
42 Engine Control
Module
Page 321 of 428
Black plate (41,1)Chevrolet Equinox Owner Manual - 2012
Vehicle Care 10-41
Mini Fuses Usage1 Steering Wheel
Dimming
2 Spare
3 Spare
4 Body Control
Module 1
5 Infotainment
6 Body Control
Module 7
7 Noise Control
Module
8 Body Control
Module 4
9 Radio
10 Special Equipment
Order Battery
11 Ultrasonic Rear
Parking Assist
Module Mini Fuses Usage
12 Heater, Ventilation
and Air Conditioning
Battery
13 Auxiliary Power
Front
14 Heater, Ventilation
and Air Conditioning
Ignition
15 Display
16 Body Control
Module 5
17 Auxiliary
Power Rear
18 Instrument Panel
Cluster Ignition
19 Personal Device
Interface Module
20 Body Control
Module 6 Mini Fuses Usage
21 Special Equipment
Order Retained
Accessory Power
22 Sensing and
Diagnostic Module
Ignition
23 Spare
24 Spare
25 Transmission Gear
Shift Position
Indicator
26 Spare
27 Spare
28 Spare
30 Body Control
Module 3
31 Amplifier
32 Discrete Logic
Ignition Switch
Page 322 of 428
Black plate (42,1)Chevrolet Equinox Owner Manual - 2012
10-42 Vehicle Care
Mini Fuses Usage33 Communications
Integration Module
34 Body Control
Module 2
35 Sensing and
Diagnostic Module
Battery
36 Data Link
Connection
37 Instrument Panel
Cluster Battery
38 Passenger Sensing
System Module
39 Spare J‐Case
Fuses Usage
29 Front Blower Motor
40 Body Control
Module 8
Relays Usage 41 Logistic Relay (If
Equipped)
42 Retained Accessory
Power RelayWheels and Tires
Tires
Every new GM vehicle has
high-quality tires made by a
leading tire manufacturer. See
the warranty manual for
information regarding the tire
warranty and where to get
service. For additional
information refer to the tire
manufacturer.
{WARNING
.Poorly maintained and
improperly used tires are
dangerous.
.Overloading the tires can
cause overheating as a result
of too much flexing. There
could be a blowout and a
serious crash. See
Vehicle
Load Limits on page 9‑16.
(Continued)
Page 354 of 428
Black plate (74,1)Chevrolet Equinox Owner Manual - 2012
10-74 Vehicle Care
Jump Starting
For more information about the
vehicle battery, seeBattery on
page 10‑26.
Jump starting can be used on
vehicles with run‐down batteries by
using jumper cables and another
vehicle.
{WARNING
Batteries can hurt you. They can
be dangerous because:
.They contain acid that can
burn you.
.They contain gas that can
explode or ignite.
.They contain enough
electricity to burn you.
If you do not follow these steps
exactly, some or all of these
things can hurt you.
{WARNING
Using an open flame near a
battery can cause battery gas to
explode. People have been hurt
doing this, and some have been
blinded. Use a flashlight if you
need more light.
Be sure the battery has enough
water. You do not need to add
water to the battery installed in
your new vehicle. But if a battery
has filler caps, be sure the right
amount of fluid is there. If it is low,
add water to take care of that
first. If you do not, explosive gas
could be present.
Battery fluid contains acid that
can burn you. Do not get it on
you. If you accidentally get it in
your eyes or on your skin, flush
the place with water and get
medical help immediately. Be sure to use the following steps to
do it safely. Ignoring these steps
could result in costly damage to the
vehicle that would not be covered
by the warranty.
Trying to start the vehicle by
pushing or pulling it will not work,
and it could damage the vehicle.
Notice:
If any accessories are left
on or plugged in during the jump
starting procedure, they could be
damaged. The repairs would not
be covered by the vehicle
warranty. Whenever possible,
turn off or unplug all accessories
on either vehicle when jump
starting the vehicle.
Page 355 of 428
Black plate (75,1)Chevrolet Equinox Owner Manual - 2012
Vehicle Care 10-75
Notice:If the jumper cables are
connected or removed in the
wrong order, electrical shorting
may occur and damage the
vehicle. The repairs would not be
covered by the vehicle warranty.
Always connect and remove the
jumper cables in the correct
order, making sure that the
cables do not touch each other or
other metal.
1. The vehicle used to jump start must have 12-volt battery with a
negative ground.
Notice: Only use a vehicle that
has a 12-volt system with a
negative ground for jump
starting. If the other vehicle does
not have a 12-volt system with a
negative ground, both vehicles
can be damaged. 2. The vehicles should be close
enough for the jumper cables to
reach, but the vehicles should
not be touching. Touching could
cause grounding and possible
electrical system damage.
Put both vehicles in P (Park)
and set the parking brake firmly.
3. Unplug accessories plugged into the cigarette lighter or the
accessory power outlet. Turn off
the radio and all lamps that are
not needed. Turn off the ignition
on both vehicles.
4. Locate the positive (+) and negative (−) terminals on both
vehicles. Some vehicles have
remote jump starting terminals.
{WARNING
An electric fan can start up even
when the engine is not running
and can injure you. Keep hands,
clothing and tools away from any
underhood electric fan.
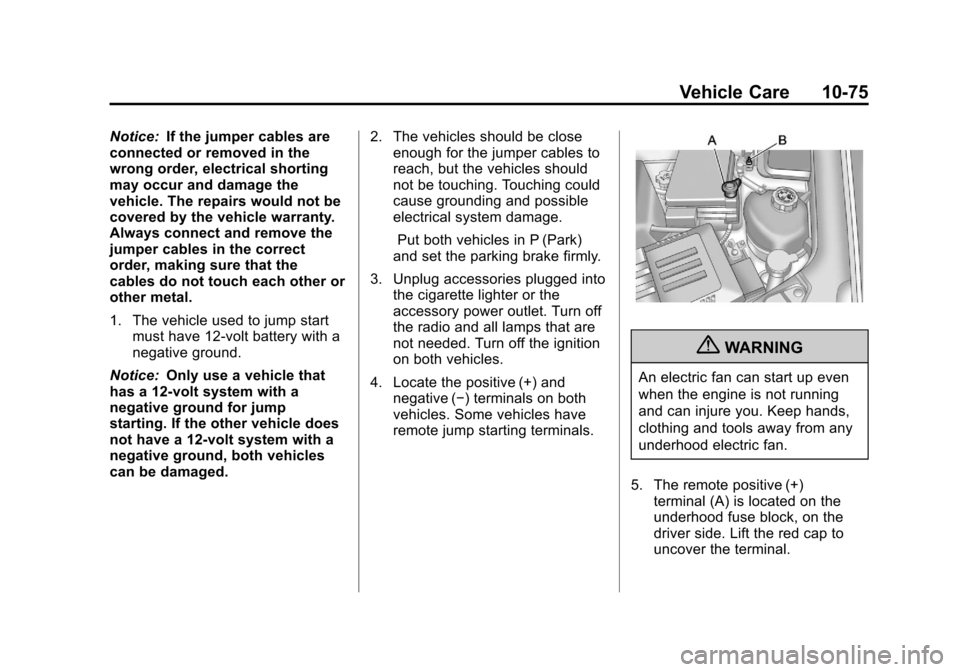
5. The remote positive (+) terminal (A) is located on the
underhood fuse block, on the
driver side. Lift the red cap to
uncover the terminal.
Page 356 of 428
Black plate (76,1)Chevrolet Equinox Owner Manual - 2012
10-76 Vehicle Care
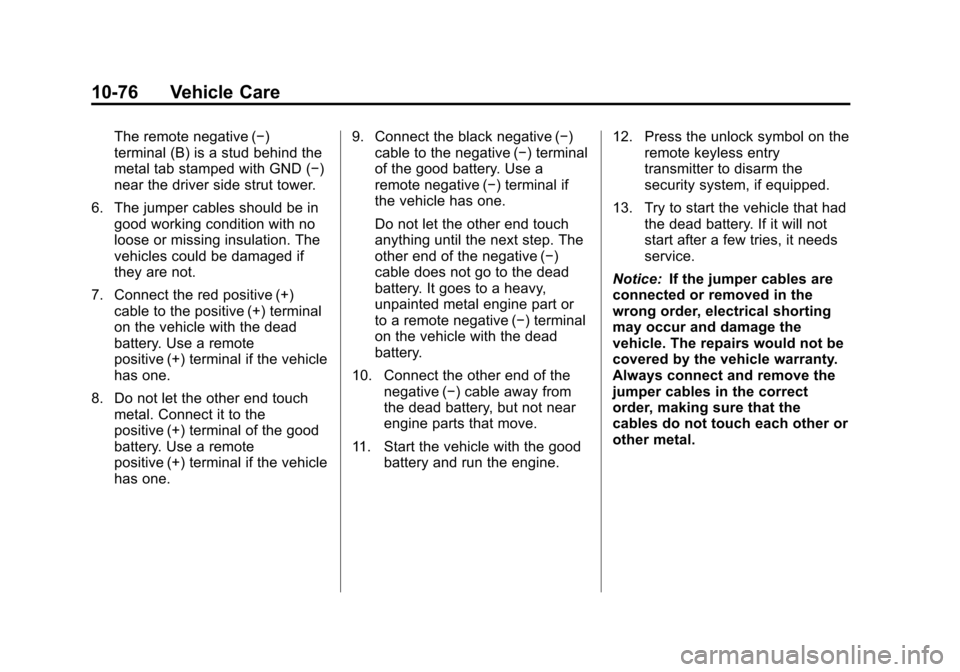
The remote negative (−)
terminal (B) is a stud behind the
metal tab stamped with GND (−)
near the driver side strut tower.
6. The jumper cables should be in good working condition with no
loose or missing insulation. The
vehicles could be damaged if
they are not.
7. Connect the red positive (+) cable to the positive (+) terminal
on the vehicle with the dead
battery. Use a remote
positive (+) terminal if the vehicle
has one.
8. Do not let the other end touch metal. Connect it to the
positive (+) terminal of the good
battery. Use a remote
positive (+) terminal if the vehicle
has one. 9. Connect the black negative (−)
cable to the negative (−) terminal
of the good battery. Use a
remote negative (−) terminal if
the vehicle has one.
Do not let the other end touch
anything until the next step. The
other end of the negative (−)
cable does not go to the dead
battery. It goes to a heavy,
unpainted metal engine part or
to a remote negative (−) terminal
on the vehicle with the dead
battery.
10. Connect the other end of the negative (−) cable away from
the dead battery, but not near
engine parts that move.
11. Start the vehicle with the good battery and run the engine. 12. Press the unlock symbol on the
remote keyless entry
transmitter to disarm the
security system, if equipped.
13. Try to start the vehicle that had the dead battery. If it will not
start after a few tries, it needs
service.
Notice: If the jumper cables are
connected or removed in the
wrong order, electrical shorting
may occur and damage the
vehicle. The repairs would not be
covered by the vehicle warranty.
Always connect and remove the
jumper cables in the correct
order, making sure that the
cables do not touch each other or
other metal.