Page 83 of 314

82
ControlsControls overview
Controls overview
Vehicle equipment
In this chapter, all pr oduction, country, and
optional equipment that is offered in the model
range is described. For this reason, descrip-
tions will be given of some equipment that may
not be available in a vehi cle, for example due to
the special options or national-market version
selected. This also app lies to safety related
functions and systems.
Odometer, outside
temperature display, clock
1 Knob in the instrument cluster
2 Outside temperature display and clock
3 Odometer and trip odometer
Knob in the instrument cluster
>To reset the trip odometer while the ignition
is switched on
> To display the time, outside temperature
and odometer briefly while the ignition is
switched off
Units of measure
To select the respective units of measure, miles
or km for the odometer as well as 7 or 6 for
the outside temperat ure, refer to page87.
The setting is stored for the remote control cur-
rently in use.
Time, outside temperature display
Setting the time, refer to page 90.
Outside temperature warning
When the displayed temperature sinks to
approx. +37 7/+3 6, a signal sounds and a
warning lamp lights up. There is an increased
risk of black ice.
Black ice can also form at temperatures
above +37 7/+3 6. You should there-
fore drive carefully on bridges and shaded
roads, for example; otherwise, there is an
increased risk of an accident. <
Odometer and trip odometer
Resetting the trip odometer:
With the ignition switched on, press button 1 in
the instrument cluster.
When the vehicle is parked
If you still want to view the time, outside tem-
perature and odometer re ading briefly after the
remote control has been taken out of the igni-
tion lock:
Press button 1 in the instrument cluster.
Online Edition for Part no. 01 40 2 609 333 - \251 08/11 BMW AG
Page 88 of 314

87
Controls overview
Controls
Units of measure
You can change the units for fuel consumption,
route/distance, temperature and pressure.
1.
"Settings"
2. "Language/Units"
3. Select the desired menu item.
4. Select the desired unit.
The settings are stored for the remote control
currently in use.
Service requirements
The remaining driving dist ance and the date of
the next scheduled service are displayed briefly
immediately after you start the engine or switch
on the ignition.
The extent of service work required can
be read out from the remote control by
your dealership Service Advisor. <
For certain maintenance operations, you can
view the respective distance remaining or due
date individually in the instrument cluster. 1.
Switch on the ignition, refer to page 61.
2. Push button 1 in the turn signal/high beam
lever up or down re peatedly until the
appropriate symbol appears in the display,
accompanied by the words "SERVICE-
INFO".
3. Press button 2.
4. Use button 1 to scroll through the individual
service items.
Online Edition for Part no. 01 40 2 609 333 - \251 08/11 BMW AG
Page 91 of 314

90
ControlsControls overview
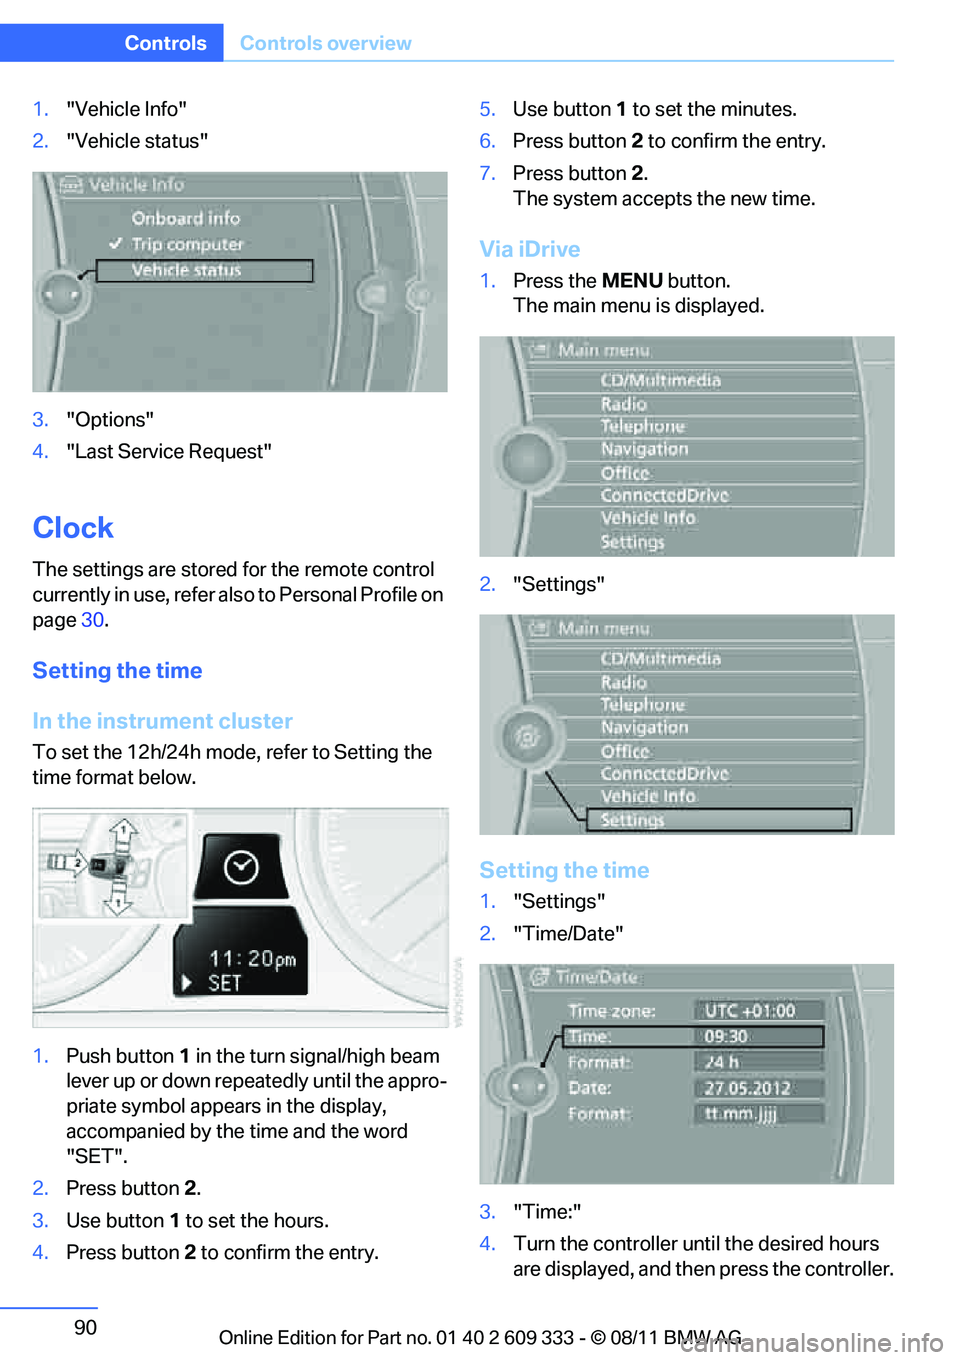
1."Vehicle Info"
2. "Vehicle status"
3. "Options"
4. "Last Service Request"
Clock
The settings are stored for the remote control
currently in use, refer also to Personal Profile on
page 30.
Setting the time
In the instrument cluster
To set the 12h/24h mode , refer to Setting the
time format below.
1. Push button 1 in the turn signal/high beam
lever up or down repe atedly until the appro-
priate symbol appear s in the display,
accompanied by the time and the word
"SET".
2. Press button 2.
3. Use button 1 to set the hours.
4. Press button 2 to confirm the entry. 5.
Use button 1 to set the minutes.
6. Press button 2 to confirm the entry.
7. Press button 2.
The system accepts the new time.
Via iDrive
1. Press the MENUbutton.
The main menu is displayed.
2. "Settings"
Setting the time
1."Settings"
2. "Time/Date"
3. "Time:"
4. Turn the controller until the desired hours
are displayed, and then press the controller.
Online Edition for Part no. 01 40 2 609 333 - \251 08/11 BMW AG
Page 92 of 314

91
Controls overview
Controls
5.
Turn the controller unt il the desired minutes
are displayed, and then press the controller.
The time is stored.
Setting the time format
1. "Settings"
2. "Time/Date"
3. "Format:"
4. Select the desired format and press the
controller.
The time format is stored.
Setting time zone
1. "Settings"
2. "Time/Date"
3. "Time zone:"
4. Select desired time zone.
The time zone is stored.
Date
The settings are stored for the remote control
currently in use, refer also to Personal Profile on
page 30.
Setting the date
In the instrument cluster
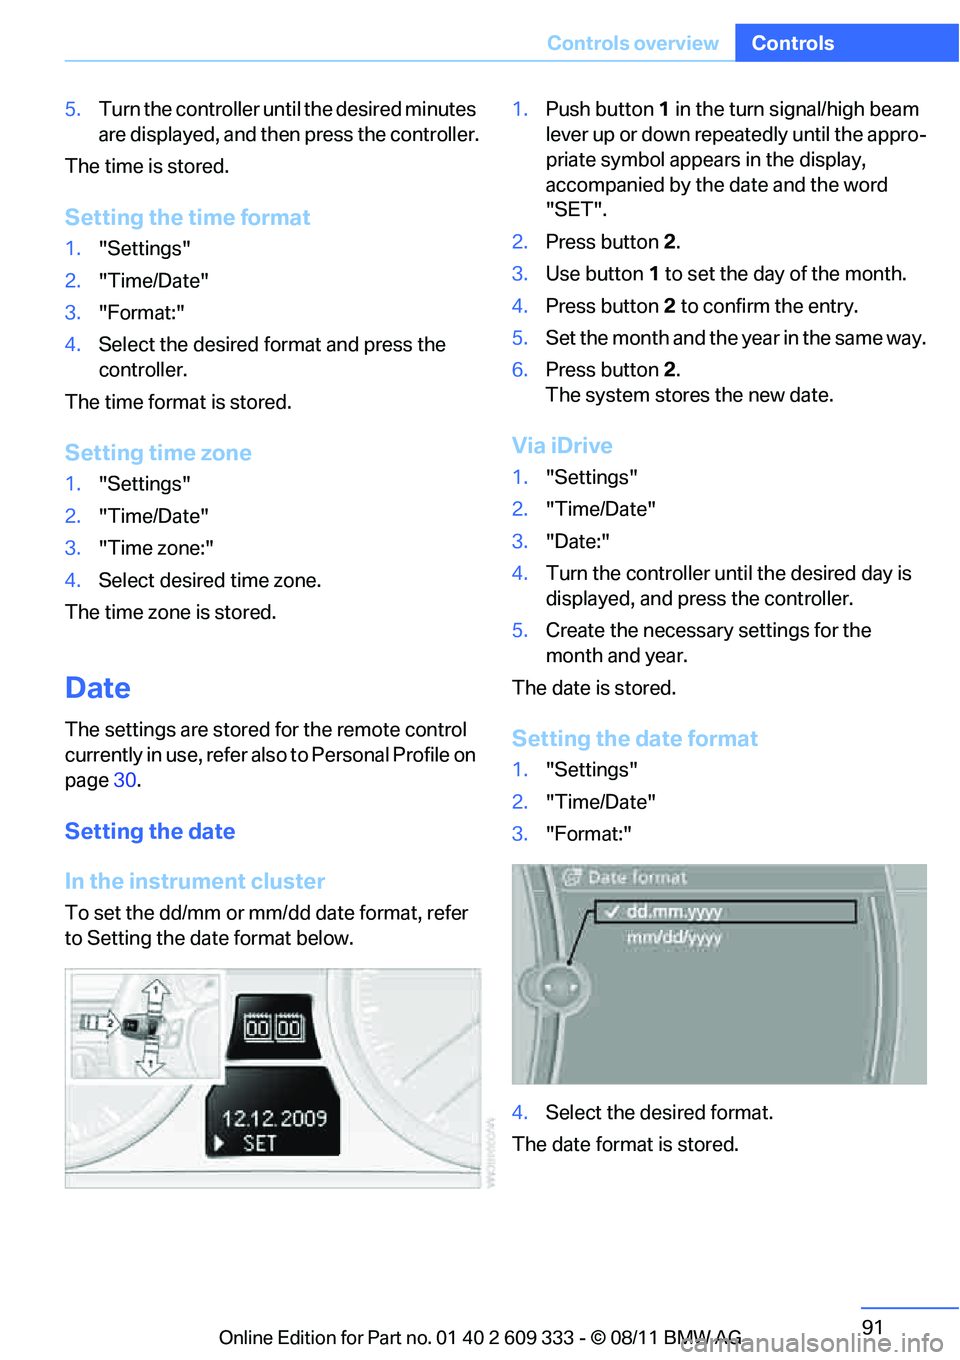
To set the dd/mm or mm/dd date format, refer
to Setting the da te format below. 1.
Push button 1 in the turn signal/high beam
lever up or down repeatedly until the appro-
priate symbol appears in the display,
accompanied by the date and the word
"SET".
2. Press button 2.
3. Use button 1 to set the day of the month.
4. Press button 2 to confirm the entry.
5. Set the month and the year in the same way.
6. Press button 2.
The system stores the new date.
Via iDrive
1. "Settings"
2. "Time/Date"
3. "Date:"
4. Turn the controller until the desired day is
displayed, and press the controller.
5. Create the necessary settings for the
month and year.
The date is stored.
Setting the date format
1. "Settings"
2. "Time/Date"
3. "Format:"
4. Select the desired format.
The date format is stored.
Online Edition for Part no. 01 40 2 609 333 - \251 08/11 BMW AG
Page 95 of 314
94
ControlsControls overview
Applying your curr ent speed as the
limit
1. "Settings"
2. "Speed"
3. "Select current speed"
The system adopts your current speed as the
limit.
Activating/deactivating the limit
1. "Settings"
2. "Speed"
3. "Warning"
4. Press the controller.
Settings on the Control
Display
Language on the Control Display
Setting the language
1."Settings"
2. "Language/Units" 3.
"Language:"
4. Select the desired language.
The setting is stored fo r the remote control cur-
rently in use.
Setting the voice dialog
Switch between a standard dialog and a short
dialog.
1. "Settings"
2. "Language/Units"
3. "Speech mode:"
4. Select the desired dialog.
The setting is stored fo r the remote control cur-
rently in use.
Brightness of the Control Display
The brightness is automa tically adapted to the
ambient lighting conditions. However, you can
change the basic setting.
1. "Settings"
2. "Control display"
Online Edition for Part no. 01 40 2 609 333 - \251 08/11 BMW AG
Page 96 of 314
95
Controls overview
Controls
3.
"Brightness"
4. Turn the controller until the desired setting
is selected.
5. Press the controller.
The setting is stored for the remote control cur-
rently in use. In bright conditions, for example,
the brightness control may not be clearly visi-
ble.
Online Edition for Part no. 01 40 2 609 333 - \251 08/11 BMW AG
Page 112 of 314

111
Lamps
Controls
Welcome lamps
If you leave the light switch in position
2 or 3
when you park the car, the parking lamps and
the interior lamps light up briefly when you
unlock the vehicle.
Activating/deactivating welcome
lamps
1. "Settings"
2. "Lighting"
3. "Welcome light"
The setting is stored for the remote control cur-
rently in use.
Pathway lighting
If the headlamp flasher is activated after switch-
ing off the ignition with the lamps switched off,
the low beams come on and remain on for a cer-
tain time.
Setting duration
1. "Settings"
2. "Lighting"
3. "Pathway light.:" 4.
Set a time of duration, or 0 s to deactivate
the function.
The setting is stored for the remote control cur-
rently in use.
Daytime running lights
The daytime running light s light up in switch
position 0, 1 and 3. They are less powerful than
the low beams.
The tail lamps may also light up.
Activating/deactivating daytime
running lights
1. "Settings"
2. "Lighting"
3. "Daytime running lamps"
The setting is stored for the remote control cur-
rently in use.
Online Edition for Part no. 01 40 2 609 333 - \251 08/11 BMW AG
Page 115 of 314

114
ControlsLamps
Activating via iDrive
1."Settings"
2. "Lighting"
3. "High beam assistant"
The setting is stored for the remote control cur-
rently in use.
Fog lamps
The parking lamps or low beams must
be switched on for the fog lamps to
operate. The green indicator lamp in
the instrument cluster lights up whenever the
fog lamps are on.
The fog lamps are switched off while you acti-
vate the headlamp flasher or switch on the high
beams.
If the automatic headla mp control is acti-
vated, the low beams will come on auto-
matically when you swit ch on the fog lamps.<
Instrument lighting
You can adjust the brightness of the instrument
lighting only when the pa rking lamps or the low
beams are switched on.
1. Push button 1 up or down repeatedly until
the appropriate symbol appears in the dis-
play, accompanied by the brightness set-
ting and scale the word "SET".
2. Press button 2.
3. Push button 1 up or down to select the
desired brightness level.
4. Press button 2.
The display again shows the outside tem-
perature and the time.
Interior lamps
The interior lamps, the footwell lamps, entry
lamps, cargo area lamp, and courtesy lamps are
controlled automatically.
The LEDs for the courtesy lamps are set in the
door handles and illuminate the ground in front
of the doors.
Online Edition for Part no. 01 40 2 609 333 - \251 08/11 BMW AG