2012 BMW 650I Control arm
[x] Cancel search: Control armPage 157 of 282

Settings for the map view
The settings are stored for the remote control
currently in use.
1.
"Navigation"
2. "Map"
3. Open "Options".
4. "Settings"
Set the map view.
▷ "Day/night mode"
Select and create the necessary settings
depending on the light conditions.
"Traffic conditions/gray map" active: the
setting is disregarded.
▷ "Satellite images"
Depending on availability and resolution,
satellite images* are displayed in a scale of
approx. 1 mile to 600 miles/2 km to
1,000 km.
▷ "Perspective view in 3D"
Prominent areas that are contained in the
navigation data are displayed on the map in
3D.
▷ "Traffic conditions/gray map"
The map is optimized for displaying traffic
bulletins,
refer to page 157. Symbols for the
special destinations are no longer displayed.
Map view for split screen
The map view can be selected for the split
screen independently from the main screen.
1. Open "Options".
2. "Split screen"
3. Move the controller to the right repeatedly
until the split screen is selected.
4. Select "Split screen content" or the scale.
5. Select the map view.
▷"Arrow display"
▷ "Map facing north"
▷ "Map direction of travel"
▷ "Map view with perspective"
▷ "Position" ▷
"Exit ramp view": selected blind drive‐
ways
are displayed three dimensionally.
Setting in some cases will affect the dis‐
play in the Head-Up Display*.
▷ "Traffic conditions/gray map"
6. To change the scale: select the split screen
and turn the controller.
Traffic bulletins*
At a glance
▷ Display the traffic bulletins from radio sta‐
tions that broadcast the TI Traffic Informa‐
tion
of a traffic information service. Informa‐
tion on traffic obstructions and hazards is
updated continuously.
Certain BMW models equipped with navi‐
gation have the capability to display real-
time traffic information. If your system has
this capability the following additional terms
and conditions apply:
An End-User shall no longer have the right
to use the Traffic Data in the event that the
End-User is in material breach of the terms
and conditions contained herein.
A. Total Traffic Network, a division of Clear
Channel Broadcasting, Inc. (“Total Traffic
Network”) holds the rights to the traffic in‐
cident data and RDS-TMC network through
which it is delivered. You may not modify,
copy, scan or use any other method to re‐
produce, duplicate, republish, transmit or
distribute in any way any portion of traffic in‐
cident data. You agree to indemnify, defend
and hold harmless BMW of North America,
LLC. (“BMW NA”) and Total Traffic Net‐
work, Inrix, Inc (and their affiliates) against
any and all claims, damages, costs or other
expenses that arise directly or indirectly out
of (a) your unauthorized use of the traffic in‐
cident data or the RDS-TMC network, (b)
your violation of this directive and/or (c) any
unauthorized or unlawful activities by you in
connection herewith.
Seite 157
157Online Edition for Part no. 01 40 2 606 521 - 03 11 490
Reference Mobility Communication Entertainment
Navigation Driving tips Controls At a glance
Page 181 of 282

3.
"Storing..." 4.
"Cancel storing"
The storage process is interrupted and can be
continued at any time.
Continuing the storage process
1. "CD/Multimedia"
2. "CD/DVD"
3. Select the symbol for the CD/DVD player.
4. "Continue storing"
Storage of the CD/DVD continues at the begin‐
ning of the track at which storage was inter‐
rupted.
Album information
During
storage, information such as the name of
the artist is stored with the track, if this informa‐
tion is available in the vehicle database or on the
CD.
To update the database, contact your service
center.
Storing from a USB device
To store music, a suitable device must be con‐
nected to the USB interface in the glove com‐
partment.
▷ Suitable devices: USB mass storage devi‐
ces,
such as USB flash drives or MP3 players
with a USB interface.
▷ Unsuitable devices: USB hard drives, USB
hubs, USB memory card readers with mul‐
tiple
inserts, Apple iPod/iPhone. Music from
the Apple iPod/iPhone can be played via the
USB audio interface in the center armrest. 1.
Connect the USB device to the USB inter‐
face in the glove compartment, refer to
page 132.
2. "CD/Multimedia"
3. "Music collection"
4. Open "Options".
5. "Music data import/export"
6. "Import music (USB)" Playing music
Music search
All tracks for which additional information has
been stored can be accessed by the music
search. Tracks without additional information
can be called up via the corresponding album,
refer to page
182.
1. "CD/Multimedia"
2. "Music collection"
3. "Music search" Seite 181
181Online Edition for Part no. 01 40 2 606 521 - 03 11 490
Reference Mobility Communication
Entertainment Navigation Driving tips Controls At a glance
Page 185 of 282

Connect the headphones or line-out connector
of the device to the jack plug.
Playback
1.
Connect the audio device, switch it on and
select a track on the audio device.
2. "CD/Multimedia"
3. If necessary "External devices".
4. "AUX front"
Volume
The volume of the sound output is dependent
on the audio device. If this volume differs mark‐
edly
from the volume of the other audio sources,
it is advisable to adjust the volumes.
Adjusting the volume
1. "CD/Multimedia"
2. If necessary "External devices".
3. "AUX front"
4. "Volume" 5.
Turn the controller until the desired volume
is set and press the controller.
USB audio interface*/mobile phone
audio interface
*
At a glance
It is possible to connect external audio devices.
They can be operated via iDrive. The sound is
output on the vehicle loudspeakers.
Connectors for external devices
▷ Connection via USB audio interface: Apple
iPod/iPhone, USB devices, e.g., MP3 play‐ ers, USB flash drives, or mobile phones that
are supported by the USB audio interface.
▷ Connection via snap-in adapter when equip‐
ped
with extended connectivity of the music
player in the mobile phone: Apple iPhone or
mobile phones.
Due to the large number of different audio devi‐
ces
available on the market, it cannot be ensured
that every audio device/mobile phone is opera‐
ble on the vehicle.
Ask your service center about suitable audio de‐
vices/mobile phones.
Audio files
Standard audio files can be played back:
▷ MP3.
▷ WMA.
▷ WAV (PCM).
▷ AAC*, M4A*.
▷ Playback lists: M3U, WPL, PLS.
Connection of Apple iPod/iPhone via
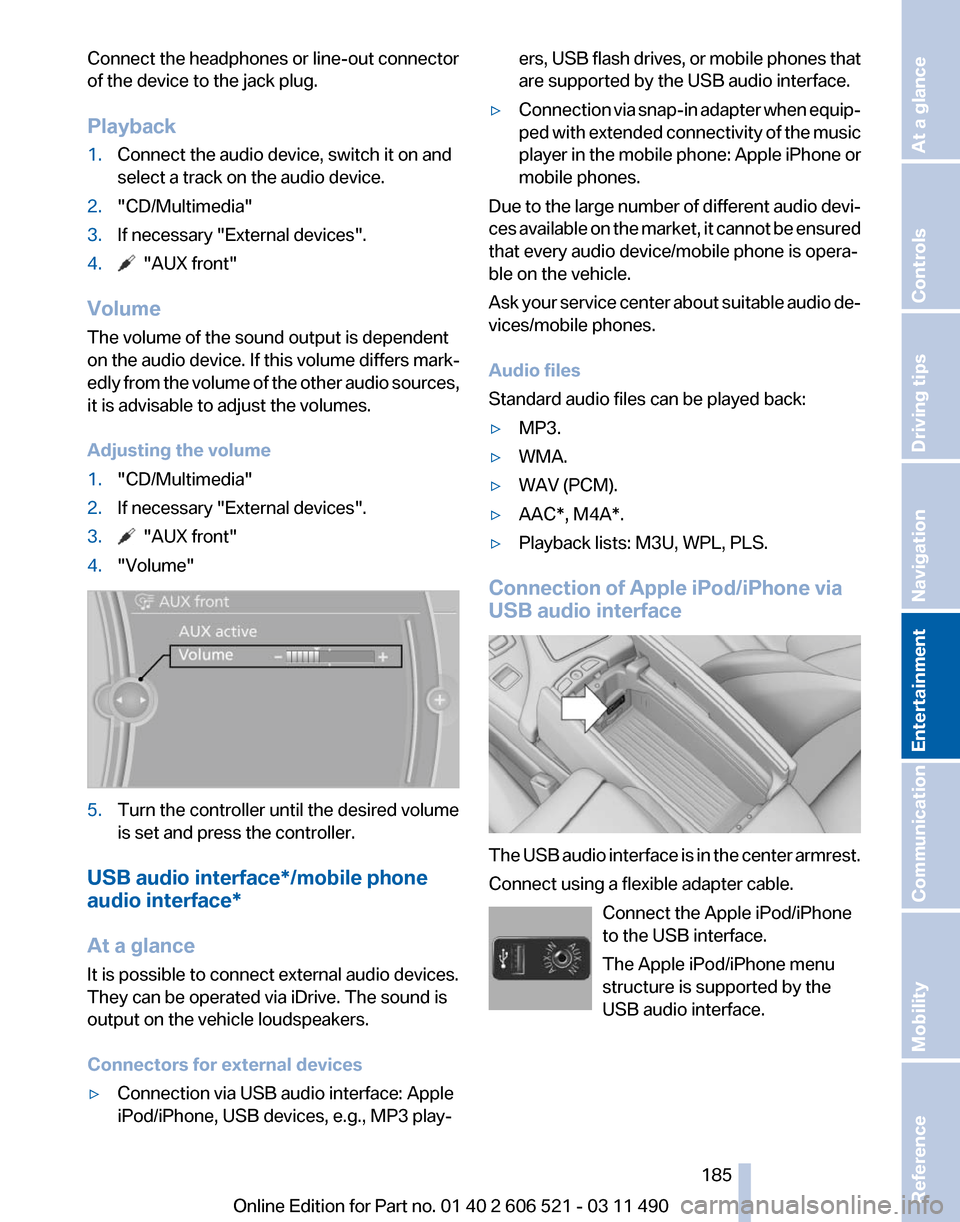
USB audio interface The USB audio interface is in the center armrest.
Connect using a flexible adapter cable.
Connect the Apple iPod/iPhone
to the USB interface.
The Apple iPod/iPhone menu
structure is supported by the
USB audio interface. Seite 185
185Online Edition for Part no. 01 40 2 606 521 - 03 11 490
Reference Mobility Communication
Entertainment Navigation Driving tips Controls At a glance
Page 191 of 282

▷
Adjust the volume settings on the device.
Playback is disturbed when buttons are pressed
or by other messages on the device.
▷ Switch off the button tones and other signal
tones on the device.
Playback is interrupted by a telephone call or
traffic bulletin and is not resumed automatically.
▷ Switch the radio off and on again.
Playback is not possible if the mobile phone is
connected
both via Bluetooth Audio and via the
extended connectivity of the music player in the
mobile phone*.
▷ Disconnect one of the two connections; for
example, disconnect the audio connection,
refer to page 190, and restart playback.
If all points in this list have been checked and the
required function is still not available, please
contact the hotline or service center.
Software Update*
The vehicle supports various external devices
depending
on the current software version. With
a software update, the vehicle can support new
cell phones* or new external devices*.
The updating of the software is done via:
▷ USB*.
Updates and related current information is
available at www.bmw.com/update.
▷ TeleService*.
Existing
software can be updated directly via
the vehicle.
Displaying the current version
The currently installed software is displayed.
1. "Settings"
2. "Software update"
3. "Show current version"
SelectDesired version* to displayAdditional in‐
formation*.
Updating software via USB
*
The software may only be updated when the ve‐
hicle is stationary. 1.
Store the file for the software-update in the
main director of a USB flash drive.
2. Insert the USB flash drive into the USB in‐
terface of the USB audio interface in the
center armrest. An update via the USB in‐
terface
in the glove compartment is not pos‐
sible.
3. "Settings"
4. "Software update"
5. "Update software" 6.
If necessary. "USB".
7. "Start update"
8. "OK"
All listed software updates are installed.
Updating software via
TeleService*
The software may only be updated when the ve‐
hicle is stationary.
1. Switch on the ignition.
2. "Settings"
3. "Software update"
4. "Update software"
5. If necessary "TeleService".
6. If necessary, "Start update".
7. "Start update"
8. "OK"
All listed software updates are installed.
To interrupt updating:
"Cancel".
Restoring the previous version
If it should become necessary, the software ver‐
sion prior to the last software update can be re‐
stored.
Seite 191
191Online Edition for Part no. 01 40 2 606 521 - 03 11 490
Reference Mobility Communication
Entertainment Navigation Driving tips Controls At a glance
Page 205 of 282

Adjusting the volume
Turn the knob during an announcement.
▷
The volume remains constant even if the
volume of other audio sources is changed.
▷ The volume is stored for the remote control
currently in use.
Notes
Do not use the voice operation to initiate an
Emergency
Request. In stressful situations, the
voice and vocal pitch can change. This can un‐
necessarily delay the establishment of a tele‐
phone connection.
Instead, use the SOS button*, refer to
page 248, in the vicinity of the interior mirror.
Environmental conditions
▷ Say the commands, numbers, and letters
smoothly and with normal volume, empha‐
sis, and speed.
▷ Always say commands in the language of
the system. The language for the mobile
phone voice operation is preset and cannot
be changed in the Control Display.
▷ Keep the doors, windows, and convertible
top closed to prevent noise interference.
▷ Avoid making other noise in the vehicle
while speaking.
Snap-in adapter*
Installation position
In the center armrest. Inserting the snap-in adapter
1.
Press the button and remove the cover. 2.
Insert the snap-in adapter at the front, ar‐
row 1, and press down, arrow 2, until it en‐
gages. Inserting the mobile phone
1.
Depending on the mobile phone, remove
the protective cap from the antenna con‐
nector of the mobile phone.
2. Slide the mobile phone with the buttons fac‐
ing up in the direction of the electrical con‐
nections, arrow 1, and push downward, ar‐
row 2 until it engages. Seite 205
205Online Edition for Part no. 01 40 2 606 521 - 03 11 490
Reference Mobility
Communication Entertainment Navigation Driving tips Controls At a glance
Page 229 of 282

Wheels and tires
Tire inflation pressure
Safety information
The tire characteristics and tire inflation pres‐
sure influence the following:
▷
The service life of the tires.
▷ Road safety.
▷ Driving comfort.
Checking the pressure
Only check the tire inflation pressure when the
tires are cold. This means after driving no more
than 1.25 miles/2 km or when the vehicle has
been
parked for at least 2 hours. When the tires
are warm, the tire inflation pressure is higher.
Check the tire inflation pressure regularly
Regularly check the tire inflation pressure
and correct it as needed: at least twice a month
and before a long trip. If you fail to observe this
precaution, you may be driving on tires with in‐
correct tire pressures, a condition that may not
only compromise your vehicle's driving stability,
but also lead to tire damage and the risk of an
accident.◀
After correcting the tire inflation pressure, rein‐
itialize the Flat Tire Monitor.
After correcting the tire inflation pressure, rein‐
itialize the Tire Pressure Monitor.
Pressure specifications
The tire inflation pressure table, refer to
page 230, contains all pressure specifications
for the specified tire sizes at the ambient tem‐
perature. Pressure specifications apply to ap‐
proved tire sizes and recommended tire brands.
This information can be obtained from your
service center.
To identify the correct tire inflation pressure,
please note the following:
▷ Tire sizes of your vehicle.
▷ Vehicle load. ▷
Maximum allowable driving speed.
Tire inflation pressures up to 100 mph/
160 km/h
For speeds of up to 100 mph/160 km/h and for
optimum
driving comfort, note the pressure val‐
ues in the tire inflation pressure table, refer to
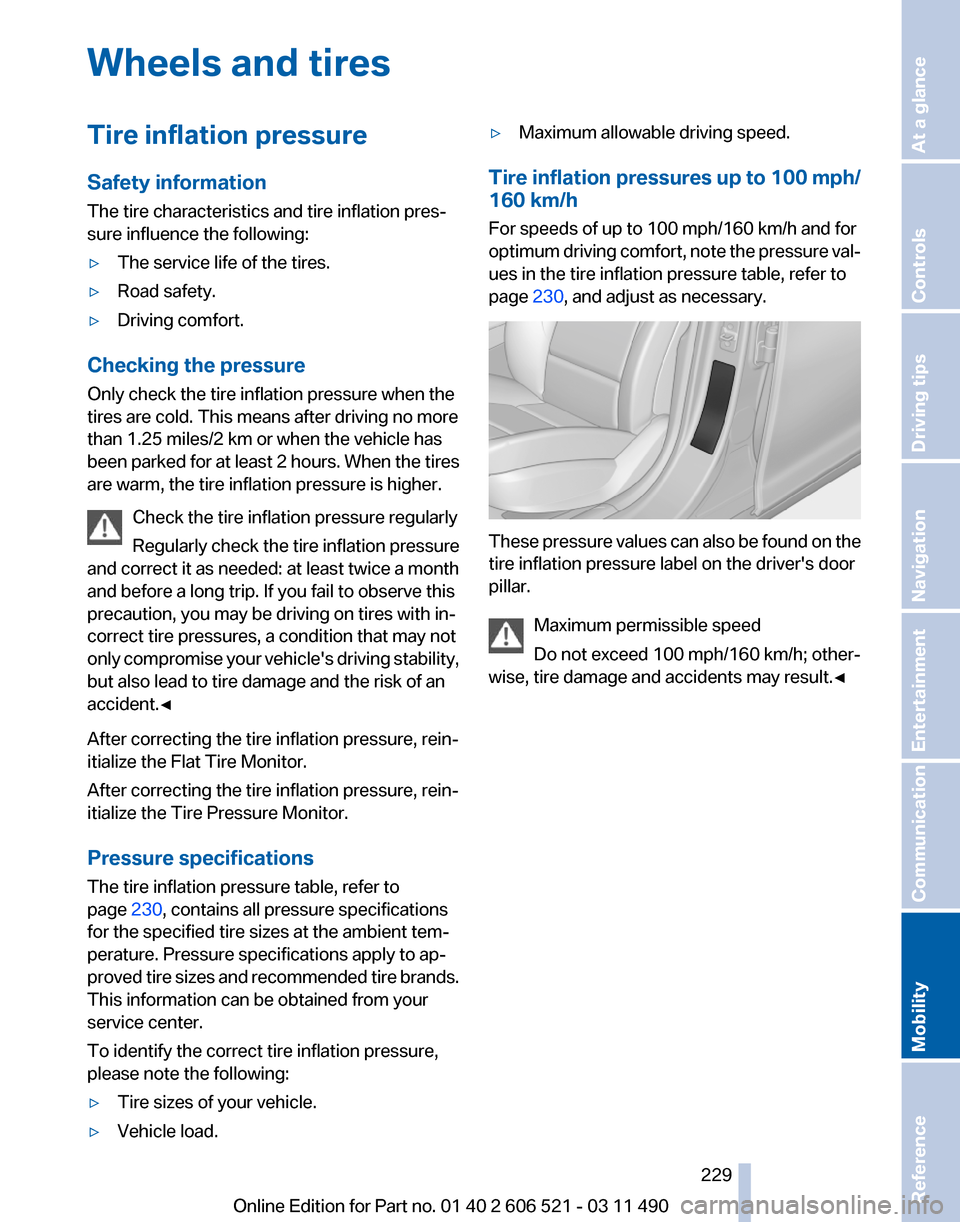
page 230, and adjust as necessary. These pressure values can also be found on the
tire inflation pressure label on the driver's door
pillar.
Maximum permissible speed
Do not exceed 100 mph/160 km/h; other‐
wise, tire damage and accidents may result.
◀ Seite 229
229Online Edition for Part no. 01 40 2 606 521 - 03 11 490
Reference
Mobility Communication Entertainment Navigation Driving tips Controls At a glance
Page 238 of 282

Engine oil
General information
The
engine oil consumption is dependent on the
driving style and driving conditions.
Therefore, check the engine oil level after every
refueling using the electronic engine oil level
check.
Checking the oil level
The concept
The oil level is monitored electronically and dis‐
played on the Control Display.
Requirements
▷ The engine must be running and warm after
the vehicle has been driven for at least
6 miles/10 km.
▷ The vehicle is stopped or being driven on a
level roadway.
Displaying the oil level
1. "Vehicle Info"
2. "Vehicle status"
3. "Engine oil level" Possible messages
▷
"Engine oil level OK"
▷ "Measurement not possible at this time."
▷ "Measuring engine oil level..."
Duration with the engine running: ap‐
prox. 3 minutes. Duration while driving: approx. 5 minutes.
▷ "Engine oil level below minimum. Add 1
quart!"
Add oil within the next 125 miles/200 km.
▷ "Engine oil level too high! Have this
checked."
Have the vehicle checked immediately.
Too much engine oil
Have the vehicle checked immedi‐
ately; otherwise, surplus oil can lead to en‐
gine damage.
◀ ▷
"Measurement inactive. Have this
checked."
Note the newly calculated remaining mile‐
age until the next oil service. Have the sys‐
tem checked as soon as possible.
Adding engine oil
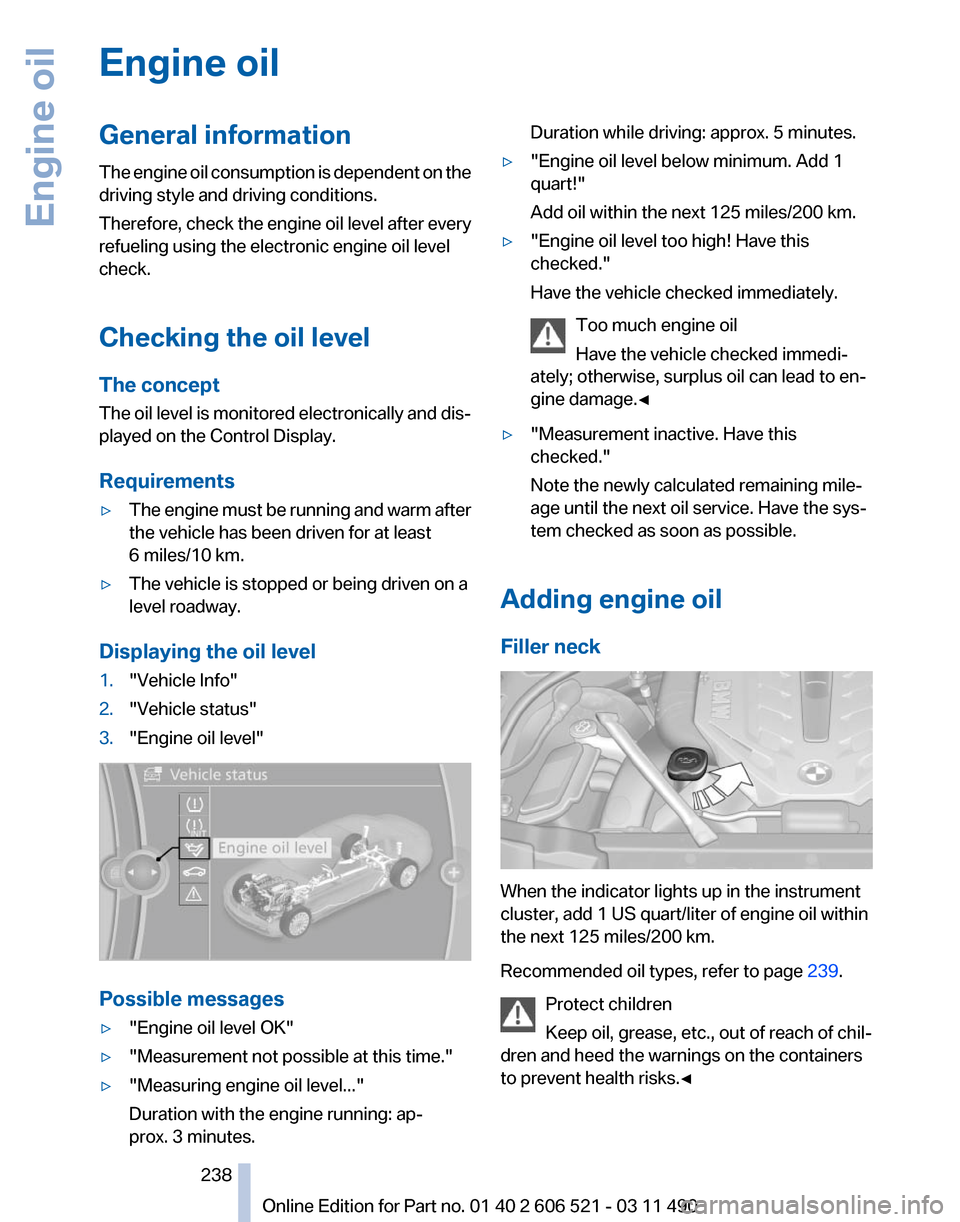
Filler neck When the indicator lights up in the instrument
cluster, add 1 US quart/liter of engine oil within
the next 125 miles/200 km.
Recommended oil types, refer to page
239.
Protect children
Keep oil, grease, etc., out of reach of chil‐
dren and heed the warnings on the containers
to prevent health risks.◀ Seite 238
238 Online Edition for Part no. 01 40 2 606 521 - 03 11 490Engine oil
Page 239 of 282

Oil types
Note
No oil additives
Oil
additives may lead to engine damage.◀
Approved oil types
Your service center can advise you on which en‐
gine oils have been approved by the manufac‐
turer of your vehicle.
The engine oil quality is critical for the life of the
engine.
Only use approved BMW High Performance oil.
Approved oils belong to the viscosity grades
SAE 0W-40, SAE 0W-30, SAE 5W-40 and SAE
5W-30.
Alternative oil types
If the approved engine oils are not available, up
to 1 US quart/liter of another oil with the follow‐
ing specification may be used.
API SM quality standards or higher. Coolant
General information
Danger of burns from hot engine
Do not open the cooling system while the
engine is hot; otherwise, escaping coolant may
cause burns.◀ Suitable additives
Only
use suitable additives; otherwise, en‐
gine damage may occur. The additives are
harmful to your health.◀
Coolant consists of water and additives.
Not all commercially available additives are suit‐
able for your vehicle. Ask your service center for
suitable additives.
Coolant level
Checking
1. Let the engine cool.
2. Turn the cap of the coolant reservoir slightly
counterclockwise
to allow any excess pres‐
sure to dissipate, and then open it. 3.
The coolant level is correct if it lies between
the minimum and maximum marks in the
filler neck. 4.
If the coolant is low, slowly add coolant up to
the specified level; do not overfill.
5. Turn the cap until there is an audible click.
6. Have the cause of the coolant loss elimi‐
nated as soon as possible. Seite 239
239Online Edition for Part no. 01 40 2 606 521 - 03 11 490
Reference
Mobility Communication Entertainment Navigation Driving tips Controls At a glance