2012 BMW 650I navigation system
[x] Cancel search: navigation systemPage 41 of 282
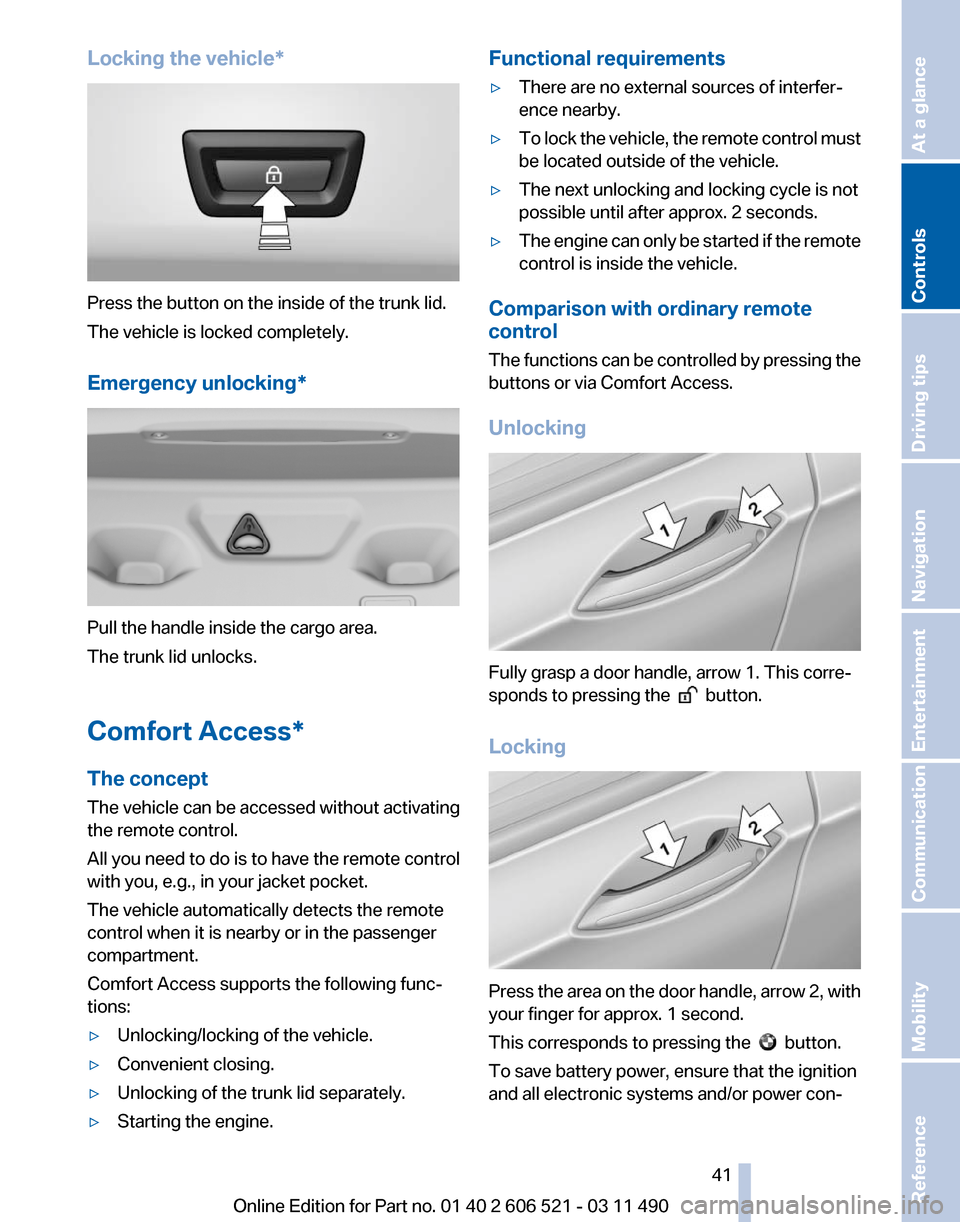
Locking the vehicle*
Press the button on the inside of the trunk lid.
The vehicle is locked completely.
Emergency unlocking*
Pull the handle inside the cargo area.
The trunk lid unlocks.
Comfort Access*
The concept
The vehicle can be accessed without activating
the remote control.
All you need to do is to have the remote control
with you, e.g., in your jacket pocket.
The vehicle automatically detects the remote
control when it is nearby or in the passenger
compartment.
Comfort Access supports the following func‐
tions:
▷
Unlocking/locking of the vehicle.
▷ Convenient closing.
▷ Unlocking of the trunk lid separately.
▷ Starting the engine. Functional requirements
▷
There are no external sources of interfer‐
ence nearby.
▷ To lock the vehicle, the remote control must
be located outside of the vehicle.
▷ The next unlocking and locking cycle is not
possible until after approx. 2 seconds.
▷ The engine can only be started if the remote
control is inside the vehicle.
Comparison with ordinary remote
control
The
functions can be controlled by pressing the
buttons or via Comfort Access.
Unlocking Fully grasp a door handle, arrow 1. This corre‐
sponds to pressing the
button.
Locking Press the area on the door handle, arrow 2, with
your finger for approx. 1 second.
This corresponds to pressing the
button.
To save battery power, ensure that the ignition
and all electronic systems and/or power con‐
Seite 41
41Online Edition for Part no. 01 40 2 606 521 - 03 11 490
Reference Mobility Communication Entertainment Navigation Driving tips
Controls At a glance
Page 43 of 282

Switching off the alarm
▷
Unlock the vehicle using the remote control.
▷ With Comfort Access: If you are carrying the
remote control with you, pull on the door
handle.
Indicator lamp on the interior rearview
mirror ▷
The indicator lamp flashes briefly every
2 seconds:
The system is armed.
▷ The indicator lamp flashes after locking:
The doors, hood or trunk lid is not closed
properly, but the rest of the vehicle is se‐
cured.
After
10 seconds, the indicator lamp flashes
continuously. The interior motion sensor is
not active.
▷ The indicator lamp goes out after unlocking:
The vehicle has not been tampered with.
▷ The indicator lamp flashes after unlocking
until
the engine is started, but no longer than
approx. 5 minutes:
An alarm has been triggered.
Tilt alarm sensor
The tilt of the vehicle is monitored.
The alarm system responds in situations such
as attempts to steal a wheel or tow the car.
Interior motion sensor
The
interior is monitored to the height of the seat
cushions. The alarm system is armed together
with the interior motion sensor even when the convertible top is open. Falling objects such as
leaves can trigger the alarm unintentionally.
Avoiding unintentional alarms
The
tilt alarm sensor and interior motion sensor
can be switched off together, such as in the fol‐
lowing situations:
▷ In automatic car washes
▷ In duplex garages.
▷ During transport on car-carrying trains, at
sea or on a trailer.
▷ When animals are to remain in the vehicle.
Switching off the tilt alarm sensor and
interior motion sensor Press the button on the remote control
twice in succession.
The indicator lamp lights up for approx. 2 sec‐
onds and then flashes continuously.
The
tilt alarm sensor and interior motion sensor
are switched off until the vehicle is locked again.
Power windows
General information
Take the remote control with you
Take the remote control with you when
leaving the vehicle so that children, for example,
cannot operate the power windows and injure
themselves.◀
Closing the windows when driving
To close the side windows when driving,
first close the rear windows or all four windows
at the same time; otherwise, the windows may
not close tightly at high speeds.◀ Seite 43
43Online Edition for Part no. 01 40 2 606 521 - 03 11 490
Reference Mobility Communication Entertainment Navigation Driving tips
Controls At a glance
Page 45 of 282
wise, the closing action may not stop in certain
situations, e.g., if thin objects are present.
◀
Window accessories
Do not install any accessories in the range
of movement of the windows; otherwise, the
pinch protection system will be impaired.◀
Closing without the pinch protection
system
Danger of pinching
Monitor the closing process and make
sure that the closing path of the window is clear;
otherwise, injuries may result.◀
For example, if there is an external danger or if
ice on the windows prevents a window from
closing normally, proceed as follows:
1. Pull the switch past the resistance point and
hold it there.
Pinch protection is limited and the window
reopens
slightly if the closing force exceeds
a certain value.
2. Pull the switch past the resistance point
again within approx. 4 seconds and hold it
there.
The window closes without pinch protec‐
tion.
Convertible top
General information
The convertible top can be opened or closed at
speeds up to approx. 25 mph/40 km/h.
If the vehicle is accelerated above a speed of
approx. 30 mph/50 km/h while the convertible
top is being moved, the convertible top move‐
ment stops.
Tips about the convertible top:
▷ If possible, close the convertible top when
the vehicle is parked. A closed convertible
top protects it from weather-related dam‐
age and to some extent from theft. ▷
Event when the convertible top is closed,
only
store valuables in the locked cargo area.
▷ At higher speeds, vacuum produced in the
passenger compartment cause the conver‐
tible top to begin to flatten. Increase the
amount
of air via the automatic climate con‐
trol so that no vacuum is produced in the ve‐
hicle.
Notes
The
trunk lid cannot be opened if the convertible
top is not fully opened or closed.
Safety information about the convertible
top
▷ With temperatures below +14 ℉/-10 ℃ do
not open the convertible top; otherwise
damages could result.
▷ Do not leave the open convertible top in the
convertible top well longer than one day
while the top is still wet; otherwise, damage
could result due to moisture.
▷ The convertible top pivots up during open‐
ing
and closing. When the top is moved, e.g.
in garages, make sure that there is a mini‐
mum height of 79 inches/2 meters; other‐
wise, it damages may result.
▷ Do not place any objects on the convertible
top, otherwise, they could fall and cause
damage or injuries.
▷ When the rollover protection system is ex‐
tended, do not under any circumstances
move the convertible top.
▷ Always open or close the convertible top
completely.
Convertible top and convertible
top well storage cover are locked in the final
positions. Driving with the convertible tope
or convertible top well storage cover un‐
locked can result in damage.
▷ Do not reach into the convertible top mech‐
anism
during the opening and closing oper‐
ation. Keep children away from the opening
path of the convertible top, otherwise, there
is a risk of injury. Seite 45
45Online Edition for Part no. 01 40 2 606 521 - 03 11 490
Reference Mobility Communication Entertainment Navigation Driving tips
Controls At a glance
Page 55 of 282
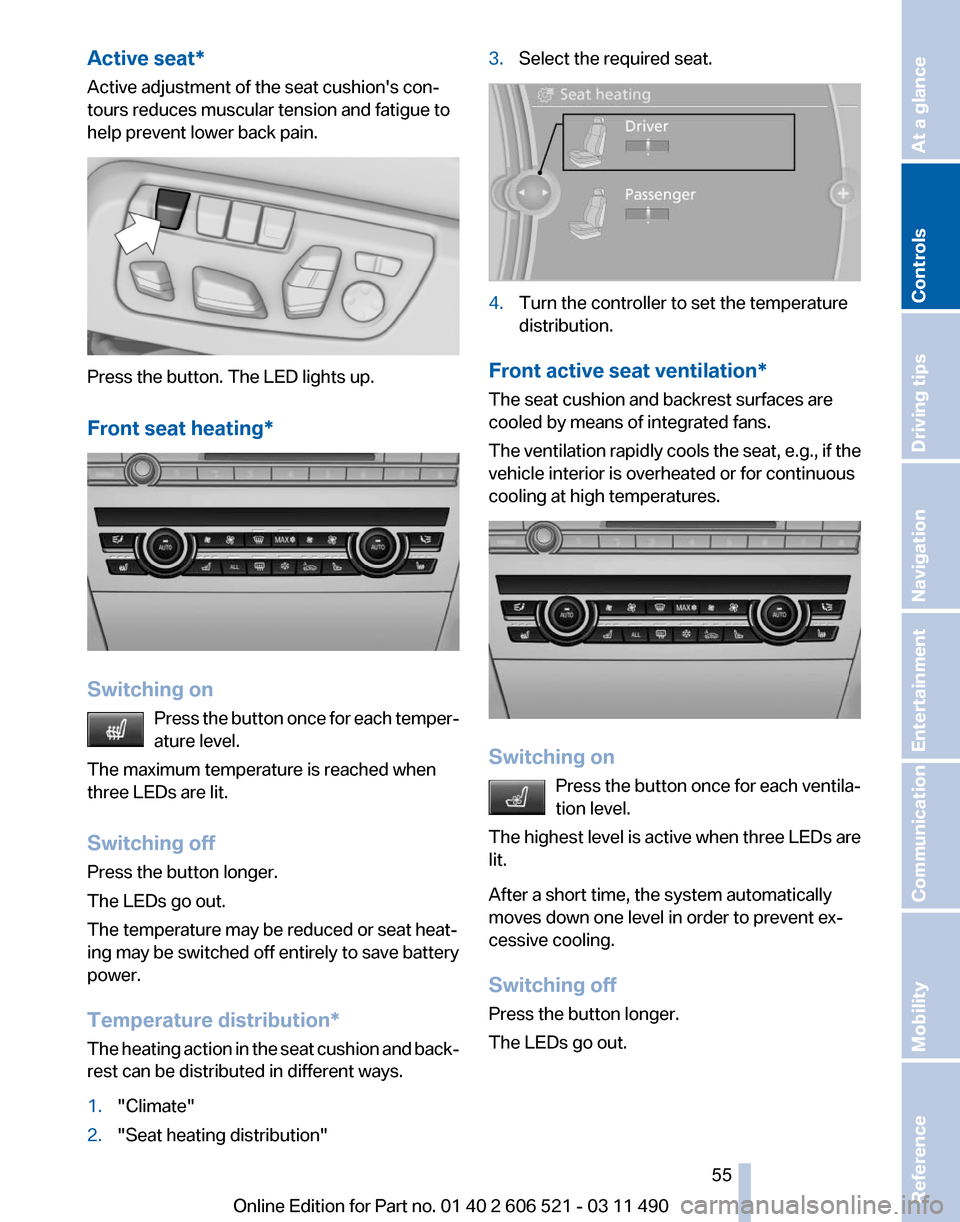
Active seat*
Active adjustment of the seat cushion's con‐
tours reduces muscular tension and fatigue to
help prevent lower back pain.
Press the button. The LED lights up.
Front seat heating
*Switching on
Press
the button once for each temper‐
ature level.
The maximum temperature is reached when
three LEDs are lit.
Switching off
Press the button longer.
The LEDs go out.
The temperature may be reduced or seat heat‐
ing may be switched off entirely to save battery
power.
Temperature distribution*
The heating action in the seat cushion and back‐
rest can be distributed in different ways.
1. "Climate"
2. "Seat heating distribution" 3.
Select the required seat. 4.
Turn the controller to set the temperature
distribution.
Front active seat ventilation*
The seat cushion and backrest surfaces are
cooled by means of integrated fans.
The
ventilation rapidly cools the seat, e.g., if the
vehicle interior is overheated or for continuous
cooling at high temperatures. Switching on
Press
the button once for each ventila‐
tion level.
The highest level is active when three LEDs are
lit.
After a short time, the system automatically
moves down one level in order to prevent ex‐
cessive cooling.
Switching off
Press the button longer.
The LEDs go out. Seite 55
55Online Edition for Part no. 01 40 2 606 521 - 03 11 490
Reference Mobility Communication Entertainment Navigation Driving tips
Controls At a glance
Page 63 of 282
width again and do not call up a memory posi‐
tion.
Backrest width for the child seat
Before installing a child restraint fixing
system
in the front passenger seat, the backrest
width must be opened completely. Do not
change the adjustment after this; otherwise, the
stability of the child seat will be reduced.◀
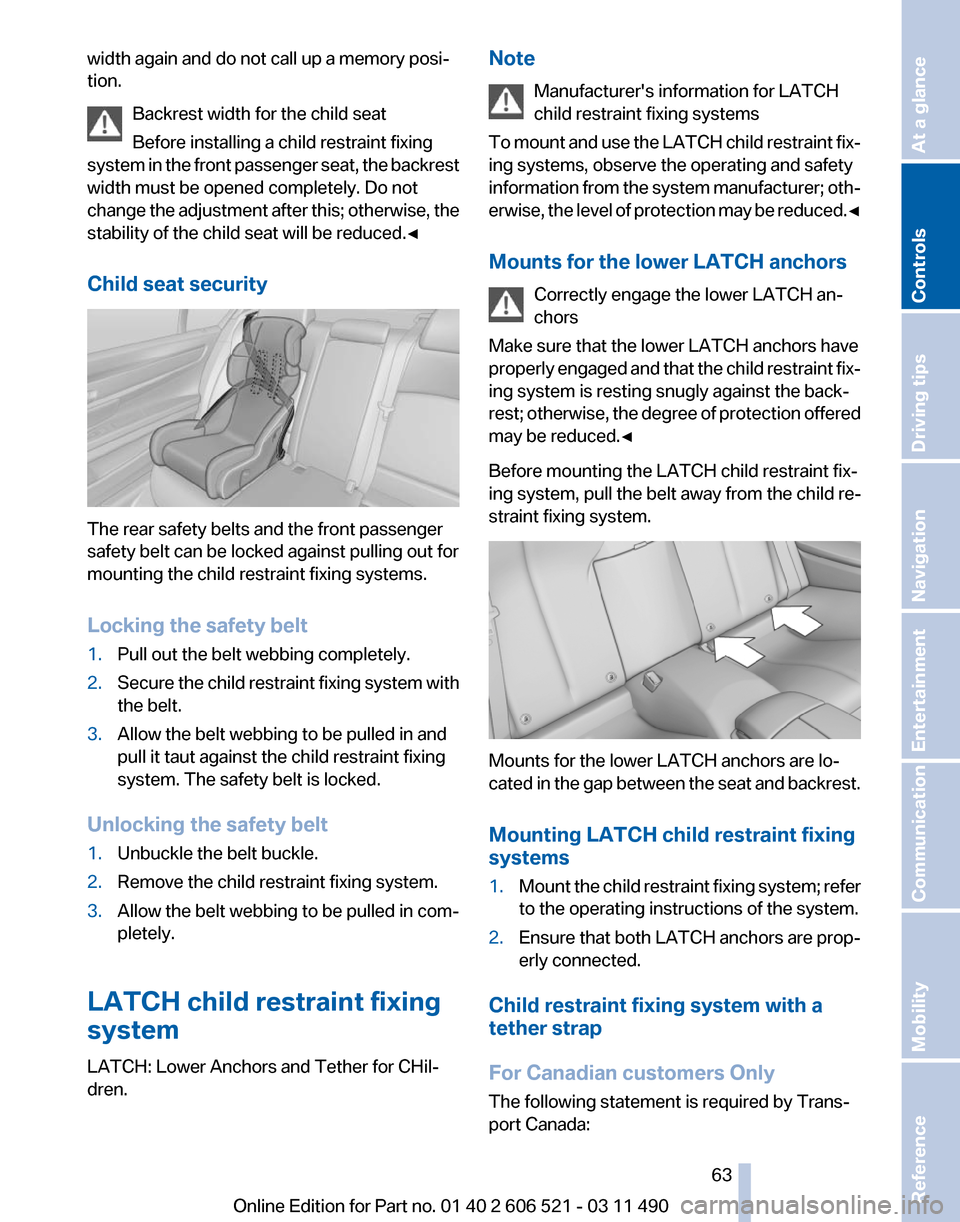
Child seat security The rear safety belts and the front passenger
safety belt can be locked against pulling out for
mounting the child restraint fixing systems.
Locking the safety belt
1.
Pull out the belt webbing completely.
2. Secure the child restraint fixing system with
the belt.
3. Allow the belt webbing to be pulled in and
pull it taut against the child restraint fixing
system. The safety belt is locked.
Unlocking the safety belt
1. Unbuckle the belt buckle.
2. Remove the child restraint fixing system.
3. Allow the belt webbing to be pulled in com‐
pletely.
LATCH child restraint fixing
system
LATCH: Lower Anchors and Tether for CHil‐
dren. Note
Manufacturer's information for LATCH
child restraint fixing systems
To
mount and use the LATCH child restraint fix‐
ing systems, observe the operating and safety
information from the system manufacturer; oth‐
erwise, the level of protection may be reduced.◀
Mounts for the lower LATCH anchors
Correctly engage the lower LATCH an‐
chors
Make sure that the lower LATCH anchors have
properly engaged and that the child restraint fix‐
ing system is resting snugly against the back‐
rest; otherwise, the degree of protection offered
may be reduced.◀
Before mounting the LATCH child restraint fix‐
ing system, pull the belt away from the child re‐
straint fixing system. Mounts for the lower LATCH anchors are lo‐
cated
in the gap between the seat and backrest.
Mounting LATCH child restraint fixing
systems
1. Mount the child restraint fixing system; refer
to the operating instructions of the system.
2. Ensure that both LATCH anchors are prop‐
erly connected.
Child restraint fixing system with a
tether strap
For Canadian customers Only
The following statement is required by Trans‐
port Canada: Seite 63
63Online Edition for Part no. 01 40 2 606 521 - 03 11 490
Reference Mobility Communication Entertainment Navigation Driving tips
Controls At a glance
Page 65 of 282

Driving
Start/Stop button
The concept
Pressing the Start/Stop button
switches
the ignition on or off and
starts the engine.
Automatic transmission*: the en‐
gine starts if the brake is de‐
pressed when the Start/Stop button is pressed.
Manual transmission: the engine starts if the
clutch is depressed when the Start/Stop button
is pressed.
Ignition on
Automatic transmission*: press the Start/Stop
button, and do not press on the brake pedal at
the same time.
Manual-shift transmission: press the Start/Stop
button, and do not press on the clutch pedal at
the same time.
All vehicle systems are ready for operation.
Most of the indicator and warning lamps in the
instrument cluster light up for varying lengths of
time.
To save battery power when the engine is off,
switch off the ignition and any unnecessary
electronic systems/power consumers.
The ignition switches off automatically:
▷ When the vehicle is locked, if the low beams
are switched on.
▷ Shortly before the battery is discharged
completely, so that the engine can still be
started.
▷ If the engine is switched off and the ignition
is switched on, the system automatically
switches to the radio ready state when the
door is opened if the lights are switched off
or the daytime running lights are switched
on. Ignition off
Automatic transmission*: press the Start/Stop
button again, and do not press on the brake
pedal at the same time.
Manual-shift
transmission: press the Start/Stop
button again, and do not press on the clutch
pedal at the same time.
All indicator lamps in the instrument cluster go
out.
To save battery power when the engine is off,
switch off the ignition and any unnecessary
electronic systems/power consumers.
Transmission position P with the ignition
off
When the ignition is switched off, position P is
engaged automatically. When in an automatic
car wash, for example, ensure that the ignition is
not switched off accidentally.◀
When the vehicle is locked using the central
locking system, the ignition switches off auto‐
matically.
Radio ready state
Activate radio ready state:
▷ When the ignition is switched off: press ON/
OFF button on the radio.
▷ When the engine is running: press START/
STOP button.
Some electronic systems/power consumers re‐
main ready for operation.
Radio ready state switches off automatically:
▷ After approx. 8 minutes.
▷ When the vehicle is locked using the central
locking system. Seite 65
65Online Edition for Part no. 01 40 2 606 521 - 03 11 490
Reference Mobility Communication Entertainment Navigation Driving tips
Controls At a glance
Page 67 of 282
Parking brake
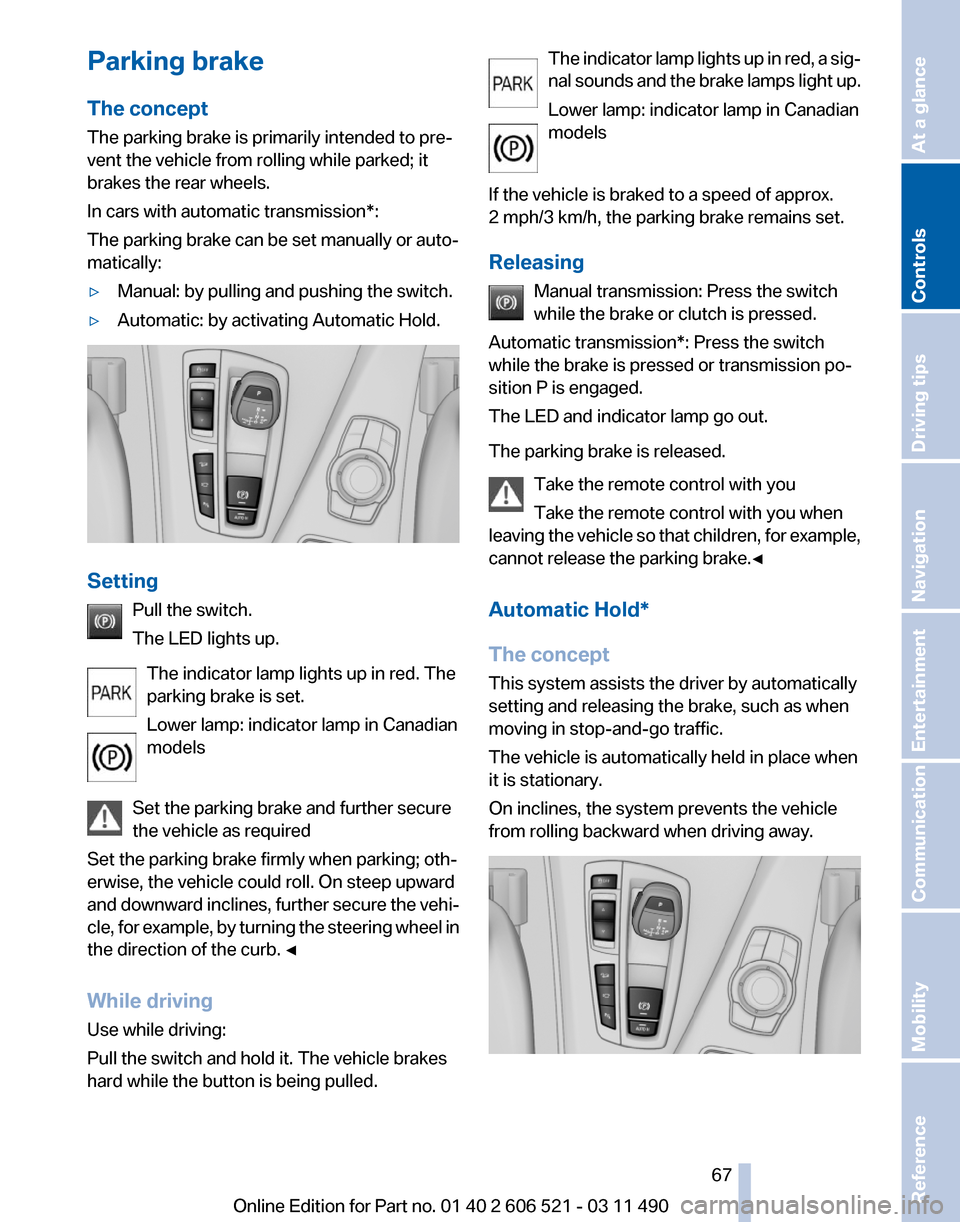
The concept
The parking brake is primarily intended to pre‐
vent the vehicle from rolling while parked; it
brakes the rear wheels.
In cars with automatic transmission*:
The parking brake can be set manually or auto‐
matically:
▷
Manual: by pulling and pushing the switch.
▷ Automatic: by activating Automatic Hold. Setting
Pull the switch.
The LED lights up.
The indicator lamp lights up in red. The
parking brake is set.
Lower lamp: indicator lamp in Canadian
models
Set the parking brake and further secure
the vehicle as required
Set the parking brake firmly when parking; oth‐
erwise, the vehicle could roll. On steep upward
and
downward inclines, further secure the vehi‐
cle, for example, by turning the steering wheel in
the direction of the curb. ◀
While driving
Use while driving:
Pull the switch and hold it. The vehicle brakes
hard while the button is being pulled. The indicator lamp lights up in red, a sig‐
nal
sounds and the brake lamps light up.
Lower lamp: indicator lamp in Canadian
models
If the vehicle is braked to a speed of approx.
2 mph/3 km/h, the parking brake remains set.
Releasing Manual transmission: Press the switch
while the brake or clutch is pressed.
Automatic transmission*: Press the switch
while the brake is pressed or transmission po‐
sition P is engaged.
The LED and indicator lamp go out.
The parking brake is released.
Take the remote control with you
Take the remote control with you when
leaving the vehicle so that children, for example,
cannot release the parking brake.◀
Automatic Hold*
The concept
This system assists the driver by automatically
setting and releasing the brake, such as when
moving in stop-and-go traffic.
The vehicle is automatically held in place when
it is stationary.
On inclines, the system prevents the vehicle
from rolling backward when driving away. Seite 67
67Online Edition for Part no. 01 40 2 606 521 - 03 11 490
Reference Mobility Communication Entertainment Navigation Driving tips
Controls At a glance
Page 69 of 282
Turn signal, high beams,
headlamp flasher
Turn signal
Using turn signals
Press the lever beyond the resistance point.
To
switch off manually, press the lever to the re‐
sistance point.
Unusually rapid flashing of the indicator lamp in‐
dicates that a turn signal bulb has failed.
Triple turn signal activation
Press the lever to the resistance point.
The turn signal flashes three times.
The function can be activated or deactivated:
1. "Settings"
2. "Lighting"
3. "Triple turn signal" Signaling briefly
Press the lever to the resistance point and hold
it
there for as long as you want the turn signal to
flash. High beams, headlamp flasher
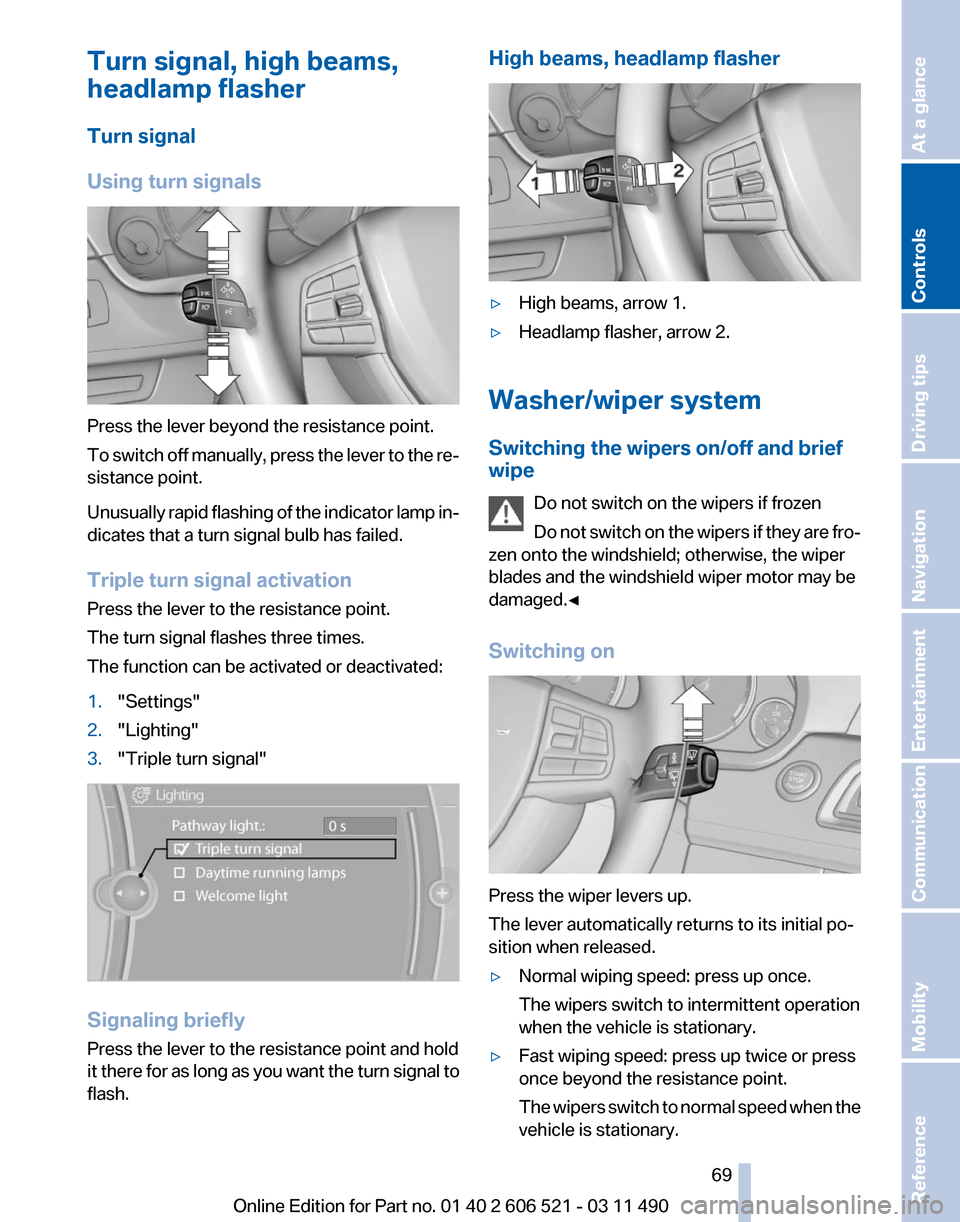
▷
High beams, arrow 1.
▷ Headlamp flasher, arrow 2.
Washer/wiper system
Switching the wipers on/off and brief
wipe Do not switch on the wipers if frozen
Do
not switch on the wipers if they are fro‐
zen onto the windshield; otherwise, the wiper
blades and the windshield wiper motor may be
damaged.◀
Switching on Press the wiper levers up.
The lever automatically returns to its initial po‐
sition when released.
▷
Normal wiping speed: press up once.
The wipers switch to intermittent operation
when the vehicle is stationary.
▷ Fast wiping speed: press up twice or press
once beyond the resistance point.
The
wipers switch to normal speed when the
vehicle is stationary. Seite 69
69Online Edition for Part no. 01 40 2 606 521 - 03 11 490
Reference Mobility Communication Entertainment Navigation Driving tips
Controls At a glance