2012 BMW 640I COUPE light
[x] Cancel search: lightPage 138 of 303
Ashtray/cigarette lighter
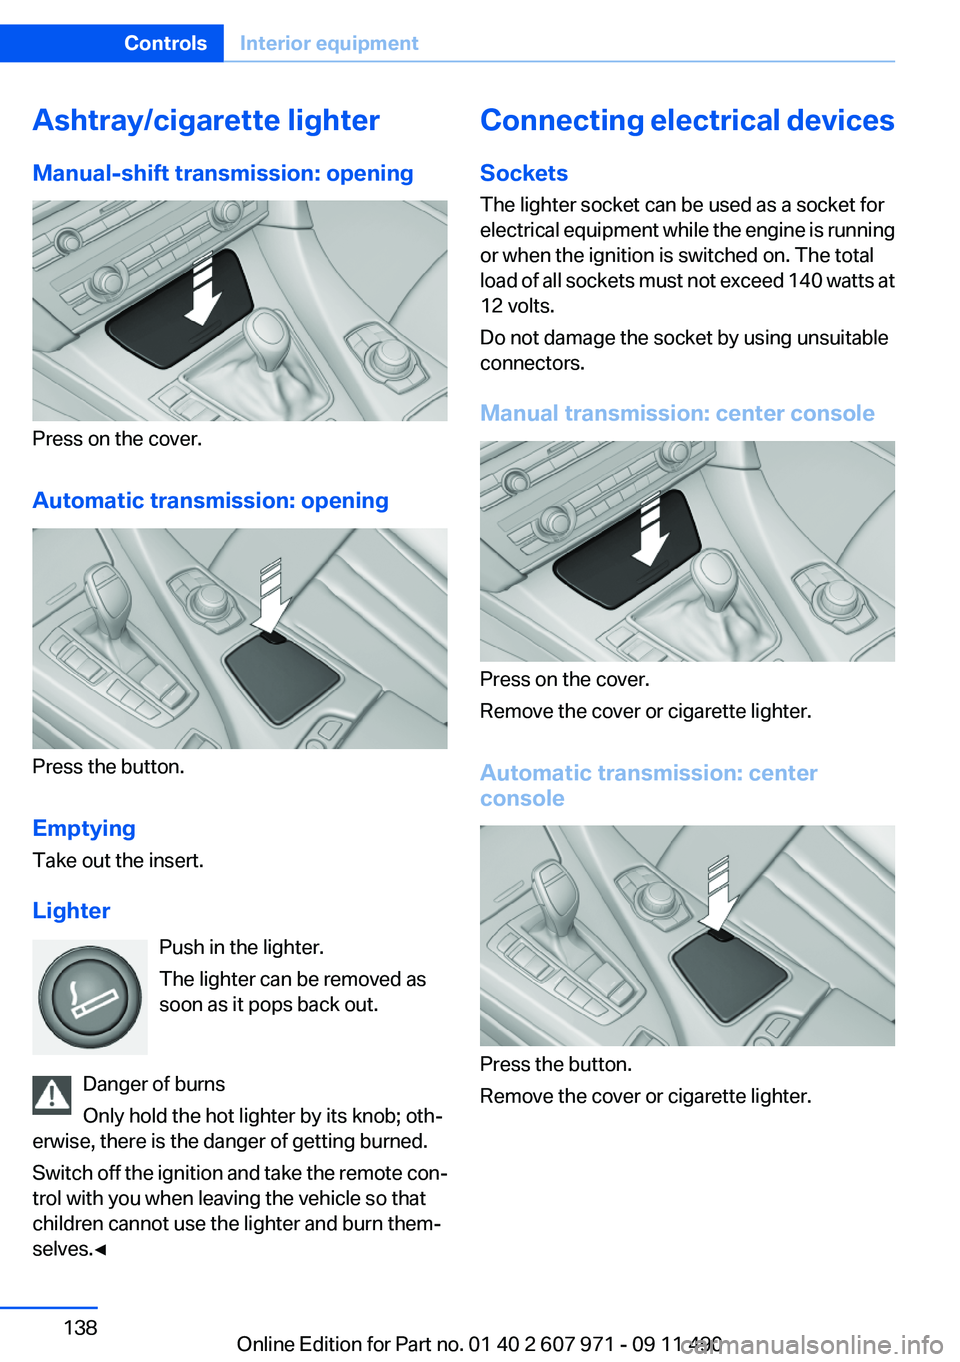
Manual-shift transmission: opening
Press on the cover.
Automatic transmission: opening
Press the button.
Emptying
Take out the insert.
Lighter Push in the lighter.
The lighter can be removed as
soon as it pops back out.
Danger of burns
Only hold the hot lighter by its knob; oth‐
erwise, there is the danger of getting burned.
Switch off the ignition and take the remote con‐
trol with you when leaving the vehicle so that
children cannot use the lighter and burn them‐
selves.◀
Connecting electrical devices
Sockets
The lighter socket can be used as a socket for
electrical equipment while the engine is running
or when the ignition is switched on. The total
load of all sockets must not exceed 140 watts at
12 volts.
Do not damage the socket by using unsuitable
connectors.
Manual transmission: center console
Press on the cover.
Remove the cover or cigarette lighter.
Automatic transmission: center
console
Press the button.
Remove the cover or cigarette lighter.
Seite 138ControlsInterior equipment138
Online Edition for Part no. 01 40 2 607 971 - 09 11 490
Page 141 of 303

Storage compartmentsVehicle equipment
All standard, country-specific and optional
equipment that is offered in the model series is
described in this chapter. Therefore, equipment
is also described that is not available in a vehicle,
e. g., because of the selected optional equip‐
ment or country variant. This also applies for
safety-related functions and systems.
Storage compartments
The following storage compartments are avail‐
able in the vehicle interior:▷Glove compartment on the front passenger
side, refer to page 141.▷Storage compartment on the center con‐
sole: manual transmission.▷Storage compartment in the center armrest,
refer to page 142.▷Compartments in the doors.▷Pockets on the backrests of the front seats.▷Net in the front passenger footwell.
No loose objects in the passenger com‐
partment
Do not stow any objects in the passenger com‐
partment without securing them; otherwise,
they may present a danger to occupants for in‐
stance during braking and avoidance maneu‐
vers.◀
Glove compartment
Opening
Pull the handle.
The light in the glove compartment switches on.
Close the glove compartment again im‐
mediately
Close the glove compartment immediately after
use while driving; otherwise, injury may occur
during accidents.◀
Closing
Fold up the cover.
USB interface for data transfer
Connection for importing and exporting data on
USB devices, e.g.:
▷Personal Profile settings, refer to page 31.▷Music collection, refer to page 194.
Observe the following when connecting:
Seite 141Storage compartmentsControls141
Online Edition for Part no. 01 40 2 607 971 - 09 11 490
Page 142 of 303

▷Do not use force when plugging the con‐
nector into the USB interface.▷Do not connect devices such as fans or
lamps to the USB interface.▷Do not connect USB hard drives.▷Do not use the USB interface to recharge
external devices.
Center armrest
Opening
A storage compartment is located in the center
armrest between the front seats.
Press the buttons next to the lock.
Locking the storage compartment
The storage compartment in the armrest can be
locked with an integrated key to separately se‐
cure the trunk lid, refer to page 38, for example.
After the storage compartment is locked, the re‐
mote control can be handed out without the
integrated key, refer to page 30, for instance at
a hotel.
This prevents access to the storage compart‐
ment and to the cargo area.
Connection for an external audio
device
This can be used to connect an external audio
device, such as an MP3 player.
▷AUX-IN port, refer to page 199.▷USB audio interface, refer to page 199.
Cupholders
Notes Shatter-proof containers and no hot
drinks
Use light and shatter-proof containers and do
not transport hot drinks. Otherwise, there is the
increased danger of injury in an accident.◀
Unsuitable containers
Do not forcefully push unsuitable contain‐
ers into the cupholders. This may result in dam‐
age.◀
Seite 142ControlsStorage compartments142
Online Edition for Part no. 01 40 2 607 971 - 09 11 490
Page 148 of 303
Do not place additional floor mats over existing
mats or other objects.
Only use floor mats that have been approved for
the vehicle and can be properly fixed in place.
Ensure that the floor mats are securely fastened
again after they were removed for cleaning, for
example.◀
Driving in wet conditions
When roads are wet or there is heavy rain, briefly
exert gentle pressure on the brake pedal every
few miles.
Ensure that this action does not endanger other
road users.
The heat generated in this process helps dry the
brake discs and pads.
In this way braking efficiency will be available
when you need it.
Hills
Drive long or steep downhill gradients in the gear
in which the least braking is required. Otherwise,
the brake system may overheat, resulting in a
reduction in the brake system efficiency.
Manual transmission:
You can increase the engine's braking effect by
shifting down, going all the way to first gear, if
necessary.
Automatic transmission:
You can increase the engine's braking effect by
shifting down in the manual mode of the auto‐
matic transmission, refer to page 66.
Avoid load on the brakes
Avoid placing excessive load on the brake
system. Light but consistent brake pressure can
lead to high temperatures, brake wear and pos‐
sibly even brake failure.◀Do not drive in neutral
Do not drive in neutral or with the engine
stopped, as doing so disables engine braking. In
addition, steering and brake assist is unavailable
with the engine stopped.◀
Brake disc corrosion
Corrosion on the brake discs and contamination
on the brake pads are furthered by:▷Low mileage.▷Extended periods when the vehicle is not
used at all.▷Infrequent use of the brakes.
Corrosion occurs when the minimum pressure
that must be exerted by the pads during brake
applications to clean the discs is not reached.
Should corrosion form on the brake discs, the
brakes will tend to respond with a pulsating ef‐
fect that generally cannot be corrected.
Condensation under the parked vehicle
When using the automatic climate control, con‐
densation water develops that exits underneath
the vehicle.
Therefore, traces of condensed water under the
vehicle are normal.
Seite 148Driving tipsThings to remember when driving148
Online Edition for Part no. 01 40 2 607 971 - 09 11 490
Page 150 of 303
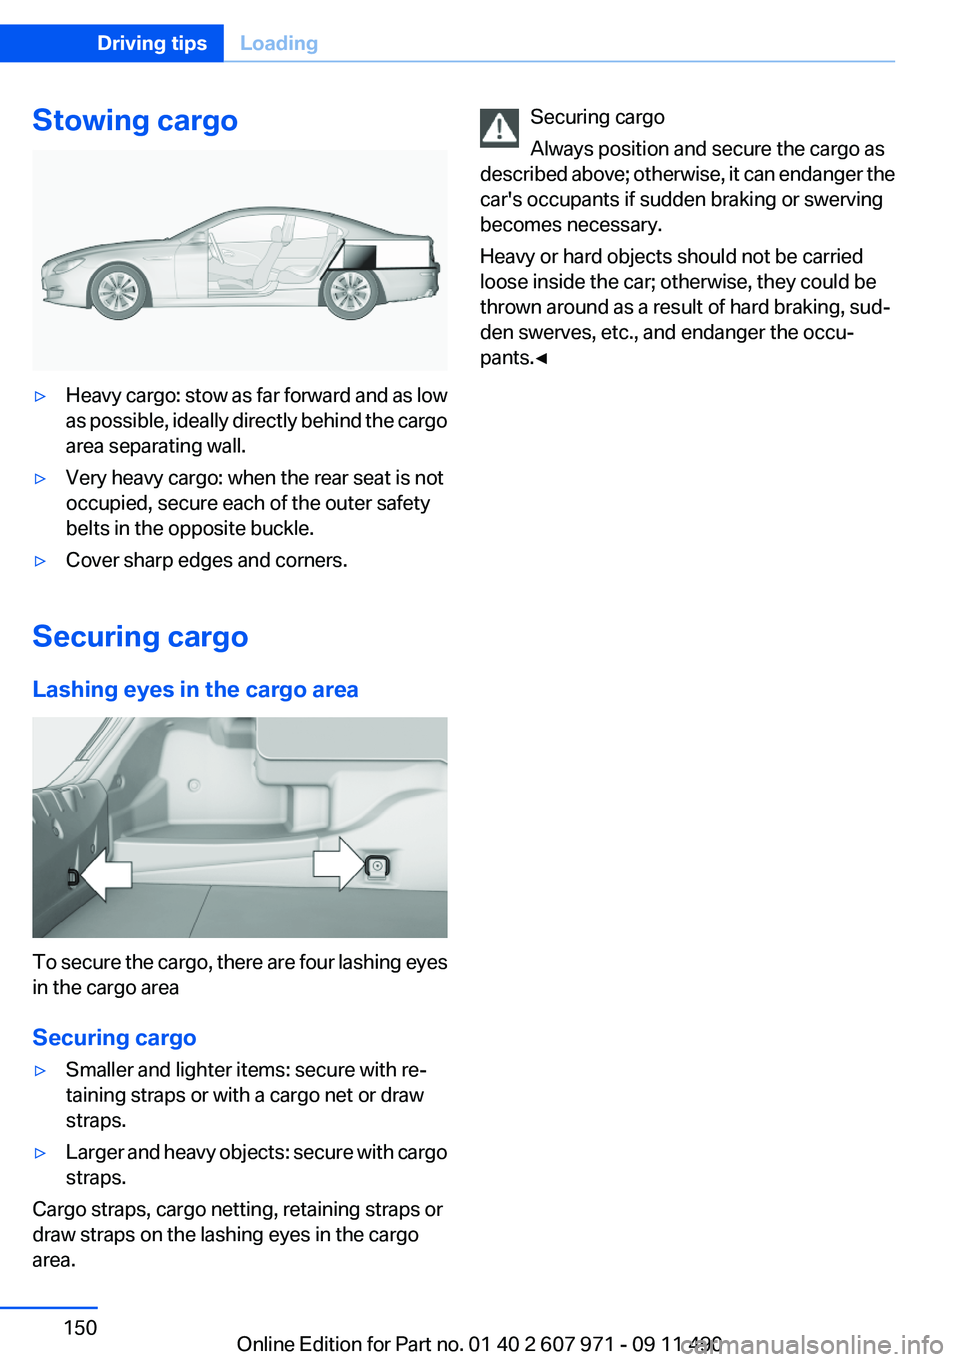
Stowing cargo▷Heavy cargo: stow as far forward and as low
as possible, ideally directly behind the cargo
area separating wall.▷Very heavy cargo: when the rear seat is not
occupied, secure each of the outer safety
belts in the opposite buckle.▷Cover sharp edges and corners.
Securing cargo
Lashing eyes in the cargo area
To secure the cargo, there are four lashing eyes
in the cargo area
Securing cargo
▷Smaller and lighter items: secure with re‐
taining straps or with a cargo net or draw
straps.▷Larger and heavy objects: secure with cargo
straps.
Cargo straps, cargo netting, retaining straps or
draw straps on the lashing eyes in the cargo
area.
Securing cargo
Always position and secure the cargo as
described above; otherwise, it can endanger the
car's occupants if sudden braking or swerving
becomes necessary.
Heavy or hard objects should not be carried
loose inside the car; otherwise, they could be
thrown around as a result of hard braking, sud‐
den swerves, etc., and endanger the occu‐
pants.◀Seite 150Driving tipsLoading150
Online Edition for Part no. 01 40 2 607 971 - 09 11 490
Page 152 of 303
The gear shift indicator of your vehicle indicates
the most fuel efficient gear.
Use coasting conditions
When approaching a red light, take your foot off
the accelerator and let the vehicle coast to a halt.
On a downhill gradient, take your foot off the ac‐
celerator and let the vehicle roll.
The flow of fuel is interrupted while coasting.
Switch off the engine during
longer stops
Switch off the engine during longer stops, e.g.,
at traffic lights, railroad crossings or in traffic
congestion.
Fuel savings are achieved after the vehicle is
switched off for only approx. 4 seconds.
The Automatic Engine Start/Stop Function of
your vehicle automatically switches off the en‐
gine during a stop.
Switch off any functions that
are not currently needed
Functions such as seat heating and the rear win‐
dow defroster require a lot of energy and con‐
sume additional fuel, especially in city and stop-
and-go traffic.
Therefore, switch off these functions if they are
not actually needed.
Have maintenance carried out
Have vehicles maintained regularly to achieve
optimal vehicle economy and operating life.
Have the maintenance carried out by your serv‐
ice center.
Please also note the BMW Maintenance Sys‐
tem, refer to page 260.ECO PRO
The concept
ECO PRO supports a driving style that saves on
fuel consumption. For this purpose, the engine
control and comfort functions, e. g. the climate
control output, are adjusted.
In addition, context-sensitive instructions can
be displayed that assist in driving in a manner
that optimizes fuel consumption.
The extension of the range that is achieved as a
result can be displayed in the instrument cluster.
Activating ECO PRO Button should be pressed and held until
ECO PRO is displayed in the instru‐
ment cluster.
Display in the instrument cluster
ECO PRO bonus range An extension of the range can be
achieved by an adjusted driving
style.
This is displayed as the bonus
range in the instrument cluster.
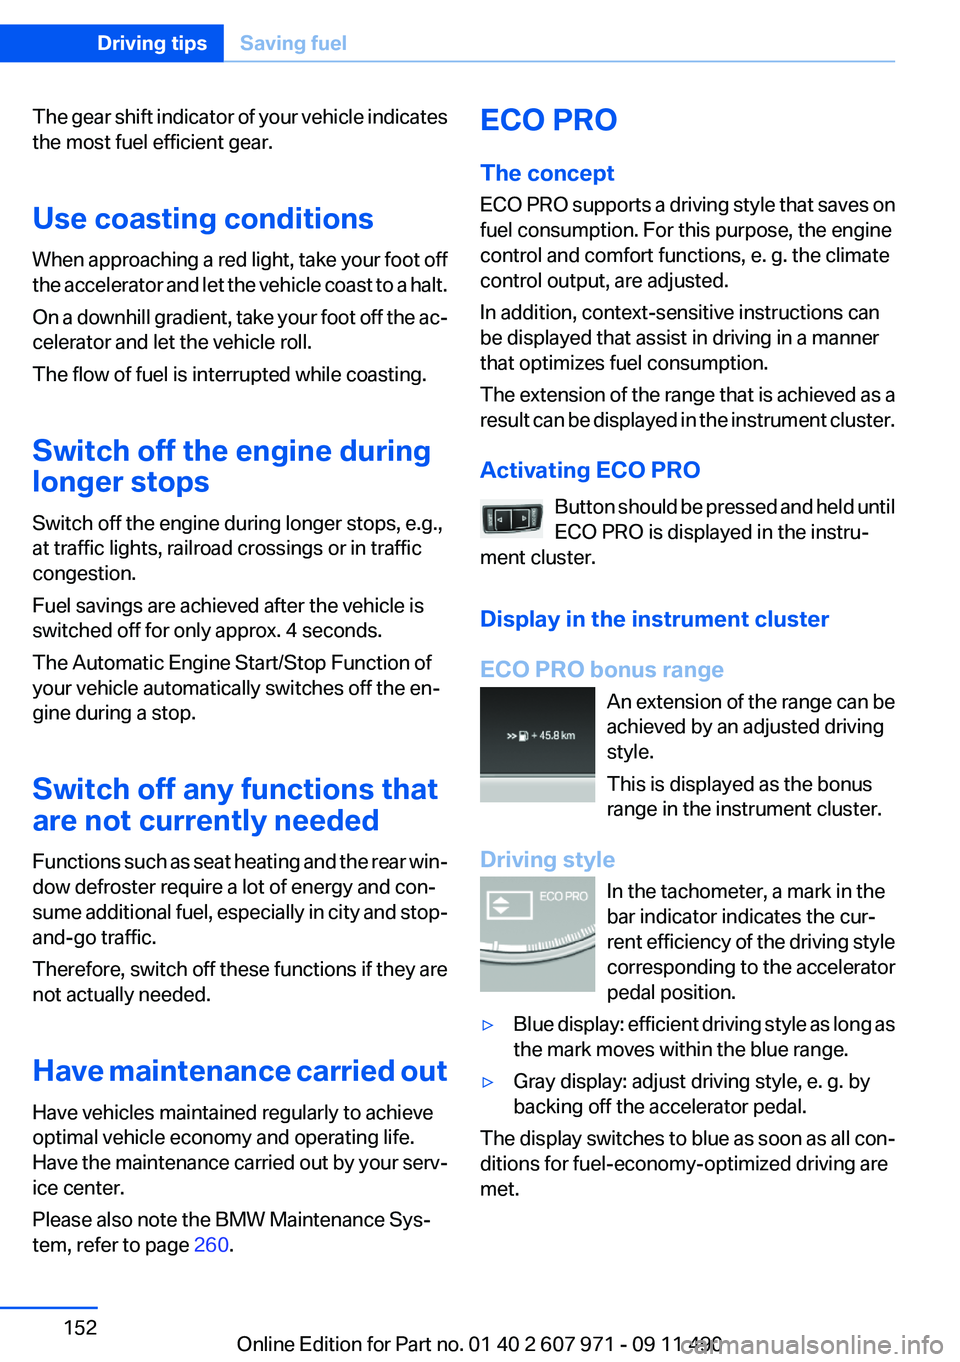
Driving style In the tachometer, a mark in the
bar indicator indicates the cur‐
rent efficiency of the driving style
corresponding to the accelerator
pedal position.▷Blue display: efficient driving style as long as
the mark moves within the blue range.▷Gray display: adjust driving style, e. g. by
backing off the accelerator pedal.
The display switches to blue as soon as all con‐
ditions for fuel-economy-optimized driving are
met.
Seite 152Driving tipsSaving fuel152
Online Edition for Part no. 01 40 2 607 971 - 09 11 490
Page 159 of 303
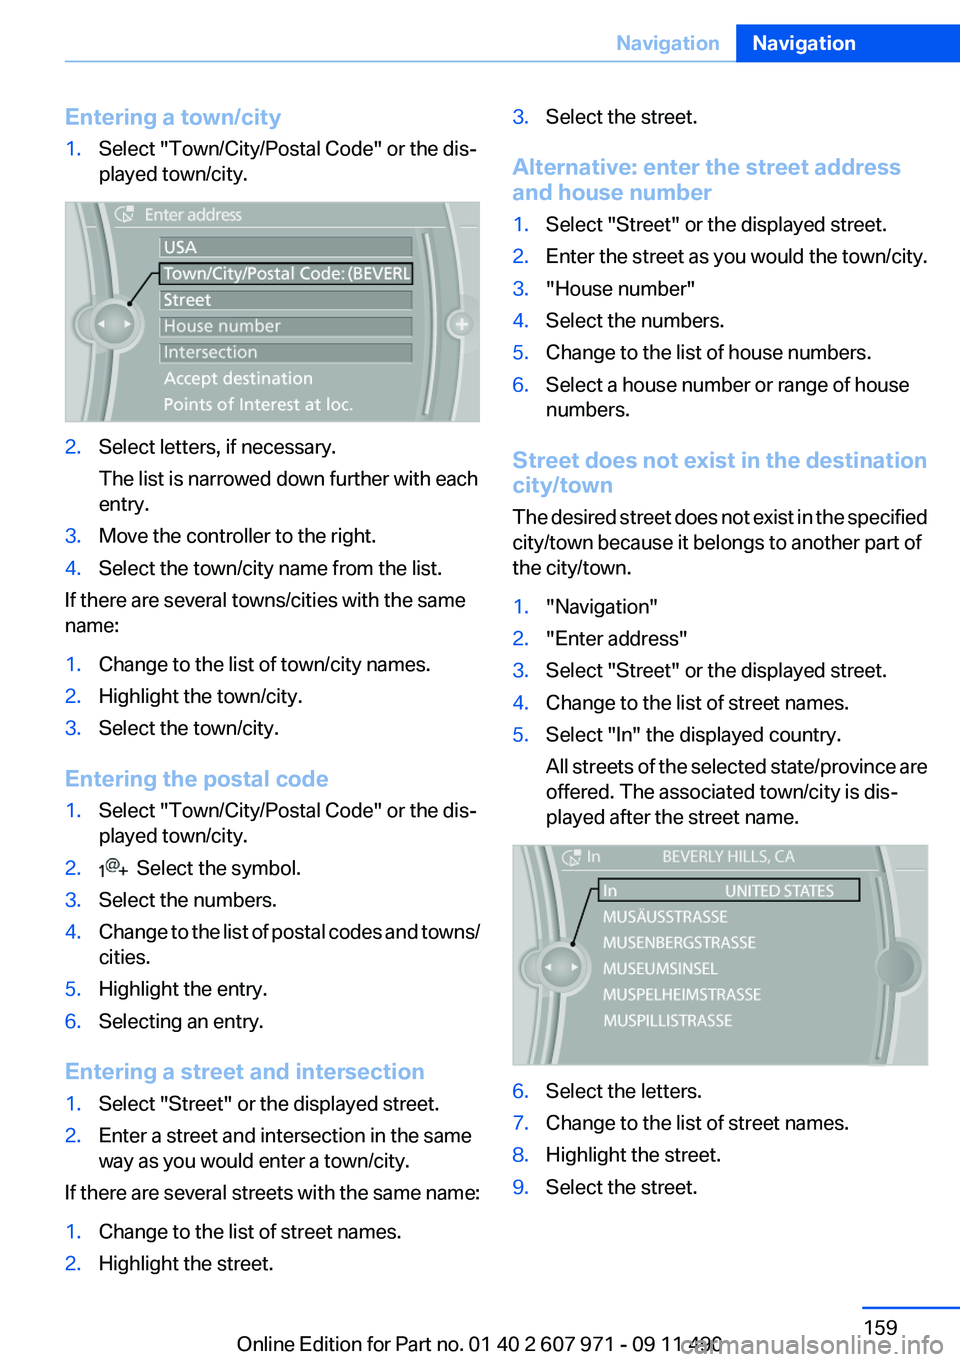
Entering a town/city1.Select "Town/City/Postal Code" or the dis‐
played town/city.2.Select letters, if necessary.
The list is narrowed down further with each
entry.3.Move the controller to the right.4.Select the town/city name from the list.
If there are several towns/cities with the same
name:
1.Change to the list of town/city names.2.Highlight the town/city.3.Select the town/city.
Entering the postal code
1.Select "Town/City/Postal Code" or the dis‐
played town/city.2. Select the symbol.3.Select the numbers.4.Change to the list of postal codes and towns/
cities.5.Highlight the entry.6.Selecting an entry.
Entering a street and intersection
1.Select "Street" or the displayed street.2.Enter a street and intersection in the same
way as you would enter a town/city.
If there are several streets with the same name:
1.Change to the list of street names.2.Highlight the street.3.Select the street.
Alternative: enter the street address
and house number
1.Select "Street" or the displayed street.2.Enter the street as you would the town/city.3."House number"4.Select the numbers.5.Change to the list of house numbers.6.Select a house number or range of house
numbers.
Street does not exist in the destination
city/town
The desired street does not exist in the specified
city/town because it belongs to another part of
the city/town.
1."Navigation"2."Enter address"3.Select "Street" or the displayed street.4.Change to the list of street names.5.Select "In" the displayed country.
All streets of the selected state/province are
offered. The associated town/city is dis‐
played after the street name.6.Select the letters.7.Change to the list of street names.8.Highlight the street.9.Select the street.Seite 159NavigationNavigation159
Online Edition for Part no. 01 40 2 607 971 - 09 11 490
Page 161 of 303
3.Highlight the entry.4."Options" Open.5."Edit in Contacts" or "Delete entry"
Using the home address as the
destination
The home address must be stored. Specify the
home address, refer to page 231.
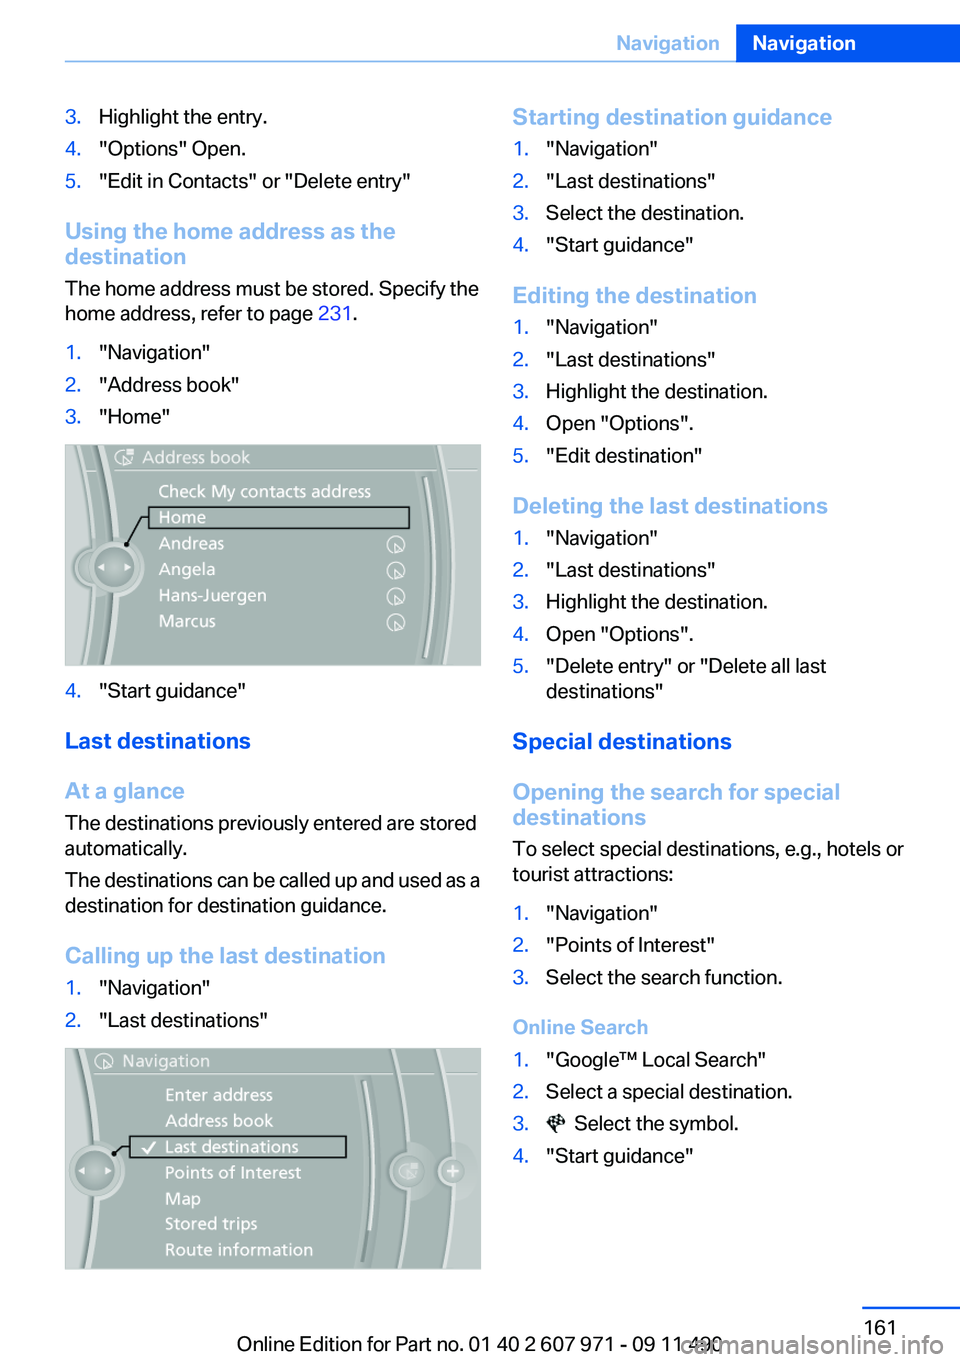
1."Navigation"2."Address book"3."Home"4."Start guidance"
Last destinations
At a glance
The destinations previously entered are stored
automatically.
The destinations can be called up and used as a
destination for destination guidance.
Calling up the last destination
1."Navigation"2."Last destinations"Starting destination guidance1."Navigation"2."Last destinations"3.Select the destination.4."Start guidance"
Editing the destination
1."Navigation"2."Last destinations"3.Highlight the destination.4.Open "Options".5."Edit destination"
Deleting the last destinations
1."Navigation"2."Last destinations"3.Highlight the destination.4.Open "Options".5."Delete entry" or "Delete all last
destinations"
Special destinations
Opening the search for special
destinations
To select special destinations, e.g., hotels or
tourist attractions:
1."Navigation"2."Points of Interest"3.Select the search function.
Online Search
1."Google™ Local Search"2.Select a special destination.3. Select the symbol.4."Start guidance"Seite 161NavigationNavigation161
Online Edition for Part no. 01 40 2 607 971 - 09 11 490