2012 BMW 550I XDRIVE GRAN TURISMO service
[x] Cancel search: servicePage 110 of 321
At speeds up to approx. 37 mph/60 km/h, e.g.,
in curves, the steering angle is increased, i.e.,
steering becomes more direct.
The rear axle steering acts to increase maneu‐
verability by turning the rear wheels slightly in a
direction opposite to the front wheels.
At higher speeds, the steering angle is increas‐
ingly reduced.
The rear wheels are turned to the same angle as
the front wheels.
In critical situations, Integral Active Steering can
specifically steer the front and rear wheels to
stabilize the vehicle before the driver intervenes,
e.g., when braking where road conditions differ
on the left and right sides of the vehicle.
Initializing
In rare cases, it may become necessary to initi‐
alize the Integral Active Steering.
The warning lamp lights up. A Check
Control message is displayed.1.With the engine running, turn the steering
wheel all the way to the left and right several
times in a uniform manner until the warning
lamp disappears.2.Have the system checked if the warning
lamp does not go out after moving the steer‐
ing wheel approx. 6 times or if the steering
wheel is at an angle.
Using snow chains
Ensure that the rear axle steering is deactivated
when using snow chains, refer to page 269.
Programs
The system offers two different programs.
The programs can be selected via the Driving
Experience Switch, refer to page 110.
SPORT
Consistently sporty tuning of the Integral Active
Steering for greater driving agility.
COMFORT
Balanced tuning of the Integral Active Steering
for optimal traveling comfort.
Malfunction
In the event of a malfunction, the steering wheel
must be turned further, while the vehicle re‐
sponds more sensitively to steering wheel
movements in the higher speed range.
The stability-enhancing intervention may be de‐
activated.
Proceed cautiously and drive defensively.
Have the system checked.
Self-leveling suspension
The concept
The self-leveling suspension keeps the vehicle
height and ground clearance constant. The
height of the vehicle at the rear axle is main‐
tained at a predefined level under all load con‐
ditions.
The system ensures consistent comfort by
keeping spring travel constant in all driving sit‐
uations.
Malfunction
A Check Control message is displayed. A mal‐
function has occurred in the self-leveling sus‐
pension. Vehicle handling may be altered and
driving comfort may be noticeably reduced. Visit
your nearest service center.
Driving Experience Switch
The concept
The Driving Experience Switch can be used to
adjust the driving dynamics of the vehicle. For
this purpose various programs are available for
selection that are activated via the two buttons
of the Driving Experience Switch and the DSC
OFF-button.Seite 110ControlsDriving stability control systems110
Online Edition for Part no. 01 40 2 607 855 - 09 11 490
Page 135 of 321
tionally influenced using the instrument lighting,
refer to page 92.
The setting is stored for the remote control cur‐
rently in use.
Adjusting the height1."Settings"2."Head-up display"3."Height"4.Turn the controller.
The height is adjusted.
The setting is stored for the remote control cur‐
rently in use.
Special windshield
The windshield is part of the system.
The shape of the windshield makes it possible
to display a precise image.
A film in the windshield prevents double images
from being displayed.
Therefore, have the special windshield replaced
by a service center only.
Seite 135Driving comfortControls135
Online Edition for Part no. 01 40 2 607 855 - 09 11 490
Page 143 of 321
Interior equipmentVehicle equipment
All standard, country-specific and optional
equipment that is offered in the model series is
described in this chapter. Therefore, equipment
is also described that is not available in a vehicle,
e. g., because of the selected optional equip‐
ment or country variant. This also applies for
safety-related functions and systems.
Integrated universal remote
control
The concept
This system can replace up to three different
hand-held transmitters for various types of re‐
mote-controlled equipment, such as garage
doors or lighting systems.
The hand-held transmitter signal can be pro‐
grammed on one of the three memory buttons.
The corresponding device can then be operated
using the programmed memory button.
The LED indicates that a signal is being trans‐
mitted.
When selling the vehicle, delete the stored pro‐
grams for security reasons.
During programming
During programming and before activat‐
ing a device using the integrated universal re‐
mote control, ensure that there are no people,
animals, or objects in the range of movement of
the remote-controlled device; otherwise, there
is a risk of injury or damage.
Also follow the safety instructions of the hand-
held transmitter.◀
Compatibility If this symbol is printed on the packaging
or in the instructions of the hand-heldtransmitter, the remote-controlled device is
generally compatible with the integrated univer‐
sal remote control.
If you have any questions, please contact:▷Your service center.▷www.homelink.com on the Internet.
HomeLink is a registered trademark of Johnson
Controls, Inc.
Programming
▷LED, arrow 1.▷Memory buttons, arrow 2.
Fixed-code hand-held transmitters
1.Switch on the ignition.2.Initial setup:
Press the two outer memory buttons 1 and
3 for approx. 20 seconds until the LED, ar‐
row 1 flashes.
All programs of the three memory buttons,
arrow 2, are cleared.3.Hold the hand-held transmitter a distance of
approx. 1 to 3 in/2.5 to 8 cm from the mem‐
ory buttons.
The required distance depends on the
manual transmitter.4.Simultaneously press the transmit button of
the hand-held transmitter and the memory
button of the integrated universal remote
control.Seite 143Interior equipmentControls143
Online Edition for Part no. 01 40 2 607 855 - 09 11 490
Page 172 of 321
A-Z search1."A-Z search"2."Town/City"
Select or enter the town/city.3."Category"4.Select the category.5."Category details"
For some special destinations, multiple cat‐
egory details can be selected. Move the
controller to the left to leave the category
details.6."Keyword"7.Enter the keyword.
A list of the special destinations is displayed.8.Select a special destination.
Details are displayed.
If multiple details are stored, you can leaf
through the pages.
If a phone number is available, a connection
can be established if necessary.9. Select the symbol.
"Start guidance" or "Add as another
destination"
Add a destination as a further destination,
refer to page 175.
"Start search": if a search term is not entered,
the search is repeated with the previous search
term.
Category search
1."Category search"2."Town/City"
Select or enter the town/city.3."Category"4.Select the category.5."Category details"
For some special destinations, multiple cat‐
egory details can be selected. Move thecontroller to the left to leave the category
details.6."Start search"
A list of the special destinations is displayed.7.Select a special destination.
Details are displayed.
If multiple details are stored, you can leaf
through the pages.
If a phone number is available, a connection
can be established if necessary.8. Select the symbol.
"Start guidance" or "Add as another
destination"
Add a destination as a further destination,
refer to page 175.
Display of special destinations
List of special destinations: special destinations
are organized by distance and are displayed with
a directional arrow to the special destination.
on the split screen, special destinations of the
selected category are displayed in the map view
as symbols. The display depends on the scale
of the map and the category.
Destination entry via BMW Assist
A connection is established to the Concierge
service, refer to page 250.
1."Navigation"2."Enter address"3."Options" Open.4."BMW Assist dest. entry"
Displaying special destinations in the
map
To display symbols of the special destinations
in the map view:
1."Navigation"2."Map"3."Options" Open.Seite 172NavigationNavigation172
Online Edition for Part no. 01 40 2 607 855 - 09 11 490
Page 180 of 321
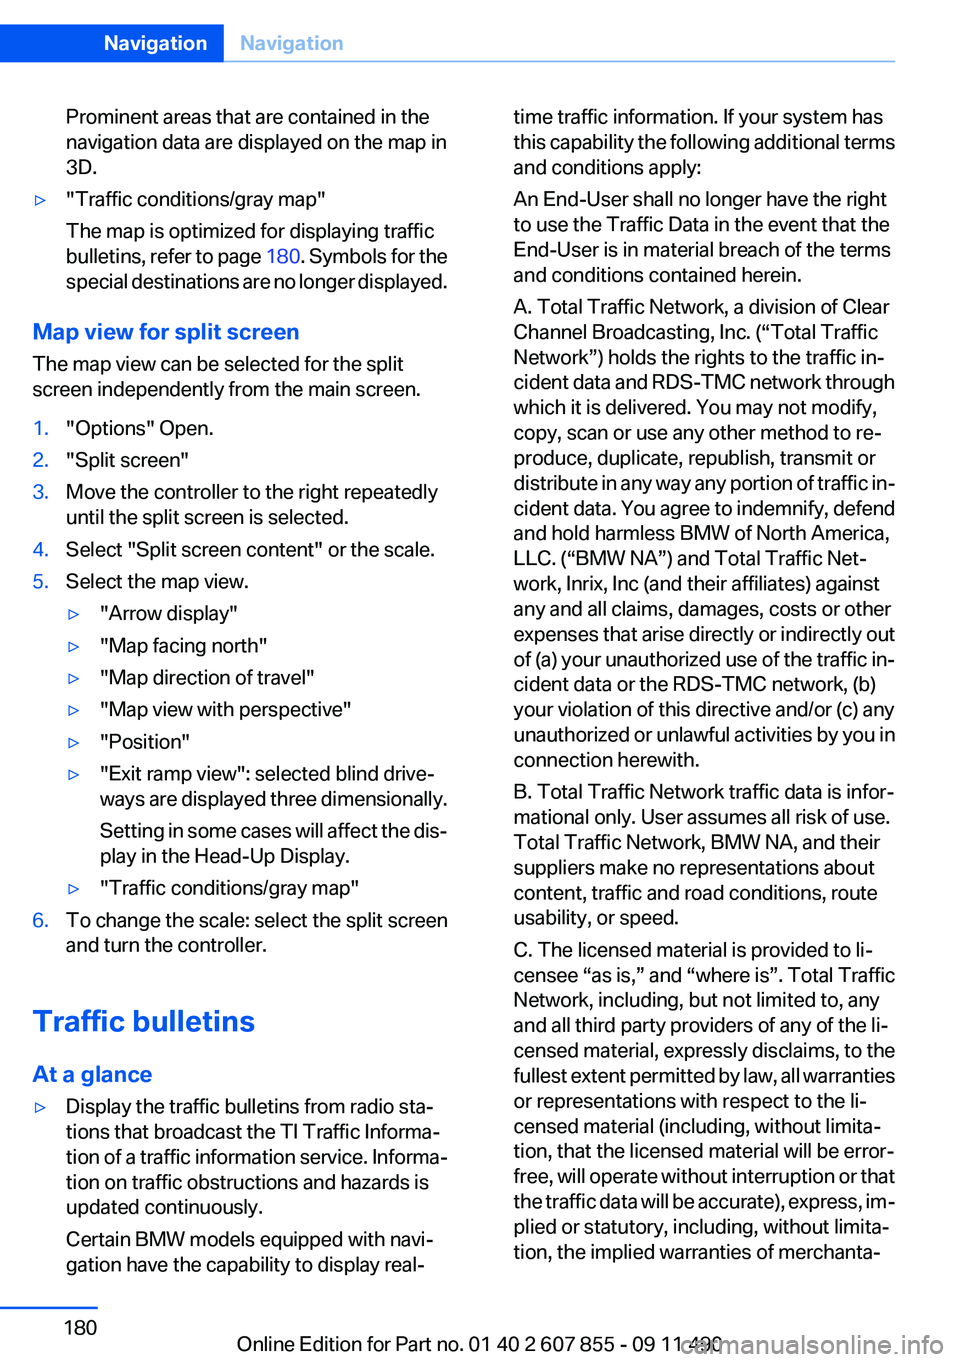
Prominent areas that are contained in the
navigation data are displayed on the map in
3D.▷"Traffic conditions/gray map"
The map is optimized for displaying traffic
bulletins, refer to page 180. Symbols for the
special destinations are no longer displayed.
Map view for split screen
The map view can be selected for the split
screen independently from the main screen.
1."Options" Open.2."Split screen"3.Move the controller to the right repeatedly
until the split screen is selected.4.Select "Split screen content" or the scale.5.Select the map view.▷"Arrow display"▷"Map facing north"▷"Map direction of travel"▷"Map view with perspective"▷"Position"▷"Exit ramp view": selected blind drive‐
ways are displayed three dimensionally.
Setting in some cases will affect the dis‐
play in the Head-Up Display.▷"Traffic conditions/gray map"6.To change the scale: select the split screen
and turn the controller.
Traffic bulletins
At a glance
▷Display the traffic bulletins from radio sta‐
tions that broadcast the TI Traffic Informa‐
tion of a traffic information service. Informa‐
tion on traffic obstructions and hazards is
updated continuously.
Certain BMW models equipped with navi‐
gation have the capability to display real-time traffic information. If your system has
this capability the following additional terms
and conditions apply:
An End-User shall no longer have the right
to use the Traffic Data in the event that the
End-User is in material breach of the terms
and conditions contained herein.
A. Total Traffic Network, a division of Clear
Channel Broadcasting, Inc. (“Total Traffic
Network”) holds the rights to the traffic in‐
cident data and RDS-TMC network through
which it is delivered. You may not modify,
copy, scan or use any other method to re‐
produce, duplicate, republish, transmit or
distribute in any way any portion of traffic in‐
cident data. You agree to indemnify, defend
and hold harmless BMW of North America,
LLC. (“BMW NA”) and Total Traffic Net‐
work, Inrix, Inc (and their affiliates) against
any and all claims, damages, costs or other
expenses that arise directly or indirectly out
of (a) your unauthorized use of the traffic in‐
cident data or the RDS-TMC network, (b)
your violation of this directive and/or (c) any
unauthorized or unlawful activities by you in
connection herewith.
B. Total Traffic Network traffic data is infor‐
mational only. User assumes all risk of use.
Total Traffic Network, BMW NA, and their
suppliers make no representations about
content, traffic and road conditions, route
usability, or speed.
C. The licensed material is provided to li‐
censee “as is,” and “where is”. Total Traffic
Network, including, but not limited to, any
and all third party providers of any of the li‐
censed material, expressly disclaims, to the
fullest extent permitted by law, all warranties
or representations with respect to the li‐
censed material (including, without limita‐
tion, that the licensed material will be error-
free, will operate without interruption or that
the traffic data will be accurate), express, im‐
plied or statutory, including, without limita‐
tion, the implied warranties of merchanta‐Seite 180NavigationNavigation180
Online Edition for Part no. 01 40 2 607 855 - 09 11 490
Page 181 of 321
bility, non-infringement fitness for a
particular purpose, or those arising from a
course of dealing or usage of trade.
D. Neither Total Traffic Network, Inrix, Inc. or
BMW NA will be liable to you for any indirect,
special, consequential, exemplary, or inci‐
dental damages (including, without limita‐
tion, lost revenues, anticipated revenues, or
profits relating to the same) arising from any
claim relating directly or indirectly to use of
the traffic data, and even if Total Traffic Net‐
work, Inrix, Inc., or BMW NA are aware of the
possibility of such damages. These limita‐
tions apply to all claims, including, without
limitation, claims in contract and tort (such
as negligence, product liability and strict li‐
ability). Some states do not allow the exclu‐
sion or limitation of incidental or consequen‐
tial damages, so those particular limitations
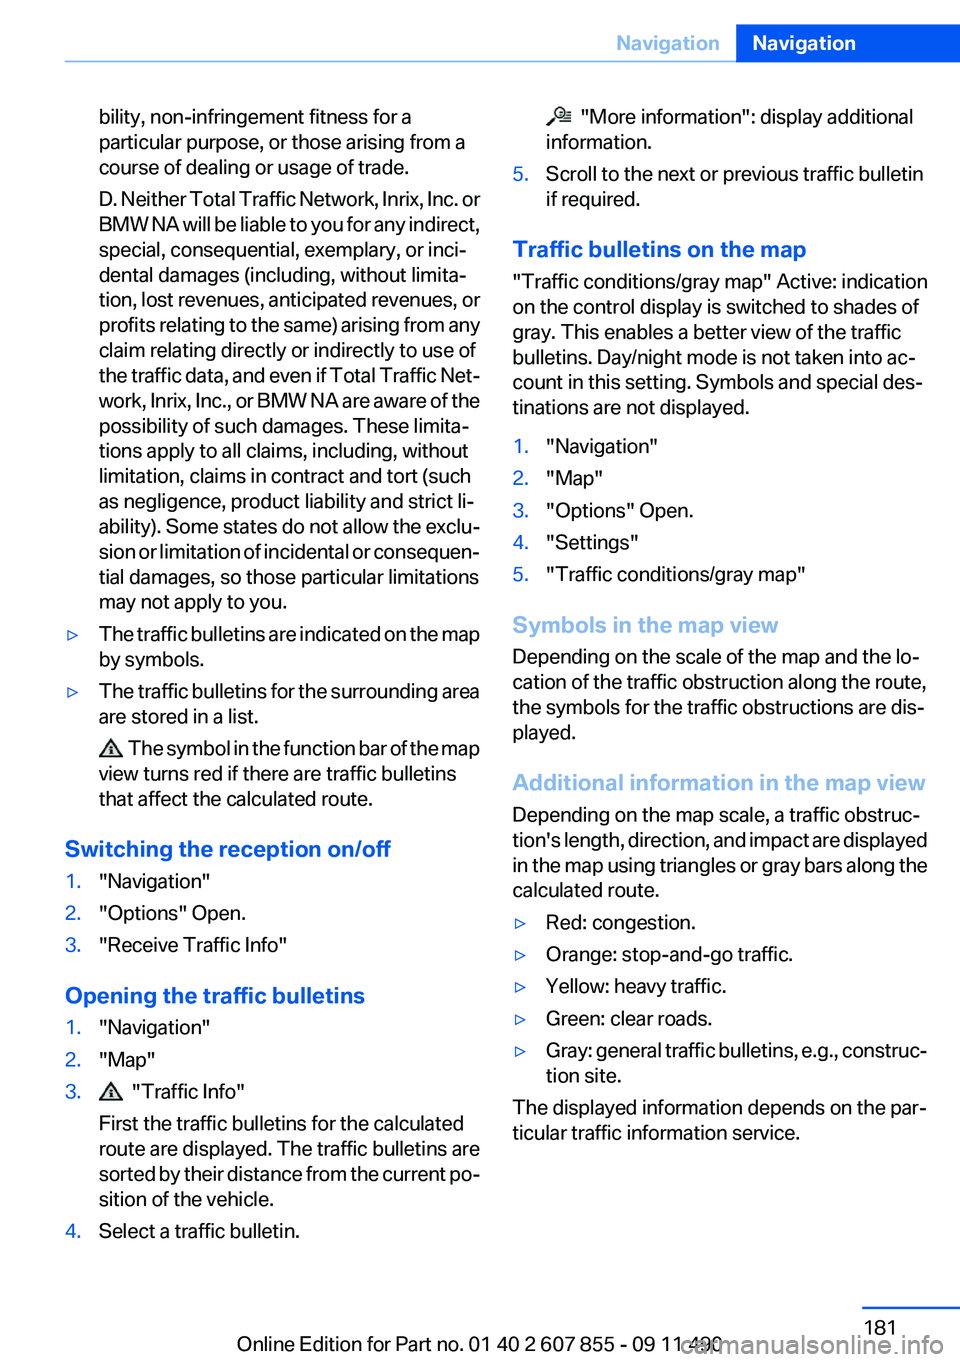
may not apply to you.▷The traffic bulletins are indicated on the map
by symbols.▷The traffic bulletins for the surrounding area
are stored in a list.
The symbol in the function bar of the map
view turns red if there are traffic bulletins
that affect the calculated route.
Switching the reception on/off
1."Navigation"2."Options" Open.3."Receive Traffic Info"
Opening the traffic bulletins
1."Navigation"2."Map"3. "Traffic Info"
First the traffic bulletins for the calculated
route are displayed. The traffic bulletins are
sorted by their distance from the current po‐
sition of the vehicle.4.Select a traffic bulletin. "More information": display additional
information.5.Scroll to the next or previous traffic bulletin
if required.
Traffic bulletins on the map
"Traffic conditions/gray map" Active: indication
on the control display is switched to shades of
gray. This enables a better view of the traffic
bulletins. Day/night mode is not taken into ac‐
count in this setting. Symbols and special des‐
tinations are not displayed.
1."Navigation"2."Map"3."Options" Open.4."Settings"5."Traffic conditions/gray map"
Symbols in the map view
Depending on the scale of the map and the lo‐
cation of the traffic obstruction along the route,
the symbols for the traffic obstructions are dis‐
played.
Additional information in the map view
Depending on the map scale, a traffic obstruc‐
tion's length, direction, and impact are displayed
in the map using triangles or gray bars along the
calculated route.
▷Red: congestion.▷Orange: stop-and-go traffic.▷Yellow: heavy traffic.▷Green: clear roads.▷Gray: general traffic bulletins, e.g., construc‐
tion site.
The displayed information depends on the par‐
ticular traffic information service.
Seite 181NavigationNavigation181
Online Edition for Part no. 01 40 2 607 855 - 09 11 490
Page 183 of 321
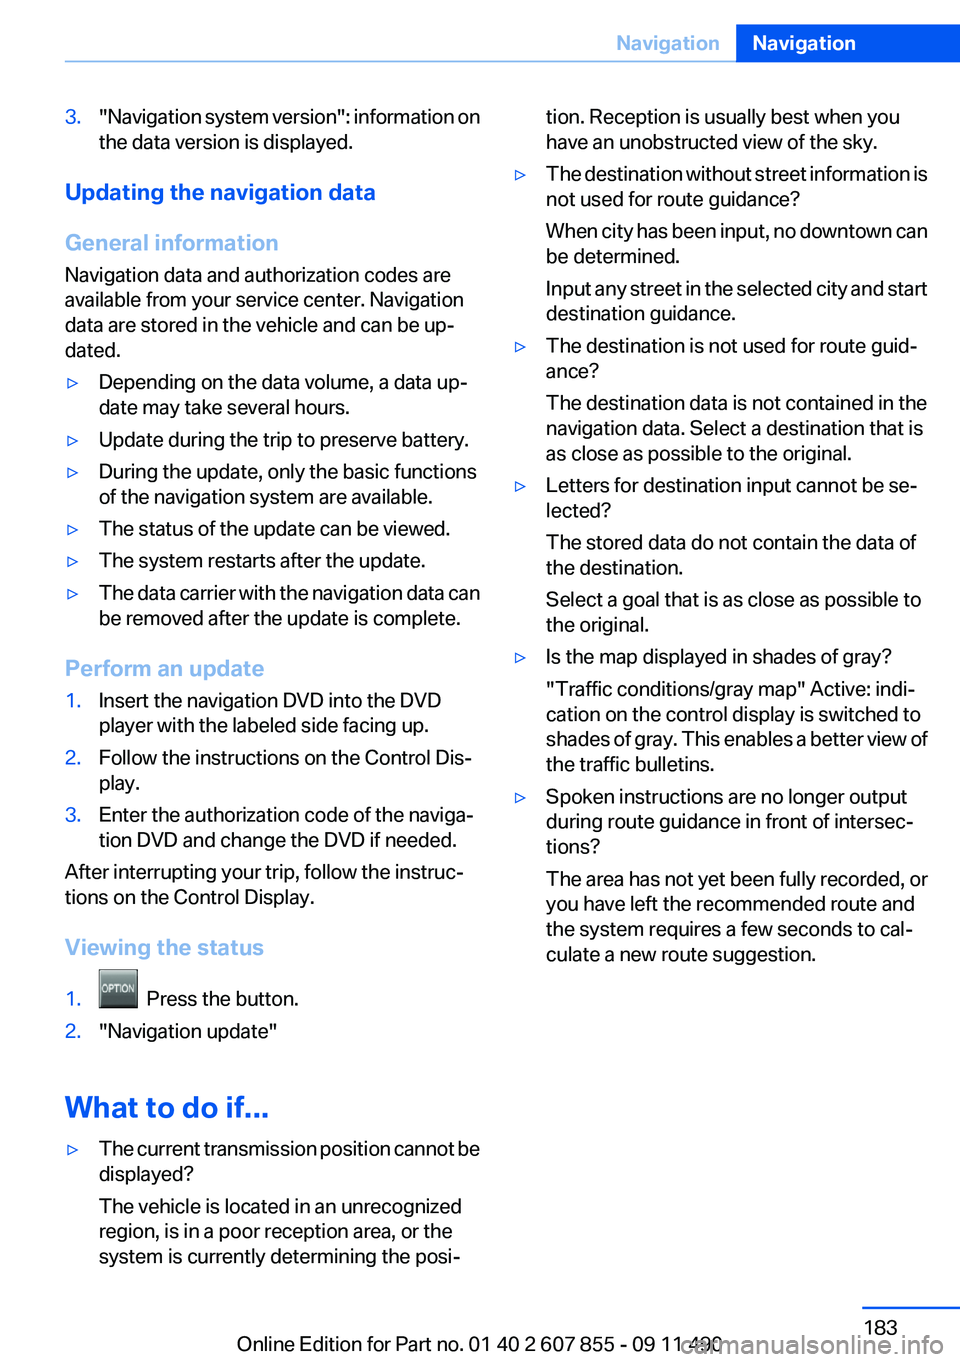
3."Navigation system version": information on
the data version is displayed.
Updating the navigation data
General information
Navigation data and authorization codes are
available from your service center. Navigation
data are stored in the vehicle and can be up‐
dated.
▷Depending on the data volume, a data up‐
date may take several hours.▷Update during the trip to preserve battery.▷During the update, only the basic functions
of the navigation system are available.▷The status of the update can be viewed.▷The system restarts after the update.▷The data carrier with the navigation data can
be removed after the update is complete.
Perform an update
1.Insert the navigation DVD into the DVD
player with the labeled side facing up.2.Follow the instructions on the Control Dis‐
play.3.Enter the authorization code of the naviga‐
tion DVD and change the DVD if needed.
After interrupting your trip, follow the instruc‐
tions on the Control Display.
Viewing the status
1. Press the button.2."Navigation update"
What to do if...
▷The current transmission position cannot be
displayed?
The vehicle is located in an unrecognized
region, is in a poor reception area, or the
system is currently determining the posi‐tion. Reception is usually best when you
have an unobstructed view of the sky.▷The destination without street information is
not used for route guidance?
When city has been input, no downtown can
be determined.
Input any street in the selected city and start
destination guidance.▷The destination is not used for route guid‐
ance?
The destination data is not contained in the
navigation data. Select a destination that is
as close as possible to the original.▷Letters for destination input cannot be se‐
lected?
The stored data do not contain the data of
the destination.
Select a goal that is as close as possible to
the original.▷Is the map displayed in shades of gray?
"Traffic conditions/gray map" Active: indi‐
cation on the control display is switched to
shades of gray. This enables a better view of
the traffic bulletins.▷Spoken instructions are no longer output
during route guidance in front of intersec‐
tions?
The area has not yet been fully recorded, or
you have left the recommended route and
the system requires a few seconds to cal‐
culate a new route suggestion.Seite 183NavigationNavigation183
Online Edition for Part no. 01 40 2 607 855 - 09 11 490
Page 190 of 321
2.Press the controller.3.Select the substation.
When reception is poor, the substation is muted
for several seconds. If reception is interrupted
for an extended period, it switches back to the
main station.
Weather Band
General information
The availability of the Weather Band and the
number of available channels can vary depend‐
ing on the region.
Switching on the Weather Band
1."Radio"2."Weather band"3.Select the desired channel.
Additional information
Weather Band is a service of the National Oce‐
anic and Atmospheric Administration (NOAA).
Additional information on the Internet:
www.nws.noaa.gov.
Satellite radio
General information
The channels are offered in predefined pack‐
ages. The packages must be enabled by tele‐
phone.
Navigation bar overview
SymbolFunction Change the list view. Select the category. Direct channel entry TimeshiftSymbolFunction Open the My Favorites category/
open a favorite. Manage the favorites. Traffic Jump
The functions of the navigation bar symbols can
also be stored on the programmable memory
buttons, refer to page 20.
Managing a subscription
To be able to enable or unsubscribe from the
channels, you must have reception. It is usually
at its best when you have an unobstructed view
of the sky. The channel name is displayed in the
status line.
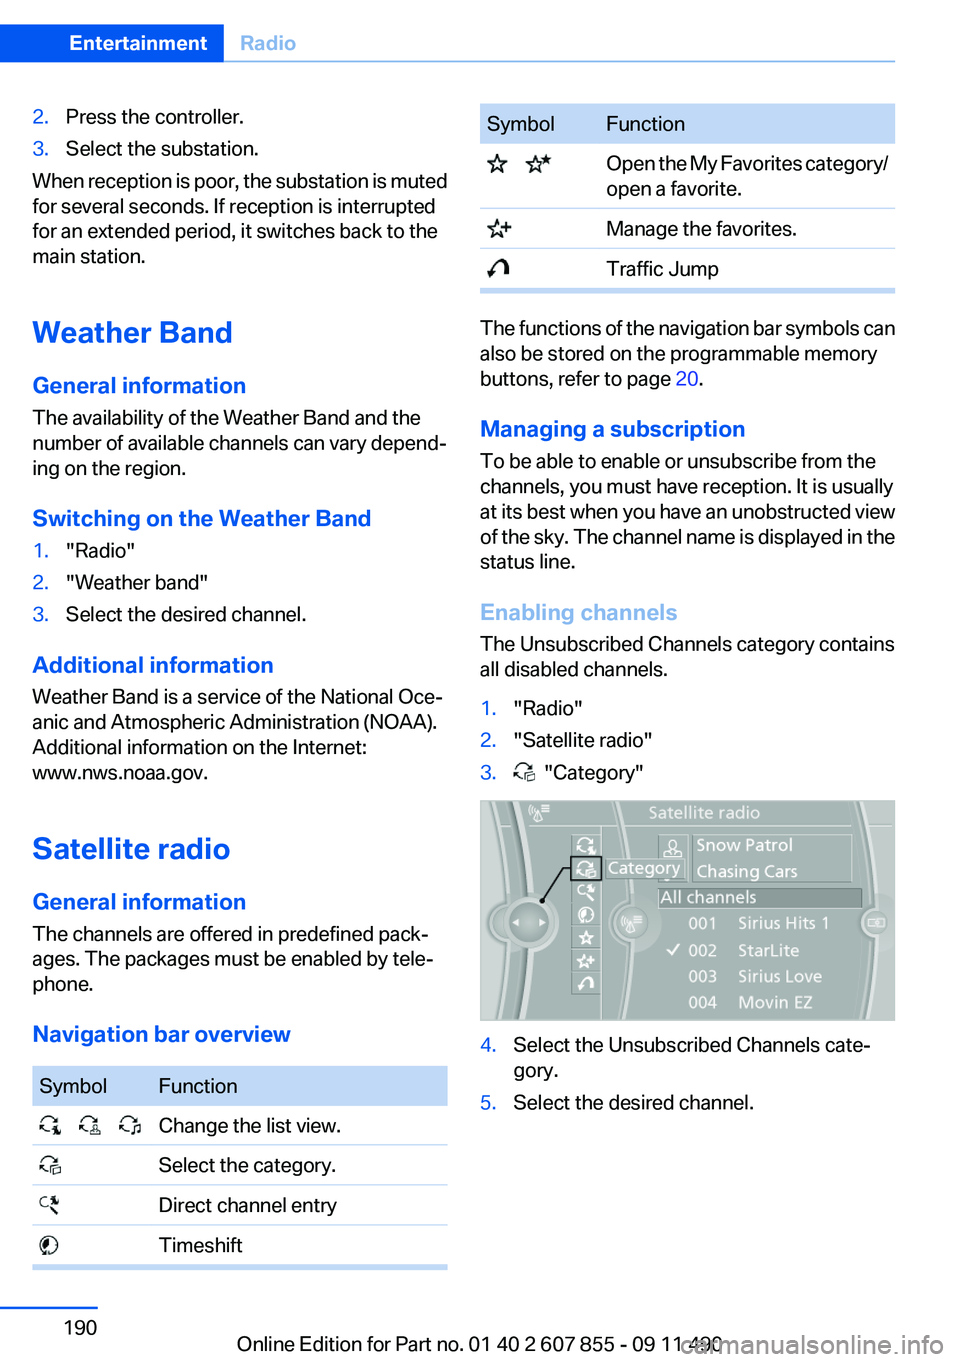
Enabling channels
The Unsubscribed Channels category contains
all disabled channels.
1."Radio"2."Satellite radio"3. "Category"4.Select the Unsubscribed Channels cate‐
gory.5.Select the desired channel.Seite 190EntertainmentRadio190
Online Edition for Part no. 01 40 2 607 855 - 09 11 490