2012 BMW 335I SEDAN navigation
[x] Cancel search: navigationPage 191 of 325
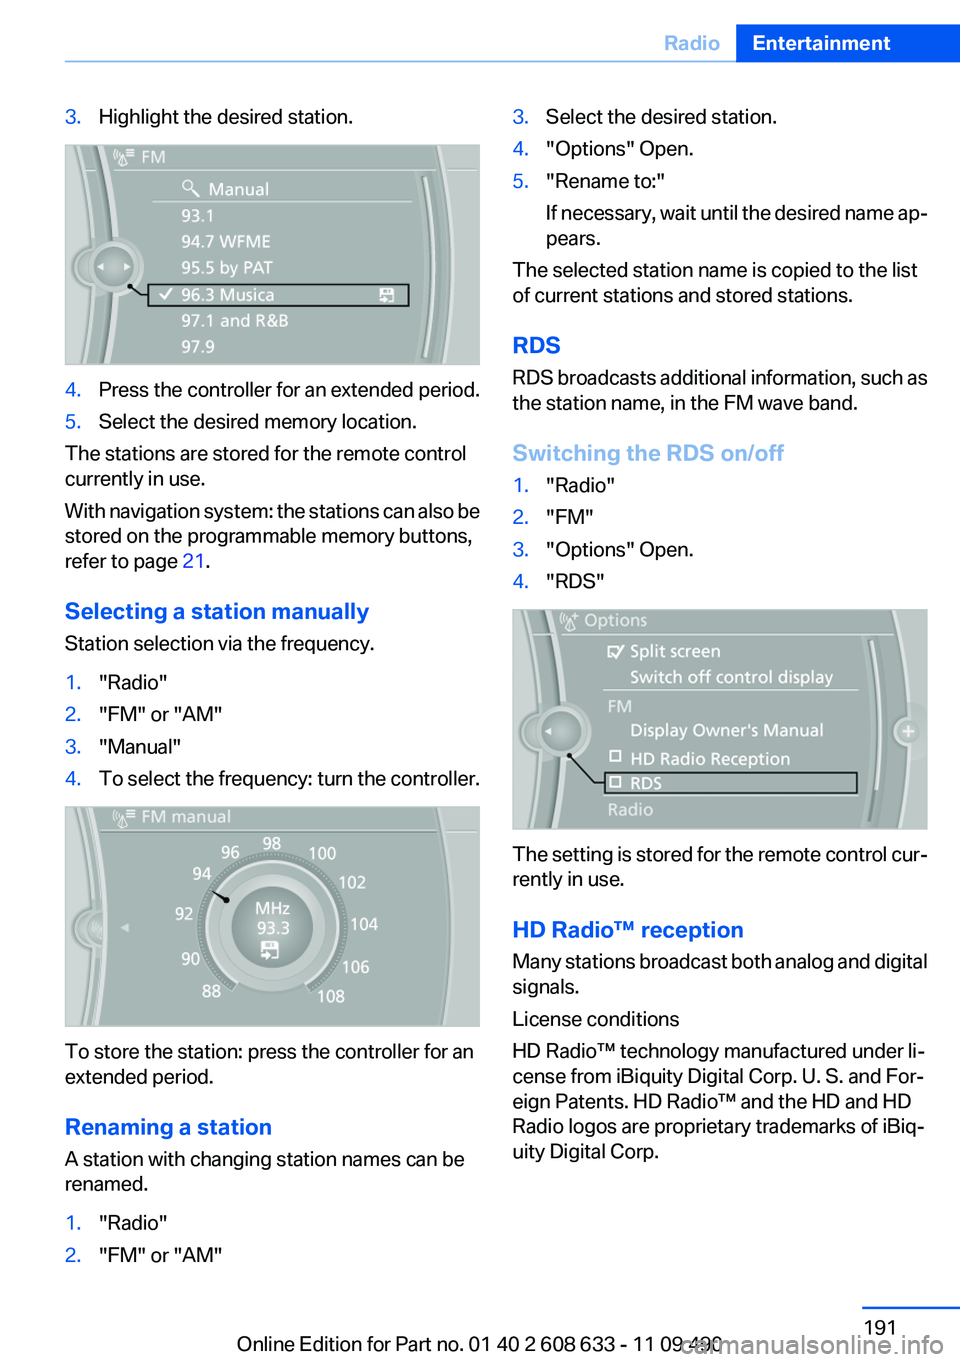
3.Highlight the desired station.4.Press the controller for an extended period.5.Select the desired memory location.
The stations are stored for the remote control
currently in use.
With navigation system: the stations can also be
stored on the programmable memory buttons,
refer to page 21.
Selecting a station manually
Station selection via the frequency.
1."Radio"2."FM" or "AM"3."Manual"4.To select the frequency: turn the controller.
To store the station: press the controller for an
extended period.
Renaming a station
A station with changing station names can be
renamed.
1."Radio"2."FM" or "AM"3.Select the desired station.4."Options" Open.5."Rename to:"
If necessary, wait until the desired name ap‐
pears.
The selected station name is copied to the list
of current stations and stored stations.
RDS
RDS broadcasts additional information, such as
the station name, in the FM wave band.
Switching the RDS on/off
1."Radio"2."FM"3."Options" Open.4."RDS"
The setting is stored for the remote control cur‐
rently in use.
HD Radio™ reception
Many stations broadcast both analog and digital
signals.
License conditions
HD Radio™ technology manufactured under li‐
cense from iBiquity Digital Corp. U. S. and For‐
eign Patents. HD Radio™ and the HD and HD
Radio logos are proprietary trademarks of iBiq‐
uity Digital Corp.
Seite 191RadioEntertainment191
Online Edition for Part no. 01 40 2 608 633 - 11 09 490
Page 192 of 325
Activating/deactivating digital radio
reception1."Radio"2."FM" or "AM"3."Options" Open.4."HD Radio Reception"
The setting is stored for the remote control cur‐
rently in use.
This symbol is displayed in the status line
when the audio signal is digital.
When setting a station with a digital signal, it may
take a few seconds before the station plays in
HD quality.
In areas in which the station is not continuously
received in digital mode, the playback switches
between analog and digital reception. In this
case, switch off digital radio reception.
Displaying additional information
Some stations broadcast additional information
on the current track, such as the name of the ar‐
tist.
1.Select the desired station.2."Options" Open.3."Station info"
Selecting a substation
This symbol indicates that a main station also
broadcasts additional substations. The station
name of the main station ends in HD1. Station
names of the substations end in HD2, HD3, etc.
1.Select the desired station.2.Press the controller.3.Select the substation.
When reception is poor, the substation is muted.
Satellite radio
General information
The channels are offered in predefined pack‐
ages. The packages must be enabled by tele‐
phone.
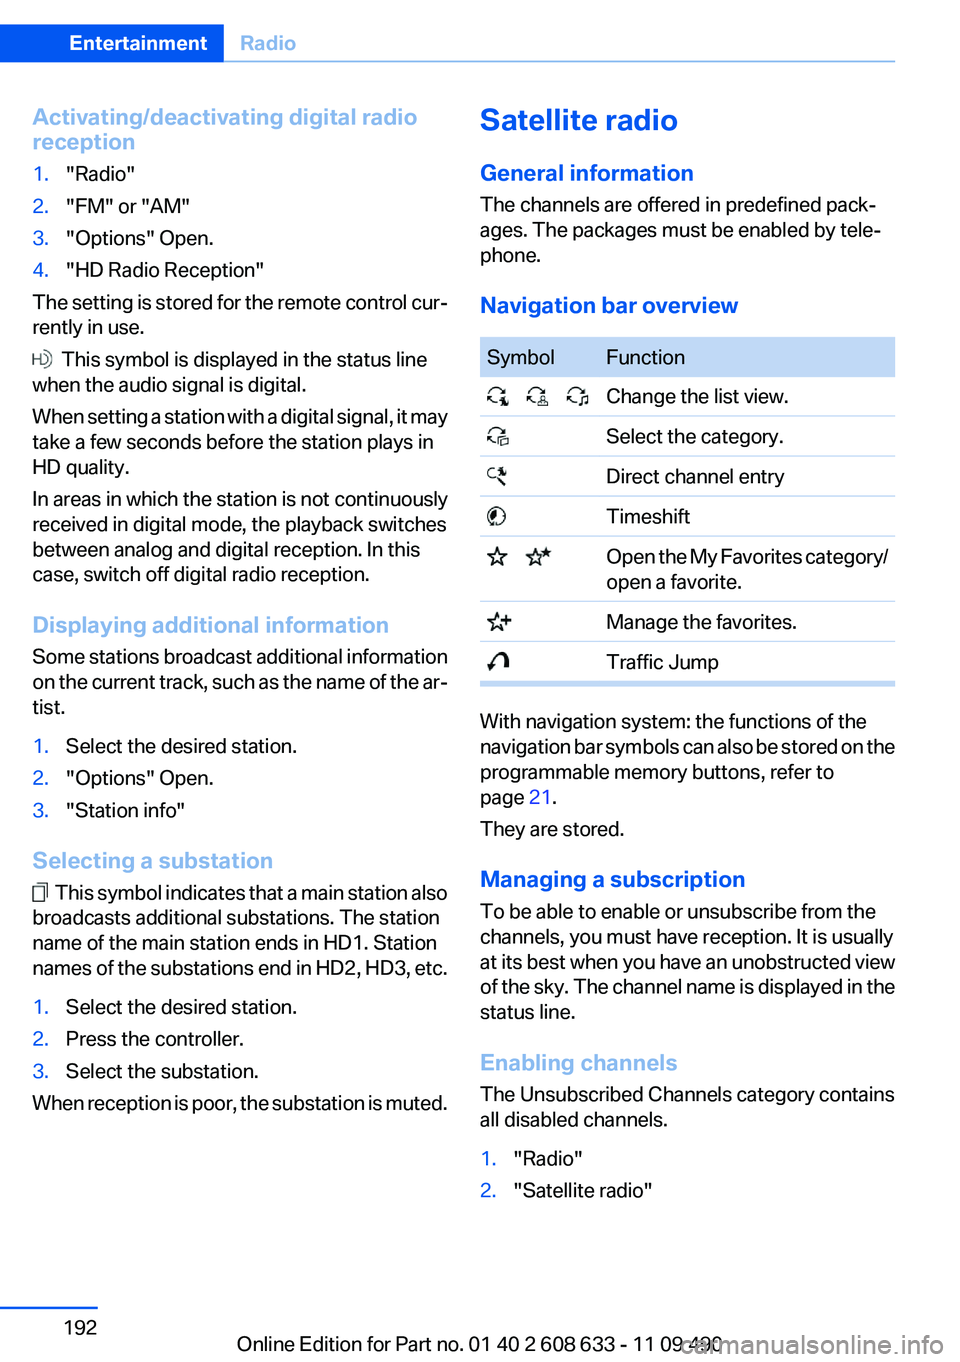
Navigation bar overviewSymbolFunction Change the list view. Select the category. Direct channel entry Timeshift Open the My Favorites category/
open a favorite. Manage the favorites. Traffic Jump
With navigation system: the functions of the
navigation bar symbols can also be stored on the
programmable memory buttons, refer to
page 21.
They are stored.
Managing a subscription
To be able to enable or unsubscribe from the
channels, you must have reception. It is usually
at its best when you have an unobstructed view
of the sky. The channel name is displayed in the
status line.
Enabling channels
The Unsubscribed Channels category contains
all disabled channels.
1."Radio"2."Satellite radio"Seite 192EntertainmentRadio192
Online Edition for Part no. 01 40 2 608 633 - 11 09 490
Page 194 of 325
Via direct channel entry1."Radio"2."Satellite radio"3. "Set channel"4.Turn the controller until the desired channel
is reached and press the controller.
Storing a channel
1."Radio"2."Satellite radio"3.If necessary, open "All channels" or the de‐
sired category.4.Select the desired channel.5.Press the controller again.6.Press the controller again to confirm the
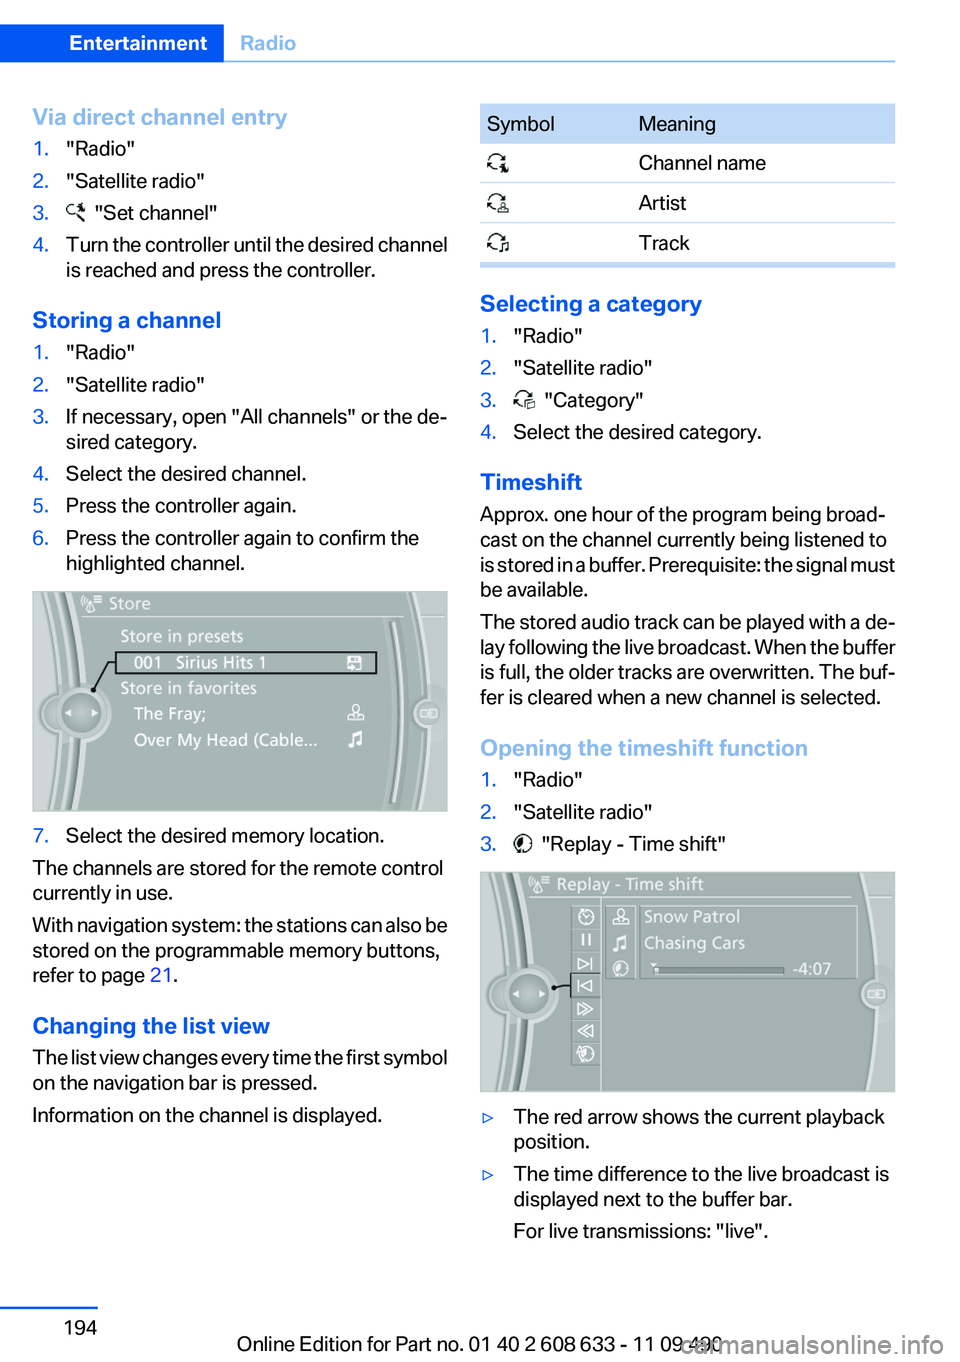
highlighted channel.7.Select the desired memory location.
The channels are stored for the remote control
currently in use.
With navigation system: the stations can also be
stored on the programmable memory buttons,
refer to page 21.
Changing the list view
The list view changes every time the first symbol
on the navigation bar is pressed.
Information on the channel is displayed.
SymbolMeaning Channel name Artist Track
Selecting a category
1."Radio"2."Satellite radio"3. "Category"4.Select the desired category.
Timeshift
Approx. one hour of the program being broad‐
cast on the channel currently being listened to
is stored in a buffer. Prerequisite: the signal must
be available.
The stored audio track can be played with a de‐
lay following the live broadcast. When the buffer
is full, the older tracks are overwritten. The buf‐
fer is cleared when a new channel is selected.
Opening the timeshift function
1."Radio"2."Satellite radio"3. "Replay - Time shift"▷The red arrow shows the current playback
position.▷The time difference to the live broadcast is
displayed next to the buffer bar.
For live transmissions: "live".Seite 194EntertainmentRadio194
Online Edition for Part no. 01 40 2 608 633 - 11 09 490
Page 197 of 325
Stored stations
General information
It is possible to store up to 40 stations.
Calling up a station1."Radio"2."Presets"3.Select the desired station.
Storing a station
The station currently selected is stored.
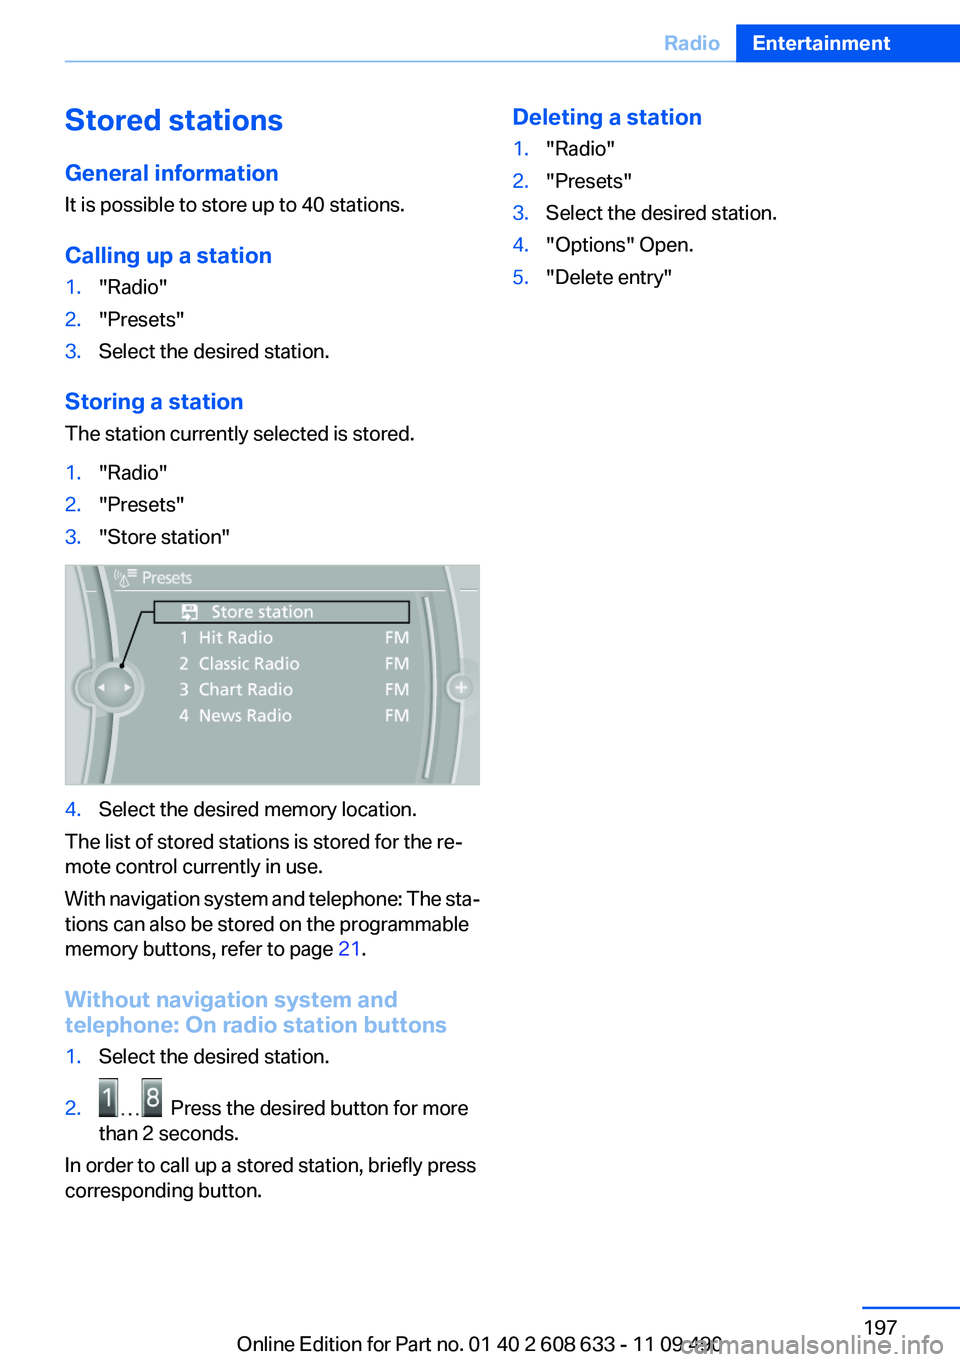
1."Radio"2."Presets"3."Store station"4.Select the desired memory location.
The list of stored stations is stored for the re‐
mote control currently in use.
With navigation system and telephone: The sta‐
tions can also be stored on the programmable
memory buttons, refer to page 21.
Without navigation system and
telephone: On radio station buttons
1.Select the desired station.2. Press the desired button for more
than 2 seconds.
In order to call up a stored station, briefly press
corresponding button.
Deleting a station1."Radio"2."Presets"3.Select the desired station.4."Options" Open.5."Delete entry"Seite 197RadioEntertainment197
Online Edition for Part no. 01 40 2 608 633 - 11 09 490
Page 239 of 325
Contacts
Note
If equipped with Professional mobile phone
preparation package.
At a glance
Contacts can be created and edited. The con‐
tacts from the mobile phone are displayed as
well if this function is supported by the mobile
phone. The phone numbers can be selected.
Contacts can be created and edited. The con‐
tacts from the mobile phone are displayed as
well if this function is supported by the mobile
phone. Addresses can be adopted as destina‐
tions for navigation and the phone numbers can
be dialed.
Displaying contacts
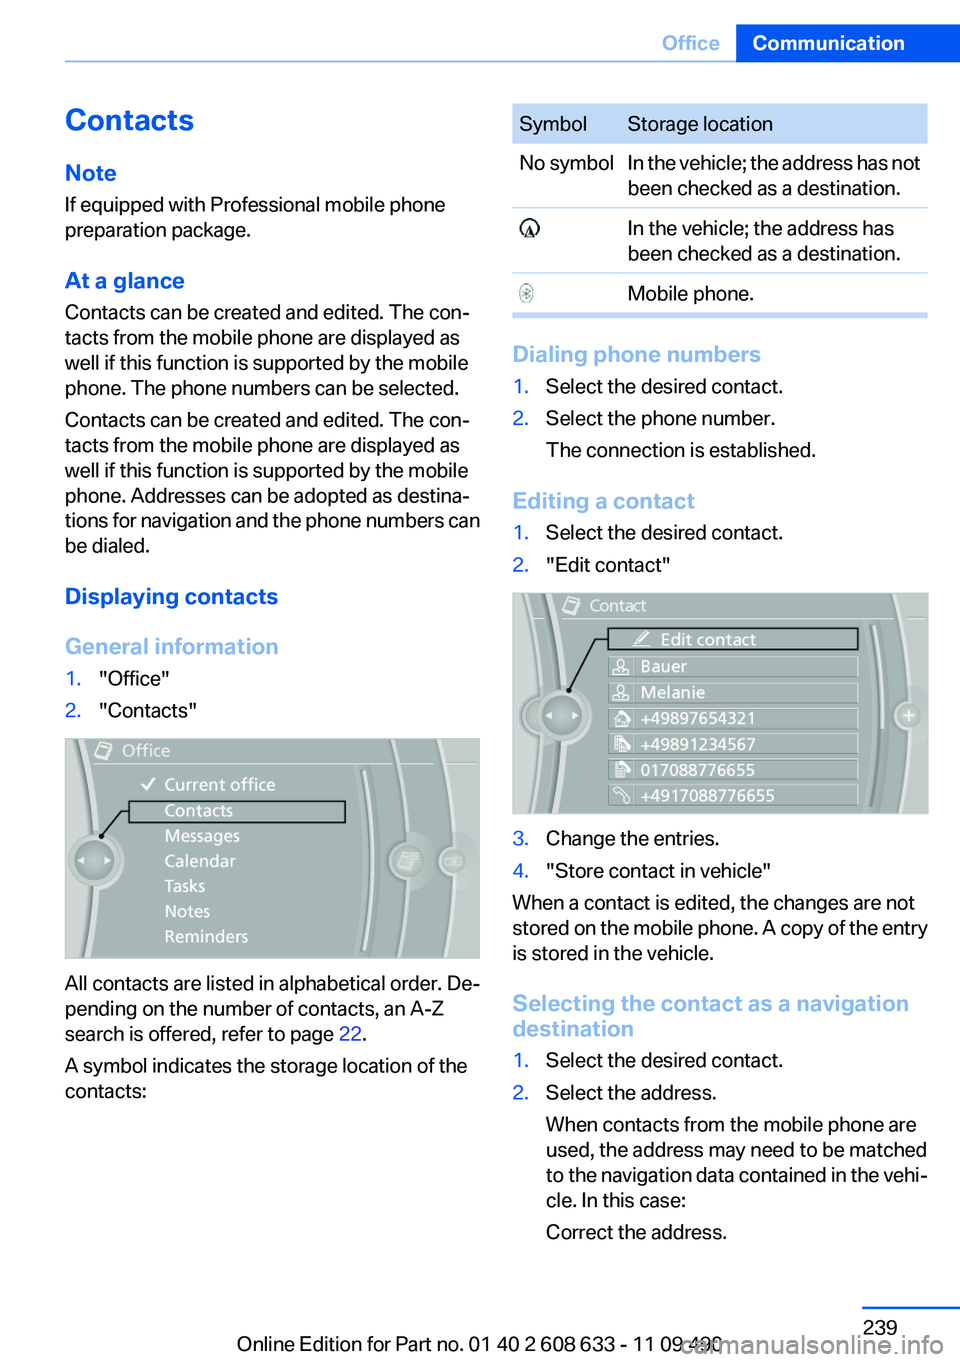
General information1."Office"2."Contacts"
All contacts are listed in alphabetical order. De‐
pending on the number of contacts, an A-Z
search is offered, refer to page 22.
A symbol indicates the storage location of the
contacts:
SymbolStorage locationNo symbolIn the vehicle; the address has not
been checked as a destination. In the vehicle; the address has
been checked as a destination. Mobile phone.
Dialing phone numbers
1.Select the desired contact.2.Select the phone number.
The connection is established.
Editing a contact
1.Select the desired contact.2."Edit contact"3.Change the entries.4."Store contact in vehicle"
When a contact is edited, the changes are not
stored on the mobile phone. A copy of the entry
is stored in the vehicle.
Selecting the contact as a navigation
destination
1.Select the desired contact.2.Select the address.
When contacts from the mobile phone are
used, the address may need to be matched
to the navigation data contained in the vehi‐
cle. In this case:
Correct the address.Seite 239OfficeCommunication239
Online Edition for Part no. 01 40 2 608 633 - 11 09 490
Page 240 of 325
3."Start guidance" or "Add as another
destination"
Checking the address as a destination
An address that is to be used for destination
guidance must match the navigation data con‐
tained in the vehicle. The address can be
checked for this purpose.
1.Select the desired contact and highlight the
address.2.Open "Options".3."Check as destination"4.Correct and store the address if necessary.
If the address is corrected and stored, a copy of
it is stored in the vehicle. The address is not
changed on the mobile phone.
New contact
General information
A contact can have up to 8 phone numbers,
2 addresses, 3 e-mail addresses and one Inter‐
net address.
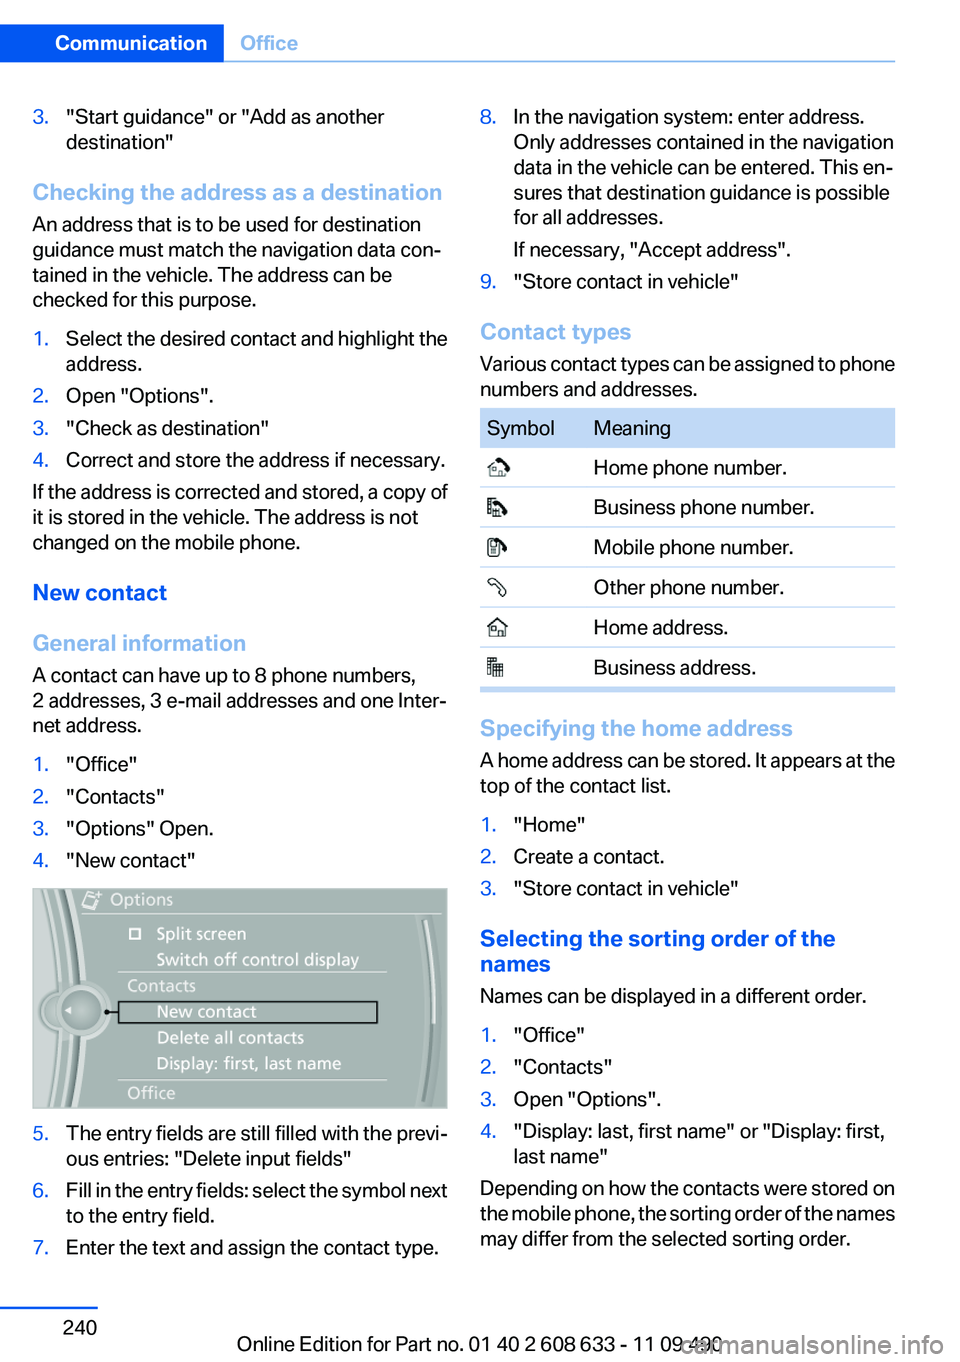
1."Office"2."Contacts"3."Options" Open.4."New contact"5.The entry fields are still filled with the previ‐
ous entries: "Delete input fields"6.Fill in the entry fields: select the symbol next
to the entry field.7.Enter the text and assign the contact type.8.In the navigation system: enter address.
Only addresses contained in the navigation
data in the vehicle can be entered. This en‐
sures that destination guidance is possible
for all addresses.
If necessary, "Accept address".9."Store contact in vehicle"
Contact types
Various contact types can be assigned to phone
numbers and addresses.
SymbolMeaning Home phone number. Business phone number. Mobile phone number. Other phone number. Home address. Business address.
Specifying the home address
A home address can be stored. It appears at the
top of the contact list.
1."Home"2.Create a contact.3."Store contact in vehicle"
Selecting the sorting order of the
names
Names can be displayed in a different order.
1."Office"2."Contacts"3.Open "Options".4."Display: last, first name" or "Display: first,
last name"
Depending on how the contacts were stored on
the mobile phone, the sorting order of the names
may differ from the selected sorting order.
Seite 240CommunicationOffice240
Online Edition for Part no. 01 40 2 608 633 - 11 09 490
Page 247 of 325
ContactsVehicle equipment
All standard, country-specific and optional
equipment that is offered in the model series is
described in this chapter. Therefore, equipment
is also described that is not available in a vehicle,
e. g., because of the selected optional equip‐
ment or country variant. This also applies for
safety-related functions and systems.
Note
If equipped with Business mobile phone prepa‐
ration equipment package or without mobile
phone preparation.
General information
Contacts can be created and edited.
Contacts can be created and edited. The con‐
tacts from the mobile phone are displayed as
well if this function is supported by the mobile
phone. Addresses can be adopted as destina‐
tions for navigation and the phone numbers can
be dialed.
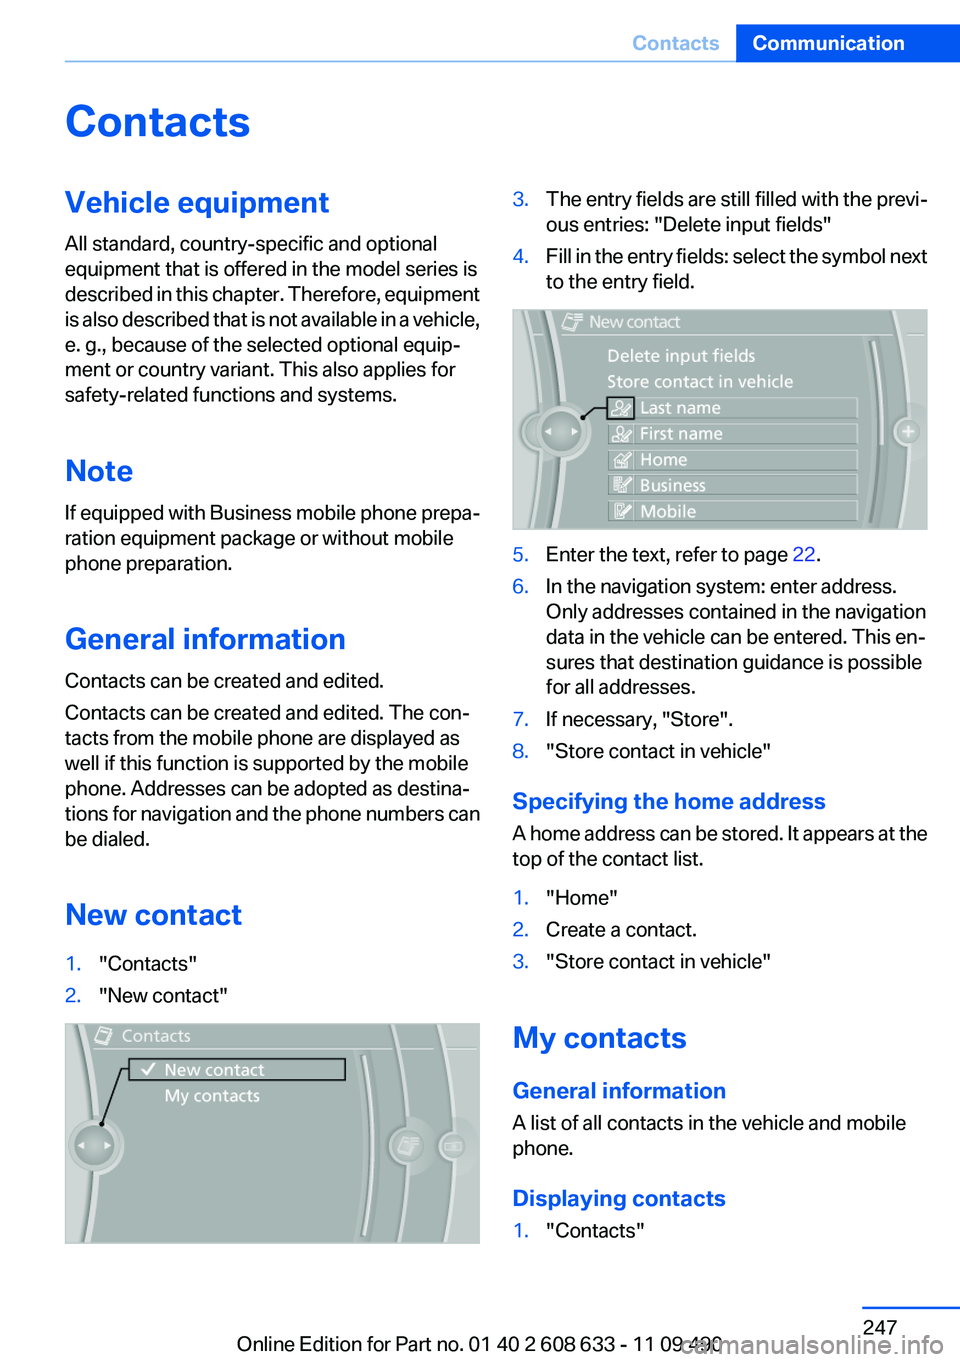
New contact1."Contacts"2."New contact"3.The entry fields are still filled with the previ‐
ous entries: "Delete input fields"4.Fill in the entry fields: select the symbol next
to the entry field.5.Enter the text, refer to page 22.6.In the navigation system: enter address.
Only addresses contained in the navigation
data in the vehicle can be entered. This en‐
sures that destination guidance is possible
for all addresses.7.If necessary, "Store".8."Store contact in vehicle"
Specifying the home address
A home address can be stored. It appears at the
top of the contact list.
1."Home"2.Create a contact.3."Store contact in vehicle"
My contacts
General information
A list of all contacts in the vehicle and mobile
phone.
Displaying contacts
1."Contacts"Seite 247ContactsCommunication247
Online Edition for Part no. 01 40 2 608 633 - 11 09 490
Page 248 of 325
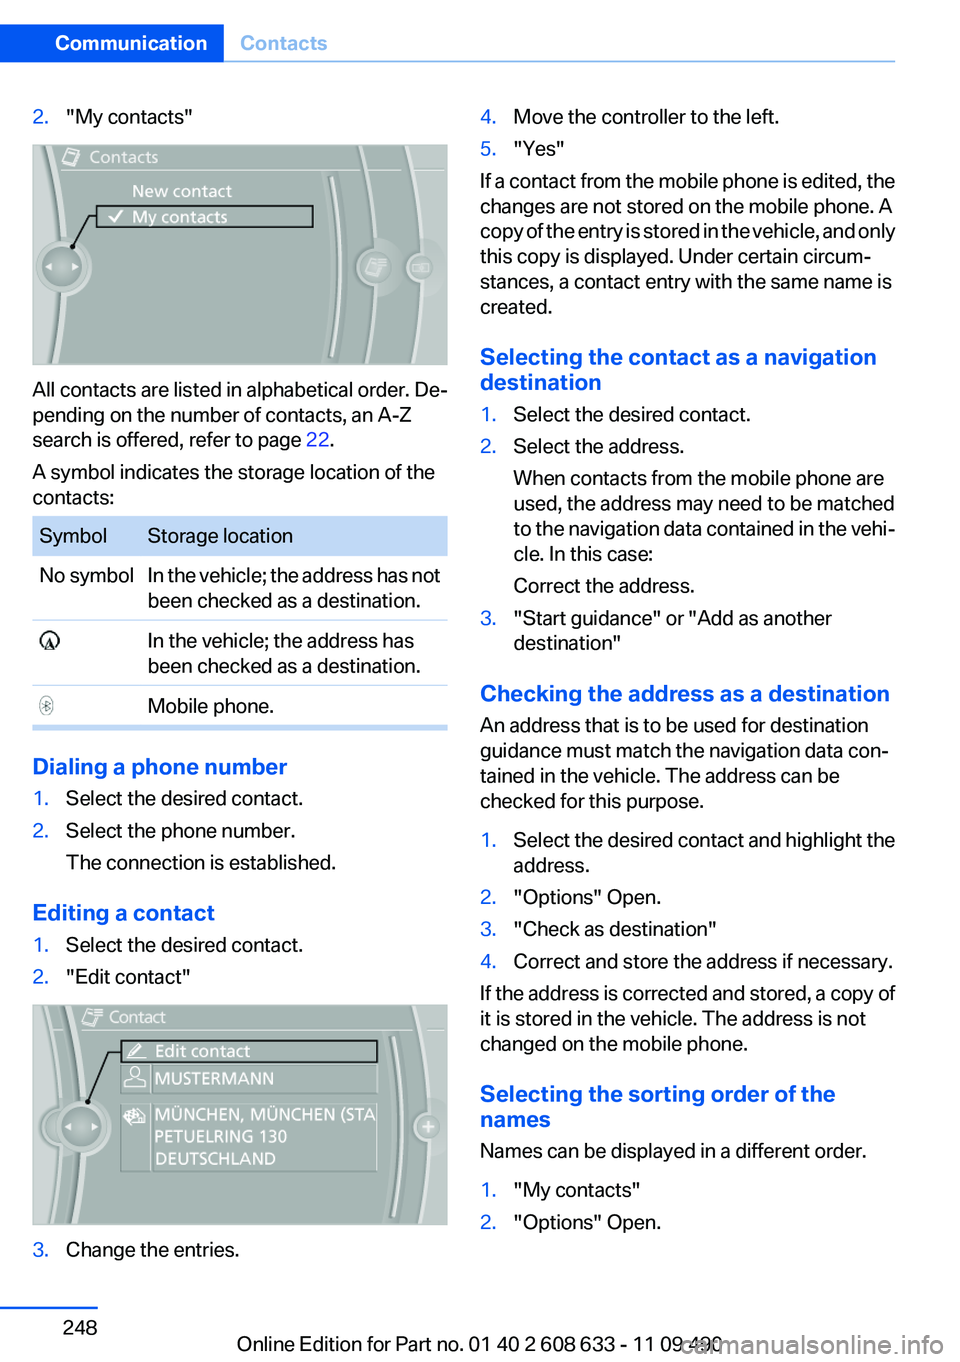
2."My contacts"
All contacts are listed in alphabetical order. De‐
pending on the number of contacts, an A-Z
search is offered, refer to page 22.
A symbol indicates the storage location of the
contacts:
SymbolStorage locationNo symbolIn the vehicle; the address has not
been checked as a destination. In the vehicle; the address has
been checked as a destination. Mobile phone.
Dialing a phone number
1.Select the desired contact.2.Select the phone number.
The connection is established.
Editing a contact
1.Select the desired contact.2."Edit contact"3.Change the entries.4.Move the controller to the left.5."Yes"
If a contact from the mobile phone is edited, the
changes are not stored on the mobile phone. A
copy of the entry is stored in the vehicle, and only
this copy is displayed. Under certain circum‐
stances, a contact entry with the same name is
created.
Selecting the contact as a navigation
destination
1.Select the desired contact.2.Select the address.
When contacts from the mobile phone are
used, the address may need to be matched
to the navigation data contained in the vehi‐
cle. In this case:
Correct the address.3."Start guidance" or "Add as another
destination"
Checking the address as a destination
An address that is to be used for destination
guidance must match the navigation data con‐
tained in the vehicle. The address can be
checked for this purpose.
1.Select the desired contact and highlight the
address.2."Options" Open.3."Check as destination"4.Correct and store the address if necessary.
If the address is corrected and stored, a copy of
it is stored in the vehicle. The address is not
changed on the mobile phone.
Selecting the sorting order of the
names
Names can be displayed in a different order.
1."My contacts"2."Options" Open.Seite 248CommunicationContacts248
Online Edition for Part no. 01 40 2 608 633 - 11 09 490