2012 BMW 135I CONVERTIBLE check engine light
[x] Cancel search: check engine lightPage 15 of 272
At a glance
13Reference
Controls
Driving tips
Communications
Navigation
Entertainment
Mobility
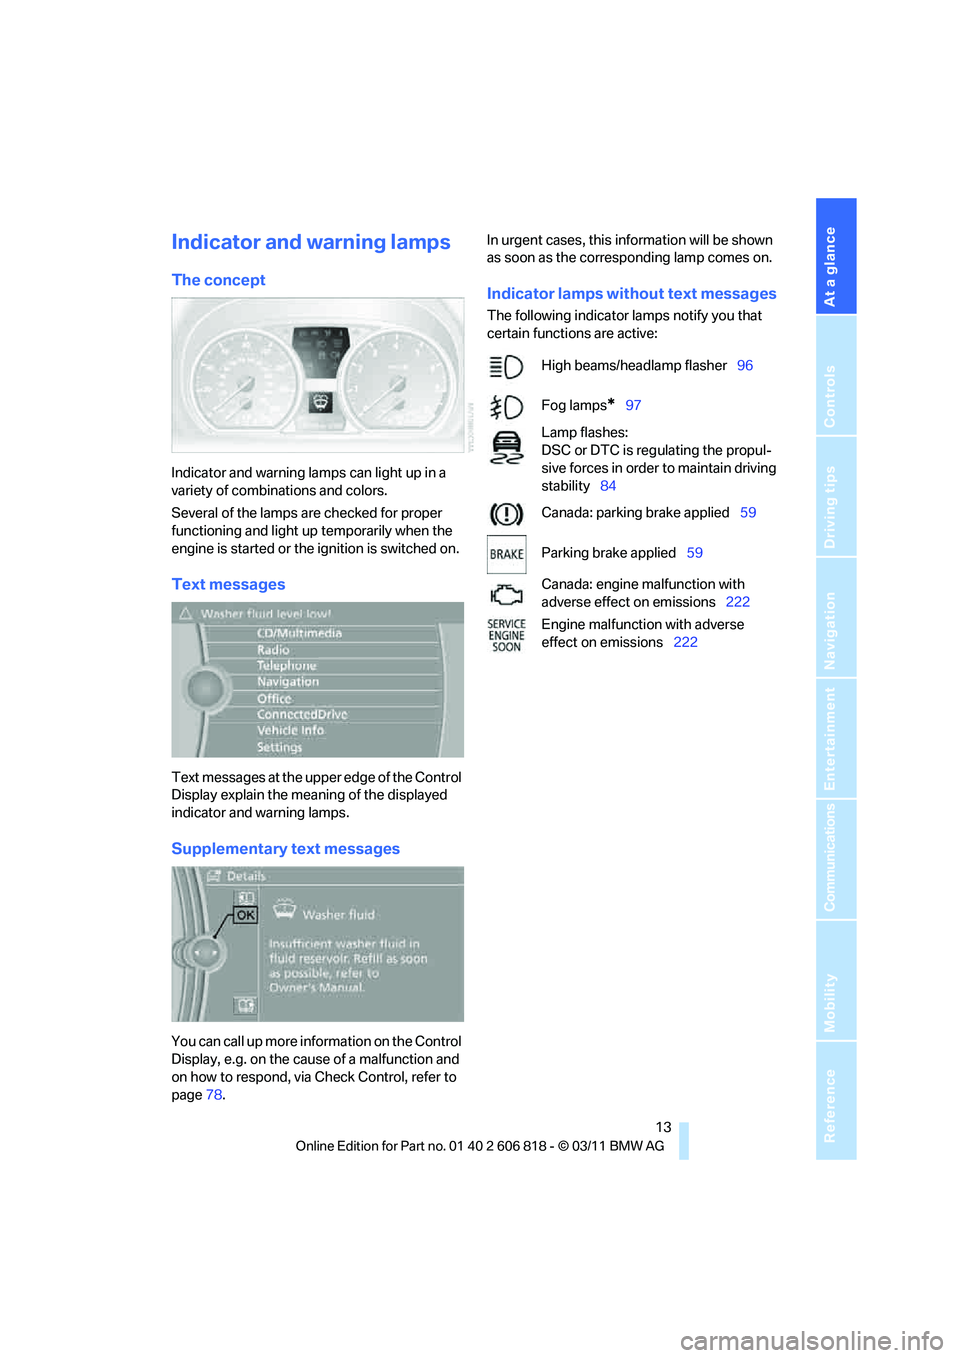
Indicator and warning lamps
The concept
Indicator and warning lamps can light up in a
variety of combinations and colors.
Several of the lamps are checked for proper
functioning and light up temporarily when the
engine is started or the ignition is switched on.
Text messages
Text messages at the upper edge of the Control
Display explain the meaning of the displayed
indicator and warning lamps.
Supplementary text messages
You can call up more information on the Control
Display, e.g. on the cause of a malfunction and
on how to respond, via Check Control, refer to
page78.In urgent cases, this information will be shown
as soon as the corresponding lamp comes on.
Indicator lamps without text messages
The following indicator lamps notify you that
certain functions are active:
High beams/headlamp flasher96
Fog lamps
*97
Lamp flashes:
DSC or DTC is regulating the propul-
sive forces in order to maintain driving
stability84
Canada: parking brake applied59
Parking brake applied59
Canada: engine malfunction with
adverse effect on emissions222
Engine malfunction with adverse
effect on emissions222
Page 39 of 272
Controls
37Reference
At a glance
Driving tips
Communications
Navigation
Entertainment
Mobility
afterward, insert the remote control into the
ignition lock.
Warning lamps
The warning lamp in the instrument
cluster lights up when you attempt to
start the engine: the engine cannot
be started. The remote control is not inside the
vehicle or is malfunctioning. Take the remote
control with you inside the vehicle or have it
checked. If necessary, insert another remote
control into the ignition lock.
The warning lamp in the instrument
cluster lights up while the engine is
running: the remote control is no
longer inside the vehicle. After the engine is
switched off, the engine can only be restarted
within approx. 10 seconds.
The indicator lamp in the instrument
cluster comes on and a message
appears on the Control Display:
replace the battery in the remote control.
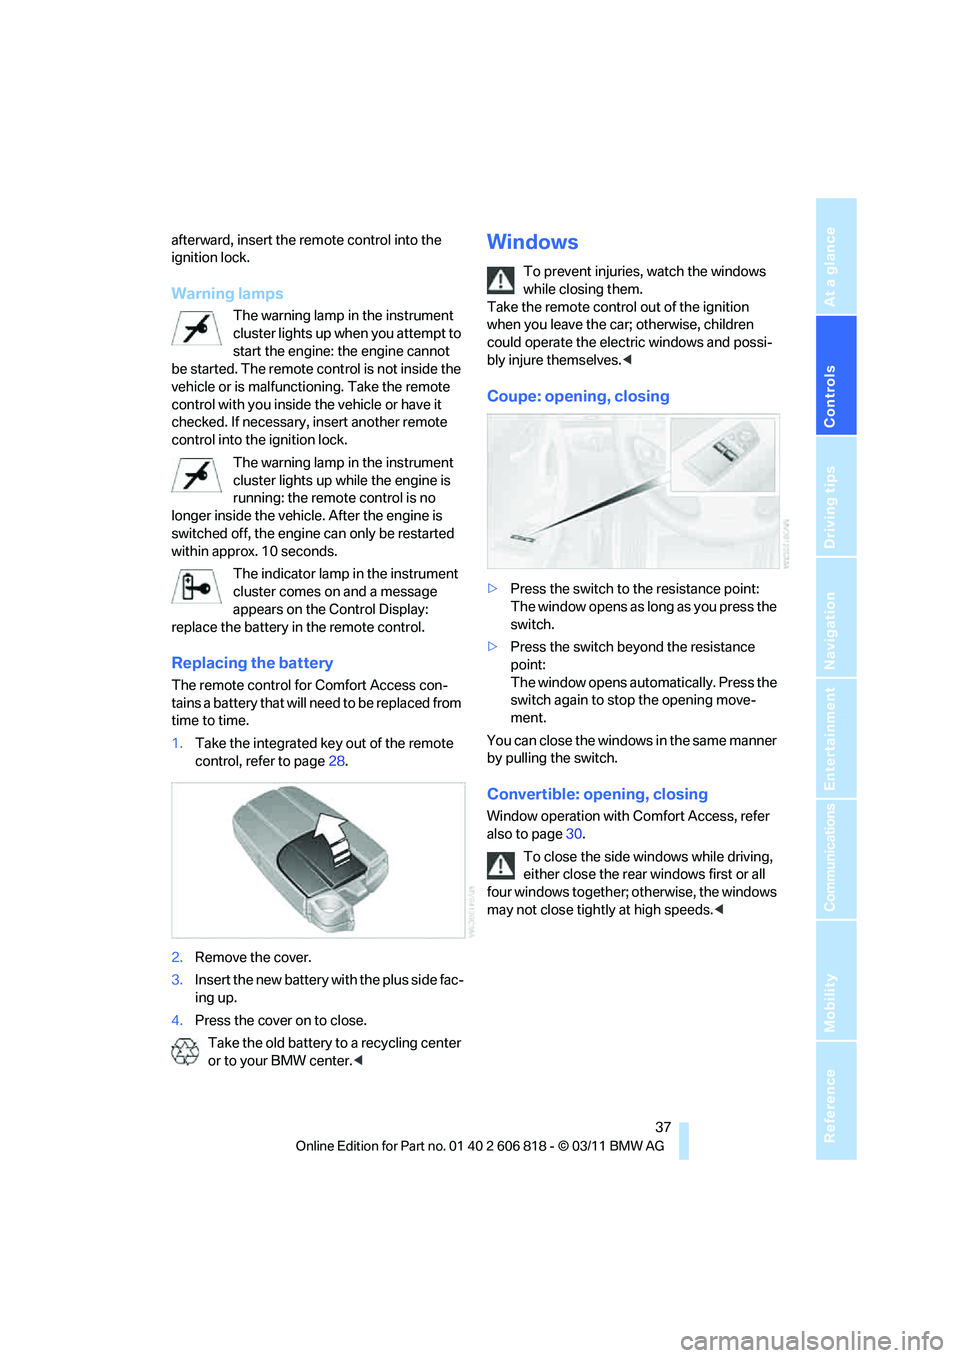
Replacing the battery
The remote control for Comfort Access con-
tains a battery that will need to be replaced from
time to time.
1.Take the integrated key out of the remote
control, refer to page28.
2.Remove the cover.
3.Insert the new battery with the plus side fac-
ing up.
4.Press the cover on to close.
Take the old battery to a recycling center
or to your BMW center.<
Windows
To prevent injuries, watch the windows
while closing them.
Take the remote control out of the ignition
when you leave the car; otherwise, children
could operate the electric windows and possi-
bly injure themselves.<
Coupe: opening, closing
>Press the switch to the resistance point:
The window opens as long as you press the
switch.
>Press the switch beyond the resistance
point:
The window opens automatically. Press the
switch again to stop the opening move-
ment.
You can close the windows in the same manner
by pulling the switch.
Convertible: opening, closing
Window operation with Comfort Access, refer
also to page30.
To close the side windows while driving,
either close the rear windows first or all
four windows together; otherwise, the windows
may not close tightly at high speeds.<
Page 43 of 272
Controls
41Reference
At a glance
Driving tips
Communications
Navigation
Entertainment
Mobility
tion.
Always completely finish the operation of the
convertible top. Driving with the convertible top
incompletely opened or closed can result in
damage or injury.
Do not reach into the mechanism during the
opening or closing procedure. Keep children
away from the opening/closing path of the con-
vertible top.
For safety reasons, only operate the convertible
top while the vehicle is standing.<
While opening and closing, the convert-
ible top pivots upward. When operating
the convertible top in a garage, under a bridge,
etc., ensure that there are at least 6 ft 7 in/2 m
of headroom; otherwise, the vehicle may be
damaged.<
Before opening and closing
>Comply with the safety precautions
described above.
>Ensure that the cargo area partition is
folded down and engaged on both sides,
refer to page110; otherwise, it will not be
possible to open the convertible top.
>Ensure that the cargo does not press
against the cargo area partition from below.
>Ensure that the trunk lid is closed.
Opening and closing
Convertible top operation with Comfort Access,
refer also to page30.
As of radio readiness, refer to page57:
To conserve battery power, if possible
operate the convertible top only while the
engine is running.
Prior to closing the convertible top, check for
and remove all debris from the windshield
frame; otherwise, the closing of the top may be
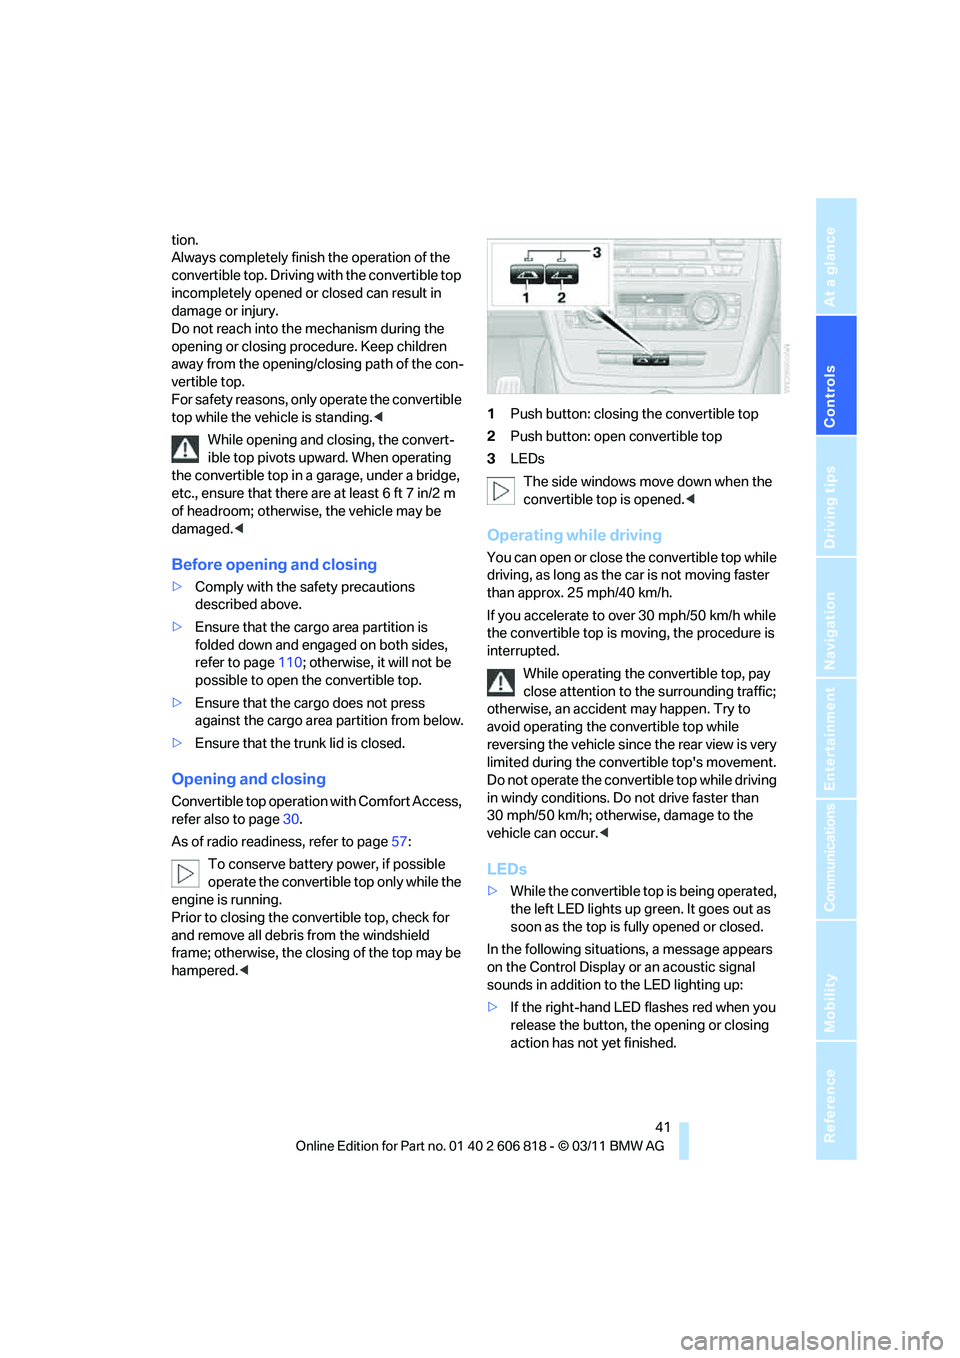
hampered.<1Push button: closing the convertible top
2Push button: open convertible top
3LEDs
The side windows move down when the
convertible top is opened.<
Operating while driving
You can open or close the convertible top while
driving, as long as the car is not moving faster
than approx. 25 mph/40 km/h.
If you accelerate to over 30 mph/50 km/h while
the convertible top is moving, the procedure is
interrupted.
While operating the convertible top, pay
close attention to the surrounding traffic;
otherwise, an accident may happen. Try to
avoid operating the convertible top while
reversing the vehicle since the rear view is very
limited during the convertible top's movement.
Do not operate the convertible top while driving
in windy conditions. Do not drive faster than
30 mph/50 km/h; otherwise, damage to the
vehicle can occur.<
LEDs
>While the convertible top is being operated,
the left LED lights up green. It goes out as
soon as the top is fully opened or closed.
In the following situations, a message appears
on the Control Display or an acoustic signal
sounds in addition to the LED lighting up:
>If the right-hand LED flashes red when you
release the button, the opening or closing
action has not yet finished.
Page 80 of 272
Controls overview
78
Date
The settings are stored for the remote control
currently in use, refer also to Personal Profile on
page28.
Setting the date
In the instrument cluster
To set the dd/mm or mm/dd date format, refer
to Setting the date format below.
1.Push button1 in the turn signal/high beam
lever up or down repeatedly until the appro-
priate symbol appears in the display,
accompanied by the date and the word
"SET".
2.Press button2.
3.Use button1 to set the day of the month.
4.Press button2 to confirm the entry.
5.Set the month and the yea r i n t he s a m e w a y .
6.Press button 2.
The system stores the new date.
Via iDrive
1."Settings"
2."Time/Date"
3."Date:"
4.Turn the controller until the desired day is
displayed, and press the controller.
5.Create the necessary settings for the
month and year.
The date is stored.
Setting the date format
1."Settings"
2."Time/Date"
3."Format:"
4.Select the desired format.
The date format is stored.
Check Control
The concept
The Check Control monitors vehicle functions
and alerts you to any malfunctions in the sys-
tems monitored. Such a Check Control mes-
sage includes indicator and warning lamps in
the instrument cluster and, in some circum-
stances, an acoustic signal as well as text mes-
sages at the top of the Control Display.
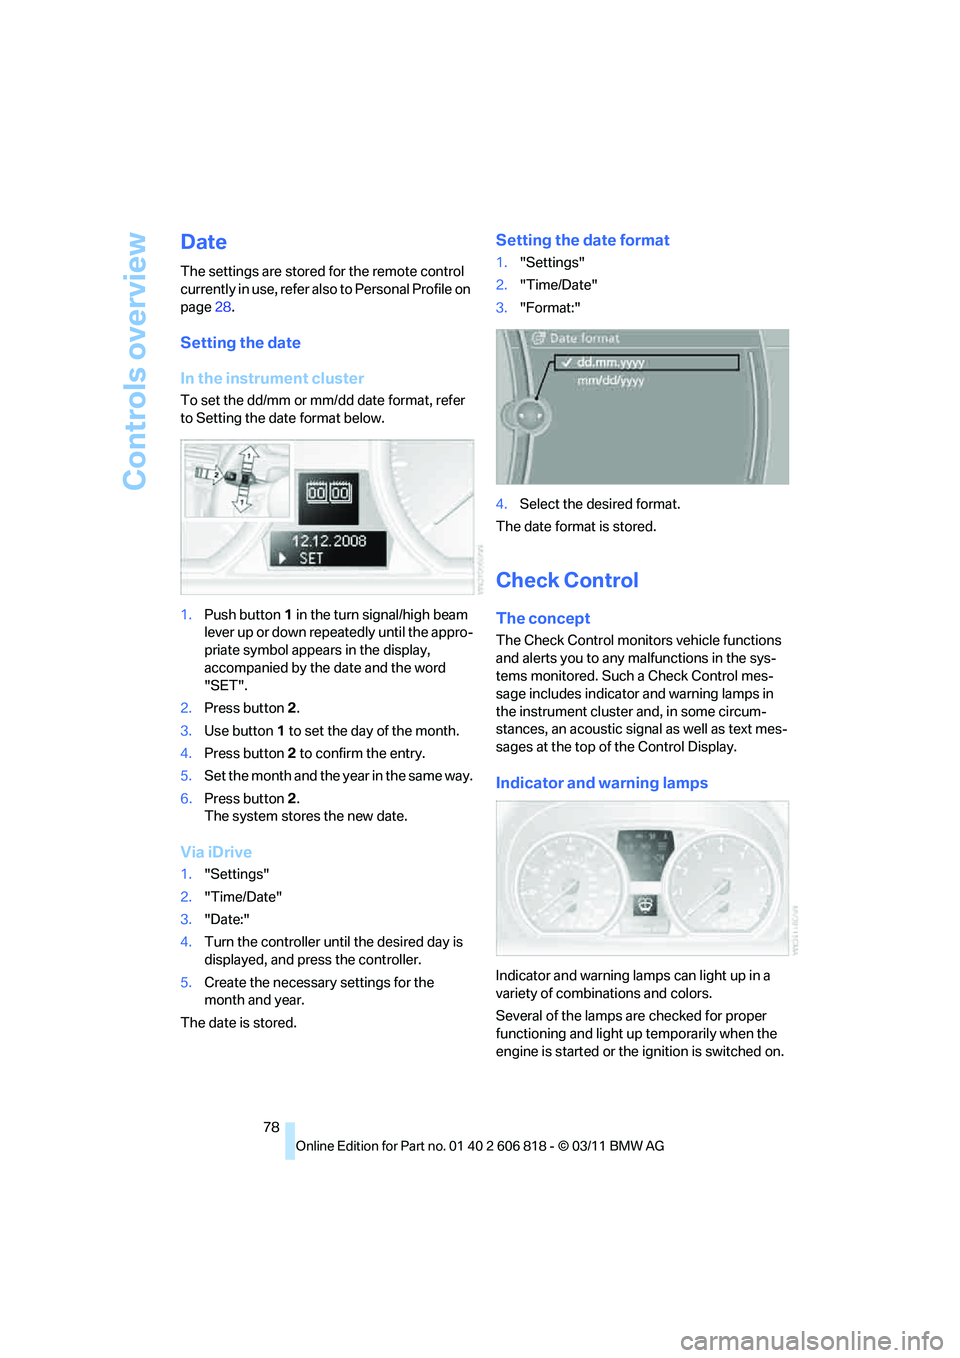
Indicator and warning lamps
Indicator and warning lamps can light up in a
variety of combinations and colors.
Several of the lamps are checked for proper
functioning and light up temporarily when the
engine is started or the ignition is switched on.
Page 84 of 272
Technology for driving comfort and safety
82
Technology for driving comfort and safety
Park Distance Control PDC*
The concept
The PDC assists you with maneuvering in tight
parking spaces. Acoustic signals and a visual
indicator
warn you of the presence of an object
behind your vehicle. Four ultrasonic sensors in
the bumper measure the distance.
These sensors have a range of approx. 6.5 ft/
2 m. However, an acoustic warning does not
sound until an object is approx. 2 ft/60 cm from
the corner sensors, or approx. 5 ft/1.50 m from
the center sensors.
PDC is a parking aid that can indicate
objects when they are approached
slowly, as is usually the case when parking.
Avoid approaching an object at high speed; oth-
erwise, physical circumstances may lead to the
system warning being issued too late.<
Switching on automatically
With the engine running or the ignition switched
on, the system is activated after approx. second
when you engage reverse gear or move the
automatic transmission selector lever to
position R. Wait this short period before driving.
Switching off automatically
After approx. 150 ft/50 m of driving or approx.
20 mph/30 km/h of speed, the system switches
off and the LED goes out.
Signal tones
When nearing an object, its position is indicated
correspondingly by an interval tone. As the dis-
tance between vehicle and object decreases,
the intervals between the tones become
shorter. If the distance to the nearest object
falls to below roughly 1 ft/30 cm, then a contin-
uous tone sounds.An interval tone is interrupted after approx.
3seconds:
>If you stop in front of an object that has been
detected by only one of the corner sensors
>If you are driving parallel to a wall
Malfunction
The indicator lamp in the instrument
cluster lights up. PDC is malfunction-
ing. A message appears on the Con-
trol Display. Have the system checked.
To avoid this problem, keep the sensors clean
and free of ice or snow in order to ensure that
they will continue to operate effectively. When
using a high-pressure cleaner, do not spray the
sensors for extended periods of time and only
from a distance of at least 1 ft/30 cm.
PDC with visual warning
The approach of the vehicle to an object is
shown on the Control Display. Objects that are
farther away are displayed on the Control Dis-
play before a signal tone sounds. The display
appears on the Control Display as soon as PDC
is activated.
System limitations
Even with PDC, final responsibility for
estimating the distance between the
vehicle and any obstructions always remains
with the driver. Even when sensors are pro-
vided, there is a blind spot in which objects can
no longer be detected. The system is also sub-
ject to the physical limits that apply to all forms
of ultrasonic measurement, such as those
encountered with trailer towbars and hitches,
thin or wedge-shaped objects, etc. Low objects
that have already been displayed, e.g. curbs,
can disappear again from the detection area of
the sensors before or after a continuous tone
sounds. Higher, protruding objects, e.g. ledges,
cannot be detected. Loud sound sources out-
side or inside the car can drown out the PDC
Page 98 of 272

Lamps
96
Malfunction
The warning lamp lights up. A mes-
sage appears on the Control Display.
The Adaptive Light Control is mal-
functioning or failed. Have the system checked
as soon as possible.
High beams/roadside parking
lamps*
1High beams
2Headlamp flasher
3Roadside parking lamps
*
Roadside parking lamps, left or right*
There is an additional option of switching on the
lamps on the side of the car facing the road
when parked.
Switching on
After parking the vehicle, press the lever up or
down beyond the pressure point for approx.
1 second, arrow 3.
The roadside parking lamps drain the bat-
tery. Therefore, do not leave them on for
unduly long periods of time; otherwise, the bat-
tery might not have enough power to start the
engine.<
Switching off
Press the lever in the opposite direction to the
pressure point, arrow 3.
High-beam Assistant*
The concept
This system automatically switches the high
beams on and off. The procedure is controlled
by a sensor on the front of the interior rearview
mirror. The assistant ensures that the high
beams are switched on whenever the traffic sit-
uation allows. It handles this task for you and
gives you the benefit of the best possible view.
You can intervene at any time and switch the
high beams on and off as usual.
Activating the system
1.Turn the light switch to position3, refer to
page94.
2.With the low beams switched on, briefly
push the turn signal/high beam lever in the
direction of the high beam.
The indicator lamp in the instrument
cluster lights up when the high beams
are activated. The system automati-
cally switches from high beams to low beams
and vice versa in response to oncoming traffic,
traffic ahead of you, and adequate ambient
lighting, e.g. on city streets.
Switching the high beams on and off
manually
Whenever you wish, or when the situation
requires, you can intervene:
>If the High-beam Assistant switches on the
high beams, but you would like to drive with
the low beams, simply switch off the high
beams using the turn signal/high beam
lever. This deactivates the High-beam
Assistant.
To reactivate the system, briefly push the
turn signal/high beam lever toward the high
beams again.
>If the High-beam Assistant switches on the
low beams, but you would like to drive with
the high beams, switch on the high beams
as usual. This deactivates the system and
the high beams need to be switched off
manually, if necessary.
Page 221 of 272
Mobility
219Reference
At a glance
Controls
Driving tips
Communications
Navigation
Entertainment
Have the vehicle checked immedi-
ately; otherwise, the excess oil may
lead to engine damage.<
>"Measurement inactive. Have this
checked.":
Do not add engine oil. Before continuing to
drive, note the recalculated remaining mile-
age until the next oil change service, refer to
Service requirements on page74. Have the
system checked as soon as possible.
Adding engine oil
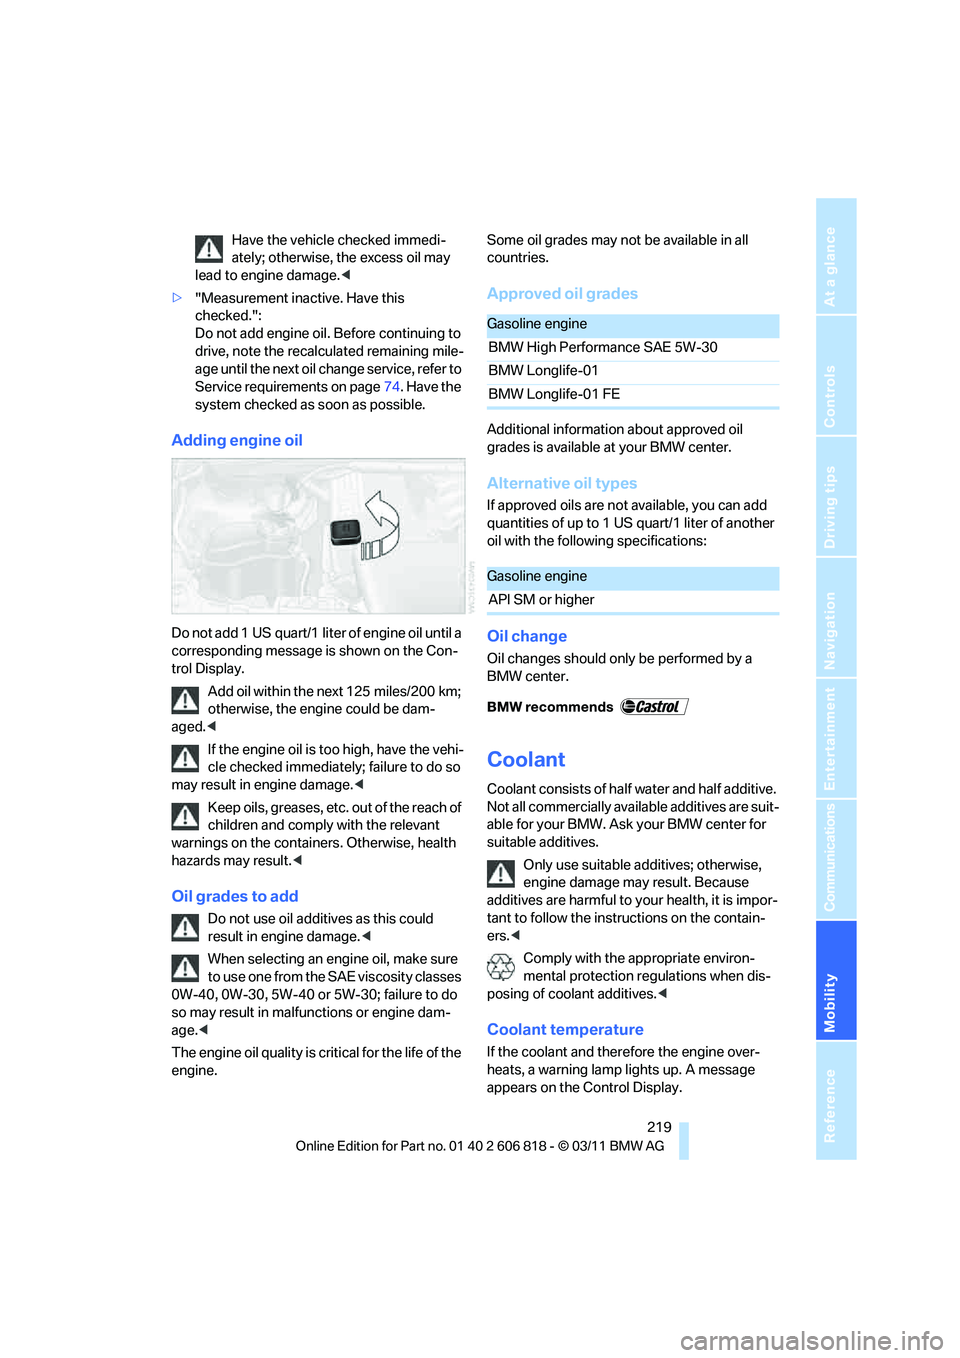
Do not add 1 US quart/1 liter of engine oil until a
corresponding message is shown on the Con-
trol Display.
Add oil within the next 125 miles/200 km;
otherwise, the engine could be dam-
aged.<
If the engine oil is too high, have the vehi-
cle checked immediately; failure to do so
may result in engine damage.<
Keep oils, greases, etc. out of the reach of
children and comply with the relevant
warnings on the containers. Otherwise, health
hazards may result.<
Oil grades to add
Do not use oil additives as this could
result in engine damage.<
When selecting an engine oil, make sure
to use one from the SAE viscosity classes
0W-40, 0W-30, 5W-40 or 5W-30; failure to do
so may result in malfunctions or engine dam-
age.<
The engine oil quality is critical for the life of the
engine.Some oil grades may not be available in all
countries.
Approved oil grades
Additional information about approved oil
grades is available at your BMW center.
Alternative oil types
If approved oils are not available, you can add
quantities of up to 1 US quart/1 liter of another
oil with the following specifications:
Oil change
Oil changes should only be performed by a
BMW center.
Coolant
Coolant consists of half water and half additive.
Not all commercially available additives are suit-
able for your BMW. Ask your BMW center for
suitable additives.
Only use suitable additives; otherwise,
engine damage may result. Because
additives are harmful to your health, it is impor-
tant to follow the instructions on the contain-
ers.<
Comply with the appropriate environ-
mental protection regulations when dis-
posing of coolant additives.<
Coolant temperature
If the coolant and therefore the engine over-
heats, a warning lamp lights up. A message
appears on the Control Display.
Gasoline engine
BMW High Performance SAE 5W-30
BMW Longlife-01
BMW Longlife-01 FE
Gasoline engine
API SM or higher
Page 224 of 272
Maintenance
222
Socket for Onboard
Diagnosis OBD
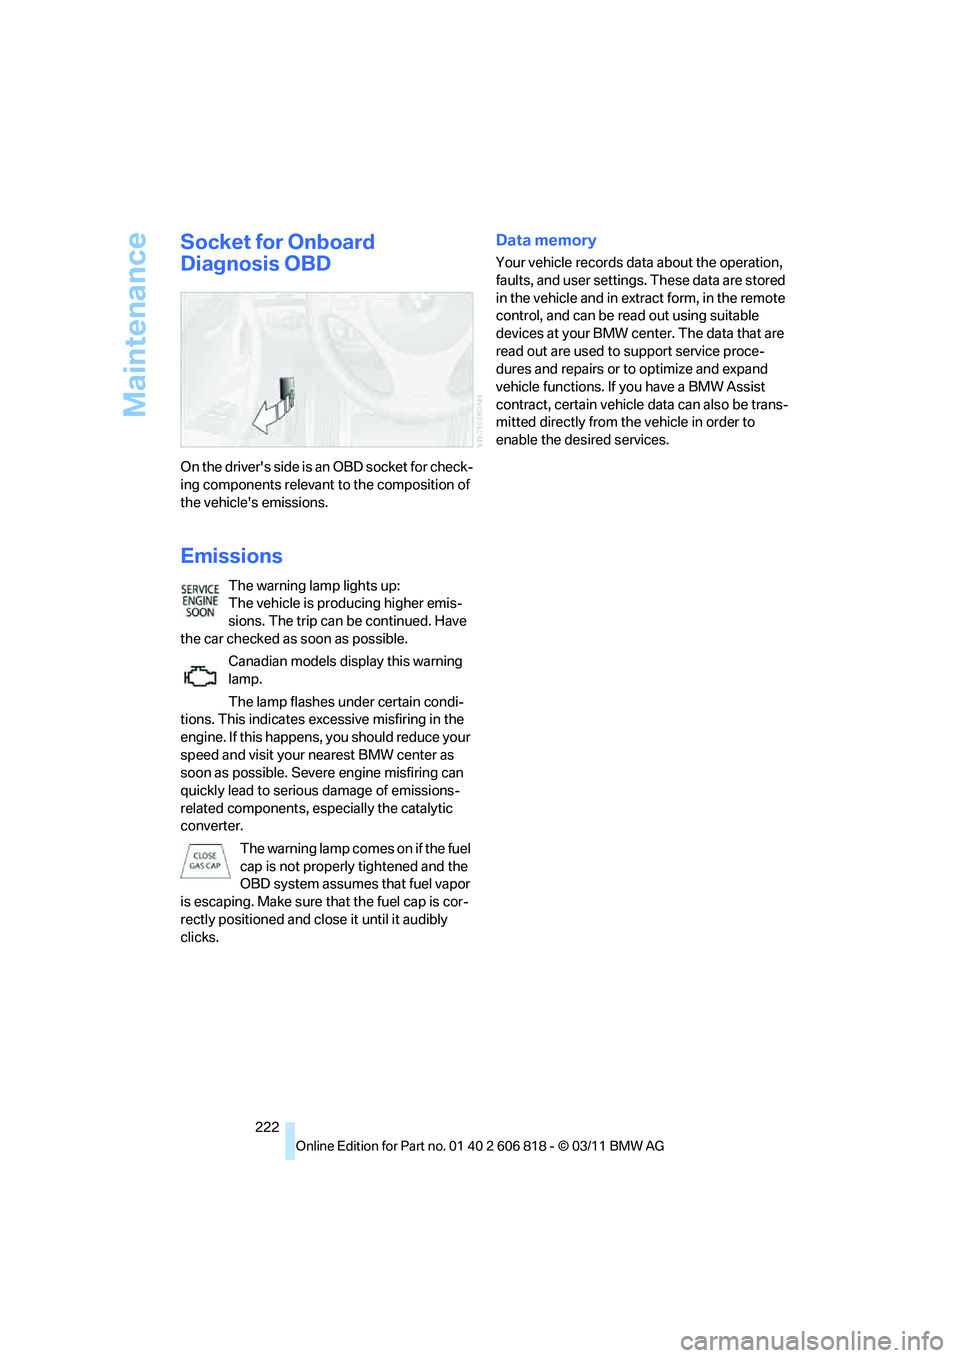
On the driver's side is an OBD socket for check-
ing components relevant to the composition of
the vehicle's emissions.
Emissions
The warning lamp lights up:
The vehicle is producing higher emis-
sions. The trip can be continued. Have
the car checked as soon as possible.
Canadian models display this warning
lamp.
The lamp flashes under certain condi-
tions. This indicates excessive misfiring in the
engine. If this happens, you should reduce your
speed and visit your nearest BMW center as
soon as possible. Severe engine misfiring can
quickly lead to serious damage of emissions-
related components, especially the catalytic
converter.
The warning lamp comes on if the fuel
cap is not properly tightened and the
OBD system assumes that fuel vapor
is escaping. Make sure that the fuel cap is cor-
rectly positioned and close it until it audibly
clicks.
Data memory
Your vehicle records data about the operation,
faults, and user settings. These data are stored
in the vehicle and in extract form, in the remote
control, and can be read out using suitable
devices at your BMW center. The data that are
read out are used to support service proce-
dures and repairs or to optimize and expand
vehicle functions. If you have a BMW Assist
contract, certain vehicle data can also be trans-
mitted directly from the vehicle in order to
enable the desired services.