2011 TOYOTA VERSO S key
[x] Cancel search: keyPage 297 of 664
297
4
4-5. Opening, closing the windows and moon roof
Before driving
WARNING
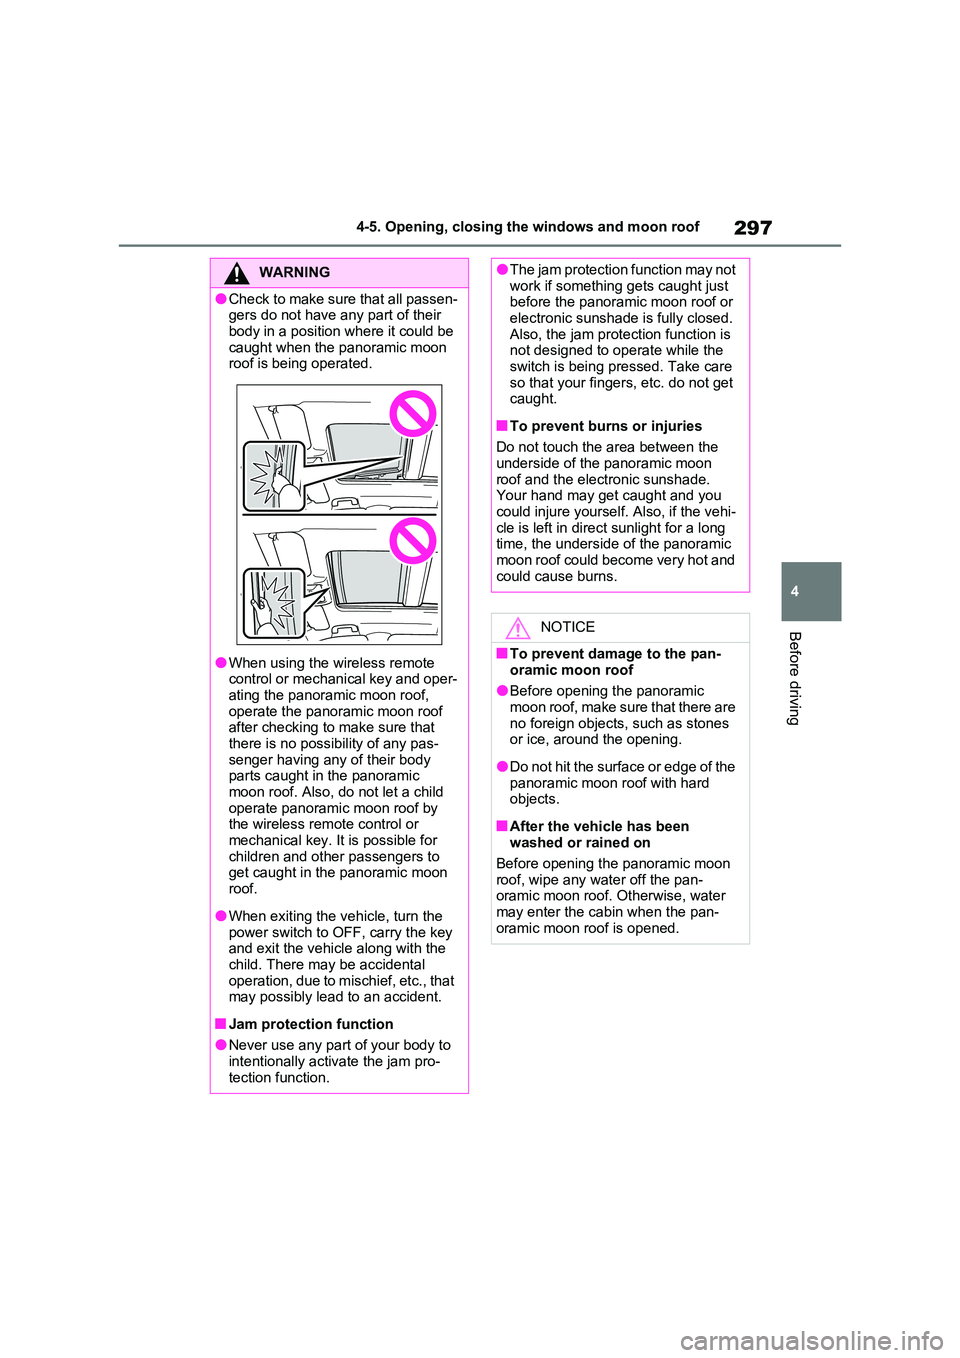
●Check to make sure that all passen- gers do not have any part of their
body in a position where it could be caught when the panoramic moon roof is being operated.
●When using the wireless remote control or mechanical key and oper-
ating the panoramic moon roof, operate the panoramic moon roof after checking to make sure that
there is no possibility of any pas- senger having any of their body parts caught in the panoramic
moon roof. Also, do not let a child operate panoramic moon roof by the wireless remote control or
mechanical key. It is possible for children and other passengers to get caught in the panoramic moon
roof.
●When exiting the vehicle, turn the
power switch to OFF, carry the key and exit the vehicle along with the child. There may be accidental
operation, due to mischief, etc., that may possibly lead to an accident.
■Jam protection function
●Never use any part of your body to intentionally activate the jam pro-
tection function.
●The jam protection function may not work if something gets caught just before the panoramic moon roof or
electronic sunshade is fully closed. Also, the jam protection function is not designed to operate while the
switch is being pressed. Take care so that your fingers, etc. do not get caught.
■To prevent burns or injuries
Do not touch the area between the
underside of the panoramic moon roof and the electronic sunshade. Your hand may get caught and you
could injure yourself. Also, if the vehi- cle is left in direct sunlight for a long time, the underside of the panoramic
moon roof could become very hot and could cause burns.
NOTICE
■To prevent damage to the pan-
oramic moon roof
●Before opening the panoramic moon roof, make sure that there are
no foreign objects, such as stones or ice, around the opening.
●Do not hit the surface or edge of the panoramic moon roof with hard objects.
■After the vehicle has been washed or rained on
Before opening the panoramic moon roof, wipe any water off the pan-oramic moon roof. Otherwise, water
may enter the cabin when the pan- oramic moon roof is opened.
Page 300 of 664
3005-1. Before driving
5- 1. B ef ore dr iv in g
■Before starting the hybrid sys-
tem
Check that the AC charging cable is
disconnected. (P.135)
■Starting the hybrid system
P.317
■Driving
1With the brake pedal depressed,
shift the shift lever to D.
(P.321)
2Release the parking brake.
(P.326)
If the parking brake is in automatic
mode, the parking brake is released
automatically when shifting the shift
lever to any position other than P.
(P.327)
3Gradually release the brake
pedal and gently depress the
accelerator pedal to accelerate
the vehicle.
■Stopping
1With the shift lever in D, depress
the brake pedal.
2If necessary, set the parking
brake. (P.326)
If the vehicle is to be stopped for an
extended period of time, shift the shift
lever to P. (P.321)
■Parking the vehicle
1With the shift lever in D, depress
the brake pedal.
2Set the parking brake (P.326),
and shift the shift lever to P.
(P.321)
3Turn the power switch to OFF to
stop the hybrid system.
4Lock the door, making sure that
you have the key on your per-
son.
If parking on a hill, block the wheels as
needed.
■Starting off on a steep uphill
1With the brake pedal depressed,
shift the shift lever to D.
(P.321)
2Pull the parking brake switch to
set the parking brake manually.
(P.326)
3Release the brake pedal and
gently depress the accelerator
pedal to accelerate the vehicle.
Parking brake automatic release func-
tion (P.327)
■When starting off on a uphill
The hill-start assist control will activate.
(P.438)
■For electricity-saving and fuel-effi-
cient driving
Understand the system characteristics
of the vehicle to use the functions of the
hybrid system. Also, keep in mind that
hybrid vehicles are similar to conven-
tional vehicles, and it is necessary to
refrain from activities such as sudden
acceleration. Refer to “Plug-in hybrid
vehicle driving tips” (P.99).
Driving the vehicle
The following procedures
should be observed to ensure
safe driving:
Driving procedure
Page 317 of 664
317
5 5-2. Driving procedures
Driving
5-2.Driving pro cedu res
1Check that the AC charging
cable is disconnected. (P.135)
2Pull the parking brake switch to
check that the parking brake is
set. (P.326)
The parking brake indicator will come
on.
3Check that the shift lever is set
in P.
4Firmly depress the brake pedal.
and a message will be dis-
played on the multi-information display.
If it is not displayed, the hybrid system
cannot be started.
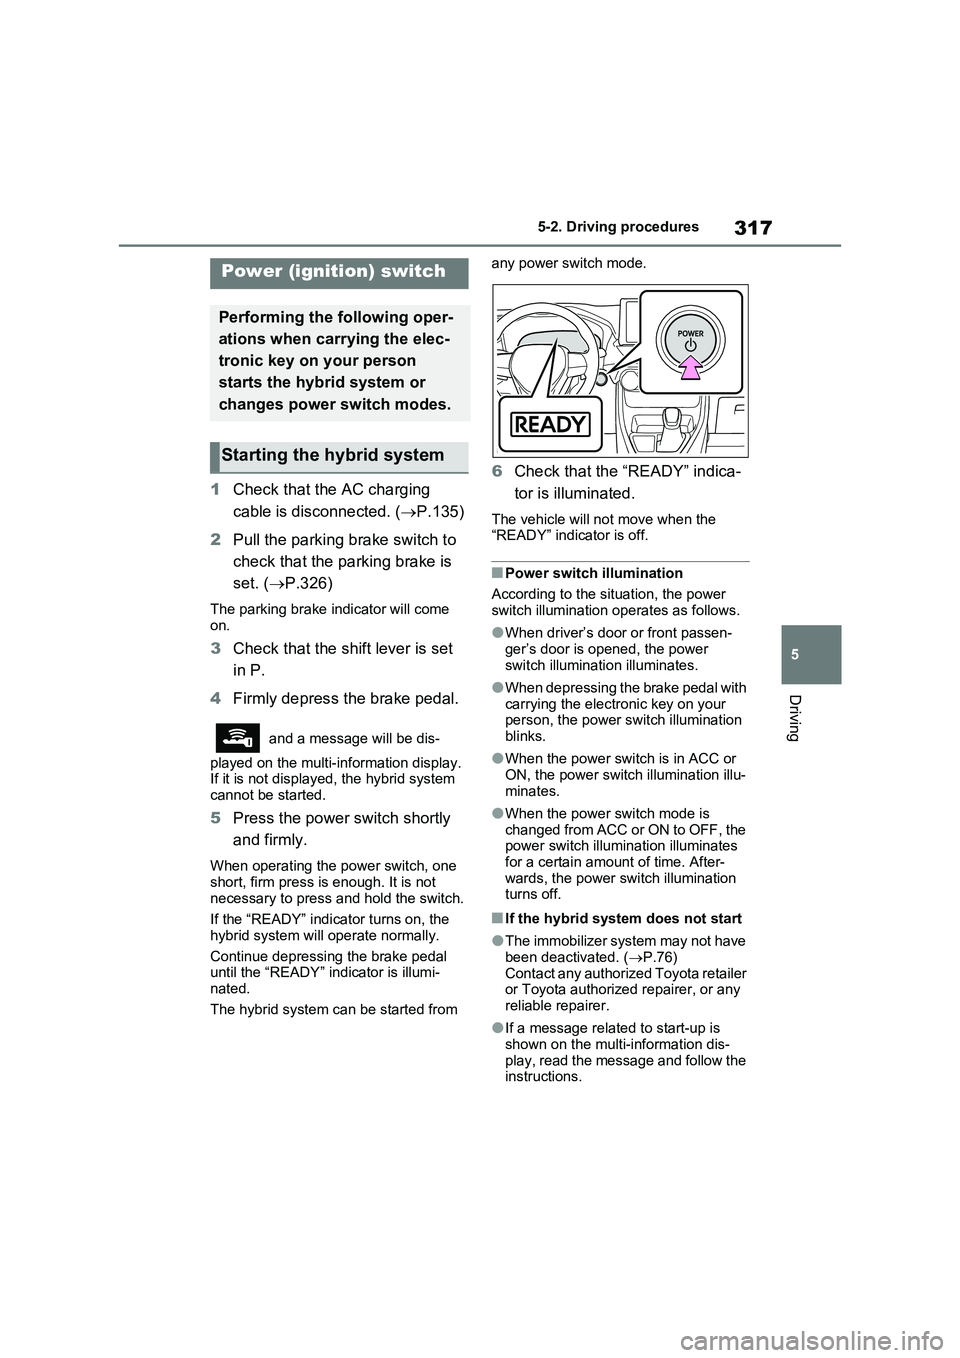
5Press the power switch shortly
and firmly.
When operating the power switch, one
short, firm press is enough. It is not
necessary to press and hold the switch.
If the “READY” indicator turns on, the
hybrid system will operate normally.
Continue depressing the brake pedal
until the “READY” indicator is illumi-
nated.
The hybrid system can be started from any power switch mode.
6Check that the “READY” indica-
tor is illuminated.
The vehicle will not move when the
“READY” indicator is off.
■Power switch illumination
According to the situation, the power
switch illumination operates as follows.
●When driver’s door or front passen-
ger’s door is opened, the power
switch illumination illuminates.
●When depressing the brake pedal with
carrying the electronic key on your
person, the power switch illumination
blinks.
●When the power switch is in ACC or
ON, the power switch illumination illu-
minates.
●When the power switch mode is
changed from ACC or ON to OFF, the
power switch illumination illuminates
for a certain amount of time. After-
wards, the power switch illumination
turns off.
■If the hybrid system does not start
●The immobilizer system may not have
been deactivated. (P.76)
Contact any authorized Toyota retailer
or Toyota authorized repairer, or any
reliable repairer.
●If a message related to start-up is
shown on the multi-information dis-
play, read the message and follow the
instructions.
Power (ignition) switch
Performing the following oper-
ations when carrying the elec-
tronic key on your person
starts the hybrid system or
changes power switch modes.
Starting the hybrid system
Page 318 of 664
3185-2. Driving procedures
■When the ambient temperature is
low, such as during winter driving
conditions
●When starting the hybrid system, the
flashing time of the “READY” indicator
may be long. Leave the vehicle as it is
until the “READY” indicator is steady
on, as steady means the vehicle is
able to move.
●When the hybrid battery (traction bat-
tery) is extremely cold (below approxi-
mately -30°C [-22°F]) under the
influence of the outside temperature, it
may not be possible to start the hybrid
system. In this case, try to start the
hybrid system again after the tem-
perature of the hybrid battery
increases due to the outside tempera-
ture increase etc.
■Sounds and vibrations specific to a
hybrid vehicle
P.91
■If the 12-volt battery is discharged
The hybrid system cannot be started
using the smart entry & start system.
Refer to P.606 to restart the hybrid sys-
tem.
■Electronic key battery depletion
P.202
■Conditions affecting operation
P.225
■Note for the entry function
P.225
■Steering lock function
●After turning the power switch to OFF
and opening and closing the doors,
the steering wheel will be locked due
to the steering lock function. Operat-
ing the power switch again automati-
cally cancels the steering lock.
●When the steering lock cannot be
released, “Push Power Switch while
Turning Steering Wheel in Either
Direction” will be displayed on the
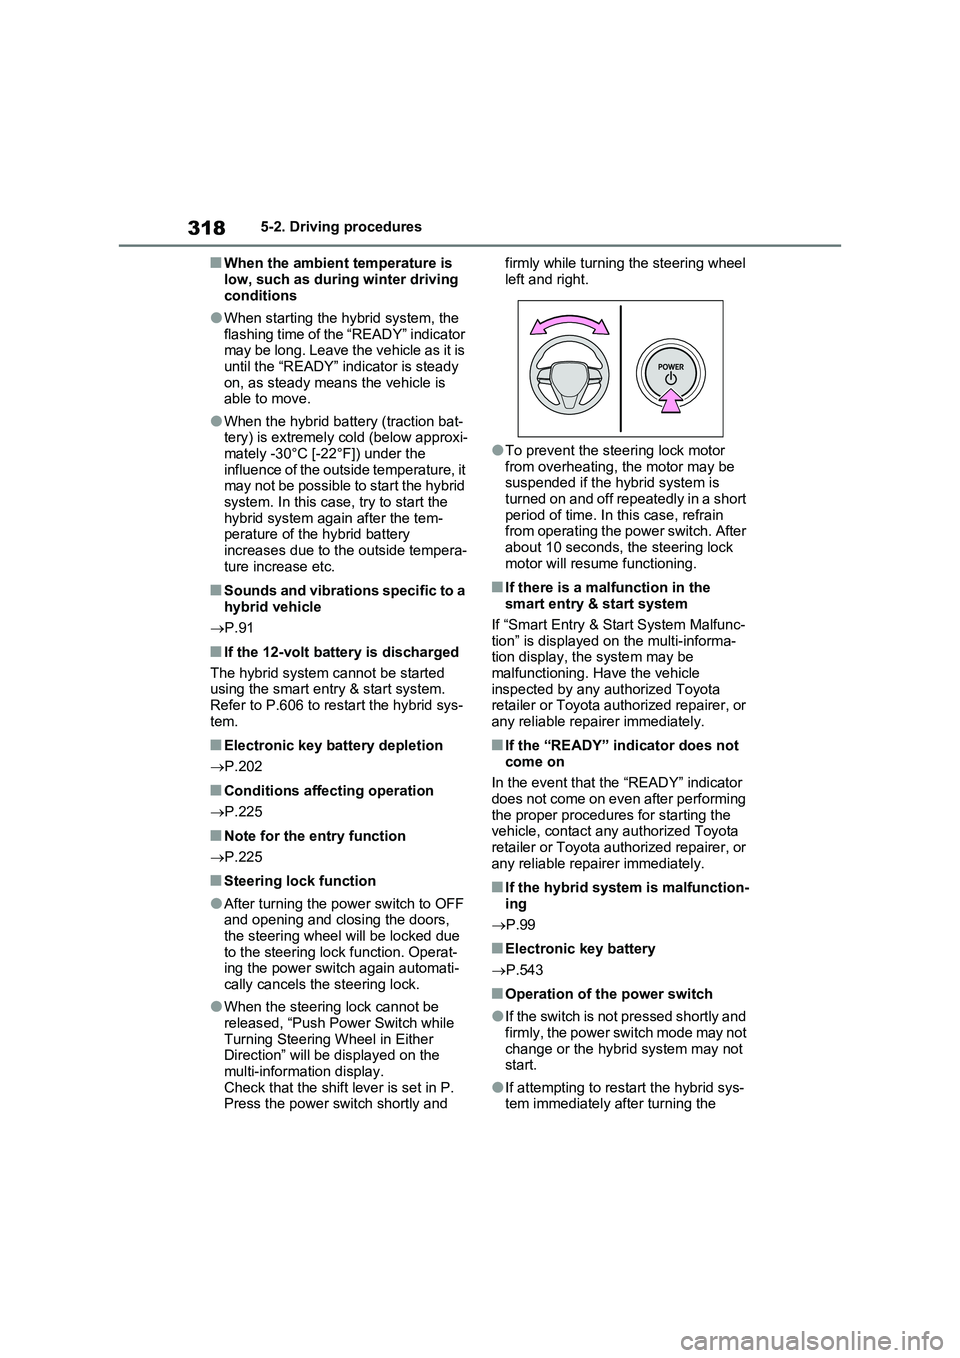
multi-information display.
Check that the shift lever is set in P.
Press the power switch shortly and firmly while turning the steering wheel
left and right.
●To prevent the steering lock motor
from overheating, the motor may be
suspended if the hybrid system is
turned on and off repeatedly in a short
period of time. In this case, refrain
from operating the power switch. After
about 10 seconds, the steering lock
motor will resume functioning.
■If there is a malfunction in the
smart entry & start system
If “Smart Entry & Start System Malfunc-
tion” is displayed on the multi-informa-
tion display, the system may be
malfunctioning. Have the vehicle
inspected by any authorized Toyota
retailer or Toyota authorized repairer, or
any reliable repairer immediately.
■If the “READY” indicator does not
come on
In the event that the “READY” indicator
does not come on even after performing
the proper procedures for starting the
vehicle, contact any authorized Toyota
retailer or Toyota authorized repairer, or
any reliable repairer immediately.
■If the hybrid system is malfunction-
ing
P.99
■Electronic key battery
P.543
■Operation of the power switch
●If the switch is not pressed shortly and
firmly, the power switch mode may not
change or the hybrid system may not
start.
●If attempting to restart the hybrid sys-
tem immediately after turning the
Page 461 of 664
461
6
6-1. Using the air conditioning system and defogger
Interior features
●The outside temperature is extremely
low
●When the hybrid system is cool (for
example, after being left for a long time in low temperatures)
■Windshield defogger
When defogging the windshield using
the Remote Air Conditioning System, defogging may be insufficient due to the power being restricted more than during
normal air conditioning operation. Also, the outside of the windshield may fog up due to the outside temperature, humidity
or air conditioning set temperature.
■Using the heater via the Remote Air Conditioning System
●When the outside temperature is low, heating may feel insufficient due to restricted operation of the air condi-
tioning.
●When the outside heat exchanger
becomes frosted over, heating perfor- mance may decline due to automati-cally switching to the frost removal
operation. ( P.452)
■Security feature
Any unlocked doors will be automatically locked when the system is operating.
The emergency flashers flash to indicate that the doors have been locked or the system has been turned off.
■Conditions affecting operation
P.225
■While the Remote Air Conditioning System is operating
●Depending on the operating condition of the Remote Air Conditioning Sys-tem, the air conditioning compressor
or cooling fan may spin and an operat- ing noise may be heard.However, this does not indicate a mal-
function.
●The air conditioning operation
switches, etc. will not operate while the Remote Air Conditioning System is operating.
■Electronic key battery depletion
P.202
■When the electronic key battery is fully depleted
P.543
■Customization
Setting (e.g. Operation using “A/C” on the wireless remote control) can be changed. (Customizable features:
P.629)
WARNING
■Precautions for the Remote Air Conditioning System
●Do not use the system if people are in the vehicle. Even when the system is in use, the
internal temperature may still reach a high or low level due to features such as the automatic shut-off.
Children and pets left inside the vehicle may suffer heatstroke dehy-dration or hypothermia, or could
result in death or serious injury.
●Depending on the surrounding envi-
ronment, signals from the wireless switch may transmit further than expected. Pay appropriate attention
to the vehicle’s surroundings and use the switch only when neces-sary.
●Do not operate “A/C” on the wire-less remote control if the hood is
open. The air conditioning may operate unintentionally and objects may be drawn into the electrical
cooling fan.
NOTICE
■To prevent the hybrid battery (traction battery) from being dis-charged
Use “A/C” on the wireless remote control only when necessary.
Page 466 of 664
4666-2. Using the interior lights
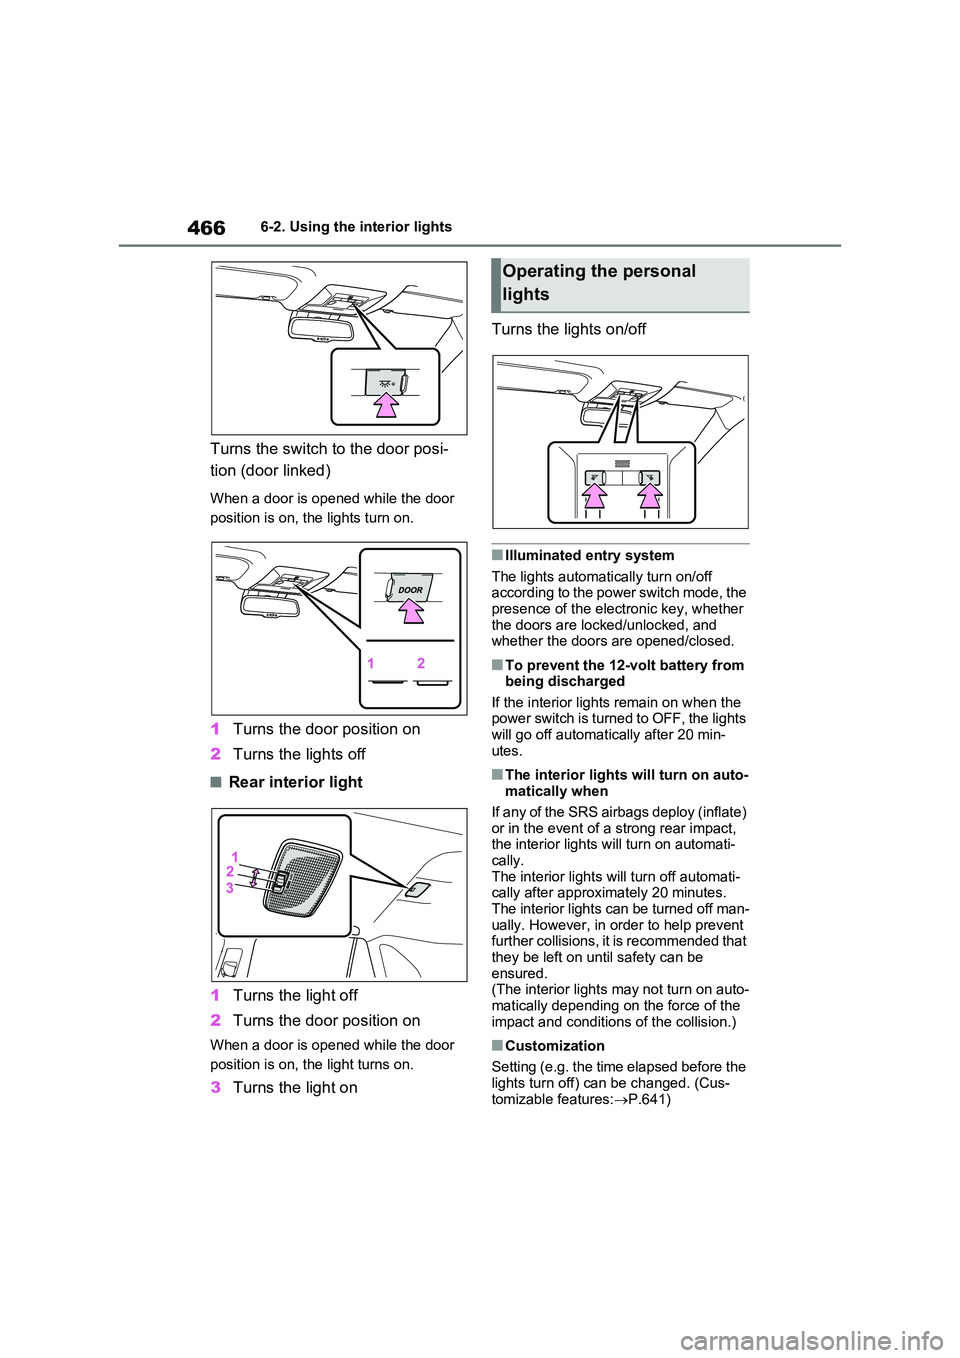
Turns the switch to the door posi-
tion (door linked)
When a door is opened while the door
position is on, the lights turn on.
1 Turns the door position on
2 Turns the lights off
■Rear interior light
1 Turns the light off
2 Turns the door position on
When a door is opened while the door
position is on, the light turns on.
3 Turns the light on
Turns the lights on/off
■Illuminated entry system
The lights automatically turn on/off according to the power switch mode, the presence of the electronic key, whether
the doors are locked/unlocked, and whether the doors are opened/closed.
■To prevent the 12-volt battery from being discharged
If the interior lights remain on when the power switch is turned to OFF, the lights will go off automatically after 20 min-
utes.
■The interior lights will turn on auto- matically when
If any of the SRS airbags deploy (inflate)
or in the event of a strong rear impact, the interior lights will turn on automati-cally.
The interior lights will turn off automati- cally after approximately 20 minutes. The interior lights can be turned off man-
ually. However, in order to help prevent further collisions, it is recommended that they be left on until safety can be
ensured. (The interior lights may not turn on auto-
matically depending on the force of the impact and conditions of the collision.)
■Customization
Setting (e.g. the time elapsed before the
lights turn off) can be changed. (Cus- tomizable features: P.641)
Operating the personal
lights
Page 469 of 664
469
6
6-3. Using the storage features
Interior features
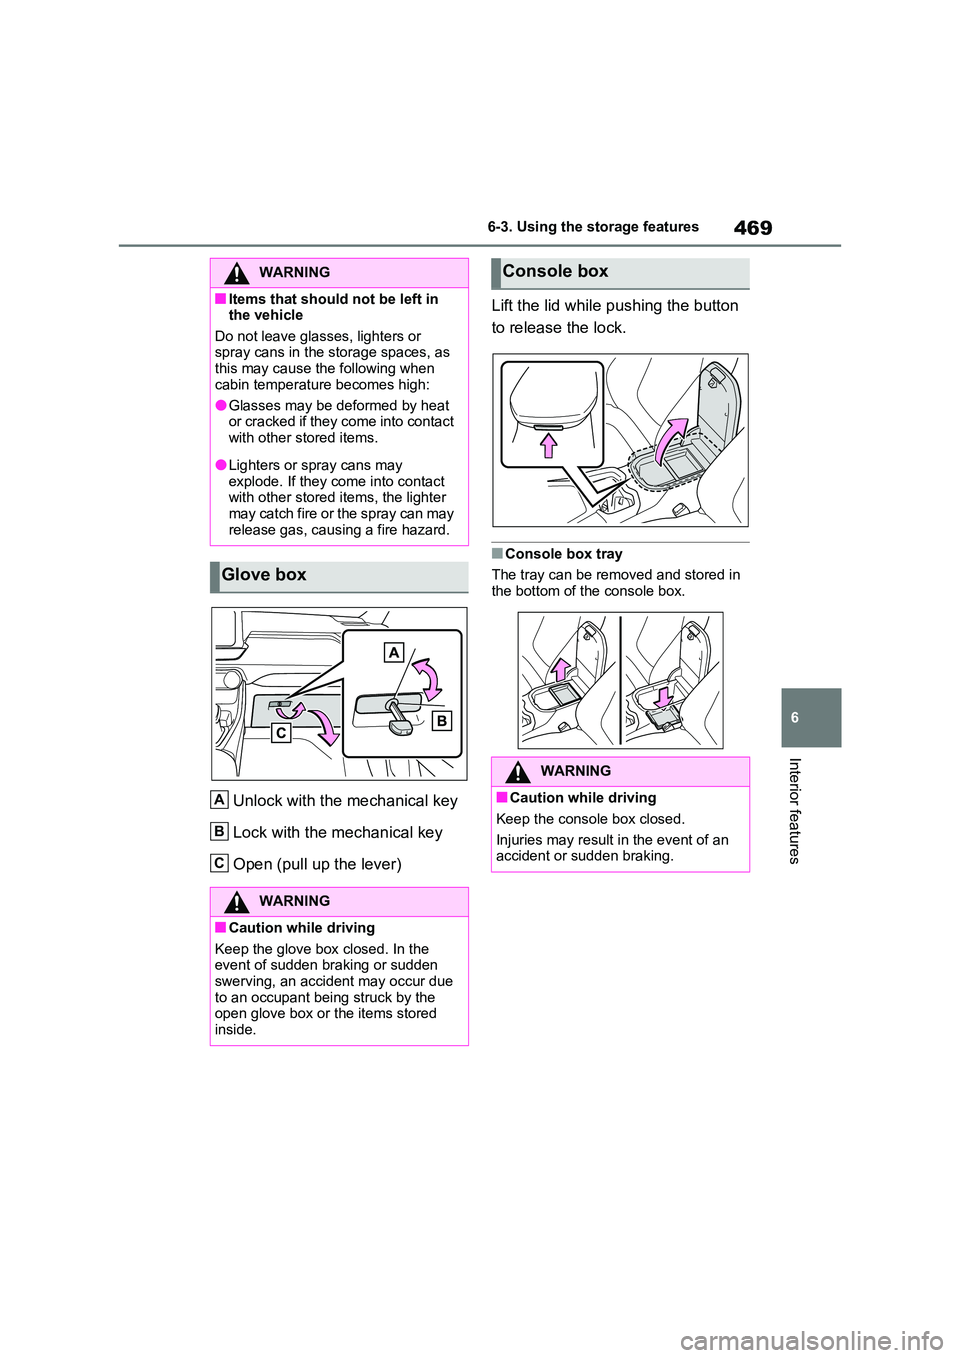
Unlock with the mechanical key
Lock with the mechanical key
Open (pull up the lever)
Lift the lid while pushing the button
to release the lock.
■Console box tray
The tray can be removed and stored in
the bottom of the console box.
WARNING
■Items that should not be left in the vehicle
Do not leave glasses, lighters or spray cans in the storage spaces, as this may cause the following when
cabin temperature becomes high:
●Glasses may be deformed by heat or cracked if they come into contact
with other stored items.
●Lighters or spray cans may
explode. If they come into contact with other stored items, the lighter may catch fire or the spray can may
release gas, causing a fire hazard.
Glove box
WARNING
■Caution while driving
Keep the glove box closed. In the event of sudden braking or sudden swerving, an accident may occur due
to an occupant being struck by the open glove box or the items stored inside.
A
B
C
Console box
WARNING
■Caution while driving
Keep the console box closed.
Injuries may result in the event of an accident or sudden braking.
Page 482 of 664
4826-4. Using the other interior features
• Repeatedly flashes 4 times con-
tinuously (Orange)
■The wireless charger can be oper-
ated when
The power switch is in ACC or ON.
■Usable portable devices
Qi standard wireless charge standard
can be used on compatible devices.
However, not all Qi standard devices
and compatibility are guaranteed.
Starting with mobile phones and
smartphones, it is aimed for low power
electrically supplied portable devices of
no more than 5W.
■When covers and accessories are
attached to portable devices
Do not charge in situations where cover
and accessories not able to handle Qi
are attached to the portable device.
Depending on the type of cover and
accessory, it may not be possible to
charge. When charging is not performed
even with the portable device placed on
the charge area, remove the cover and
accessories.
■While charging, noise enters the
AM radio
Turn off the wireless charger and con-
firm that the noise has decreased. If the
noise decreases, continuously pushing
the power supply switch of the wireless
charger for 2 seconds, the frequency of
the charger can be changed and the
noise can be reduced.Also, on that
occasion, the operation indicator light
will flash orange 2 times.
■Important points of the wireless
charger
●If the electronic key cannot be detected within the vehicle interior,
charging cannot be done. When the
door is opened and closed, charging
may be temporarily suspended.
●When charging, the wireless charging
device and portable device will get
warmer, however this is not a mal-
function.
When a portable device gets warm
while charging, charging may stop
due to the protection function on the
portable device side. In this case,
when the temperature of the portable
device drops significantly, charge
again.
●Depending on usage of the portable
device, it may not be fully charged.
This is not a malfunction.
●When using a mobile phone near a
wireless charger, the call sensitivity
and communication speed may be
reduced.
■Operation sounds
When the power supply is turned on,
while searching for the portable device a
sound will be produced, however this is
not a malfunction.
■Cleaning the wireless charger
P.492
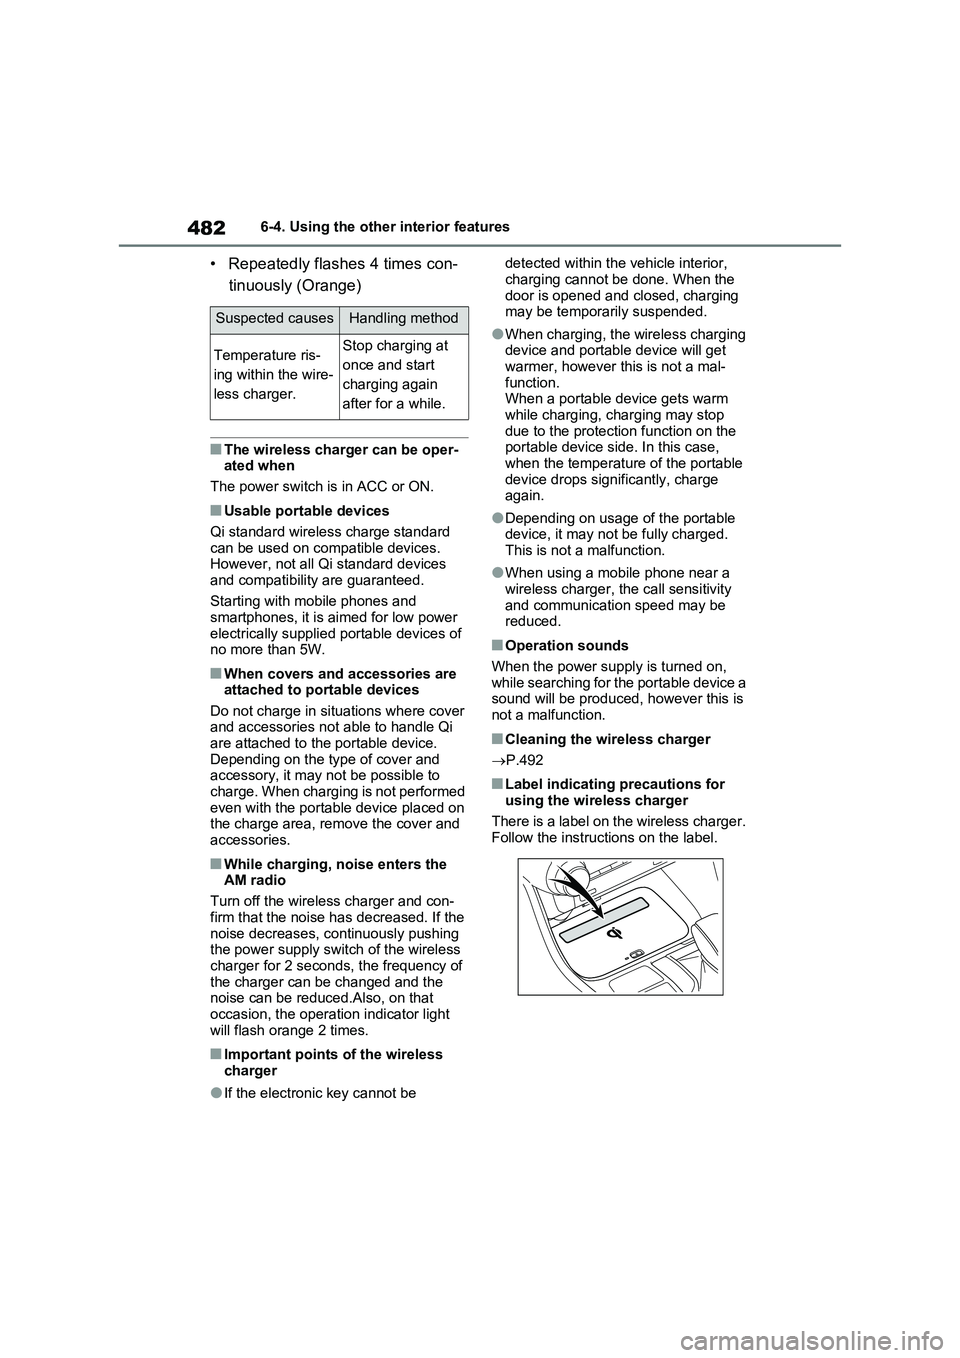
■Label indicating precautions for
using the wireless charger
There is a label on the wireless charger.
Follow the instructions on the label.
Suspected causesHandling method
Temperature ris-
ing within the wire-
less charger.Stop charging at
once and start
charging again
after for a while.