Page 205 of 349
AUDIO/VIDEO SYSTEM
205
U6062GS
DISPLAYING VIDEO CD SETTINGS
If you touch “Settings” on “DVD” screen,
“Settings” screen appears. DESCRIPTION OF VIDEO CD
SETTINGS
�Controls on top page
“Select Number”: The track or number
search screen appears. (See “SEARCH-
ING BY TRACK” on page 207.)
“Prev. Page”: When you touch this while
the disc menu is displayed, the previous
page appears on the screen. If you touch
this while the player is playing video, the
previous track is searched and played.
“Next Page”: When you touch this while
the disc menu is displayed, the next page
appears on the display. If you touch this
while the player is playing video, the next
track is searched and played.
“Main/Sub”: A multiplex transmission
changing control. The mode changes from
Main/Sub to Main, to Sub and back to
Main/Sub by touching this control.
“Return”: Touching this will display the
predetermined scene and start playing
from there.
“Wide”: The screen mode screen ap-
pears.
Page 230 of 349
AUDIO/VIDEO SYSTEM
230
�
Display (page 1)
1Selecting a disc menu number
2Turning off the menu screen
3Displaying to page 2
4Turning on the disc menu
5Returning to the previous page
screen (with the disc menu dis-
played)
6Proceeding to the next page screen
(with the disc menu displayed)
7Changing to a multiplex transmission
�Display (page 2)
8Displaying to page 1
9Reversing a disc
10Pausing
the disc/canceling the pause
11Fast forwarding a disc
INFORMATION
To operate from the front audio sys-
tem, see “— DVD player operation”
on page 184.
Page 322 of 349

SETUP
322
INFORMATION ITEMS
“Engine oil”: Replace engine oil
“Oil filter”: Replace engine oil filter
“Rotation”: Rotate tires
“Tires”: Replace tires
“Battery”: Replace battery
“Brake pad”: Replace brake linings
“Wipers”: Replace wiper blades
“Coolant”: Replace engine coolant
“Brake oil”: Replace brake fluid
“Trans. fluid”: Replace transmission fluid
“Service”: Scheduled maintenance
“Air filter”: Replace air filter
“Personal”: New information items can
be created separately from provided ones.
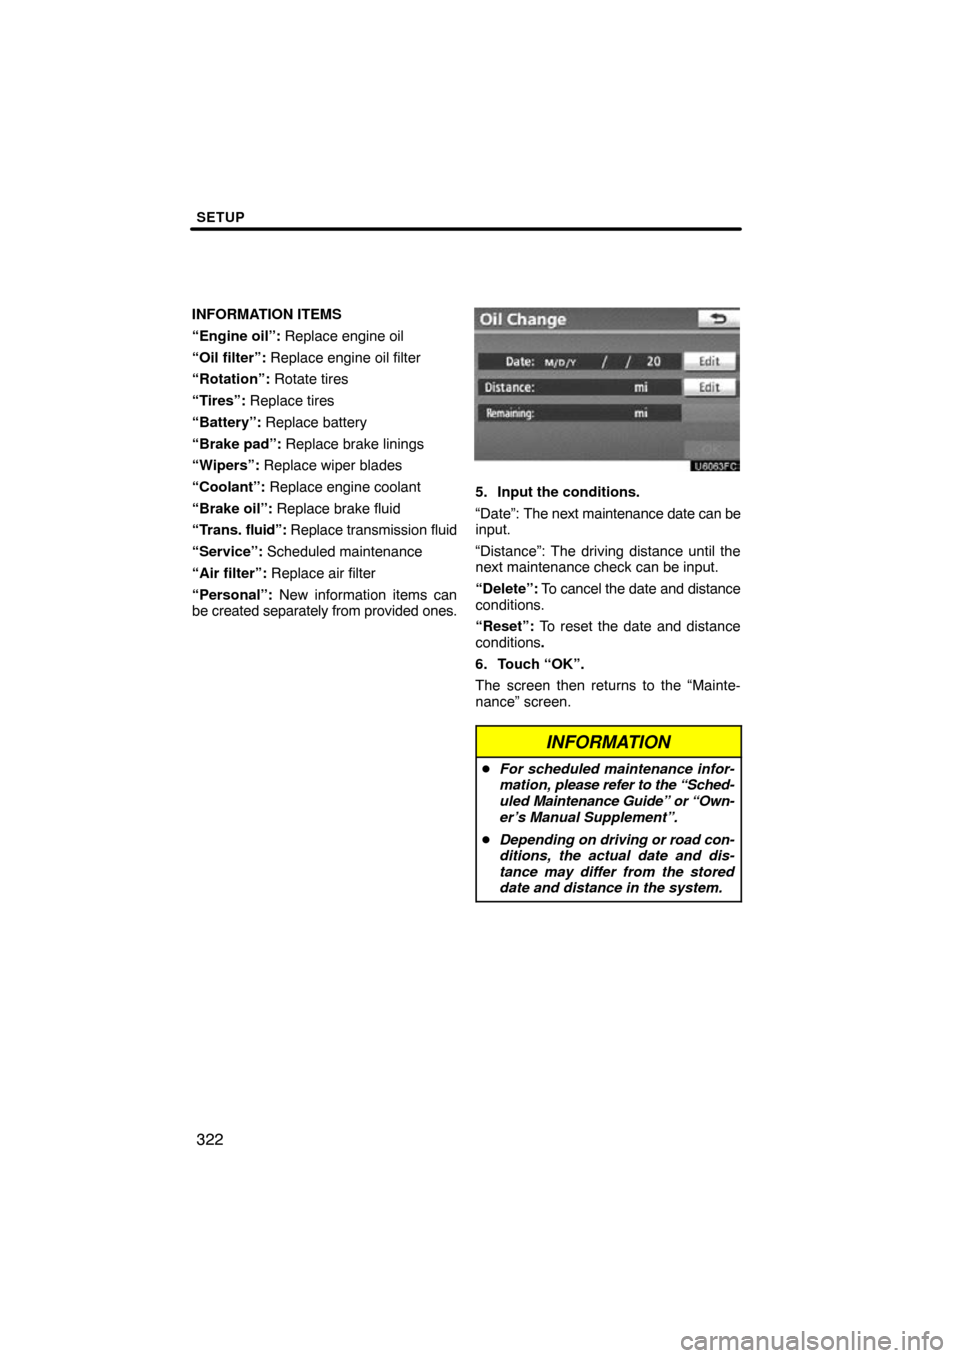
5. Input the conditions.
“Date”: The next maintenance date can be
input.
“Distance”: The driving distance until the
next maintenance check can be input.
“Delete”: To cancel the date and distance
conditions.
“Reset”: To reset the date and distance
conditions .
6. Touch “OK”.
The screen then returns to the “Mainte-
nance” screen.
INFORMATION
� For scheduled maintenance infor-
mation, please refer to the “Sched-
uled Maintenance Guide” or “Own-
er’s Manual Supplement”.
� Depending on driving or road con-
ditions, the actual date and dis-
tance may differ from the stored
date and distance in the system.