2011 SUBARU IMPREZA WRX display
[x] Cancel search: displayPage 209 of 458
5-22Audio
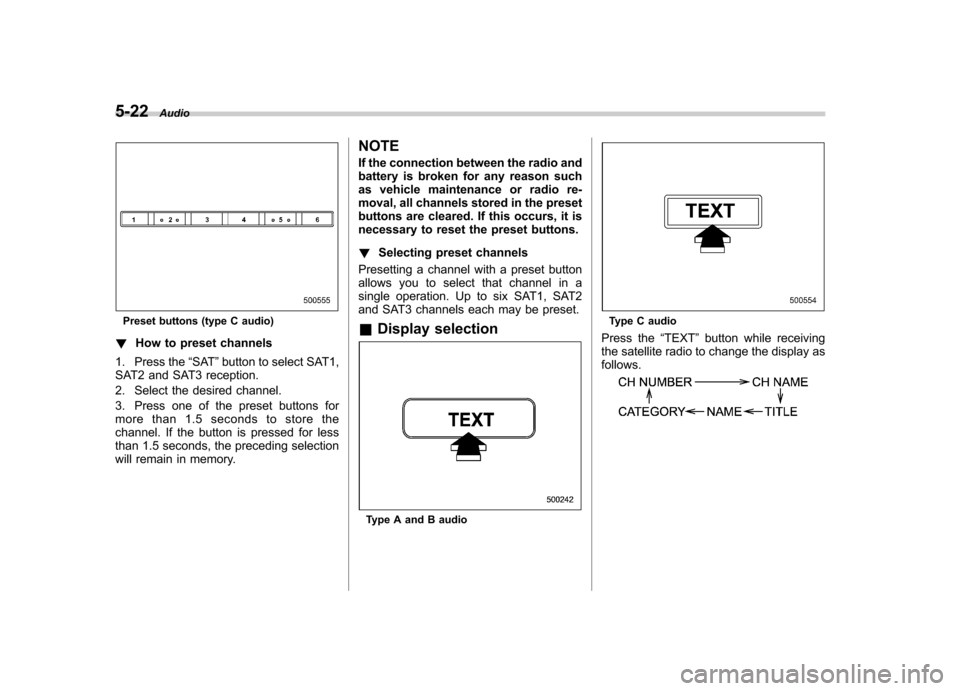
Preset buttons (type C audio)
! How to preset channels
1. Press the “SAT ”button to select SAT1,
SAT2 and SAT3 reception.
2. Select the desired channel.
3. Press one of the preset buttons for
more than 1.5 seconds to store the
channel. If the button is pressed for less
than 1.5 seconds, the preceding selection
will remain in memory. NOTE
If the connection between the radio and
battery is broken for any reason such
as vehicle maintenance or radio re-
moval, all channels stored in the preset
buttons are cleared. If this occurs, it is
necessary to reset the preset buttons. !
Selecting preset channels
Presetting a channel with a preset button
allows you to select that channel in a
single operation. Up to six SAT1, SAT2
and SAT3 channels each may be preset. & Display selection
Type A and B audio
Type C audio
Press the “TEXT ”button while receiving
the satellite radio to change the display as follows.
Page 210 of 458
CD player operation NOTE .Make sure to always insert a disc
with the label side up. If a disc is
inserted with the label side down, the
player displays “CHECK DISC ”. Refer
to “When the following messages are
displayed ”F 5-33.
. If a disc is inserted during a radio
broadcast, the disc will interrupt thebroadcast.. After the last song finishes, the disc
will automatically return to track 1 (the
first track on the disc) and will auto-
matically play back. . The player is designed to be able to
play music CD-Rs and music CD-RWs,
but it may not be able to play certainones.. CDs (i.e., 8 cm/3 inch CDs) are not
supported, and if inserted, they will be
immediately ejected.. Copyright protected WMA/AAC files
will not be played by the system. The
player will automatically skip to the
next file (track).. CDs that can be played back are
accompanied by the following restric-tions.
–Maximum number of folders: 255
– Maximum number of files in a folder: 255 –
Maximum number of files on a
CD: 510
& Play file
MP3: . Based on MPEG1, 2 and 2.5 Layer3
. Sampling rate (kHz): 48, 44.1, 32, 24,
22.05, 16, 12, 11.025, 8. Bit rate (kbps): 8 to 320
. Supports variable bit rates
WMA:. Based on Windows Media Audio 9
. Bit rate (kbps): 32 to 192
AAC (type C audio):. Based on MPEG4 AAC (ISO/IEC
14496-12: 2003+iTune Meta-data Specifi- cation) . Sampling rate (kHz): 48, 44.1, 32, 24,
22.05, 16, 12, 11.025, 8. Bit rate (kbps): 8 to 320
. Number of channels: 1 to 2ch
& How to insert a CD (type A
and C)
Hold a disc with a finger in the center hole
while gripping the edge of the disc, then
insert it into the slot (with the label side up) and the player will automatically pull the
disc into position. NOTE
DO NOT INSERT TWO DISCS INTO THE
DISC INSERTION SLOT AT THE SAME TIME. &
How to insert a CD(s) (type B)
1. Briefly press the “LOAD ”button. If the
magazine in the player has an idle
position where you can insert a disc, the
disc number indicator associated with the
idle position will blink.
If no indicator blinks, it means that there is
no idle position in the magazine.
2. When the “LOAD ”indicator illumi-
nates, insert the disc. Once you have Audio
5-23
– CONTINUED –
Page 212 of 458
to insert a CD(s) (type B)”F 5-23.
When a CD is loaded, the player will start
playback of the CD, beginning with the
first track. ! When CD is in the player (type A)
When the “CD/AUX ”button is pressed, the
player will start playback. !
When there are CDs loaded (type B)
Disc select buttons
Press a desired one of the disc select
buttons the disc number indicator of which
steadily lights up. The player will then start
playback of the selected CD, beginning
with the first track.
If a disc that the player cannot read has
been loaded, the player will display themessage “CHECK DISC ”. !
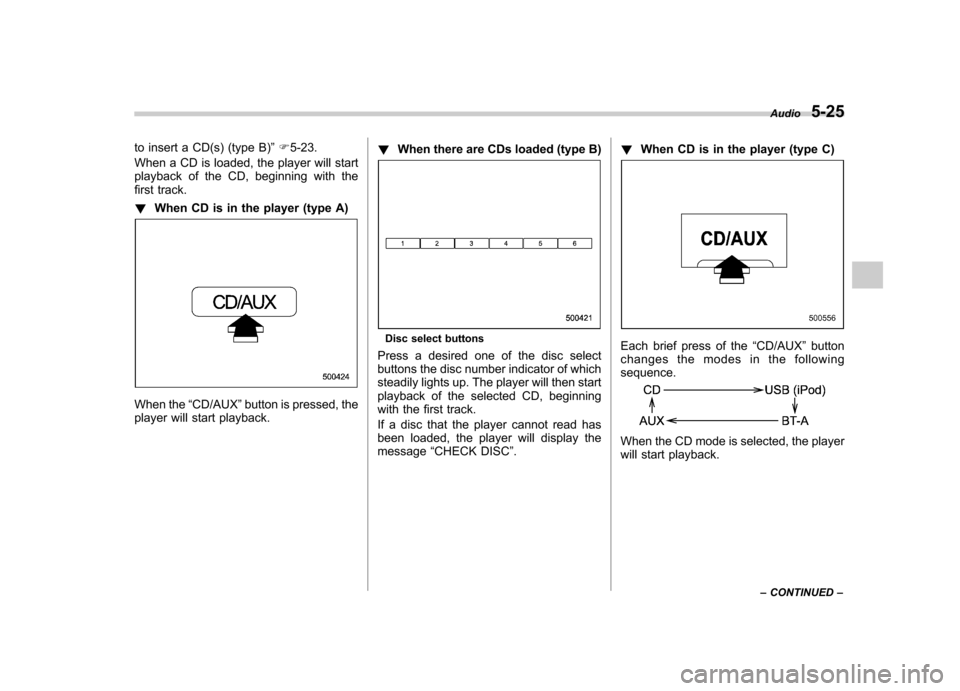
When CD is in the player (type C)Each brief press of the “CD/AUX ”button
changes the modes in the following sequence.
When the CD mode is selected, the player
will start playback. Audio
5-25
– CONTINUED –
Page 217 of 458
5-30Audio
& Scan
Type A and B audio
Type C audio
The scan mode lets you listen to the first
10 seconds of each track/file in succes-
sion. Press the “SCAN ”button to start scanning upward beginning with the track/
file(s) following the currently selected one.
After all track/file(s) in the disk/folder have
been scanned, normal playback will be
resumed. To cancel the scan mode, pressthe
“SCAN ”button again.
NOTE
The scan mode will be cancelled if you
perform any of the following steps. . Press the “RPT/RDM ”button
. Turn the “TUNE/TRACK/CH ”dial
. Press the “
”or “”side of the
“ FOLDER/PTY/CAT ”button
. Press the “
”button
. Press the disc select button (type B
audio) . Select the radio or AUX mode
. Press the “LOAD ”button when
there is free space in the CD magazine
(type B audio). Press the “PTY/CAT ”button
. Turn off the power of the audio
equipment. Turn the ignition switch to the
“ LOCK ”position &
Display selectionType A and B audio
Type C audio
If you press the “TEXT ”button during
playback, the indication will change to the
next one in the following sequence.
Page 218 of 458
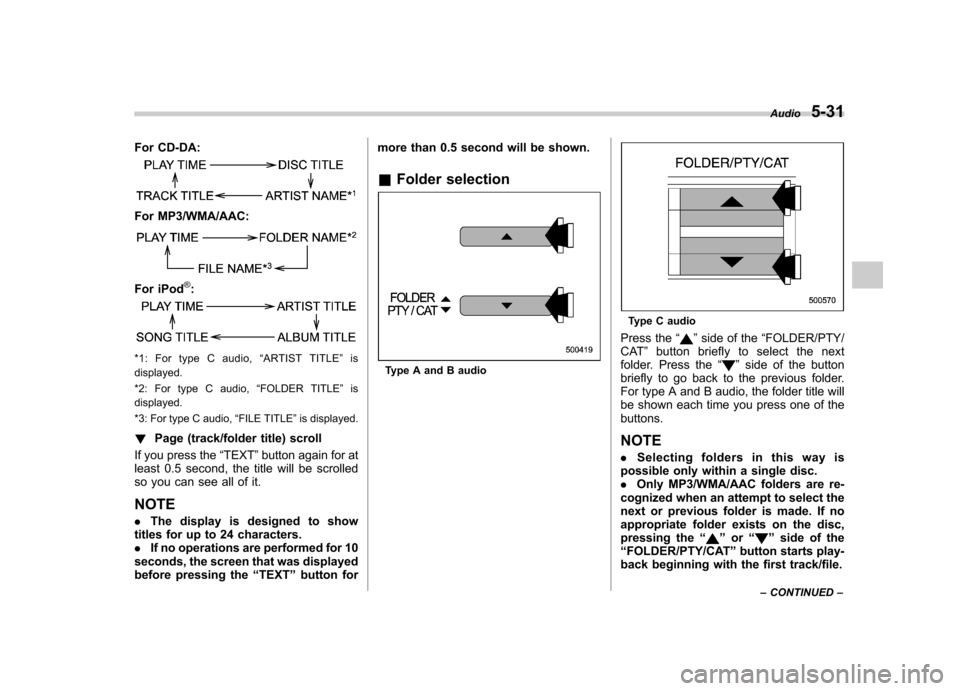
For CD-DA:
For MP3/WMA/AAC:
For iPod®:
*1: For type C audio,“ARTIST TITLE ”is
displayed.
*2: For type C audio, “FOLDER TITLE ”is
displayed.
*3: For type C audio, “FILE TITLE ”is displayed.
! Page (track/folder title) scroll
If you press the “TEXT ”button again for at
least 0.5 second, the title will be scrolled
so you can see all of it. NOTE . The display is designed to show
titles for up to 24 characters. . If no operations are performed for 10
seconds, the screen that was displayed
before pressing the “TEXT ”button for more than 0.5 second will be shown.
& Folder selectionType A and B audio
Type C audio
Press the “
”side of the “FOLDER/PTY/
CAT ”button briefly to select the next
folder. Press the “
”side of the button
briefly to go back to the previous folder.
For type A and B audio, the folder title will
be shown each time you press one of thebuttons. NOTE . Selecting folders in this way is
possible only within a single disc. . Only MP3/WMA/AAC folders are re-
cognized when an attempt to select the
next or previous folder is made. If no
appropriate folder exists on the disc,
pressing the “
”or “”side of the
“ FOLDER/PTY/CAT ”button starts play-
back beginning with the first track/file. Audio
5-31
– CONTINUED –
Page 220 of 458
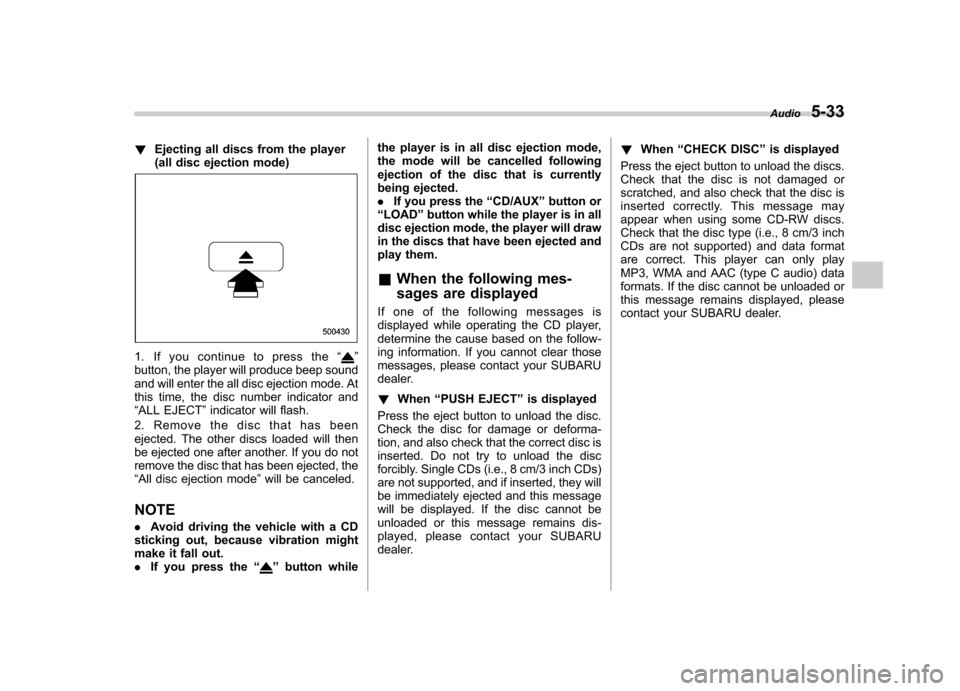
!Ejecting all discs from the player
(all disc ejection mode)
1. If you continue to press the “”
button, the player will produce beep sound
and will enter the all disc ejection mode. At
this time, the disc number indicator and“ ALL EJECT ”indicator will flash.
2. Remove the disc that has been
ejected. The other discs loaded will then
be ejected one after another. If you do not
remove the disc that has been ejected, the“ All disc ejection mode ”will be canceled.
NOTE . Avoid driving the vehicle with a CD
sticking out, because vibration might
make it fall out.. If you press the “
”button while the player is in all disc ejection mode,
the mode will be cancelled following
ejection of the disc that is currently
being ejected..
If you press the “CD/AUX ”button or
“ LOAD ”button while the player is in all
disc ejection mode, the player will draw
in the discs that have been ejected and
play them.
& When the following mes-
sages are displayed
If one of the following messages is
displayed while operating the CD player,
determine the cause based on the follow-
ing information. If you cannot clear those
messages, please contact your SUBARU
dealer. ! When “PUSH EJECT ”is displayed
Press the eject button to unload the disc.
Check the disc for damage or deforma-
tion, and also check that the correct disc is
inserted. Do not try to unload the disc
forcibly. Single CDs (i.e., 8 cm/3 inch CDs)
are not supported, and if inserted, they will
be immediately ejected and this message
will be displayed. If the disc cannot be
unloaded or this message remains dis-
played, please contact your SUBARU
dealer. !
When “CHECK DISC ”is displayed
Press the eject button to unload the discs.
Check that the disc is not damaged or
scratched, and also check that the disc is
inserted correctly. This message may
appear when using some CD-RW discs.
Check that the disc type (i.e., 8 cm/3 inch
CDs are not supported) and data format
are correct. This player can only play
MP3, WMA and AAC (type C audio) data
formats. If the disc cannot be unloaded or
this message remains displayed, please
contact your SUBARU dealer. Audio
5-33
Page 225 of 458
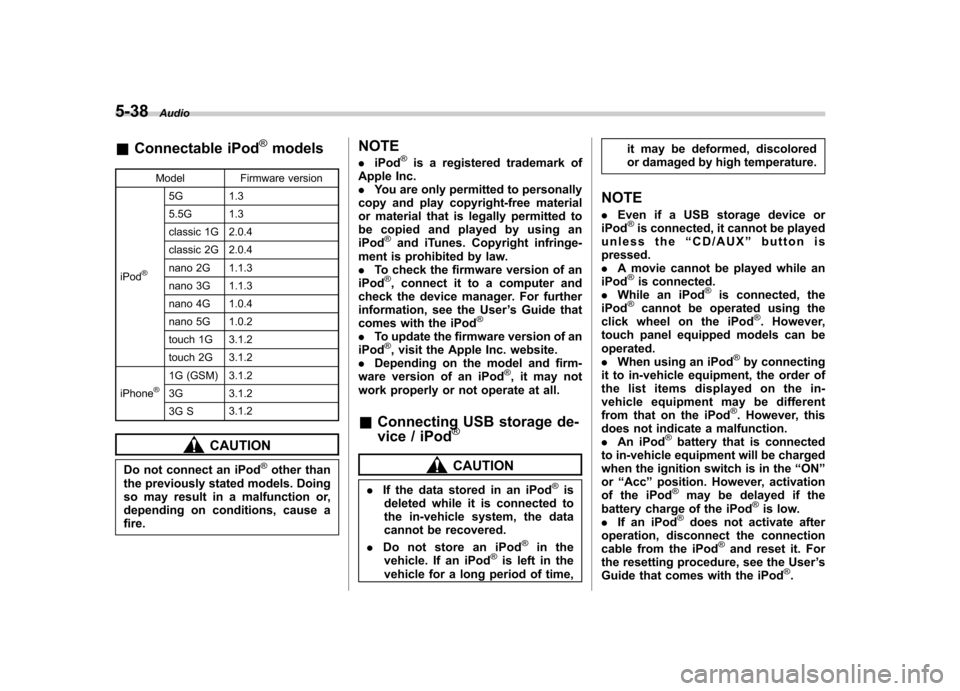
5-38Audio
&Connectable iPod®models
Model Firmware version
iPod
®
5G 1.3
5.5G 1.3
classic 1G 2.0.4
classic 2G 2.0.4
nano 2G 1.1.3
nano 3G 1.1.3
nano 4G 1.0.4
nano 5G 1.0.2
touch 1G 3.1.2
touch 2G 3.1.2
iPhone
®1G (GSM) 3.1.2
3G 3.1.2
3G S 3.1.2
CAUTION
Do not connect an iPod
®other than
the previously stated models. Doing
so may result in a malfunction or,
depending on conditions, cause a fire. NOTE .
iPod
®is a registered trademark of
Apple Inc. . You are only permitted to personally
copy and play copyright-free material
or material that is legally permitted to
be copied and played by using aniPod
®and iTunes. Copyright infringe-
ment is prohibited by law.. To check the firmware version of an
iPod
®, connect it to a computer and
check the device manager. For further
information, see the User ’s Guide that
comes with the iPod
®
. To update the firmware version of an
iPod®, visit the Apple Inc. website.
. Depending on the model and firm-
ware version of an iPod
®, it may not
work properly or not operate at all. & Connecting USB storage de-
vice / iPod
®
CAUTION
. If the data stored in an iPod
®is
deleted while it is connected to
the in-vehicle system, the data
cannot be recovered.
. Do not store an iPod
®in the
vehicle. If an iPod®is left in the
vehicle for a long period of time, it may be deformed, discolored
or damaged by high temperature.
NOTE . Even if a USB storage device or
iPod
®is connected, it cannot be played
unless the “CD/AUX ”button is
pressed. . A movie cannot be played while an
iPod
®is connected.
. While an iPod®is connected, the
iPod®cannot be operated using the
click wheel on the iPod®. However,
touch panel equipped models can beoperated.. When using an iPod
®by connecting
it to in-vehicle equipment, the order of
the list items displayed on the in-
vehicle equipment may be different
from that on the iPod
®. However, this
does not indicate a malfunction. . An iPod
®battery that is connected
to in-vehicle equipment will be charged
when the ignition switch is in the “ON ”
or “Acc ”position. However, activation
of the iPod
®may be delayed if the
battery charge of the iPod®is low.
. If an iPod®does not activate after
operation, disconnect the connection
cable from the iPod
®and reset it. For
the resetting procedure, see the User ’s
Guide that comes with the iPod
®.
Page 228 of 458
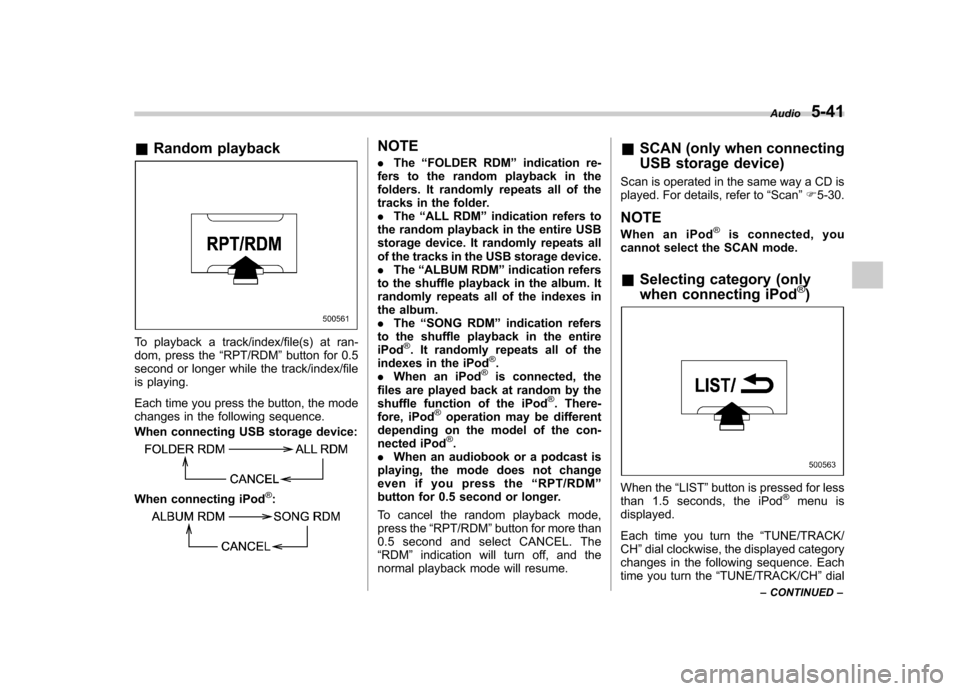
&Random playback
To playback a track/index/file(s) at ran-
dom, press the “RPT/RDM ”button for 0.5
second or longer while the track/index/file
is playing.
Each time you press the button, the mode
changes in the following sequence.
When connecting USB storage device:
When connecting iPod®:
NOTE . The “FOLDER RDM ”indication re-
fers to the random playback in the
folders. It randomly repeats all of the
tracks in the folder.. The “ALL RDM ”indication refers to
the random playback in the entire USB
storage device. It randomly repeats all
of the tracks in the USB storage device.. The “ALBUM RDM ”indication refers
to the shuffle playback in the album. It
randomly repeats all of the indexes in
the album.. The “SONG RDM ”indication refers
to the shuffle playback in the entireiPod
®. It randomly repeats all of the
indexes in the iPod®.
. When an iPod®is connected, the
files are played back at random by the
shuffle function of the iPod
®. There-
fore, iPod®operation may be different
depending on the model of the con-
nected iPod
®.
. When an audiobook or a podcast is
playing, the mode does not change
even if you press the “RPT/RDM ”
button for 0.5 second or longer.
To cancel the random playback mode,
press the “RPT/RDM ”button for more than
0.5 second and select CANCEL. The“ RDM ”indication will turn off, and the
normal playback mode will resume. &
SCAN (only when connecting
USB storage device)
Scan is operated in the same way a CD is
played. For details, refer to “Scan ”F 5-30.
NOTE
When an iPod
®is connected, you
cannot select the SCAN mode.
& Selecting category (only
when connecting iPod
®)
When the “LIST ”button is pressed for less
than 1.5 seconds, the iPod®menu is
displayed.
Each time you turn the “TUNE/TRACK/
CH ”dial clockwise, the displayed category
changes in the following sequence. Each
time you turn the “TUNE/TRACK/CH ”dial
Audio
5-41
– CONTINUED –