Page 196 of 458

!Other sound setting controls
Type A and B audio
Type C audio
Each brief press of the “MENU ”button
changes the control modes in the follow-
ing sequence. Type A audio:
Type B audio:
Type C audio:
Choose the desired settings for each
mode by turning the sound control dial.
The control function returns to the tune/
track/channel control mode after approxi-
mately 5 seconds. !
SPEED VOLUME setting
SPEED VOLUME CONTROL is a function
that automatically adjusts the volume
according to the vehicle speed. As the
vehicle speed increases, the audio vo-
lume automatically increases to match the
vehicle speed, in order to create a
pleasant listening environment even as
the driving noise increases. The amount of this automatic volume change can be set
in the range from OFF to 2. The initial
setting is OFF. !
BEEP setting
A beep sound (operation sound) that
occurs when the audio system is operated
can be set ON/OFF. The initial setting isON. ! SRS CS Auto setting (type B audio)
SRS CS Auto can be set ON/OFF. When
this setting is ON, “
”is displayed on the
screen.
NOTE
SRS CS Auto creates a 5.1ch equiva-
lent surround field using 10 speakers
that are installed in the vehicle.
SRS CS Auto features:
1) Sound originating from door mount
speakers can be heard at ear level
(built in SRS FOCUS effect).
2) Ultra rich bass sound can be ob-
tained from standard door mount
speakers (built in SRS TruBass effect).
3) Surround sound can be obtained
from 2-channel stereo sources such as
CD, MP3 and FM (built in SRS Circle
Surround II effect).
4) SRS CS Auto can position the
center channel image in the center of
the vehicle ’s windshield. This elimi- Audio
5-9
– CONTINUED –
Page 198 of 458
&Adjustable level of each mode
Mode Range of levels (displayed)Initial setting Turn counterclockwise Turn clockwise
Volume Volume control 0 to 40 15 For less volume For more volume AUX volume control* 0 to 40 15 For less volume For more volume
Tone and balance Bass control �8 to +8 0 For less bass sound For more bass sound
Midrange control �8 to +8 0 For less midrange sound For more midrange sound
Treble control �8 to +8 0 For less treble sound For more treble sound
Balance L9 to R9 0 Right channel attenuated Left channel attenuated
Fader R9 to F9 0 Front attenuated Rear attenuated
Other settings SPEED VOLUME OFF to 2 OFF For less auto volume change For more auto volume change
BEEP OFF to ON ON OFF ON
CS Auto (Type B audio) OFF to ON OFF OFF ON
*: For type A and B audio, AUX volume can be adjusted only when an AUX audio product is connected. Audio
5-11
Page 200 of 458

!Seek tuning (SEEK)
Type A and B audio
Type C audio
If you press the “
”or “”side of the
“ SEEK ”button briefly, the radio will auto-
matically search for a receivable station and stop at the first one it finds. This
function may not be available, however,
when radio signals are weak. In such a
situation, perform manual tuning to select
the desired station. !
Scan tuning (SCAN)
Type A and B audio
Type C audio
If you press the “SCAN ”button, the radio
will switch to the scan mode. In this mode,
the radio scans through the radio band
until a station is found. The radio will stop
at the station for 5 seconds while display-
ing the frequency, after which scanning
will continue until the entire band has beenscanned.
Press the “SCAN ”button again to cancel
the SCAN mode and to stop at any
displayed channel.
Automatic tuning may not function prop-
erly if the station reception is weakened by
distance from the station or proximity to
tall buildings and hills. Audio
5-13
– CONTINUED –
Page 201 of 458
5-14Audio
! PTY (Program type) group tuning
(only FM reception)
Type A and B audio
Type C audio
Press the “PTY/CAT ”button to change to
the PTY selection mode. At this time, the PTY group that you are currently listening
to will be displayed for 10 seconds. In the
PTY selection mode,
“PTY ”is displayed
on the screen. ! PTY (Program type) group selection
Type A and B audio
Type C audio
In the PTY selection mode, press the “ FOLDER/PTY/CAT ”button “
”or “”to
change the PTY group by one step at a time. Pressing “
”changes the PTY group up
by one step. Pressing “”changes the
PTY group down by one step.
This operation only changes the display. It
does not change the station that is
currently being received.
Page 202 of 458
!Seek in PTY (Program type) group
Type A and B audio
Type C audio
In the PTY selection mode, when the
desired PTY group has been selected,
pressing the “SEEK ”button “
”or “” seeks within that PTY group. Pressing
“
”seeks up. Pressing “”
seeks down.
The control function returns to the normal
mode after approximately 10 seconds. & Displaying radio PS (Pro-
gram Service Name) and RT
(Radio Text)
Type A and B audio
Type C audio
If the PS (Program Service Name) and/or
RT (Radio Text) are available, pressingthe “TEXT ”button changes the display
among PS, RT and frequency. The initial
setting is “PS ”.
NOTE . The maximum number of characters
that can be displayed for PS is 8. . The maximum number of characters
that can be displayed for RT is 64.. If RT is 13 characters or longer,
press and hold the “TEXT ”button for
0.5 second or longer in order to change
the page. Audio
5-15
– CONTINUED –
Page 203 of 458

5-16Audio
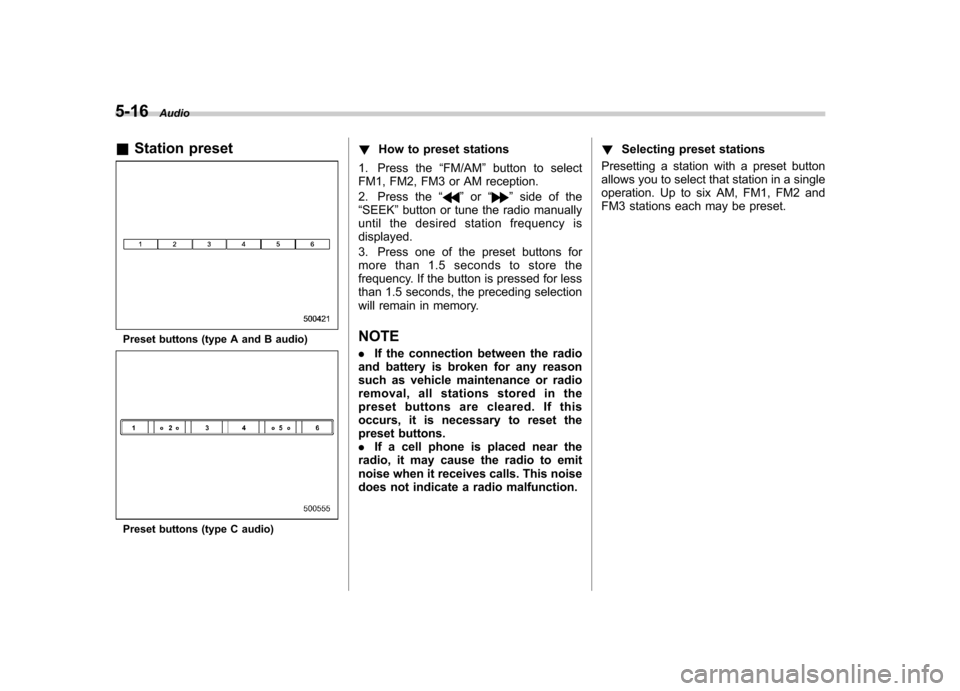
& Station preset
Preset buttons (type A and B audio)
Preset buttons (type C audio) !
How to preset stations
1. Press the “FM/AM ”button to select
FM1, FM2, FM3 or AM reception.
2. Press the “
”or “”side of the
“ SEEK ”button or tune the radio manually
until the desired station frequency is displayed.
3. Press one of the preset buttons for
more than 1.5 seconds to store the
frequency. If the button is pressed for less
than 1.5 seconds, the preceding selection
will remain in memory.
NOTE . If the connection between the radio
and battery is broken for any reason
such as vehicle maintenance or radio
removal, all stations stored in the
preset buttons are cleared. If this
occurs, it is necessary to reset the
preset buttons.. If a cell phone is placed near the
radio, it may cause the radio to emit
noise when it receives calls. This noise
does not indicate a radio malfunction. !
Selecting preset stations
Presetting a station with a preset button
allows you to select that station in a single
operation. Up to six AM, FM1, FM2 and
FM3 stations each may be preset.
Page 205 of 458

5-18Audio
signals can be blocked by objects such as
buildings, but the network of repeater
stations allows signal coverage within
urban areas such as cities.
You may experience problems in receiving XM
TMsatellite radio signals in the follow-
ing situations. . If you are driving northward in a coastal
area
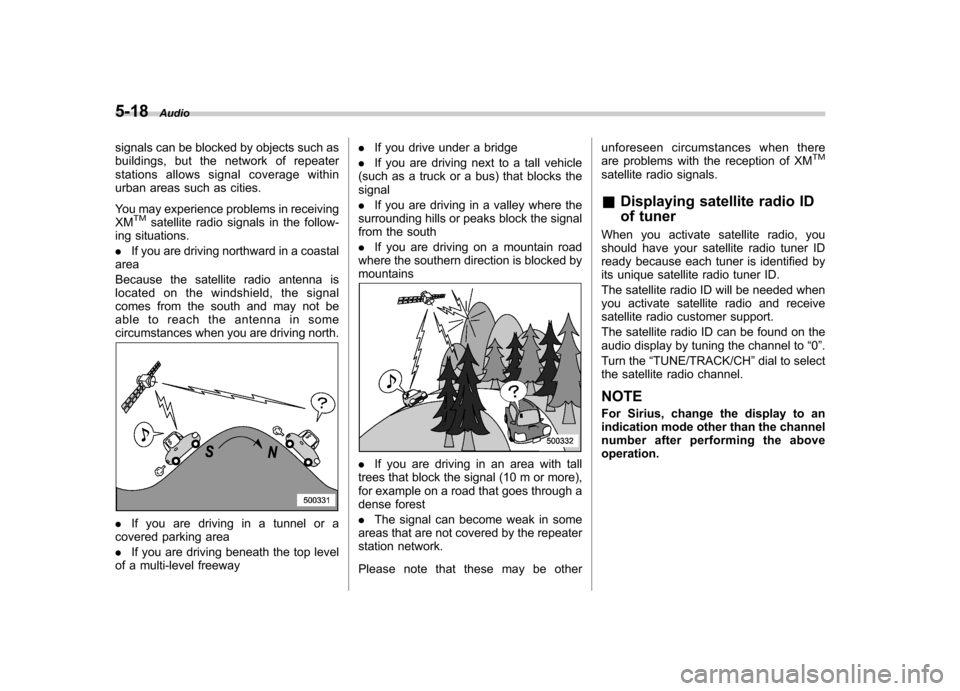
Because the satellite radio antenna is
located on the windshield, the signal
comes from the south and may not be
able to reach the antenna in some
circumstances when you are driving north.
. If you are driving in a tunnel or a
covered parking area . If you are driving beneath the top level
of a multi-level freeway .
If you drive under a bridge
. If you are driving next to a tall vehicle
(such as a truck or a bus) that blocks the signal . If you are driving in a valley where the
surrounding hills or peaks block the signal
from the south . If you are driving on a mountain road
where the southern direction is blocked by mountains
. If you are driving in an area with tall
trees that block the signal (10 m or more),
for example on a road that goes through a
dense forest . The signal can become weak in some
areas that are not covered by the repeater
station network.
Please note that these may be other unforeseen circumstances when there
are problems with the reception of XM
TM
satellite radio signals. &
Displaying satellite radio ID
of tuner
When you activate satellite radio, you
should have your satellite radio tuner ID
ready because each tuner is identified by
its unique satellite radio tuner ID.
The satellite radio ID will be needed when
you activate satellite radio and receive
satellite radio customer support.
The satellite radio ID can be found on the
audio display by tuning the channel to “0 ”.
Turn the “TUNE/TRACK/CH ”dial to select
the satellite radio channel.
NOTE
For Sirius, change the display to an
indication mode other than the channel
number after performing the aboveoperation.
Page 208 of 458
Type C audio
When in the category search mode,
pressing the “FOLDER/PTY/CAT ”button
“
” changes the category up by one step.
Pressing “”changes the category down
by one step.
When a category is selected, turning the “ TUNE/TRACK/CH ”dial selects channels
only within the selected category.
The control function returns to the normal
mode after approximately 10 seconds. !
Channel scan
Type A and B audio
Type C audio
Press the “SCAN ”button to change the
radio to the SCAN mode. In this mode,
under the selected category, the radio scans through the channel until a station
is found. The radio will stop at the station
for 5 seconds while displaying the channel
number, after which scanning will continue
until the entire channel has been scanned
from the low end to the high end.
Press the
“SCAN ”button again to cancel
the SCAN mode and to stop on any
displayed channel. & Channel preset
Preset buttons (type A and B audio) Audio
5-21
– CONTINUED –