Page 50 of 112
49
Navigation
If navigation data are unavailable or incomplete, the navigation system may
be unable to determine the exact vehicle position. As a result, the naviga-
tion may not be as exact as usual.
Navigation area and age of navigation data
The accuracy of the data (small villages, streets and house numbers) de-
pends on the respective version for the country.
Roads and streets are subject to constant change (e.g. new roads, changes
to street names and house numbers). After some time, navigation data will
no longer be up-to-date. This may lead to inaccurate or incorrect route guid-
ance.
In the case of small villages, they may have to be searched for as Points of
Interest (POI) rather than by their name.
Map updates and different map versions (East/West Europe) are available
through SD cards. Please consult a Technical Service.
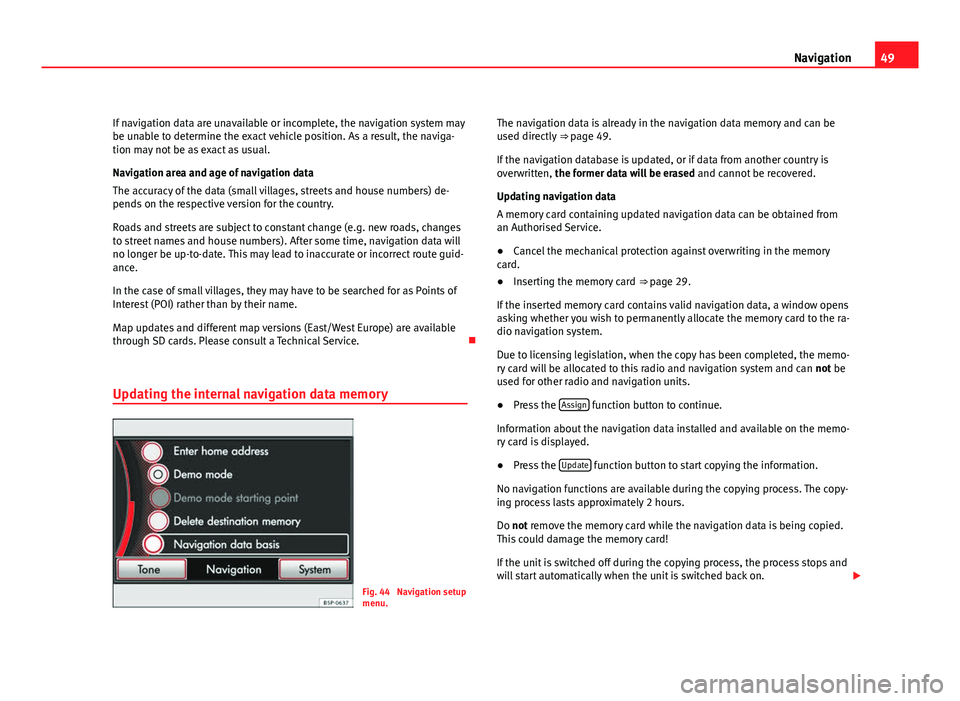
Updating the internal navigation data memory
Fig. 44 Navigation setup
menu. The navigation data is already in the navigation data memory and can be
used directly
⇒ page 49.
If the navigation database is updated, or if data from another country is
overwritten, the former data will be erased and cannot be recovered.
Updating navigation data
A memory card containing updated navigation data can be obtained from
an Authorised Service.
● Cancel the mechanical protection against overwriting in the memory
card.
● Inserting the memory card ⇒ page 29.
If the inserted memory card contains valid navigation data, a window opens
asking whether you wish to permanently allocate the memory card to the ra-
dio navigation system.
Due to licensing legislation, when the copy has been completed, the memo-
ry card will be allocated to this radio and navigation system and can not be
used for other radio and navigation units.
● Press the Assign
function button to continue.
Information about the navigation data installed and available on the memo-
ry card is displayed.
● Press the Update
function button to start copying the information.
No navigation functions are available during the copying process. The copy-
ing process lasts approximately 2 hours.
Do not remove the memory card while the navigation data is being copied.
This could damage the memory card!
If the unit is switched off during the copying process, the process stops and
will start automatically when the unit is switched back on.
Page 58 of 112
57
Navigation
Selecting a petrol station or car park
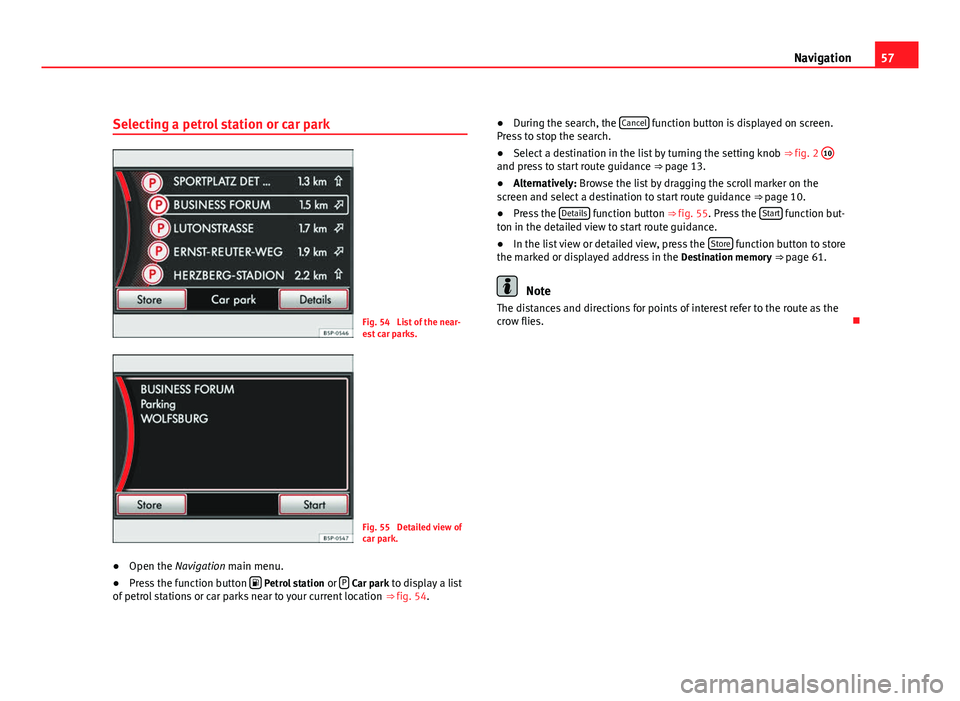
Fig. 54 List of the near-
est car parks.
Fig. 55 Detailed view of
car park.
● Open the Navigation main menu.
● Press the function button
Petrol station
or P Car park to display a list
of petrol stations or car parks near to your current location ⇒ fig. 54. ●
During the search, the Cancel
function button is displayed on screen.
Press to stop the search.
● Select a destination in the list by turning the setting knob ⇒ fig. 2 10
and press to start route guidance
⇒ page 13.
● Alternatively: Browse the list by dragging the scroll marker on the
screen and select a destination to start route guidance ⇒ page 10.
● Press the Details
function button ⇒
fig. 55. Press the Start function but-
ton in the detailed view to start route guidance.
● In the list view or detailed view, press the Store
function button to store
the marked or displayed address in the Destination memory ⇒ page 61.
Note
The distances and directions for points of interest refer to the route as the
crow flies.
Page 59 of 112
58Navigation
Selecting a point of interest as a destination
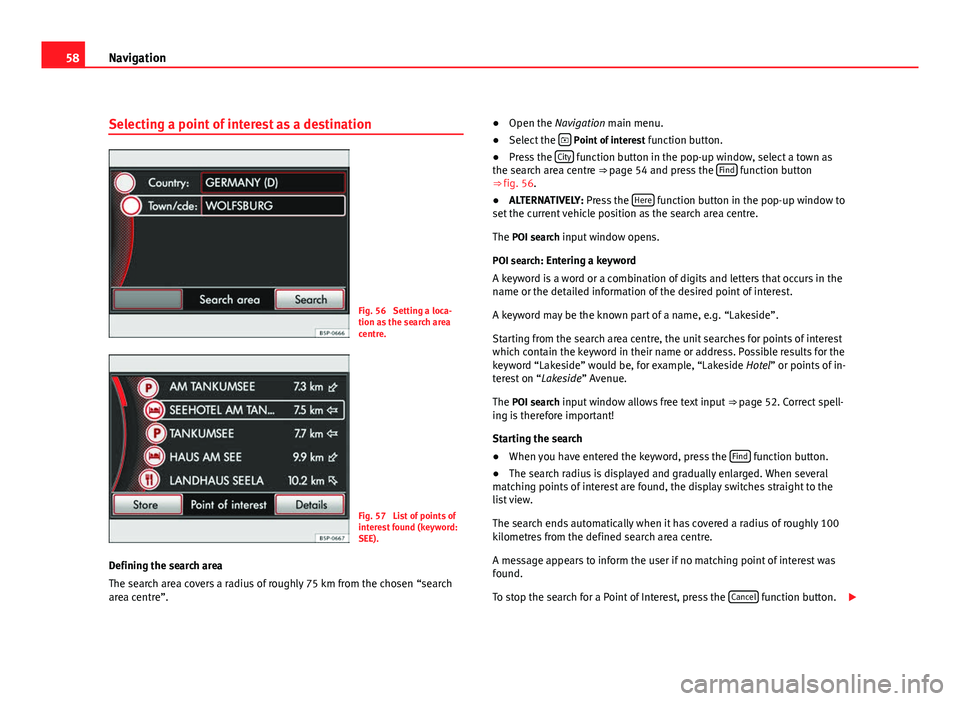
Fig. 56 Setting a loca-
tion as the search area
centre.
Fig. 57 List of points of
interest found (keyword:
SEE).
Defining the search area
The search area covers a radius of roughly 75 km from the chosen “search
area centre”. ●
Open the Navigation main menu.
● Select the
Point of interest
function button.
● Press the City function button in the pop-up window, select a town as
the search area centre ⇒ page 54 and press the Find function button
⇒ fig. 56.
● ALTERNATIVELY: Press the Here
function button in the pop-up window to
set the current vehicle position as the search area centre.
The POI search input window opens.
POI search: Entering a keyword
A keyword is a word or a combination of digits and letters that occurs in the
name or the detailed information of the desired point of interest.
A keyword may be the known part of a name, e.g. “Lakeside”.
Starting from the search area centre, the unit searches for points of interest
which contain the keyword in their name or address. Possible results for the
keyword “Lakeside” would be, for example, “Lakeside Hotel” or points of in-
terest on “Lakeside” Avenue.
The POI search input window allows free text input ⇒ page 52. Correct spell-
ing is therefore important!
Starting the search
● When you have entered the keyword, press the Find
function button.
● The search radius is displayed and gradually enlarged. When several
matching points of interest are found, the display switches straight to the
list view.
The search ends automatically when it has covered a radius of roughly 100
kilometres from the defined search area centre.
A message appears to inform the user if no matching point of interest was
found.
To stop the search for a Point of Interest, press the Cancel
function button.
Page 70 of 112
69
Navigation
Stopping and resuming route guidance
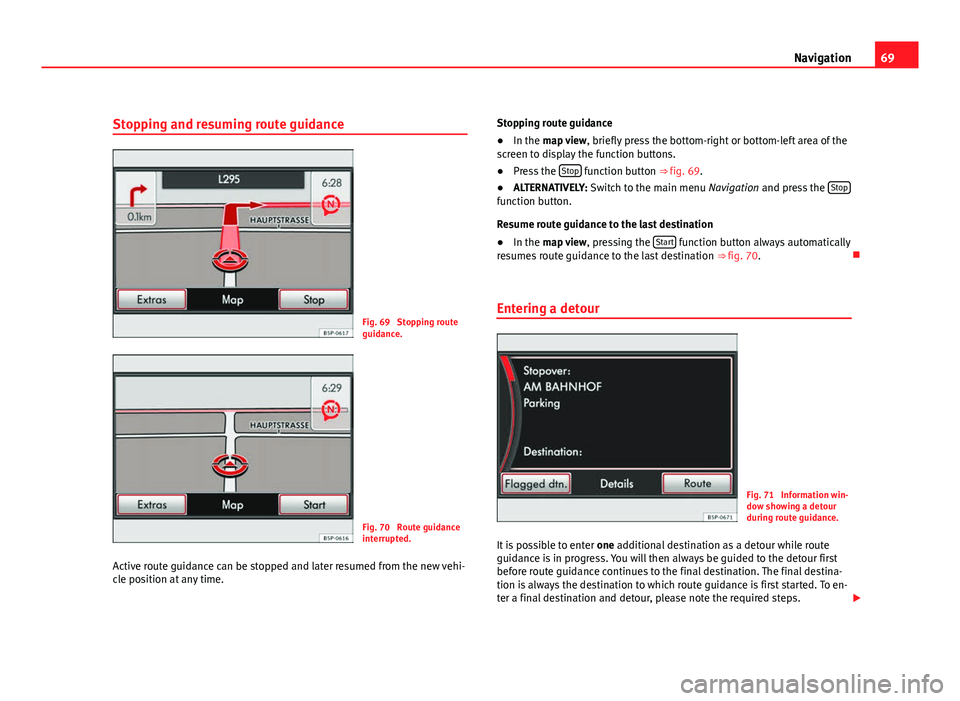
Fig. 69 Stopping route
guidance.
Fig. 70 Route guidance
interrupted.
Active route guidance can be stopped and later resumed from the new vehi-
cle position at any time. Stopping route guidance
●
In the map view , briefly press the bottom-right or bottom-left area of the
screen to display the function buttons.
● Press the Stop
function button ⇒
fig. 69.
● ALTERNATIVELY: Switch to the main menu Navigation and press the Stop
function button.
Resume route guidance to the last destination
●
In the map view , pressing the Start
function button always automatically
resumes route guidance to the last destination ⇒ fig. 70.
Entering a detour
Fig. 71 Information win-
dow showing a detour
during route guidance.
It is possible to enter one additional destination as a detour while route
guidance is in progress. You will then always be guided to the detour first
before route guidance continues to the final destination. The final destina-
tion is always the destination to which route guidance is first started. To en-
ter a final destination and detour, please note the required steps.
Page 71 of 112
70Navigation
● To enter a detour, first select a final destination and start route guidance
⇒ page 54.
● Press the NAV
unit button.
● In the Navigation main menu, select an additional destination, following
the same procedure as for selection of a final destination.
● When you start route guidance to the additional destination, a pop-up
window opens.
● Press the Detour
function button to be guided to the newly entered des-
tination as a detour, before continuing to the final destination.
● Alternatively: press the New dest.
function button to cancel the current
route guidance and start a new route guidance to the newly entered desti-
nation only.
To view the detour in the information window ⇒ fig. 71, press the
⇒ fig. 2
7 unit button.
An announcement is given when you reach the detour. After a few seconds,
route guidance is resumed to the final destination. You may then enter an-
other detour.
If the Stop
function button is selected during route guidance to a detour
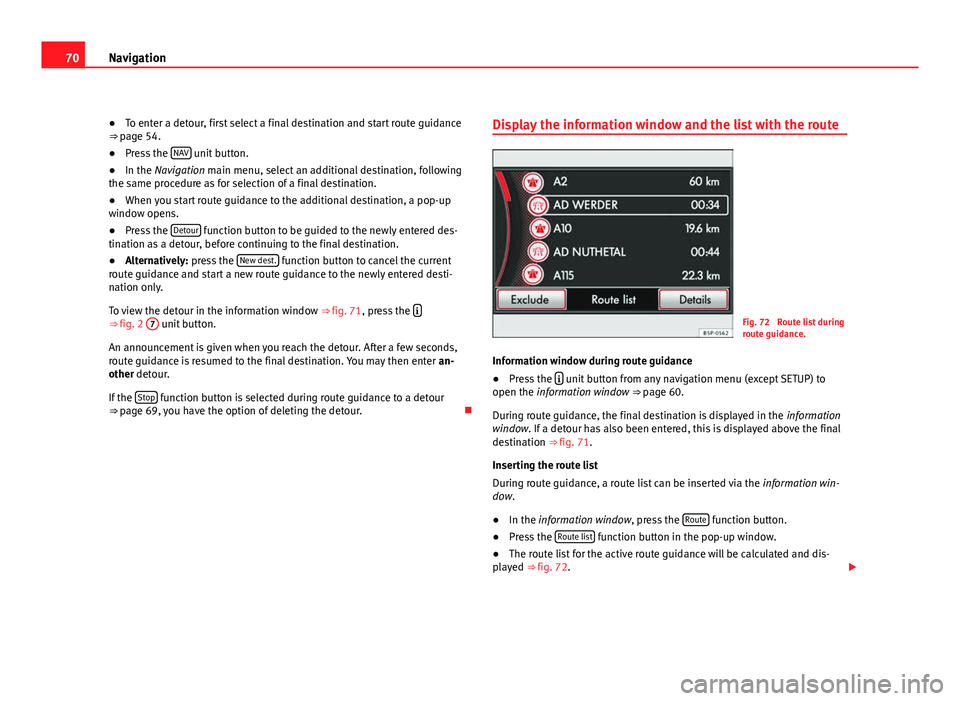
⇒ page 69, you have the option of deleting the detour. Display the information window and the list with the route
Fig. 72 Route list during
route guidance.
Information window during route guidance
● Press the
unit button from any navigation menu (except SETUP) to
open the information window ⇒ page 60.
During route guidance, the final destination is displayed in the information
window. If a detour has also been entered, this is displayed above the final
destination ⇒ fig. 71.
Inserting the route list
During route guidance, a route list can be inserted via the information win-
dow.
● In the information window, press the Route
function button.
● Press the Route list function button in the pop-up window.
● The route list for the active route guidance will be calculated and dis-
played ⇒ fig. 72.