Page 114 of 433

Black plate (112,1)
Model "Z51-D" EDITED: 2010/ 7/ 23
MODELS WITH COLOR DISPLAYTo adjust the clock on the front color display, use
the SETTING button on the center multi-
function control panel. See “HOW TO USE
SETTING BUTTON” in the “4. Center display,
heater, air conditioner, audio, phone and voice
recognition systems” section.
The clock settings display cannot be operated
while driving. Stop the vehicle in a safe place
and apply the parking brake before setting the
clock.
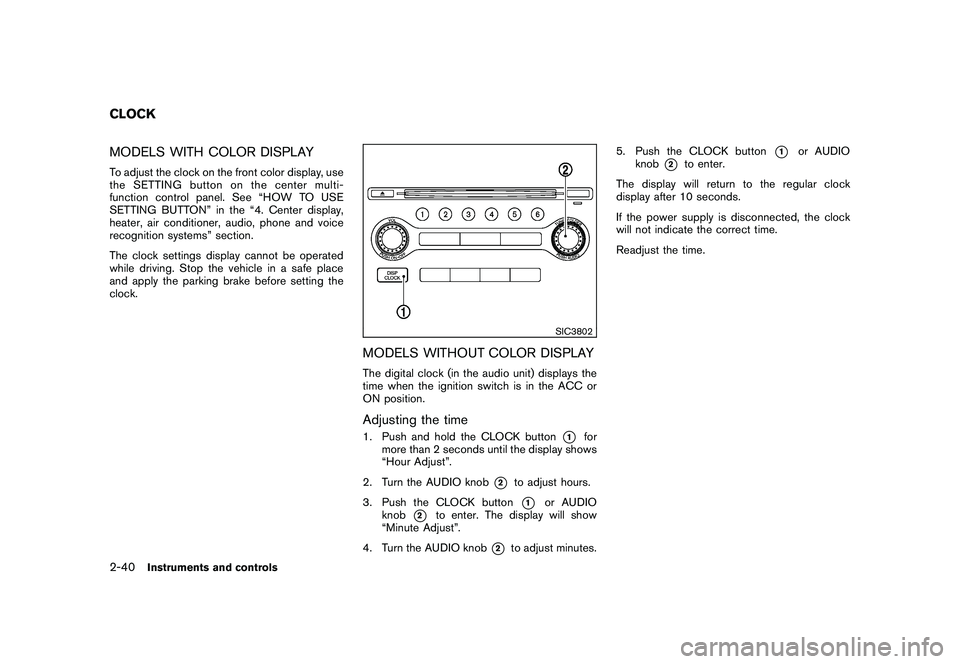
SIC3802
MODELS WITHOUT COLOR DISPLAYThe digital clock (in the audio unit) displays the
time when the ignition switch is in the ACC or
ON position.Adjusting the time1. Push and hold the CLOCK button
*1
for
more than 2 seconds until the display shows
“Hour Adjust”.
2. Turn the AUDIO knob
*2
to adjust hours.
3. Push the CLOCK button*1
or AUDIO
knob
*2
to enter. The display will show
“Minute Adjust”.
4. Turn the AUDIO knob
*2
to adjust minutes. 5. Push the CLOCK button
*1
or AUDIO
knob
*2
to enter.
The display will return to the regular clock
display after 10 seconds.
If the power supply is disconnected, the clock
will not indicate the correct time.
Readjust the time.
CLOCK2-40
Instruments and controls
Page 119 of 433
Black plate (117,1)
Model "Z51-D" EDITED: 2010/ 7/ 23
SIC3590
GLOVE BOX
WARNING
Keep glove box lid closed while driving
to help prevent injury in an accident or a
sudden stop.
To open the glove box, pull the handle
*1.
To close, push the lid in until the lock latches.
To lock
*2/unlock
*3
the glove box, use the
mechanical key. For the mechanical key usage,
see “KEYS” in the “3. Pre-driving checks and
adjustments” section.
SIC3654
Front
CONSOLE BOXWhen the lever
*A
(driver’s seat side) is pulled,
the upper case is available for storing some
small items. When the lever
*B
(front passen-
ger’s seat side) is pulled, the bottom case is
available for storing some larger ones.
Instruments and controls
2-45
Page 121 of 433
Black plate (119,1)
Model "Z51-D" EDITED: 2010/ 9/ 28
CARGO FLOOR BOX
Type A1. To open the cargo floor box, pull the strap
*A
.
2. Remove the strap
*B
from the back side of
the board and hang it on the opening of the
lift gate.
Type BTo open the cargo floor box, push
*A
. To close,
push the lid until the lock latches.
The net partitions can be removed*B
to make
a larger storage space.
The cargo floor box needs to be removed when
you need a spare tire. (See “FLAT TIRE” in the
“6. In case of emergency” section.)
CAUTION
To avoid damage, do not load more
than 22 lbs (10 kg) of cargo into the
cargo floor box.
SIC3594
LUGGAGE SIDE BOXTo open the luggage side box, pull up the strap.
SIC3595
CARGO COVER (if so equipped)The cargo cover keeps the contents in the cargo
area hidden from the outside.
To use the cargo cover, pull it out and hang both
sides on the hooks
*1.
Instruments and controls
2-47
Page 124 of 433

Black plate (122,1)
Model "Z51-D" EDITED: 2010/ 7/ 23
rack from the ground, use a ladder or
stool.
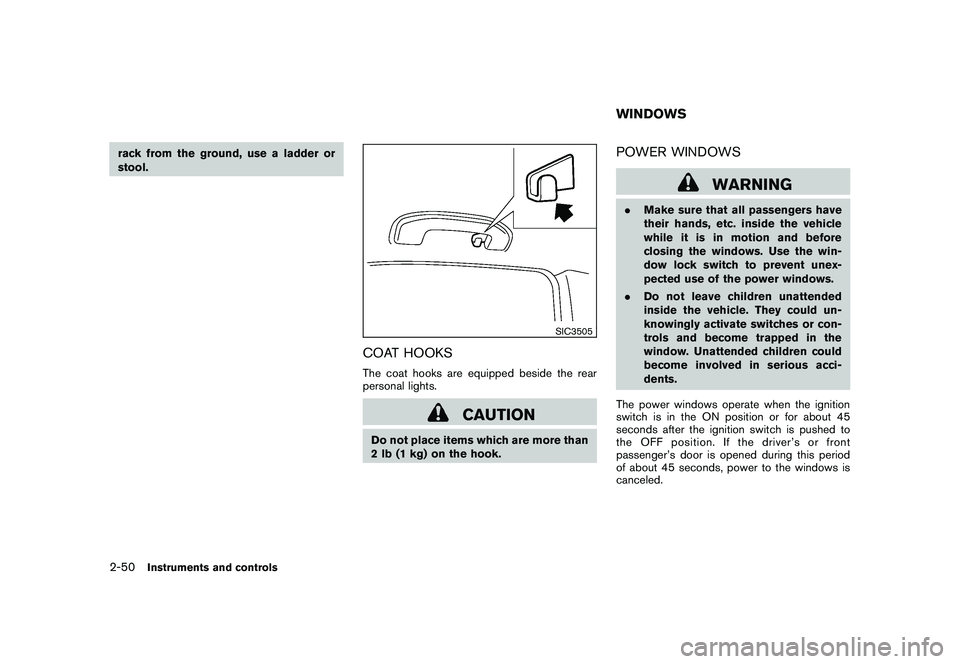
SIC3505
COAT HOOKSThe coat hooks are equipped beside the rear
personal lights.
CAUTION
Do not place items which are more than
2 lb (1 kg) on the hook.
POWER WINDOWS
WARNING
.Make sure that all passengers have
their hands, etc. inside the vehicle
while it is in motion and before
closing the windows. Use the win-
dow lock switch to prevent unex-
pected use of the power windows.
. Do not leave children unattended
inside the vehicle. They could un-
knowingly activate switches or con-
trols and become trapped in the
window. Unattended children could
become involved in serious acci-
dents.
The power windows operate when the ignition
switch is in the ON position or for about 45
seconds after the ignition switch is pushed to
the OFF position. If the driver’s or front
passenger’s door is opened during this period
of about 45 seconds, power to the windows is
canceled.WINDOWS
2-50
Instruments and controls
Page 125 of 433
Black plate (123,1)
Model "Z51-D" EDITED: 2010/ 7/ 23
SIC3283A
Main power window switch (driver’s
side)1. Driver side window
2. Front passenger side window
3. Rear left passenger side window
4. Rear right passenger side window
5. Window lock buttonTo open or close the window, push down
*A
or
pull up
*B
the switch and hold it. The main
switch (driver side switches) will open or close
all the windows.
Locking passengers’ windowsWhen the lock button
*C
is pushed in, only the
driver side window can be opened or closed.
Push it in again to cancel.
SIC3241
Passenger side power window switchThe passenger side switch will open or close
only the corresponding window. To open or
close the window, push down or pull up the
switch and hold it.
Instruments and controls
2-51
Page 129 of 433
Black plate (127,1)
Model "Z51-D" EDITED: 2010/ 7/ 23
SIC3249
MAP LIGHTSPush the button as illustrated to turn the light on
or off.
SIC3250
PERSONAL LIGHTS
RearPush the button as illustrated to turn the light on
or off.
SIC3251
INTERIOR LIGHT CONTROL SWITCHThe interior light control switch has three
positions: ON, DOOR and OFF.ON positionWhen the switch is in the ON position
*1
the
map lights and rear personal lights will illumi-
nate.
DOOR positionWhen the switch is in the DOOR position
*2,
the map lights and rear personal lights will
illuminate under the following conditions:
. ignition switch is switched to the LOCK
position
INTERIOR LIGHTS
Instruments and controls
2-55
Page 130 of 433

Black plate (128,1)
Model "Z51-D" EDITED: 2010/ 7/ 23
— remain on for about 15 seconds.
. doors are unlocked by pushing the UN-
LOCK button on the Intelligent Key or door
handle request switch with the ignition
switch in the LOCK position
— remain on for about 15 seconds.
. any door is opened and then closed with the
ignition switch in the LOCK position
— remain on for about 15 seconds.
. any door is opened with the ignition switch
in the ACC or ON position
— remain on while the door is opened. When the door is closed, the lights go off.
The lights will also turn off after 15
minutes when the lights remain illumi-
nated after the ignition switch has been
pushed to the OFF or LOCK position to
prevent the battery from becoming dis-
charged.
When the auto interior illumination is set to the
OFF position (see “VEHICLE INFORMATION
AND SETTINGS” in the “4. Center display,
heater, air conditioner, audio, phone and voice
recognition systems” section) , the lights will
illuminate under the following condition:
. any door is opened with the ignition switch
in any position — remain on while the door is opened.
When the door is closed, the lights go off.
OFF positionWhen the switch is in the OFF position
*3, the
lights will not illuminate, regardless of the
condition.
CAUTION
Do not use for extended periods of time
with the engine stopped. This could
result in a discharged battery.
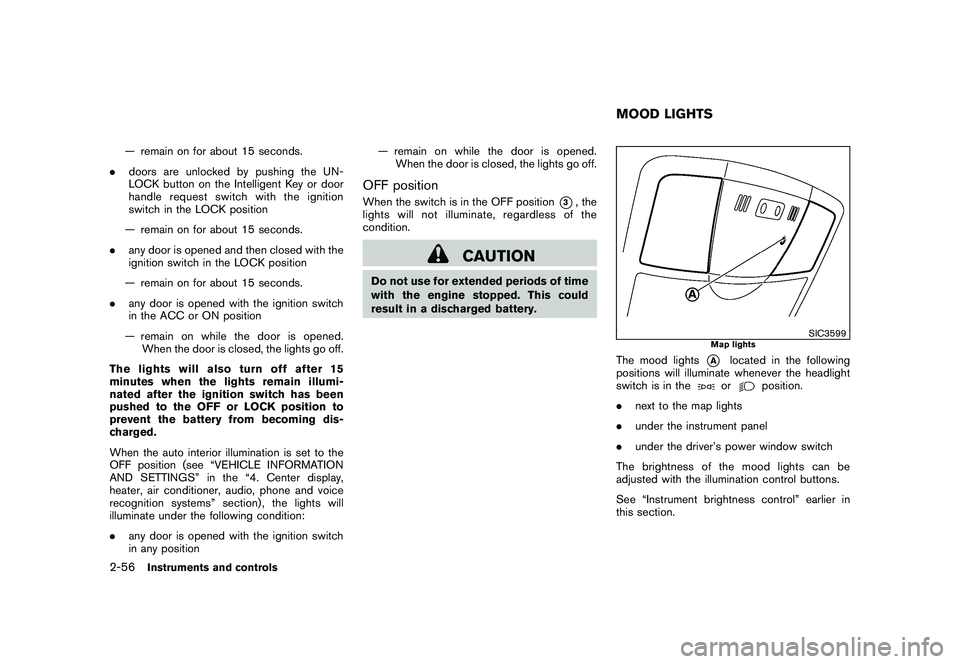
SIC3599
Map lights
The mood lights
*A
located in the following
positions will illuminate whenever the headlight
switch is in theor
position.
. next to the map lights
. under the instrument panel
. under the driver’s power window switch
The brightness of the mood lights can be
adjusted with the illumination control buttons.
See “Instrument brightness control” earlier in
this section.
MOOD LIGHTS
2-56
Instruments and controls
Page 131 of 433

Black plate (129,1)
Model "Z51-D" EDITED: 2010/ 7/ 23
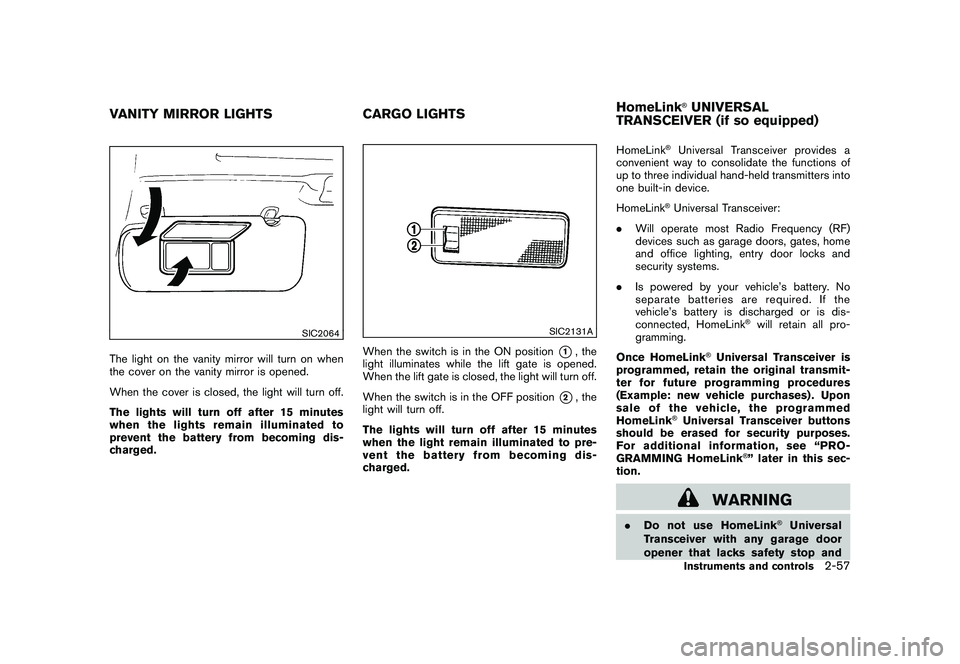
SIC2064
The light on the vanity mirror will turn on when
the cover on the vanity mirror is opened.
When the cover is closed, the light will turn off.
The lights will turn off after 15 minutes
when the lights remain illuminated to
prevent the battery from becoming dis-
charged.
SIC2131A
When the switch is in the ON position
*1, the
light illuminates while the lift gate is opened.
When the lift gate is closed, the light will turn off.
When the switch is in the OFF position
*2, the
light will turn off.
The lights will turn off after 15 minutes
when the light remain illuminated to pre-
vent the battery from becoming dis-
charged. HomeLink
®Universal Transceiver provides a
convenient way to consolidate the functions of
up to three individual hand-held transmitters into
one built-in device.
HomeLink®Universal Transceiver:
. Will operate most Radio Frequency (RF)
devices such as garage doors, gates, home
and office lighting, entry door locks and
security systems.
. Is powered by your vehicle’s battery. No
separate batteries are required. If the
vehicle’s battery is discharged or is dis-
connected, HomeLink
®will retain all pro-
gramming.
Once HomeLink
®Universal Transceiver is
programmed, retain the original transmit-
ter for future programming procedures
(Example: new vehicle purchases) . Upon
sale of the vehicle, the programmed
HomeLink
®Universal Transceiver buttons
should be erased for security purposes.
For additional information, see “PRO-
GRAMMING HomeLink
®” later in this sec-
tion.
WARNING
. Do not use HomeLink
®Universal
Transceiver with any garage door
opener that lacks safety stop and
VANITY MIRROR LIGHTS CARGO LIGHTSHomeLink
®UNIVERSAL
TRANSCEIVER (if so equipped)Instruments and controls
2-57