Page 231 of 293
CHANGING ENGINE OIL
1. Park the vehicle on a level surface and applythe parking brake.
2. Start the engine and let it idle until it reaches operating temperature, then turn it off. 3. Remove the oil filler cap
�Bby turning it
counterclockwise.
4. Place a large drain pan under the drain plug
�A.
5. Remove the drain plug
�Awith a wrench by
turning it counterclockwise and completely
drain the oil.
If the oil filter is to be changed, remove and
replace it at this time. For additional informa-
tion, refer to “Changing engine oil filter” in
this section.
Page 236 of 293
Vehicles operated in high temperatures or under
severe conditions require frequent checks of the
battery fluid level.
JUMP STARTING
If jump starting is necessary, refer to “Jump start-
ing” in the “In case of emergency” section of this
manual for additional information. If the engine
does not start by jump starting, the battery may
have to be replaced. Contact a NISSAN dealer.
1. Water pump pulley
2. Generator pulley
3. Crankshaft pulley
4. Air conditioner compressor (if soequipped) /Idler pulley (if so equipped)
5. Manual tensioner pulley
� Tension checking point
Page 247 of 293

CAUTION
●High-pressure halogen gas is sealed in-
side the bulb. The bulb may break if the
glass envelope is scratched or the bulb
is dropped.
● Aiming should not be necessary after
replacing the H4 bulb. When aiming ad-
justment is necessary, contact a
NISSAN dealer.
● Do not leave the headlight assembly
open without a bulb installed for a long
period of time. Dust, moisture, smoke,
etc. entering the headlight body may
affect bulb performance. Remove the
bulb from the headlight assembly just
before a replacement bulb is installed.
● Only touch the base when handling the
bulb. Never touch the glass envelope.
Touching the glass could significantly
affect bulb life and/or headlight
performance.
● Use the same number and wattage as
shown in the chart.
1. Disconnect the battery negative cable.
2. Disconnect the electrical connector
�Afrom
the rear end of the bulb. 3. Pull off the rubber cap
�B.
4. Push and turn the retaining pin
�Cto loosen
it.
5. Remove the headlight bulb. Do not shake or rotate the bulb when removing it.
6. Install the new bulb in the reverse order of removal.
Fog may temporarily form inside the lens of the
exterior lights in the rain or in a car wash. A
temperature difference between the inside and
the outside of the lens causes the fog. This is not
a malfunction. If large drops of water collect
inside the lens, contact a NISSAN dealer.
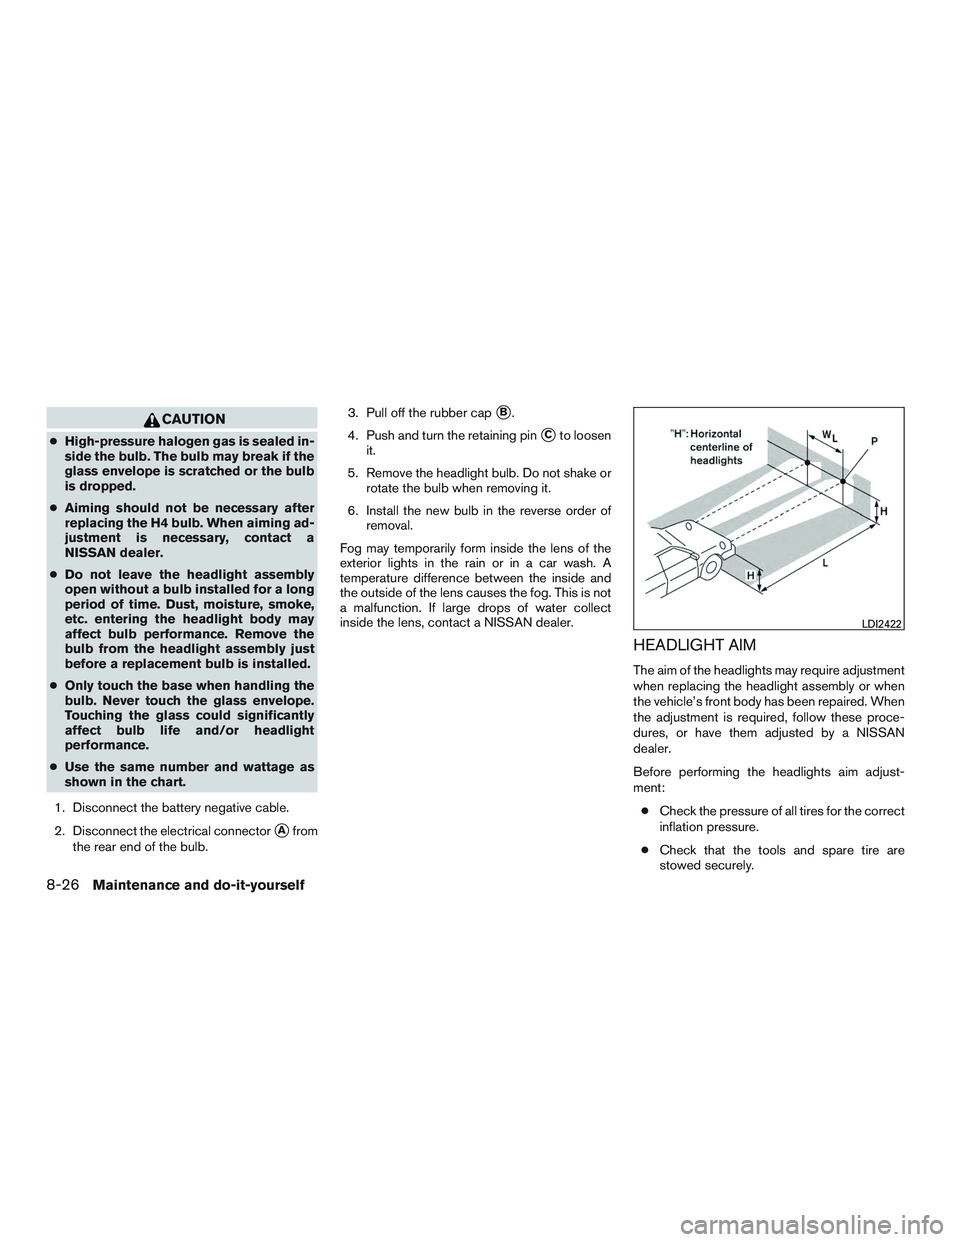
HEADLIGHT AIM
The aim of the headlights may require adjustment
when replacing the headlight assembly or when
the vehicle’s front body has been repaired. When
the adjustment is required, follow these proce-
dures, or have them adjusted by a NISSAN
dealer.
Before performing the headlights aim adjust-
ment:
● Check the pressure of all tires for the correct
inflation pressure.
● Check that the tools and spare tire are
stowed securely.
Page 272 of 293
Your engine was filled with a high-quality engine
oil when it was built. You do not have to change
the oil before the first recommended change
interval. Oil and filter change intervals depend
upon how you use your vehicle.
Operation under the following conditions may
require more frequent oil and filter changes:● repeated short distance driving at cold out-
side temperatures
● driving in dusty conditions
● extensive idling
● towing a trailer
● stop and go commuting
For additional information, refer to the “NISSAN
Service and Maintenance Guide” for the mainte-
nance schedule.
AIR CONDITIONER SYSTEM (if so
equipped) REFRIGERANT AND OIL
RECOMMENDATIONS
The air conditioner system in your NISSAN
vehicle must be charged with the refriger-
ant HFC-134a (R-134a) and the oil, NISSAN
A/C system oil Type R or the exact equiva-
lents.
Page 282 of 293

DOT (Department of Transportation) Quality
Grades: All passenger car tires must conform to
federal safety requirements in addition to these
grades.
Quality grades can be found where applicable on
the tire sidewall between tread shoulder and
maximum section width. For example:
Treadwear 200 Traction AA Temperature A
Treadwear
The treadwear grade is a comparative rating
based on the wear rate of the tire when tested
under controlled conditions on a specified gov-
ernment test course. For example, a tire graded
150 would wear one and one-half (1 1/2) times
as well on the government course as a tire graded
100. The relative performance of tires depends
upon the actual conditions of their use, however,
and may depart significantly from the norm due to
variations in driving habits, service practices and
differences in road characteristics and climate.
Traction AA, A, B and C
The traction grades, from highest to lowest, are
AA, A, B, and C. Those grades represent the
tire’s ability to stop on wet pavement as mea-
sured under controlled conditions on specified
government test surfaces of asphalt and con-
crete. A tire marked C may have poor traction
performance.