Page 57 of 377
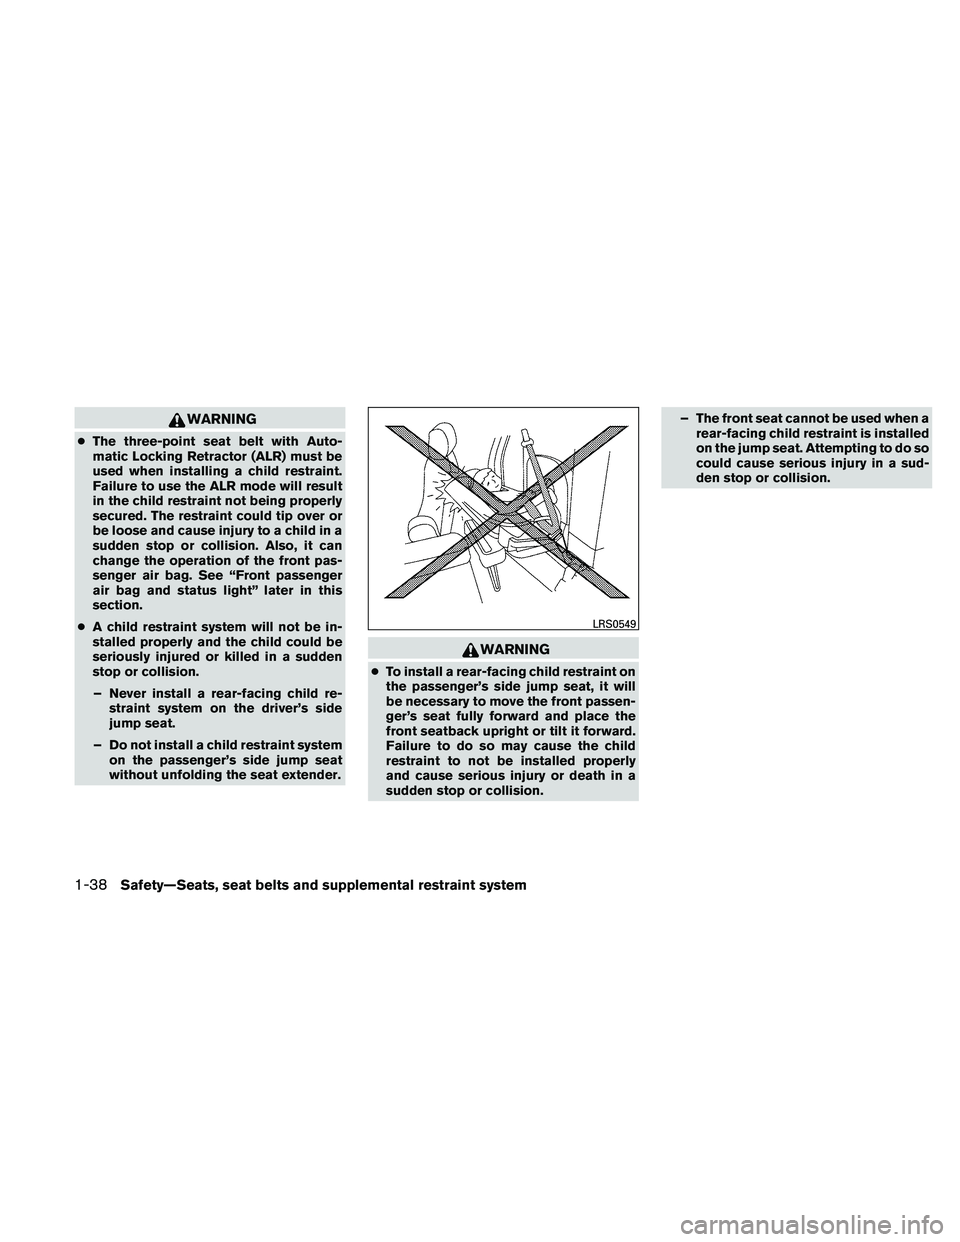
WARNING
●The three-point seat belt with Auto-
matic Locking Retractor (ALR) must be
used when installing a child restraint.
Failure to use the ALR mode will result
in the child restraint not being properly
secured. The restraint could tip over or
be loose and cause injury to a child in a
sudden stop or collision. Also, it can
change the operation of the front pas-
senger air bag. See “Front passenger
air bag and status light” later in this
section.
● A child restraint system will not be in-
stalled properly and the child could be
seriously injured or killed in a sudden
stop or collision.
– Never install a rear-facing child re- straint system on the driver’s side
jump seat.
– Do not install a child restraint system on the passenger’s side jump seat
without unfolding the seat extender.
WARNING
●To install a rear-facing child restraint on
the passenger’s side jump seat, it will
be necessary to move the front passen-
ger’s seat fully forward and place the
front seatback upright or tilt it forward.
Failure to do so may cause the child
restraint to not be installed properly
and cause serious injury or death in a
sudden stop or collision. – The front seat cannot be used when a
rear-facing child restraint is installed
on the jump seat. Attempting to do so
could cause serious injury in a sud-
den stop or collision.
LRS0549
1-38Safety—Seats, seat belts and supplemental restraint system
Page 58 of 377
Refer to all Warnings and Cautions in the “Child
Safety” and “Child Restraint” sections before in-
stalling a child restraint.
Follow these steps to install a child restraint on
the passenger’s side jump seat.1. To access the jump seat extension
�1on the
passenger’s side jump seat, pull up
�2on
the extension to unfold it to the open posi-
tion. Then unfold the two support legs
�3
and lower the jump seat to the full open�4
seating position.
�2Move the front passenger’s seat into the
FULL FORWARD position. Then move the
front seatback to the upright or tilted forward
position. Position the child restraint on the
jump seat. The direction of the child restraint
depends on the type of the child restraint
and the size of the child. Always follow the
restraint manufacturer’s instructions.
LRS0559LRS0537
Rear-facing — step 2
LRS0544
Safety—Seats, seat belts and supplemental restraint system1-39
Page 62 of 377
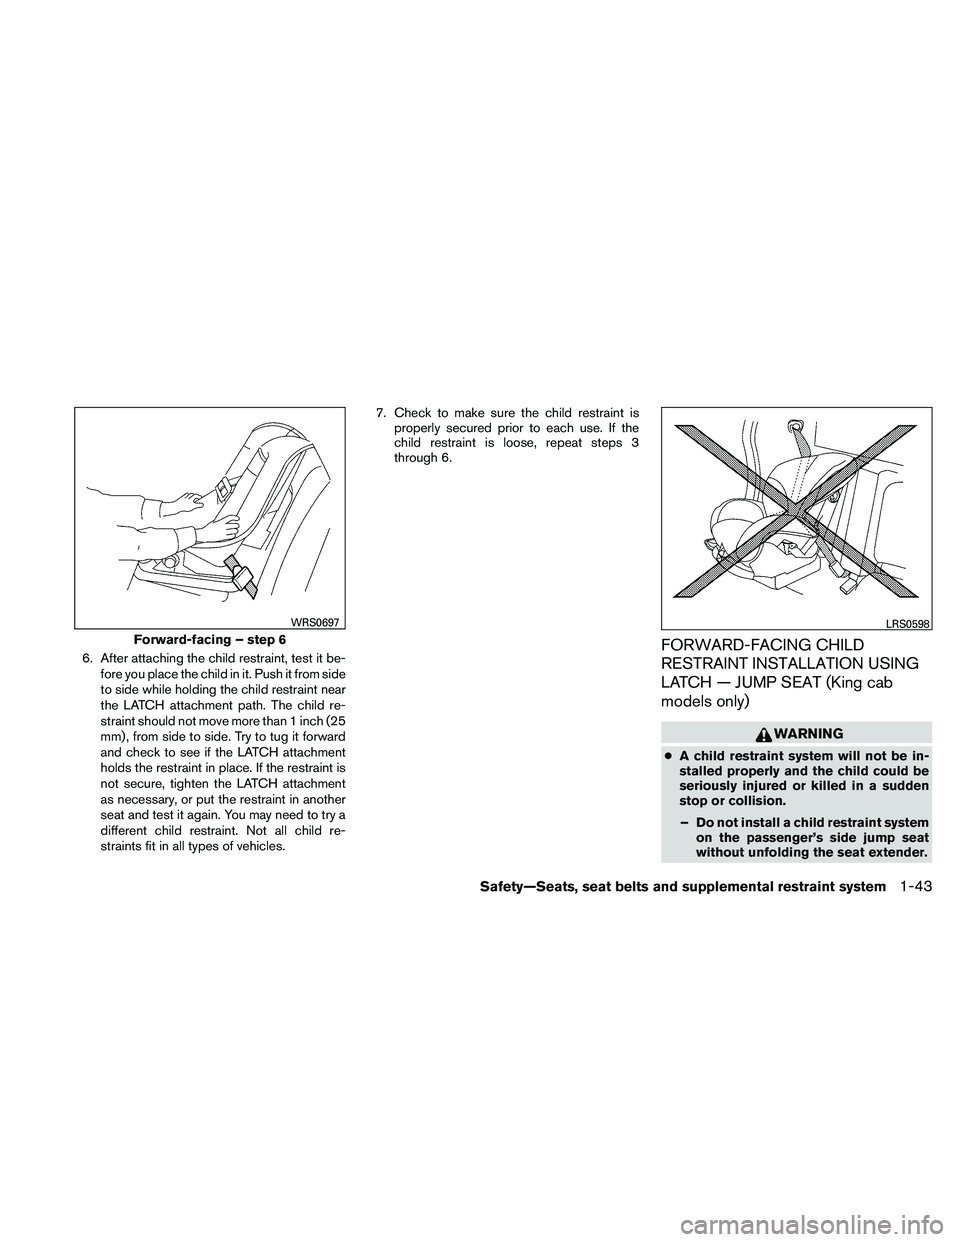
6. After attaching the child restraint, test it be-fore you place the child in it. Push it from side
to side while holding the child restraint near
the LATCH attachment path. The child re-
straint should not move more than 1 inch (25
mm) , from side to side. Try to tug it forward
and check to see if the LATCH attachment
holds the restraint in place. If the restraint is
not secure, tighten the LATCH attachment
as necessary, or put the restraint in another
seat and test it again. You may need to try a
different child restraint. Not all child re-
straints fit in all types of vehicles. 7. Check to make sure the child restraint is
properly secured prior to each use. If the
child restraint is loose, repeat steps 3
through 6.FORWARD-FACING CHILD
RESTRAINT INSTALLATION USING
LATCH — JUMP SEAT (King cab
models only)
WARNING
●A child restraint system will not be in-
stalled properly and the child could be
seriously injured or killed in a sudden
stop or collision.
– Do not install a child restraint system on the passenger’s side jump seat
without unfolding the seat extender.
Forward-facing – step 6
WRS0697LRS0598
Safety—Seats, seat belts and supplemental restraint system1-43
Page 63 of 377
– For forward-facing child seats andboosters, DO NOT install if the child
restraint base extends past the for-
ward edge of the driver’s side seat
cushion.
Refer to all Warnings and Cautions in the “Child
Safety” and “Child Restraint” sections before in-
stalling a child restraint.
Follow these steps to install a child restraint on
the jump seat.1. To access the jump seat extension (passen- ger’s side only)
�1on the jump seat, pull up
�2on the extension to unfold it to the open
position. Then unfold the two support legs
�3and lower the jump seat to the full open
�4seating position.
WRS0699LRS0559
1-44Safety—Seats, seat belts and supplemental restraint system
Page 69 of 377
FOWARD-FACING CHILD
RESTRAINT INSTALLATION USING
THE SEAT BELTS — FRONT
PASSENGER AND JUMP SEATS
(King cab models only)
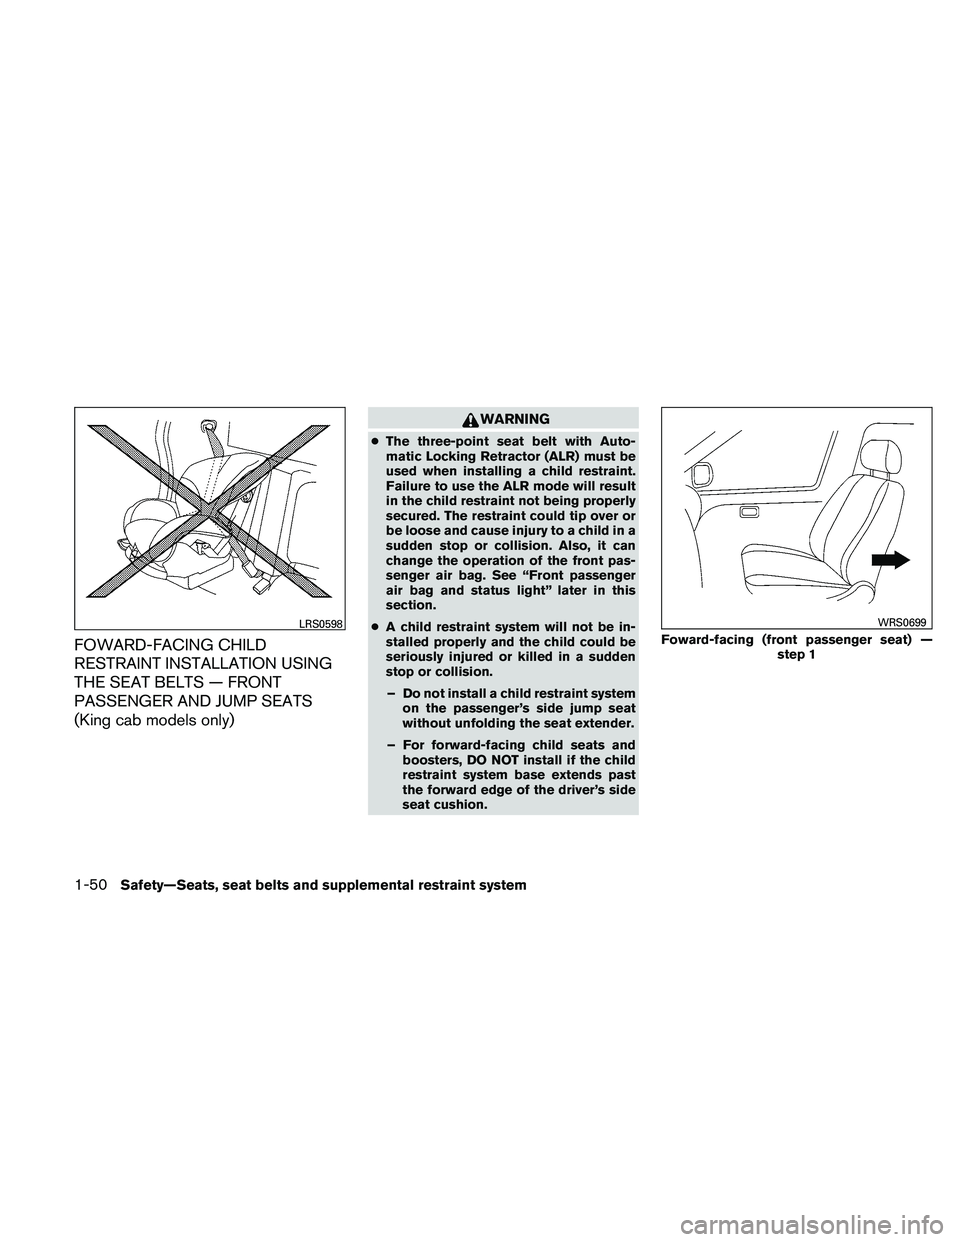
WARNING
●The three-point seat belt with Auto-
matic Locking Retractor (ALR) must be
used when installing a child restraint.
Failure to use the ALR mode will result
in the child restraint not being properly
secured. The restraint could tip over or
be loose and cause injury to a child in a
sudden stop or collision. Also, it can
change the operation of the front pas-
senger air bag. See “Front passenger
air bag and status light” later in this
section.
● A child restraint system will not be in-
stalled properly and the child could be
seriously injured or killed in a sudden
stop or collision.
– Do not install a child restraint system on the passenger’s side jump seat
without unfolding the seat extender.
– For forward-facing child seats and boosters, DO NOT install if the child
restraint system base extends past
the forward edge of the driver’s side
seat cushion.
LRS0598
Foward-facing (front passenger seat) — step 1
WRS0699
1-50Safety—Seats, seat belts and supplemental restraint system
Page 70 of 377
Refer to all Warnings and Cautions in the “Child
Safety” and “Child Restraint” sections before in-
stalling a child restraint.
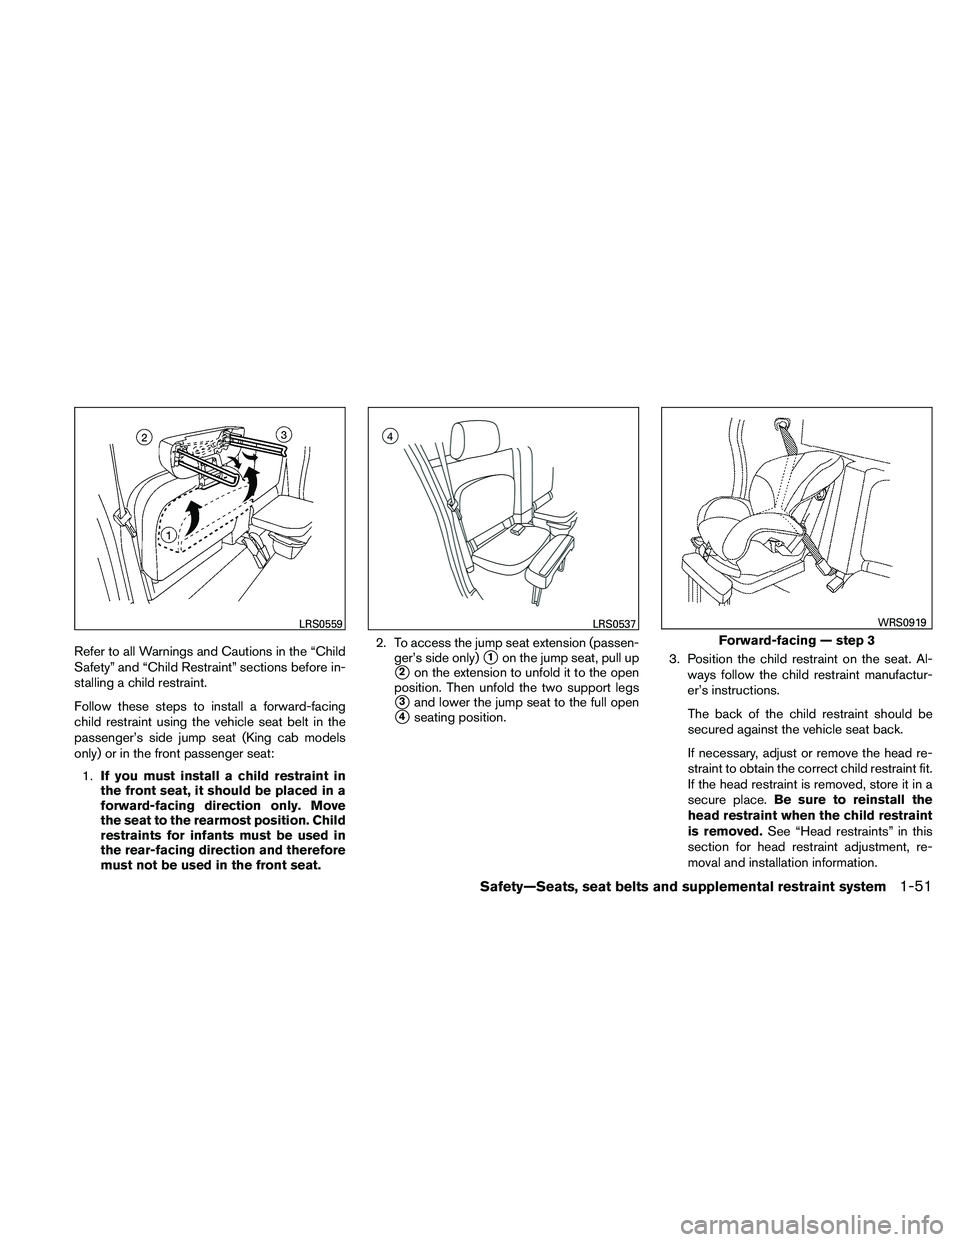
Follow these steps to install a forward-facing
child restraint using the vehicle seat belt in the
passenger’s side jump seat (King cab models
only) or in the front passenger seat:1. If you must install a child restraint in
the front seat, it should be placed in a
forward-facing direction only. Move
the seat to the rearmost position. Child
restraints for infants must be used in
the rear-facing direction and therefore
must not be used in the front seat. 2. To access the jump seat extension (passen-
ger’s side only)�1on the jump seat, pull up
�2on the extension to unfold it to the open
position. Then unfold the two support legs
�3and lower the jump seat to the full open
�4seating position. 3. Position the child restraint on the seat. Al-
ways follow the child restraint manufactur-
er’s instructions.
The back of the child restraint should be
secured against the vehicle seat back.
If necessary, adjust or remove the head re-
straint to obtain the correct child restraint fit.
If the head restraint is removed, store it in a
secure place. Be sure to reinstall the
head restraint when the child restraint
is removed. See “Head restraints” in this
section for head restraint adjustment, re-
moval and installation information.
LRS0559LRS0537
Forward-facing — step 3
WRS0919
Safety—Seats, seat belts and supplemental restraint system1-51
Page 79 of 377
Booster seat installation — jump seats
(King cab models only)
WARNING
●A child restraint system will not be in-
stalled properly and the child could be
seriously injured or killed in a sudden
stop or collision.
– For boosters, DO NOT install if the child restraint system base extends
past the forward edge of the seat
cushion.
– Do not install a child restraint system on the passenger’s side jump seat
without unfolding the seat extender.
CAUTION
Do not use the lap/shoulder belt in the
Automatic Locking Retractor mode when
using a booster seat with the seat belts.
Refer to all Warnings and Cautions in the “Child
Safety”, “Child Restraint” and “Booster Seats”
sections before installing a child restraint.
Follow these steps to install a booster seat in the
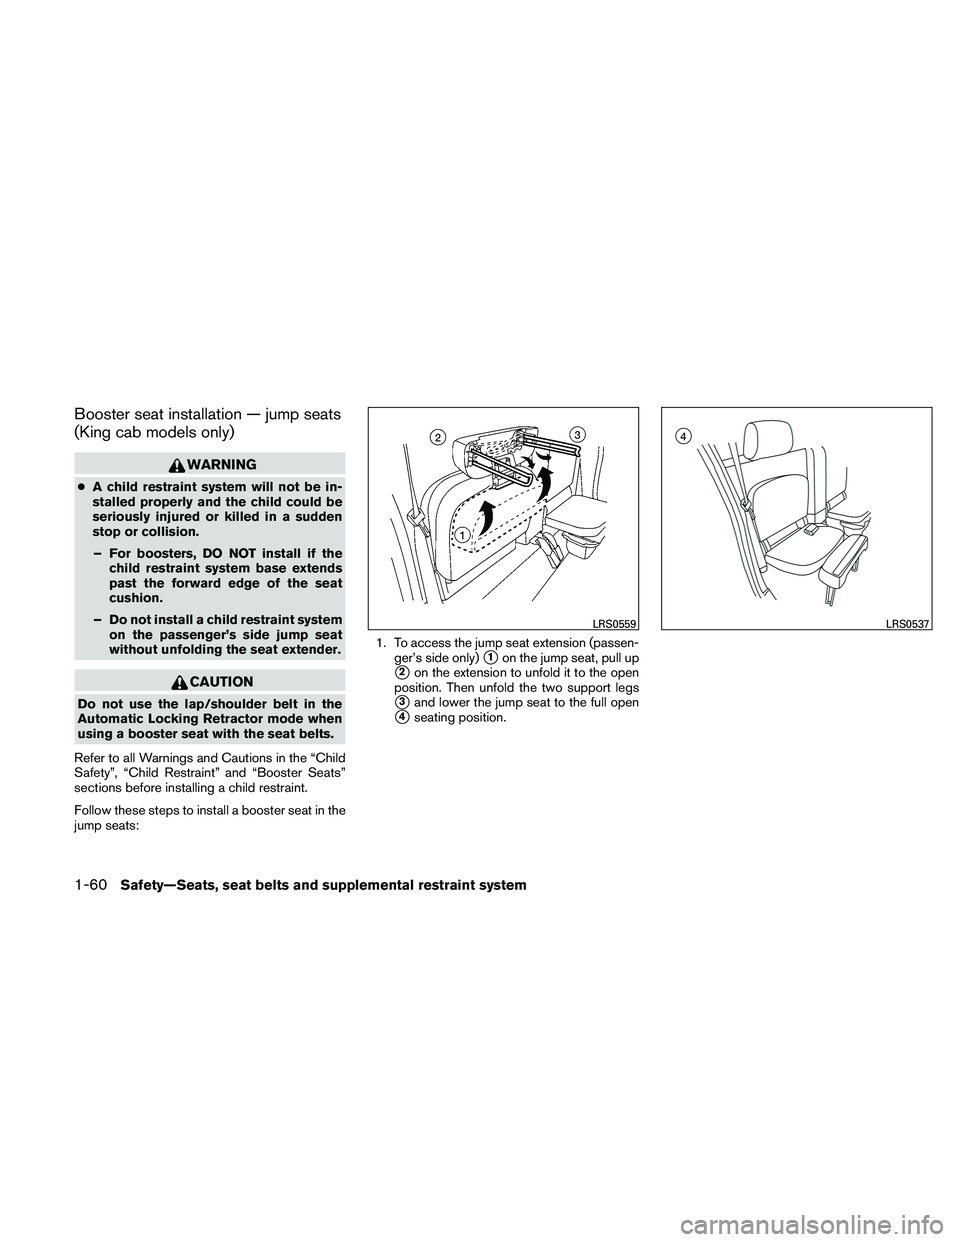
jump seats: 1. To access the jump seat extension (passen-
ger’s side only)
�1on the jump seat, pull up
�2on the extension to unfold it to the open
position. Then unfold the two support legs
�3and lower the jump seat to the full open
�4seating position.
LRS0559LRS0537
1-60Safety—Seats, seat belts and supplemental restraint system
Page 137 of 377
WARNING
●Properly secure all cargo with ropes or
straps to help prevent it from sliding or
shifting. In a sudden stop or collision,
unsecured cargo could cause personal
injury.
● The cargo restrained in the under-seat
storage bins must not exceed the
weight limits listed below or the bins
may not stay secured. In a sudden stop
or collision, the unsecured bins could
cause personal inury.
King cab model: 16 lb (7.25 kg)
Crew cab model Driver’s side: 16 lb (7.25 kg)
Passenger’s side: 25 lb (11.33 kg)
● If the under-seat storage bins are re-
moved for any reason, they should be
securely stored to prevent them from
causing injury to passengers or damage
to the vehicle in case of sudden braking
or an accident.
● Do not place sharp objects in the under-
seat storage bins. Such objects may
become dangerous projectiles and
cause injury when the vehicle is moving
or if the vehicle is involved in a collision. To access the under-seat storage bins:
For King cab model, lift up the jump seat. Refer to
“Jump seat (King cab)” in the “Safety—Seats,
seat belts and supplemental restraint system”
section earlier in this manual.
For Crew cab model, lift up the rear bench seat.
Refer to “Folding the rear bench seat down” in
the “Safety—Seats, seat belts and supplemental
restraint system” section earlier in this manual.
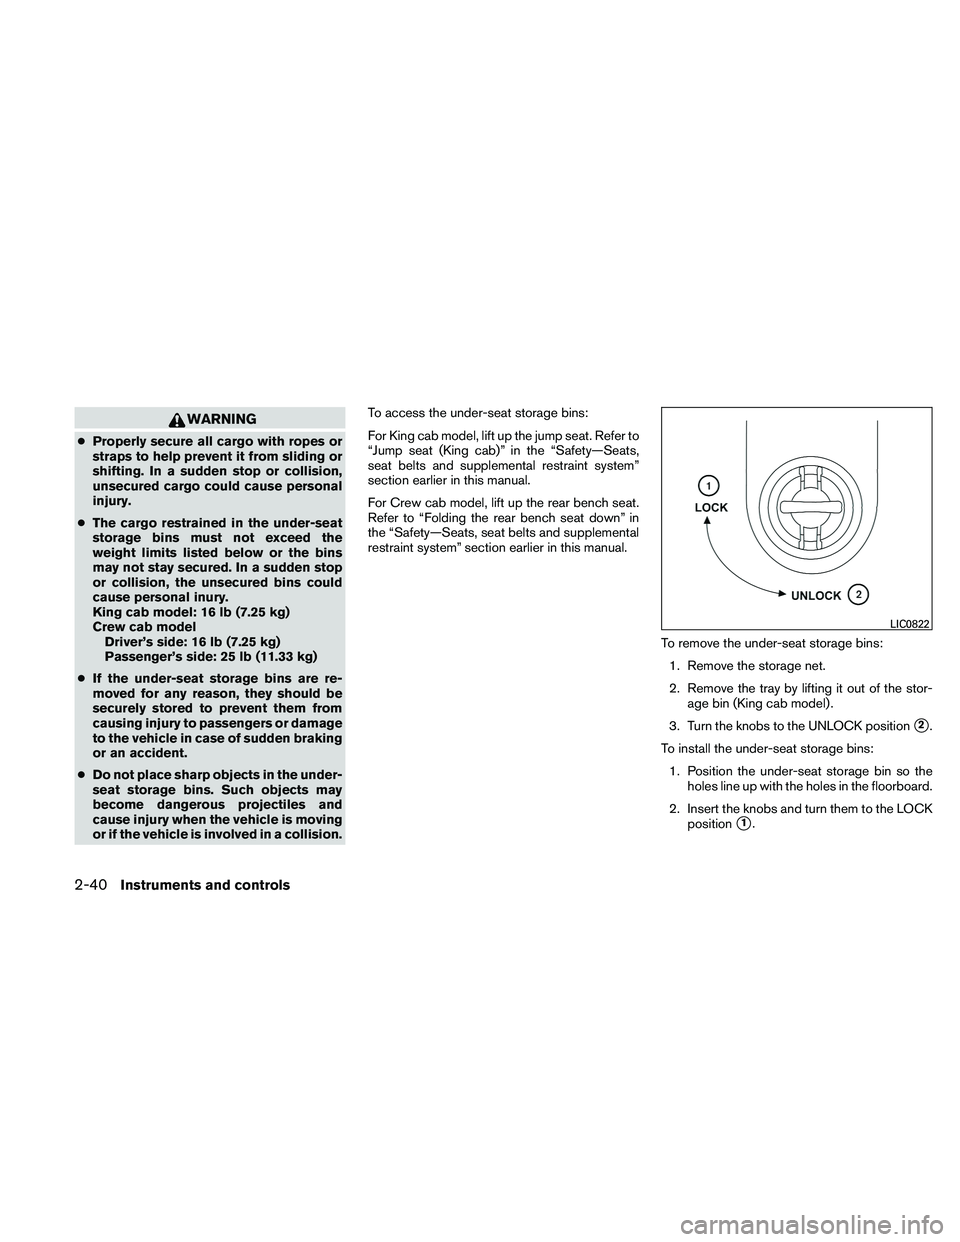
To remove the under-seat storage bins:1. Remove the storage net.
2. Remove the tray by lifting it out of the stor- age bin (King cab model) .
3. Turn the knobs to the UNLOCK position
�2.
To install the under-seat storage bins: 1. Position the under-seat storage bin so the holes line up with the holes in the floorboard.
2. Insert the knobs and turn them to the LOCK position
�1.
LIC0822
2-40Instruments and controls