Page 165 of 489
Opening windows
The keyfob allows you to open windows
equipped with automatic operation simultane-
ously.● To open the windows, press the
Page 229 of 489

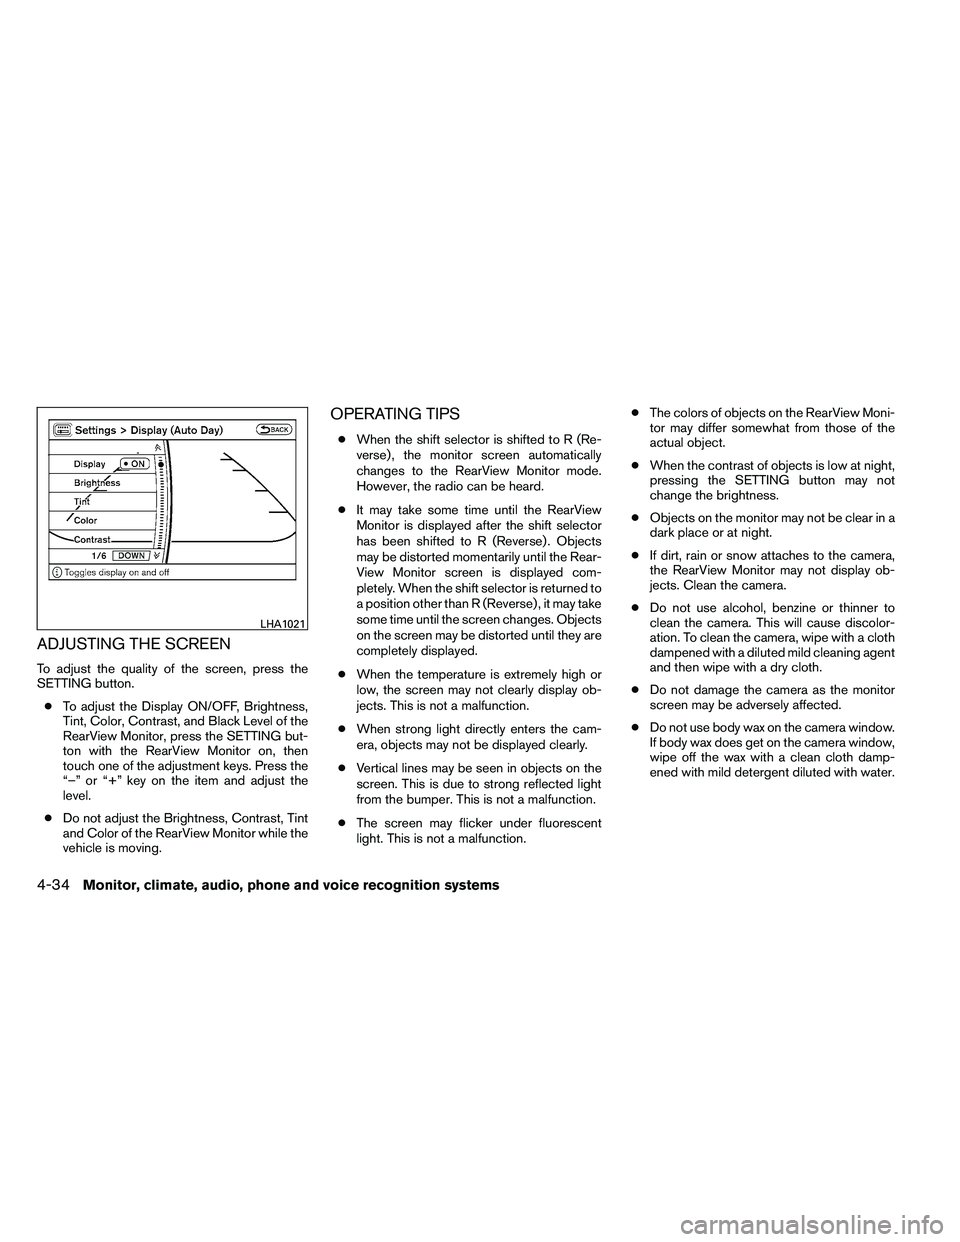
ADJUSTING THE SCREEN
To adjust the quality of the screen, press the
SETTING button.● To adjust the Display ON/OFF, Brightness,
Tint, Color, Contrast, and Black Level of the
RearView Monitor, press the SETTING but-
ton with the RearView Monitor on, then
touch one of the adjustment keys. Press the
“–” or “+” key on the item and adjust the
level.
● Do not adjust the Brightness, Contrast, Tint
and Color of the RearView Monitor while the
vehicle is moving.
OPERATING TIPS
● When the shift selector is shifted to R (Re-
verse) , the monitor screen automatically
changes to the RearView Monitor mode.
However, the radio can be heard.
● It may take some time until the RearView
Monitor is displayed after the shift selector
has been shifted to R (Reverse) . Objects
may be distorted momentarily until the Rear-
View Monitor screen is displayed com-
pletely. When the shift selector is returned to
a position other than R (Reverse) , it may take
some time until the screen changes. Objects
on the screen may be distorted until they are
completely displayed.
● When the temperature is extremely high or
low, the screen may not clearly display ob-
jects. This is not a malfunction.
● When strong light directly enters the cam-
era, objects may not be displayed clearly.
● Vertical lines may be seen in objects on the
screen. This is due to strong reflected light
from the bumper. This is not a malfunction.
● The screen may flicker under fluorescent
light. This is not a malfunction. ●
The colors of objects on the RearView Moni-
tor may differ somewhat from those of the
actual object.
● When the contrast of objects is low at night,
pressing the SETTING button may not
change the brightness.
● Objects on the monitor may not be clear in a
dark place or at night.
● If dirt, rain or snow attaches to the camera,
the RearView Monitor may not display ob-
jects. Clean the camera.
● Do not use alcohol, benzine or thinner to
clean the camera. This will cause discolor-
ation. To clean the camera, wipe with a cloth
dampened with a diluted mild cleaning agent
and then wipe with a dry cloth.
● Do not damage the camera as the monitor
screen may be adversely affected.
● Do not use body wax on the camera window.
If body wax does get on the camera window,
wipe off the wax with a clean cloth damp-
ened with mild detergent diluted with water.
Page 231 of 489
1. Driver’s temperature control dial/AUTObutton
2. A/C ON/OFF button
3. Fan speed control (increase)
4. Front window defroster button
5. MODE button
6. Passenger’s temperature control dial/
DUAL button
7. System OFF
8. Fan speed control (decrease)
9. Rear window defroster button
10. Air recirculation button
Page 238 of 489

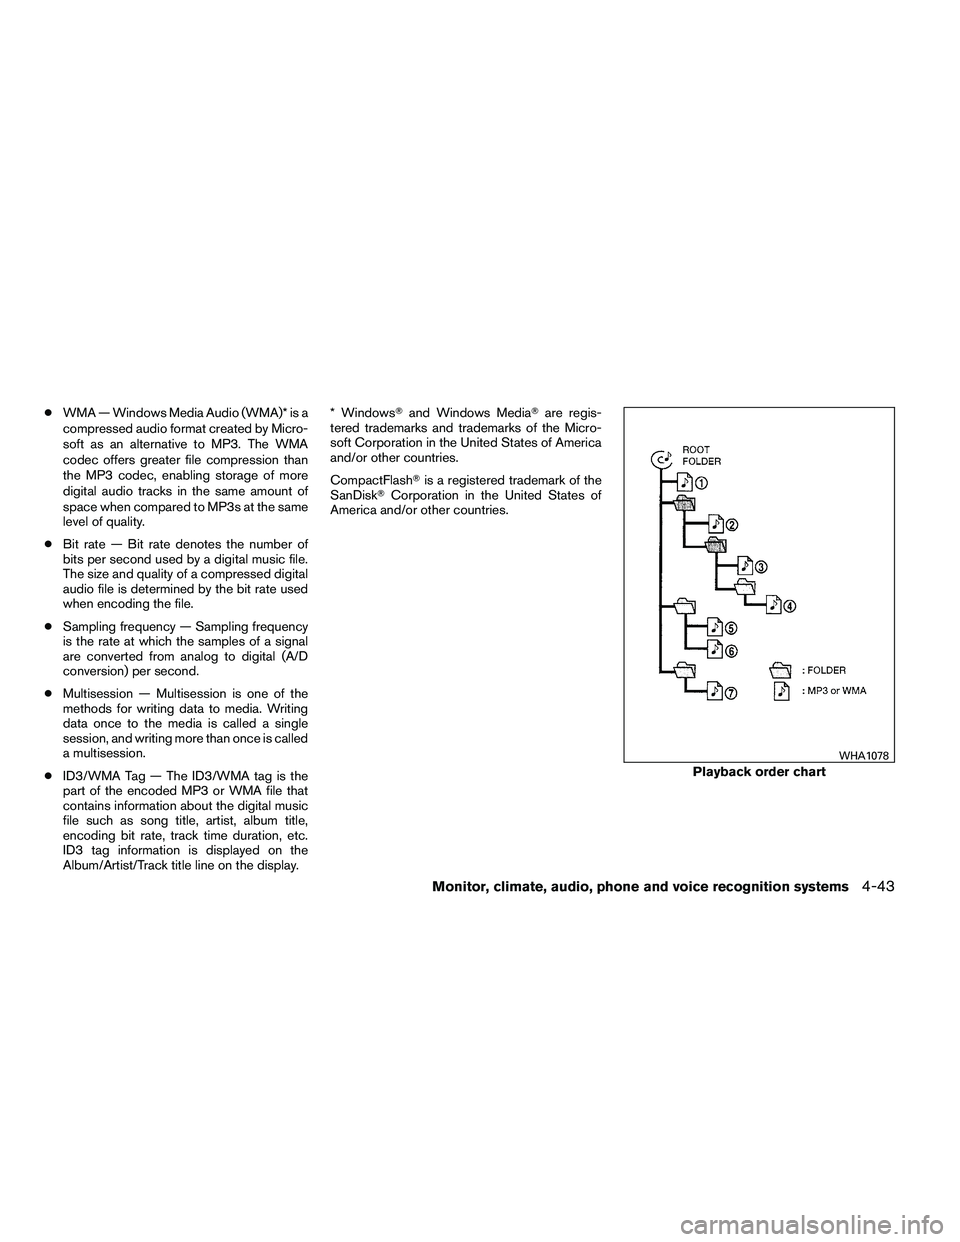
●WMA — Windows Media Audio (WMA)* is a
compressed audio format created by Micro-
soft as an alternative to MP3. The WMA
codec offers greater file compression than
the MP3 codec, enabling storage of more
digital audio tracks in the same amount of
space when compared to MP3s at the same
level of quality.
● Bit rate — Bit rate denotes the number of
bits per second used by a digital music file.
The size and quality of a compressed digital
audio file is determined by the bit rate used
when encoding the file.
● Sampling frequency — Sampling frequency
is the rate at which the samples of a signal
are converted from analog to digital (A/D
conversion) per second.
● Multisession — Multisession is one of the
methods for writing data to media. Writing
data once to the media is called a single
session, and writing more than once is called
a multisession.
● ID3/WMA Tag — The ID3/WMA tag is the
part of the encoded MP3 or WMA file that
contains information about the digital music
file such as song title, artist, album title,
encoding bit rate, track time duration, etc.
ID3 tag information is displayed on the
Album/Artist/Track title line on the display. * Windows�
and Windows Media� are regis-
tered trademarks and trademarks of the Micro-
soft Corporation in the United States of America
and/or other countries.
CompactFlash� is a registered trademark of the
SanDisk� Corporation in the United States of
America and/or other countries.
Page 272 of 489
NEXT button:
When the NEXT button is pressed while in AM or
FM mode, the radio will change to the next preset.
The NEXT button does not function while in SAT
radio mode or when playing a DVD or CD.
ANTENNA
Window antenna
The antenna pattern is printed inside the rear
passenger and driver side windows.
Page 290 of 489
Operating tips
To get the best performance out of the NISSAN
Voice Recognition system, observe the following:● Keep the interior of the vehicle as quiet as
possible. Close the windows to eliminate
surrounding noises (traffic noises, vibration
sounds, etc.) , which may prevent the system
from recognizing voice commands correctly.
● Wait until the tone sounds before speaking a
command. Otherwise, the command will not
be received properly.
● Start speaking a command within 5 seconds
after the tone sounds.
● Speak in a natural voice without pausing
between words.
Giving voice commands
To operate NISSAN Voice Recognition, press
and release the
Page 348 of 489

The operating range of the engine start function
is inside of the vehicle
�1.
● The luggage area is not included in the op-
erating range, but the Intelligent Key may
function.
● If the Intelligent Key is placed on the instru-
ment panel, inside the glove box, storage bin
or door pocket, the Intelligent Key may not
function.
● If the Intelligent Key is placed near the door
or window outside the vehicle, the Intelligent
Key may function.
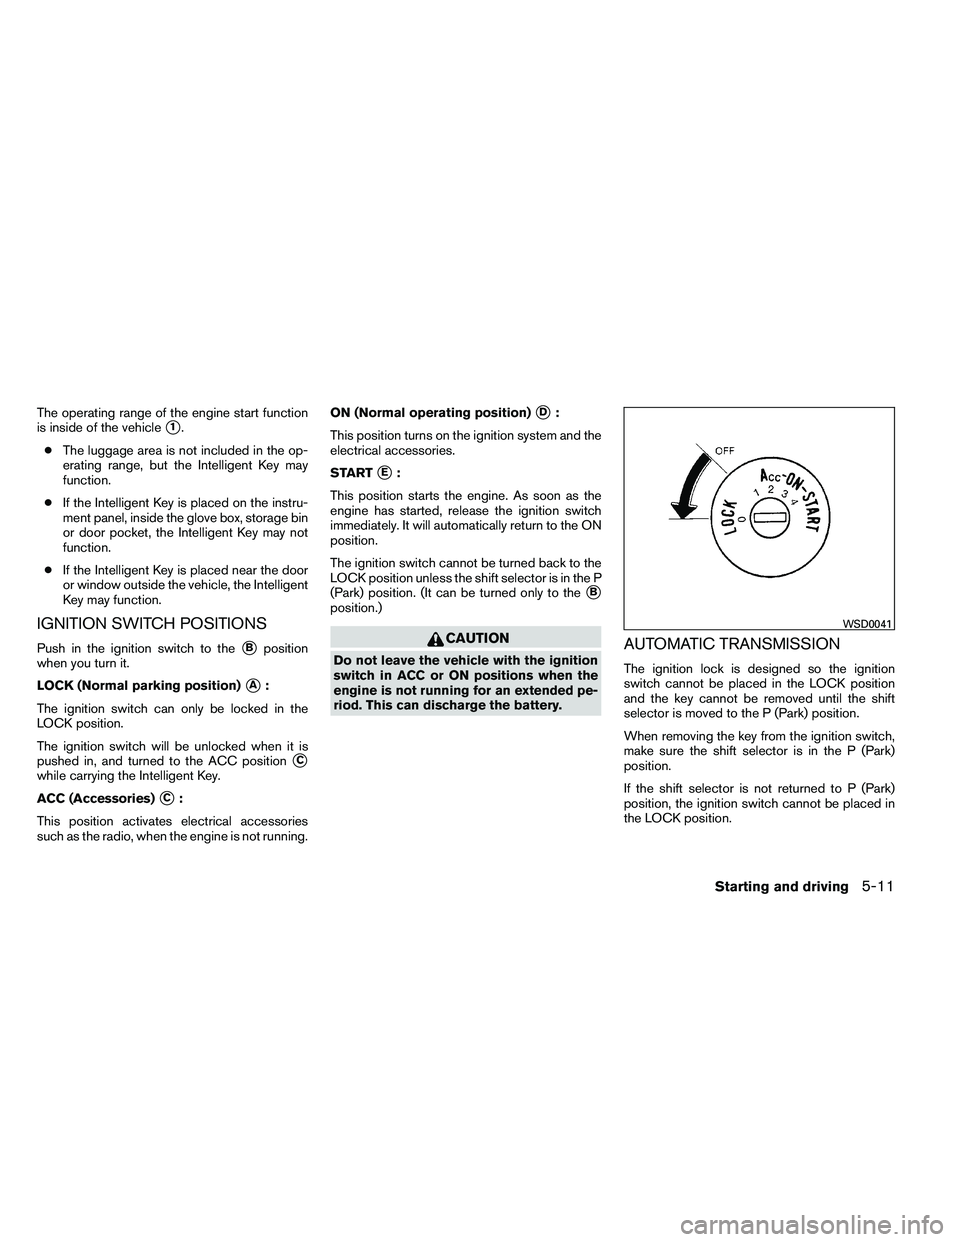
IGNITION SWITCH POSITIONS
Push in the ignition switch to the�Bposition
when you turn it.
LOCK (Normal parking position)
�A:
The ignition switch can only be locked in the
LOCK position.
The ignition switch will be unlocked when it is
pushed in, and turned to the ACC position
�C
while carrying the Intelligent Key.
ACC (Accessories)
�C:
This position activates electrical accessories
such as the radio, when the engine is not running. ON (Normal operating position)
�D:
This position turns on the ignition system and the
electrical accessories.
START
�E:
This position starts the engine. As soon as the
engine has started, release the ignition switch
immediately. It will automatically return to the ON
position.
The ignition switch cannot be turned back to the
LOCK position unless the shift selector is in the P
(Park) position. (It can be turned only to the
�B
position.)
Page 350 of 489

NISSAN VEHICLE IMMOBILIZER
SYSTEM
The NISSAN Vehicle Immobilizer system will not
allow the engine to start without the use of the
registered key.
If the engine fails to start using a registered key
(for example, when interference is caused by
another registered key, an automated toll road
device or automatic payment device on the key
ring) , restart the engine using the following pro-
cedure:1. Leave the ignition switch in the ON position for approximately 5 seconds.
2. Place the ignition switch in the OFF or LOCK position, and wait approximately 10
seconds.
3. Repeat steps 1 and 2.
4. Restart the engine while holding the device (which may have caused the interference)
separate from the registered key.
If the no start condition re-occurs, NISSAN rec-
ommends placing the registered key on a sepa-
rate key ring to avoid interference from other
devices. ●
Make sure the area around the vehicle is
clear.
● Check fluid levels such as engine oil, cool-
ant, brake fluid, and windshield-washer fluid
as frequently as possible, or at least when-
ever you refuel.
● Check that all windows and lights are clean.
● Visually inspect tires for their appearance
and condition. Also check tires for proper
inflation.
● Check that all doors are closed.
● Position seat and adjust head restraint and
headrests (if so equipped) .
● Adjust inside and outside mirrors.
● Fasten seat belts and ask all passengers to
do likewise.
● Check the operation of warning lights when
the ignition switch is placed in the ON posi-
tion. See “Warning/indicator lights and au-
dible reminders” in the “Instruments and
controls” section of this manual. 1. Apply the parking brake.
2. Move the shift selector to P (Park) or N
(Neutral) . P (Park) is recommended.
The shift selector cannot be moved out
of P (Park) and into any of the other
gear positions if the ignition switch is
turned to the OFF position or if the key
is removed from the ignition switch.
The starter is designed not to operate if
the shift selector is in any of the driving
positions.
3. Crank the engine with your foot off the
accelerator pedal by placing the ignition
switch in the START position. Release the
key when the engine starts. If the engine
starts, but fails to run, repeat the above
procedure.
● If the engine is very hard to start in ex-
tremely cold weather or when restarting,
depress the accelerator pedal a little (ap-
proximately 1/3 to the floor) and hold it
and then crank the engine. Release the
key and the accelerator pedal when the
engine starts.
BEFORE STARTING THE ENGINE STARTING THE ENGINE
Starting and driving5-13