Page 315 of 489
●Finding a Street Address
Tutorial for entering a destination by street
address.
● Placing Calls
Tutorial for making a phone call by voice
command operation.
● Help on Speaking
Displays useful tips of speaking for correct
command recognition by the system.
● Voice Recognition Settings
Describes the available Voice Recognition
settings.
Getting started
Before using the Voice Recognition system for
the first time, you can confirm how to use com-
mands by viewing the Getting Started section of
the User Guide. 1. Highlight “Getting Started” and press the ENTER button.
2. You can confirm the page by scrolling the screen using the NISSAN controller. Tutorials on the operation of the Voice Rec-
ognition system
If you choose “Finding a Street Address” or
“Placing Calls”, you can view tutorials on how to
perform these operations using Voice Recogni-
tion.
Page 316 of 489
Useful tips for correct operation
You can display useful speaking tips to help the
system recognize your voice commands cor-
rectly.1. Select “Help on Speaking”.
2. You can confirm the page by scrolling the screen using the NISSAN controller or
touching the page down key.
Voice recognition settings
The available settings of the NISSAN Voice Rec-
ognition system are described.
1. Highlight “Voice Recognition Settings” and press the ENTER button.
2. You can confirm the page by scrolling the screen using the NISSAN controller.
USING THE SYSTEM
Initialization
When the ignition switch is placed in the ON
position, NISSAN Voice Recognition is initialized,
which takes a few seconds. When completed,
the system is ready to accept voice commands. If
the
Page 325 of 489
Activating Alternate Command Mode
1. Press the SETTING button on the instru-ment panel.
2. Highlight the “Others” key on the display and then press the ENTER button.
3. Highlight the “Voice Recognition” key and then press the ENTER button. 4. Highlight the “Alternate Command Mode”
key and press the ENTER button.
5. The confirmation message is displayed on the screen. Select the “OK” key and press
the ENTER button to activate the Alternate
Command Mode. 6. Alternate Command Mode is activated and
the setting menu is expanded to include the
Alternate Command Mode options. See
“Settings menu” later in this section for an
explanation of the options.
Displaying the command list
If you are controlling the system by voice com-
mands for the first time or do not know the
appropriate voice command, perform the follow-
ing procedure for displaying the voice command
list (available only in Alternate Command Mode) .
Press the
Page 326 of 489
Only manual controls such as the touchscreen
can navigate the command list menu.
As an alternative to the voice command “Help”,
you may access the command list using the fol-
lowing steps:1. Press the INFO button on the instrument
panel.
2. Highlight the “Others” key using the NISSAN controller and press the ENTER
button.
3. Highlight the “Voice Recognition” key using the NISSAN controller and press the ENTER
button. NOTE:
You can skip steps 1 to 3 if you say “Help”.
4. Highlight the “Command List” key using the NISSAN controller and press the ENTER
button.
WHA1126
Page 327 of 489
5. Highlight a category using the NISSAN con-troller and press the ENTER button. The
command list for the category selected is
shown.
6. If necessary, scroll the screen using the NISSAN controller to view the entire list.
7. Press the BACK button to return to the previous screen.
WHA1126
Page 331 of 489
Displaying user guide
You can confirm how to use voice commands by
accessing a simplified User Guide, which con-
tains basic instructions and tutorials for several
voice commands.1. Press the INFO button on the instrument panel.
2. Highlight the “Others” key using the NISSAN controller and press the ENTER
button.
3. Highlight the “Voice Recognition” key using the NISSAN controller and press the ENTER
button. 4. Highlight the “User Guide” key using the
NISSAN controller and press the ENTER
button.
5. Highlight an item using the NISSAN control-ler and press the ENTER button.
Available items: ● Getting Started
Describes the basics of how to operate the
Voice Recognition system.
● Using the Address Book
Tutorial for using the Address Book.
● Finding a Street Address
Tutorial for Finding a Street Address.
Page 334 of 489

Say, “six two zero zero”. Using this method of
phone digit entry can improve recognition perfor-
mance.
NOTE:
When speaking a house number, speak the
number “0” as “zero” or “oh”. If the letter
“O” is included in the house number, it will
not be recognized as “0” even if you speak
“oh” instead of “zero”.
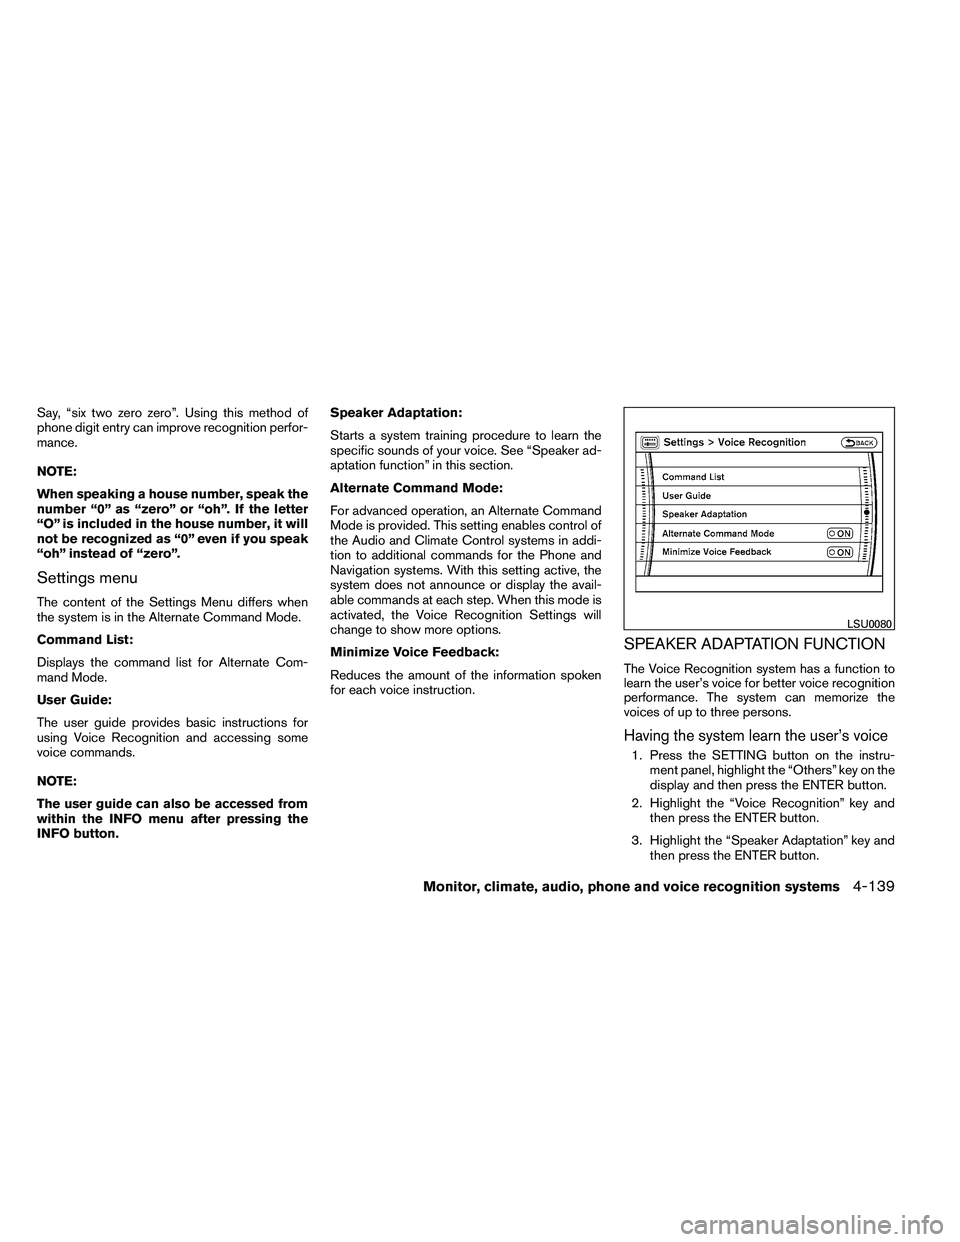
Settings menu
The content of the Settings Menu differs when
the system is in the Alternate Command Mode.
Command List:
Displays the command list for Alternate Com-
mand Mode.
User Guide:
The user guide provides basic instructions for
using Voice Recognition and accessing some
voice commands.
NOTE:
The user guide can also be accessed from
within the INFO menu after pressing the
INFO button.Speaker Adaptation:
Starts a system training procedure to learn the
specific sounds of your voice. See “Speaker ad-
aptation function” in this section.
Alternate Command Mode:
For advanced operation, an Alternate Command
Mode is provided. This setting enables control of
the Audio and Climate Control systems in addi-
tion to additional commands for the Phone and
Navigation systems. With this setting active, the
system does not announce or display the avail-
able commands at each step. When this mode is
activated, the Voice Recognition Settings will
change to show more options.
Minimize Voice Feedback:
Reduces the amount of the information spoken
for each voice instruction.
SPEAKER ADAPTATION FUNCTION
The Voice Recognition system has a function to
learn the user’s voice for better voice recognition
performance. The system can memorize the
voices of up to three persons.
Having the system learn the user’s voice
1. Press the SETTING button on the instru-
ment panel, highlight the “Others” key on the
display and then press the ENTER button.
2. Highlight the “Voice Recognition” key and then press the ENTER button.
3. Highlight the “Speaker Adaptation” key and then press the ENTER button.
Page 341 of 489

even if under-inflation has not reached the level to
trigger illumination of the TPMS low tire pressure
telltale.
Your vehicle has also been equipped with a
TPMS malfunction indicator to indicate when the
system is not operating properly. The TPMS mal-
function indicator is combined with the low tire
pressure telltale. When the system detects a
malfunction, the telltale will flash for approxi-
mately one minute and then remain continuously
illuminated. This sequence will continue upon
subsequent vehicle start-ups as long as the mal-
function exists. When the malfunction indicator is
illuminated, the system may not be able to detect
or signal low tire pressure as intended. TPMS
malfunctions may occur for a variety of reasons,
including the installation of replacement or alter-
nate tires or wheels on the vehicle that prevent
the TPMS from functioning properly. Always
check the TPMS malfunction telltale after replac-
ing one or more tires or wheels on your vehicle to
ensure that the replacement or alternate tires and
wheels allow the TPMS to continue to function
properly.
Additional information:● The TPMS does not monitor the tire
pressure of the spare tire. ●
The TPMS will activate only when the vehicle
is driven at speeds above 16 MPH (25
km/h) . Also, this system may not detect a
sudden drop in tire pressure (for example a
flat tire while driving) .
● The low tire pressure warning light does not
automatically turn off when the tire pressure
is adjusted in all 4 tires. After the tire is
inflated to the recommended pressure, the
vehicle must be driven at speeds above 16
MPH (25 km/h) to activate the TPMS and
turn off the low tire pressure warning light.
Use a tire pressure gauge to check the tire
pressure.
● The CHECK TIRE PRESSURE warning ap-
pears in the vehicle information display when
the low tire pressure warning light is illumi-
nated and low tire pressure is detected. The
CHECK TIRE PRESSURE warning turns off
when the low tire pressure warning light
turns off.
● The CHECK TIRE PRESSURE warning
does not appear if the low tire pressure
warning light illuminates to indicate a TPMS
malfunction. ●
Tire pressure rises and falls depending on
the heat caused by the vehicle’s operation
and the outside temperature. Low outside
temperature can lower the temperature of
the air inside the tire which can cause a
lower tire inflation pressure. This may cause
the low tire pressure warning light to illumi-
nate. If the warning light illuminates in low
ambient temperature, check the tire pres-
sure for all 4 tires.
● The Tire and Loading Information label (also
referred to as the vehicle placard or tire
inflation pressure label) is located in the
driver’s door opening.
● You can also check the pressure of all tires
(except the spare tire) on the display screen.
The order of the tire pressure figures dis-
played on the screen does not correspond
with the actual order of the tire position. See
“Tire pressure information” in the “Monitor,
climate, audio, phone, and voice recognition
systems” section.
For additional information, see “Low tire pressure
warning light” in the “Instruments and controls”
section, “Tire Pressure Monitoring System
(TPMS)” in the “In case of emergency” section.
5-4Starting and driving