Page 235 of 446
RDM button:
When the RDM button is pressed while an audio
file on the USB device is playing, the play pattern
can be changed as follows:
ALL RDM→1 FOLDER RDM →OFF
ALL RDM: all tracks on the USB device will be
played randomly.
1 FOLDER RDM: all tracks in the current folder
will be played randomly.
OFF: No random play pattern is applied. The
indicator on the display will turn off.
The current play pattern of the USB device is
displayed on the screen unless no pattern is
applied.
RPT button:
When the RPT button is pressed while an audio
file on the USB device is playing, the play pattern
can be changed as follows:
1 FOLDER RPT →1 TRACK RPT →OFF
1 TRACK RPT: the current track will be repeated.
1 FOLDER RPT: the current folder will be re-
peated.
OFF: No repeat play pattern is applied. The indi-
cator on the display will turn off. The current play pattern of the USB device is
displayed on the screen unless no pattern is
applied.
TUNE/SCROLL knob:
If there are multiple folders with audio files on the
USB device, turn the TUNE/SCROLL knob to
change folders. Turn the knob to the left to skip
back a folder. Turn the knob to the right to skip
ahead a folder. If there is only one folder of audio
files on the USB device, turning the
TUNE/SCROLL knob in either direction will re-
turn to the first track on the USB device.
USB INTERFACE (models with
Navigation System)
Connecting a device to the USB input
jack
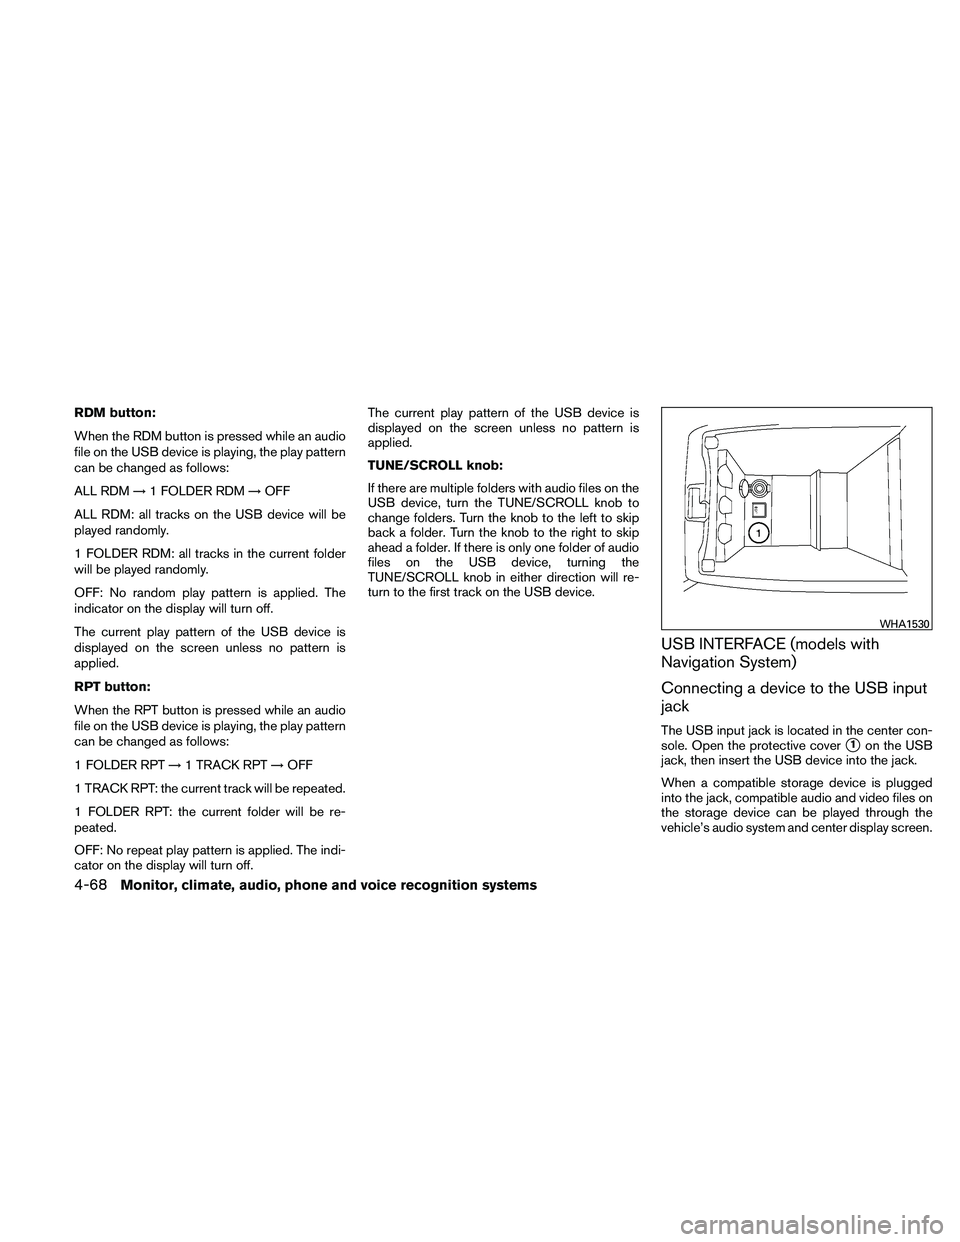
The USB input jack is located in the center con-
sole. Open the protective cover
�1on the USB
jack, then insert the USB device into the jack.
When a compatible storage device is plugged
into the jack, compatible audio and video files on
the storage device can be played through the
vehicle’s audio system and center display screen.
Page 239 of 446
●10 Key Search
Select the “10 Key Search” key to open the
number entry screen. Input the number you
want to search for and the specified file or
folder will be played.
● Display
Adjust the image quality of the screen.
● DRC
DRC (Dynamic Range Compression) auto-
matically adjusts the soundtrack volume
level to maintain a more even sound to the
speakers.
● Audio
Choose the preferred language of the audio.
● Subtitle
Choose the preferred language of the sub-
titles.
● Display Mode
Choose between the “Normal”, “Wide”,
“Cinema” or “Full” display modes.
iPod�* PLAYER OPERATION
WITHOUT NAVIGATION SYSTEM (if
so equipped)
Connecting iPod�
To connect an iPod� to the vehicle so that the
iPod� can be controlled with the audio system
controls and display screen, use the USB jack
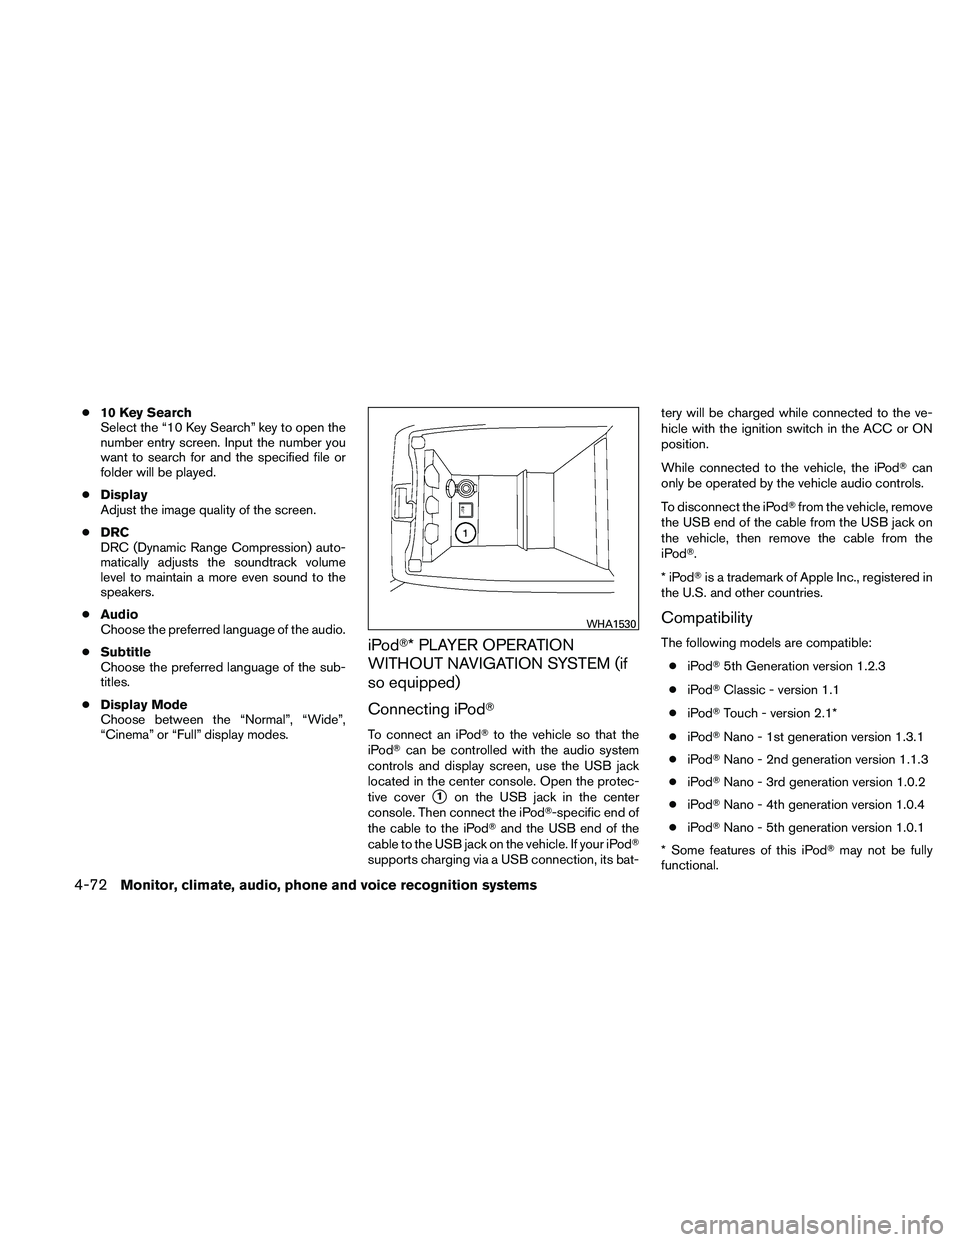
located in the center console. Open the protec-
tive cover
�1on the USB jack in the center
console. Then connect the iPod�-specific end of
the cable to the iPod� and the USB end of the
cable to the USB jack on the vehicle. If your iPod�
supports charging via a USB connection, its bat- tery will be charged while connected to the ve-
hicle with the ignition switch in the ACC or ON
position.
While connected to the vehicle, the iPod�
can
only be operated by the vehicle audio controls.
To disconnect the iPod� from the vehicle, remove
the USB end of the cable from the USB jack on
the vehicle, then remove the cable from the
iPod�.
*iPod �is a trademark of Apple Inc., registered in
the U.S. and other countries.
Compatibility
The following models are compatible:
● iPod� 5th Generation version 1.2.3
● iPod� Classic - version 1.1
● iPod� Touch - version 2.1*
● iPod� Nano - 1st generation version 1.3.1
● iPod� Nano - 2nd generation version 1.1.3
● iPod� Nano - 3rd generation version 1.0.2
● iPod� Nano - 4th generation version 1.0.4
● iPod� Nano - 5th generation version 1.0.1
* Some features of this iPod� may not be fully
functional.
Page 241 of 446
iPod�* PLAYER OPERATION WITH
NAVIGATION SYSTEM (if so
equipped)
Connecting iPod�
To connect an iPod�to the vehicle so that the
iPod� can be controlled with the audio system
controls and display screen, use the USB jack
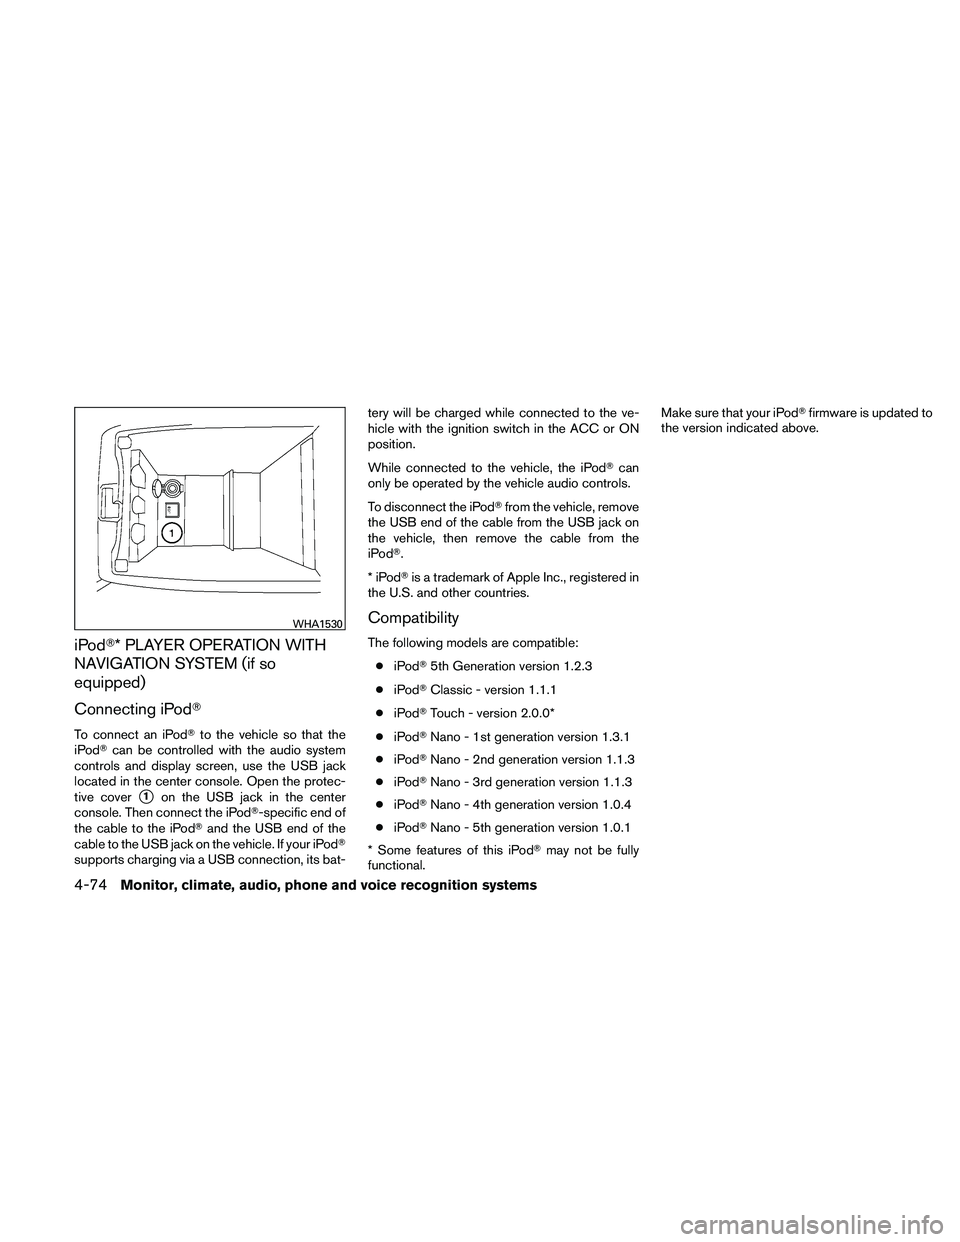
located in the center console. Open the protec-
tive cover
�1on the USB jack in the center
console. Then connect the iPod�-specific end of
the cable to the iPod� and the USB end of the
cable to the USB jack on the vehicle. If your iPod�
supports charging via a USB connection, its bat- tery will be charged while connected to the ve-
hicle with the ignition switch in the ACC or ON
position.
While connected to the vehicle, the iPod�
can
only be operated by the vehicle audio controls.
To disconnect the iPod� from the vehicle, remove
the USB end of the cable from the USB jack on
the vehicle, then remove the cable from the
iPod�.
*iPod �is a trademark of Apple Inc., registered in
the U.S. and other countries.
Compatibility
The following models are compatible:
● iPod� 5th Generation version 1.2.3
● iPod� Classic - version 1.1.1
● iPod� Touch - version 2.0.0*
● iPod� Nano - 1st generation version 1.3.1
● iPod� Nano - 2nd generation version 1.1.3
● iPod� Nano - 3rd generation version 1.1.3
● iPod� Nano - 4th generation version 1.0.4
● iPod� Nano - 5th generation version 1.0.1
* Some features of this iPod� may not be fully
functional. Make sure that your iPod�
firmware is updated to
the version indicated above.
Page 285 of 446
To improve the recognition success rate when
Alternate Command Mode is active, try using the
Speaker Adaptation Function available in that
mode. See “Speaker Adaptation Function” in this
section. Otherwise, it is recommended that Alter-
nate Command Mode be turned off and Standard
Mode be used for the best recognition perfor-
mance.
While using the NISSAN Voice Recognition sys-
tem for certain Phone and Navigation features,
you can switch to using manual controls (touch-
screen, steering wheel controls) and the informa-
tion you have already entered by voice control will
be retained. To switch to manual controls, select
the “Manual Controls” key on the display when it
appears. The system will respond by speaking
“Changing to manual operation. Please use
manual controls to continue.”
For the voice commands for the navigation sys-
tem, refer to the Navigation System Owner’s
Manual of your vehicle.
For vehicles in the U.S., the factory default setting
is the Standard Mode. See “NISSAN Voice Rec-
ognition Standard Mode” in this section. For ve-
hicles in Canada, the factory default setting is the
Alternate Command Mode. See “NISSAN Voice
Recognition Alternate Command Mode” in this
section.NISSAN VOICE RECOGNITION
STANDARD MODE
The Standard Mode enables control of naviga-
tion, phone and vehicle information. With this
setting active, commands that are available are
always shown on the display and announced by
the system.
Displaying user guide
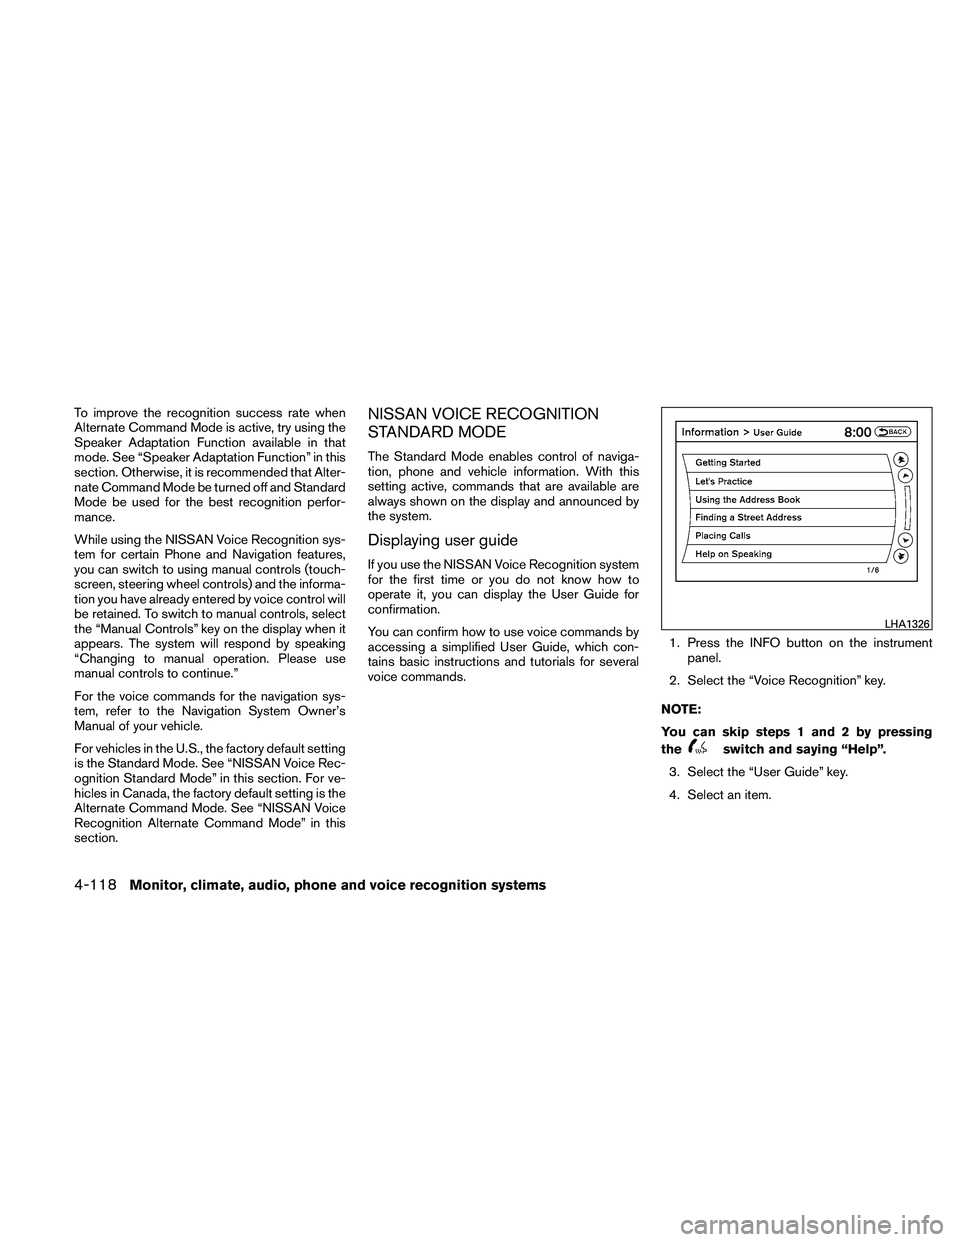
If you use the NISSAN Voice Recognition system
for the first time or you do not know how to
operate it, you can display the User Guide for
confirmation.
You can confirm how to use voice commands by
accessing a simplified User Guide, which con-
tains basic instructions and tutorials for several
voice commands.1. Press the INFO button on the instrument
panel.
2. Select the “Voice Recognition” key.
NOTE:
You can skip steps 1 and 2 by pressing
the
Page 289 of 446
2. A list of commands appears on the screen,and the system announces, “Would you like
to access Phone, Navigation, Information,
Audio or Help?”
3. After the tone sounds and the icon on the
screen changes from
Page 292 of 446
Voice command examples
Some basic voice command examples are de-
scribed here.
For navigation system commands, see the sepa-
rate Navigation System Owner’s Manual.Example 1 — Placing a call to the phone
number 800-662-6200:1. Press the
Page 296 of 446
5. Say “011811112223333”.6. Say “Dial”.
7. The system makes a call to 011-81-111- 222-3333.
NOTE:
Any digit input format is available in the
International Number input process, as
well as the special characters such as star
(*) , pound (#) , and plus (+) .
NISSAN VOICE RECOGNITION
ALTERNATE COMMAND MODE
The Alternate Command Mode enables control
of the Audio, Climate Control and Display sys-
tems as well as additional commands for the
Vehicle Information, Phone and Navigation sys-
tems. With this setting active, the system does
not announce or display the available commands
at each step.
When Alternate Command Mode is activated, an
expanded list of commands can be used after
pushing the TALK
Page 305 of 446
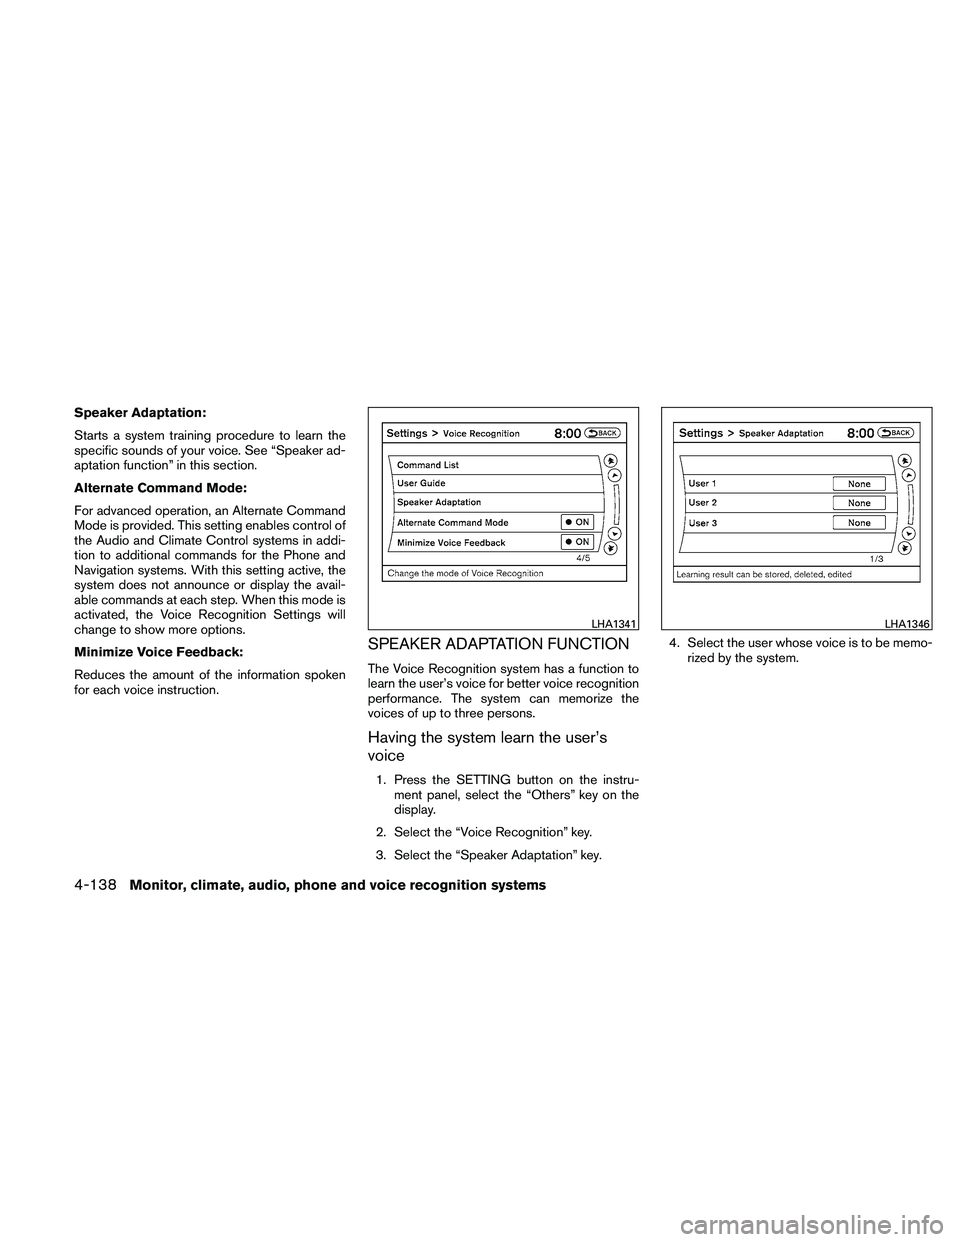
Speaker Adaptation:
Starts a system training procedure to learn the
specific sounds of your voice. See “Speaker ad-
aptation function” in this section.
Alternate Command Mode:
For advanced operation, an Alternate Command
Mode is provided. This setting enables control of
the Audio and Climate Control systems in addi-
tion to additional commands for the Phone and
Navigation systems. With this setting active, the
system does not announce or display the avail-
able commands at each step. When this mode is
activated, the Voice Recognition Settings will
change to show more options.
Minimize Voice Feedback:
Reduces the amount of the information spoken
for each voice instruction.
SPEAKER ADAPTATION FUNCTION
The Voice Recognition system has a function to
learn the user’s voice for better voice recognition
performance. The system can memorize the
voices of up to three persons.
Having the system learn the user’s
voice
1. Press the SETTING button on the instru-ment panel, select the “Others” key on the
display.
2. Select the “Voice Recognition” key.
3. Select the “Speaker Adaptation” key. 4. Select the user whose voice is to be memo-
rized by the system.