Page 173 of 446
Weather Info
Refer to the separate Navigation System Own-
er’s Manual for information regarding this item.
Map Update
Refer to the separate Navigation System Own-
er’s Manual for information regarding this item.
Navigation Version
Refer to the separate Navigation System Own-
er’s Manual for information regarding this item.
GPS Position
For GPS Position, refer to the separate Naviga-
tion System Owner’s Manual.
Voice Recognition settings
For Voice Recognition settings, refer to “NISSAN
Voice Recognition system” in this section.
HOW TO USE THE SETTING
BUTTON
When the SETTING button is pressed, the Set-
tings screen will appear on the display. You can
select and/or adjust several functions, features
and modes that are available for your vehicle.
Page 174 of 446

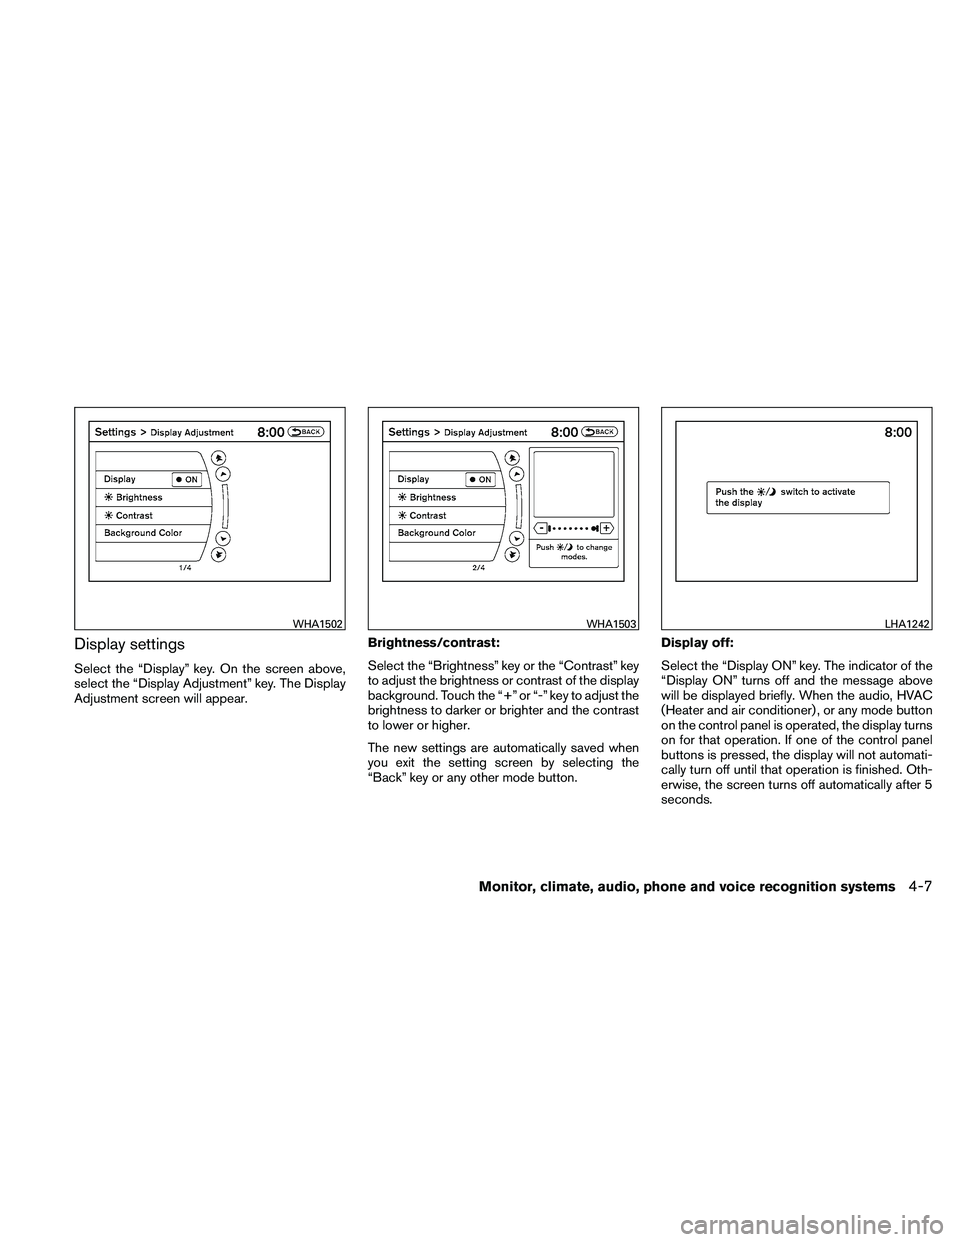
Display settings
Select the “Display” key. On the screen above,
select the “Display Adjustment” key. The Display
Adjustment screen will appear.Brightness/contrast:
Select the “Brightness” key or the “Contrast” key
to adjust the brightness or contrast of the display
background. Touch the “+” or “-” key to adjust the
brightness to darker or brighter and the contrast
to lower or higher.
The new settings are automatically saved when
you exit the setting screen by selecting the
“Back” key or any other mode button.Display off:
Select the “Display ON” key. The indicator of the
“Display ON” turns off and the message above
will be displayed briefly. When the audio, HVAC
(Heater and air conditioner) , or any mode button
on the control panel is operated, the display turns
on for that operation. If one of the control panel
buttons is pressed, the display will not automati-
cally turn off until that operation is finished. Oth-
erwise, the screen turns off automatically after 5
seconds.
Page 175 of 446
To turn the screen on:● Press the SETTING button and select the
“Display” key and then select the “Display
ON” key, or
● Press the
Page 176 of 446
Clock Format (24h):
When this item is enabled (indicator light illumi-
nated) , the clock format will change from the
default 12-hour display to a 24-hour display.
Offset (hour):
Adjust the time by increasing or decreasing the
hours.
Offset (minute):
Adjust the time by increasing or decreasing the
minutes.
Daylight Savings Time:
When this item is enabled (indicator light illumi-
nated) , daylight savings time is on. To turn off the
daylight savings time, touch the “ON” key; the
amber indicator light will go out.Time Zone:
Select the “Time Zone” key; the Time Zone
screen will appear.
Select one of the following zones, depending on
the current location, by selecting the correct time
zone key to enable that time zone (indicator light
will illuminate for that location) .
● Pacific
● Mountain
● Central
● Eastern
● Atlantic ●
Newfoundland
● Hawaii
● Alaska
After selection/settings, select the “Back” key or
any other mode button to accept the changes.
Page 177 of 446

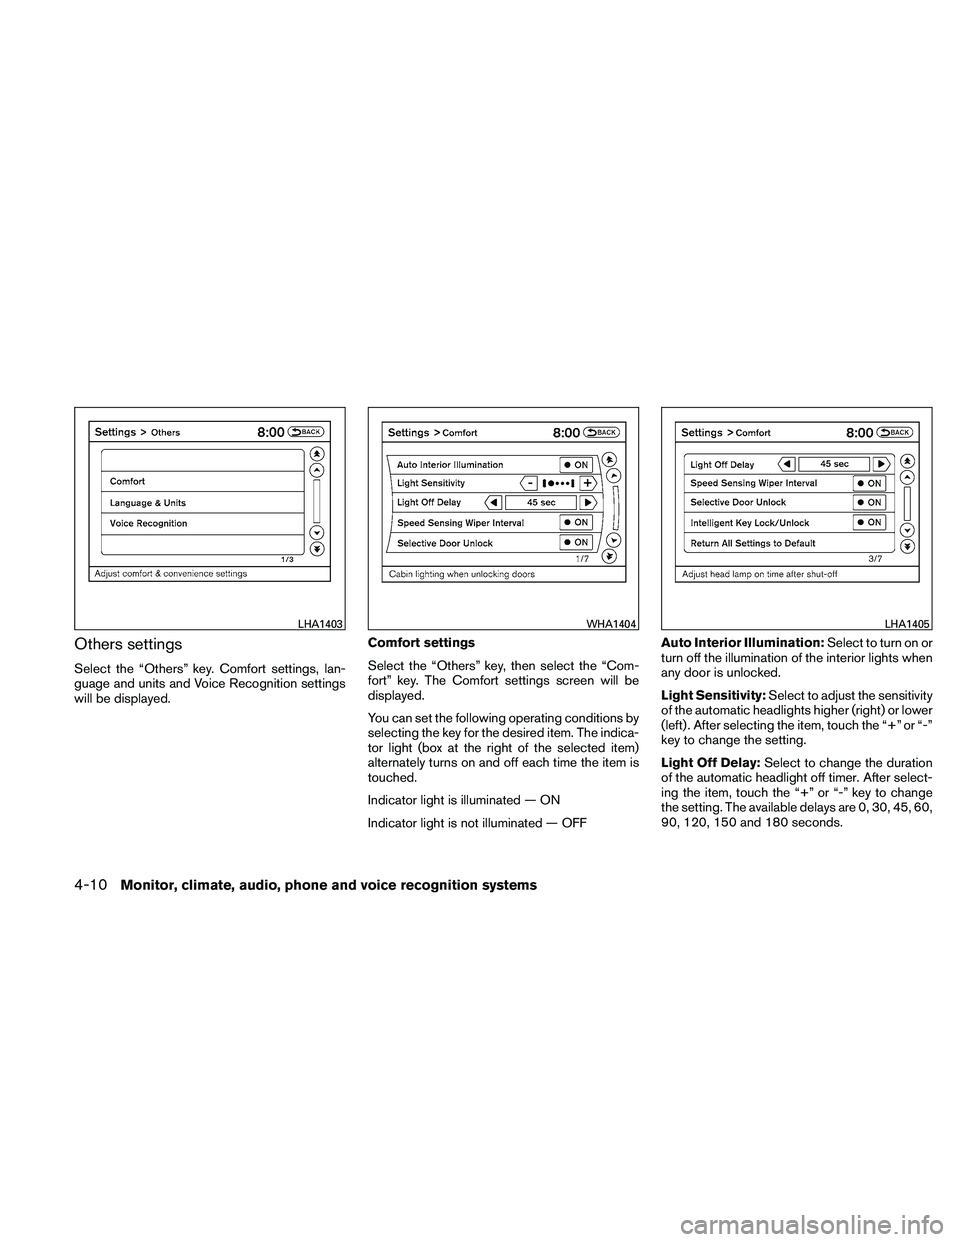
Others settings
Select the “Others” key. Comfort settings, lan-
guage and units and Voice Recognition settings
will be displayed.Comfort settings
Select the “Others” key, then select the “Com-
fort” key. The Comfort settings screen will be
displayed.
You can set the following operating conditions by
selecting the key for the desired item. The indica-
tor light (box at the right of the selected item)
alternately turns on and off each time the item is
touched.
Indicator light is illuminated — ON
Indicator light is not illuminated — OFFAuto Interior Illumination:
Select to turn on or
turn off the illumination of the interior lights when
any door is unlocked.
Light Sensitivity: Select to adjust the sensitivity
of the automatic headlights higher (right) or lower
(left) . After selecting the item, touch the “+” or “-”
key to change the setting.
Light Off Delay: Select to change the duration
of the automatic headlight off timer. After select-
ing the item, touch the “+” or “-” key to change
the setting. The available delays are 0, 30, 45, 60,
90, 120, 150 and 180 seconds.
Page 178 of 446

Speed Sensing Wiper Interval:Select to turn
on or turn off the wiper interval adjusted automati-
cally according to the vehicle speed.
Selective Door Unlock: When this item is
turned on, only the driver’s door is unlocked first
after the door unlock operation. When the door
handle request switch on the driver’s or front
passenger’s side door is pushed to be unlocked,
only the corresponding door is unlocked first. All
the doors can be unlocked if the door unlock
operation is performed again within one minute.
When this item is turned to off, all the doors will
be unlocked after the door unlock operation is
performed once.
Intelligent Key Lock / Unlock: Select to turn
on or turn off the door lock/unlock function by
pushing the door handle request switch.
Return All Settings to Default: Select to
change all the comfort and convenience systems
to their default settings. Language & Units:
Select the “Language & Units” key. Select the key
of the setting you wish to change.
Select Language:
Select the “English” key or the “Français” key to
change the language shown on the display.
If you select the “Français” key, French language
will be displayed, so please use the French Own-
er’s Manual. To obtain a French Owner’s Manual,
please see “Owner’s Manual/Service Manual Or-
der Information” in the “Technical and consumer
information” section.
Page 179 of 446

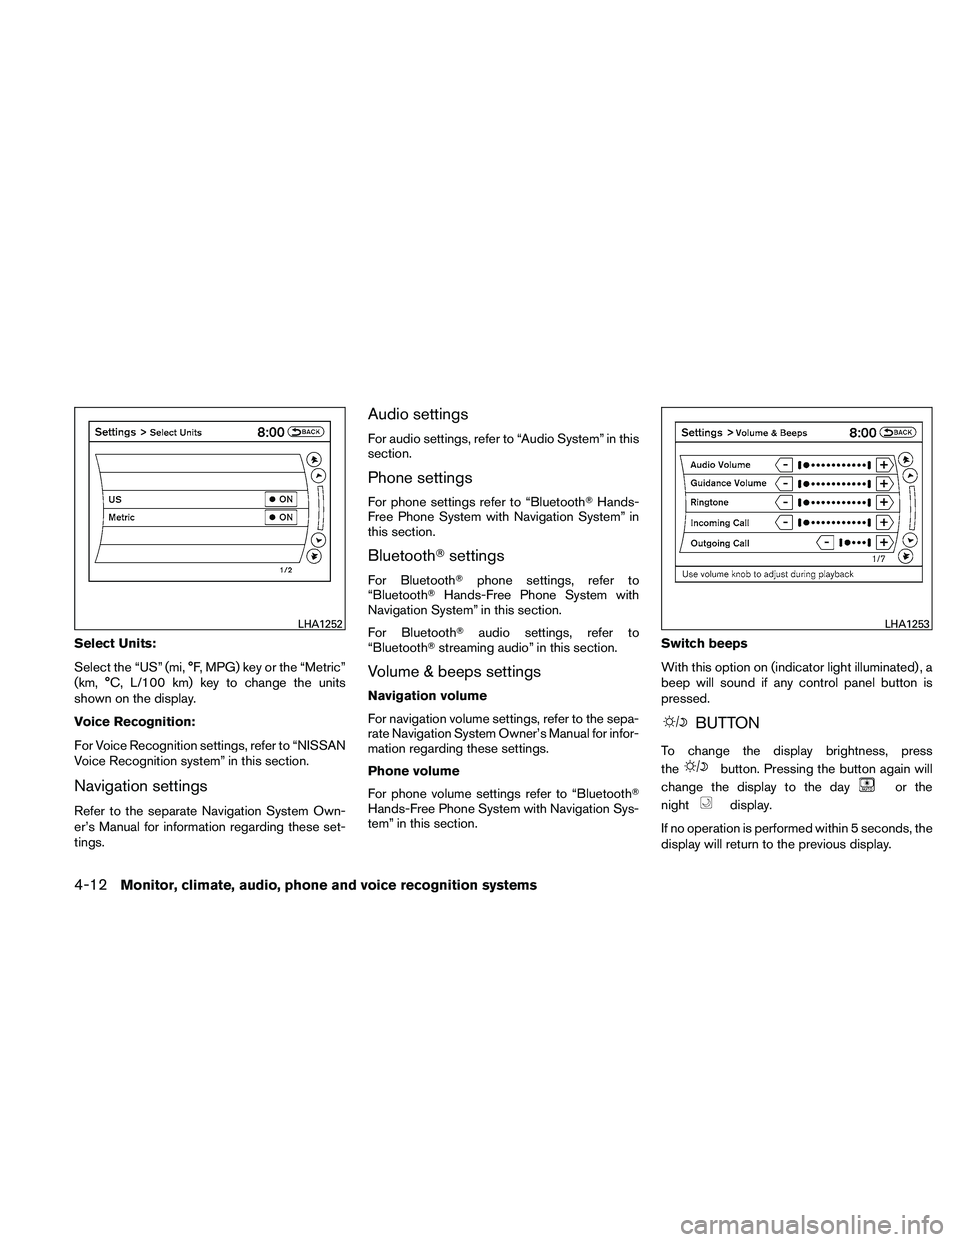
Select Units:
Select the “US” (mi, °F, MPG) key or the “Metric”
(km, °C, L/100 km) key to change the units
shown on the display.
Voice Recognition:
For Voice Recognition settings, refer to “NISSAN
Voice Recognition system” in this section.
Navigation settings
Refer to the separate Navigation System Own-
er’s Manual for information regarding these set-
tings.
Audio settings
For audio settings, refer to “Audio System” in this
section.
Phone settings
For phone settings refer to “Bluetooth�Hands-
Free Phone System with Navigation System” in
this section.
Bluetooth� settings
For Bluetooth� phone settings, refer to
“Bluetooth� Hands-Free Phone System with
Navigation System” in this section.
For Bluetooth� audio settings, refer to
“Bluetooth� streaming audio” in this section.
Volume & beeps settings
Navigation volume
For navigation volume settings, refer to the sepa-
rate Navigation System Owner’s Manual for infor-
mation regarding these settings.
Phone volume
For phone volume settings refer to “Bluetooth�
Hands-Free Phone System with Navigation Sys-
tem” in this section. Switch beeps
With this option on (indicator light illuminated) , a
beep will sound if any control panel button is
pressed.
Page 181 of 446
They are indicated as reference distances to
objects. The lines and colors in the display indi-
cate distances from the back bumper line
�Ain
the illustration.
�11.5 ft (0.5 m) red
�23 ft (1 m) yellow
�37 ft (2 m) green
�410 ft (3 m) green
The vehicle clearance lines are wider than
the actual clearance.
DIFFERENCE BETWEEN
PREDICTED AND ACTUAL
DISTANCES
The distance guide line and the vehicle width
guide line should be used as a reference only
when the vehicle is on a level, paved surface. The
distance viewed on the monitor is for reference
only and may be different than the actual distance
between the vehicle and displayed objects.