Page 252 of 446
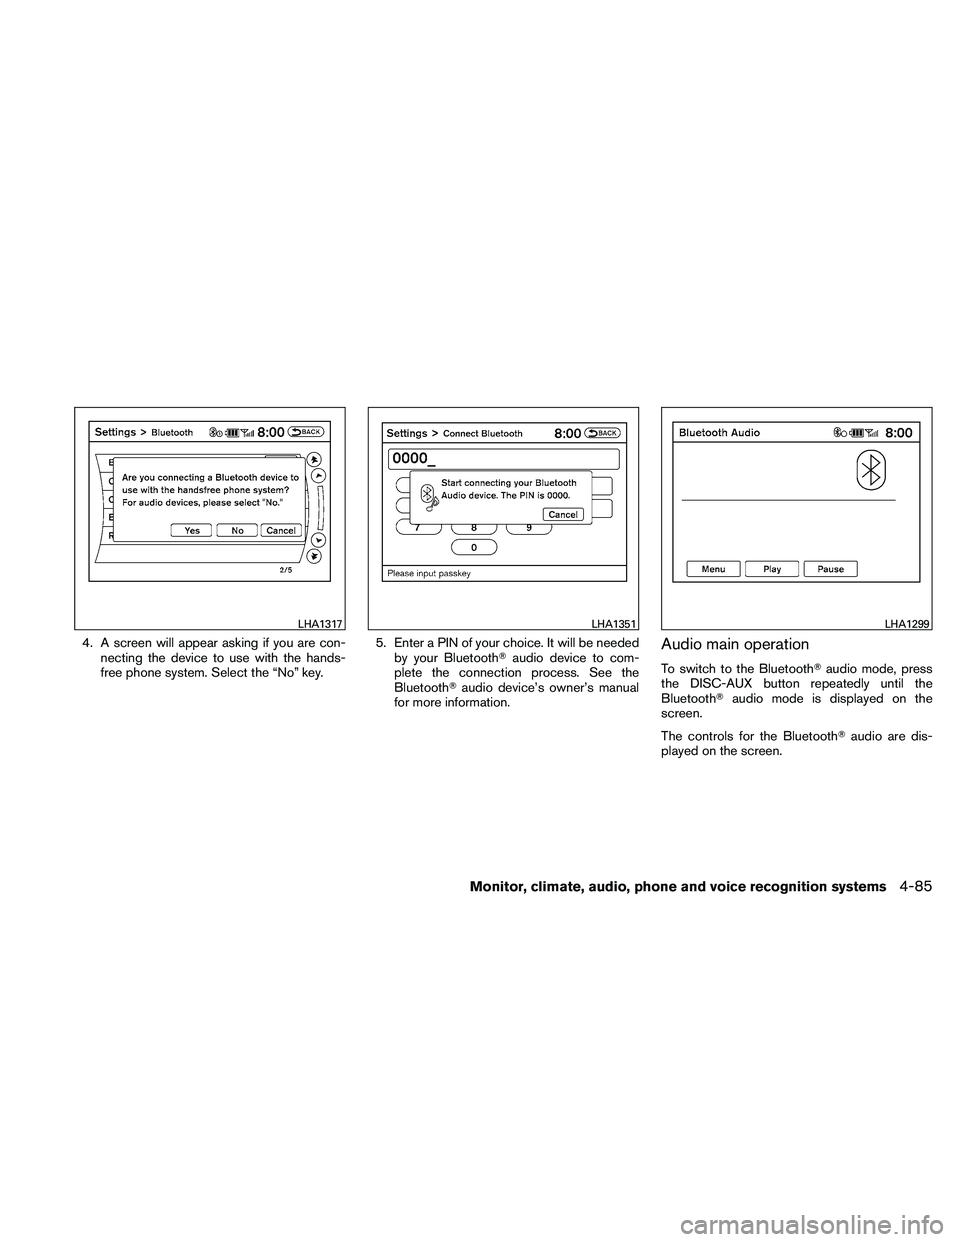
4. A screen will appear asking if you are con-necting the device to use with the hands-
free phone system. Select the “No” key. 5. Enter a PIN of your choice. It will be needed
by your Bluetooth� audio device to com-
plete the connection process. See the
Bluetooth� audio device’s owner’s manual
for more information.Audio main operation
To switch to the Bluetooth� audio mode, press
the DISC-AUX button repeatedly until the
Bluetooth� audio mode is displayed on the
screen.
The controls for the Bluetooth� audio are dis-
played on the screen.
Page 253 of 446
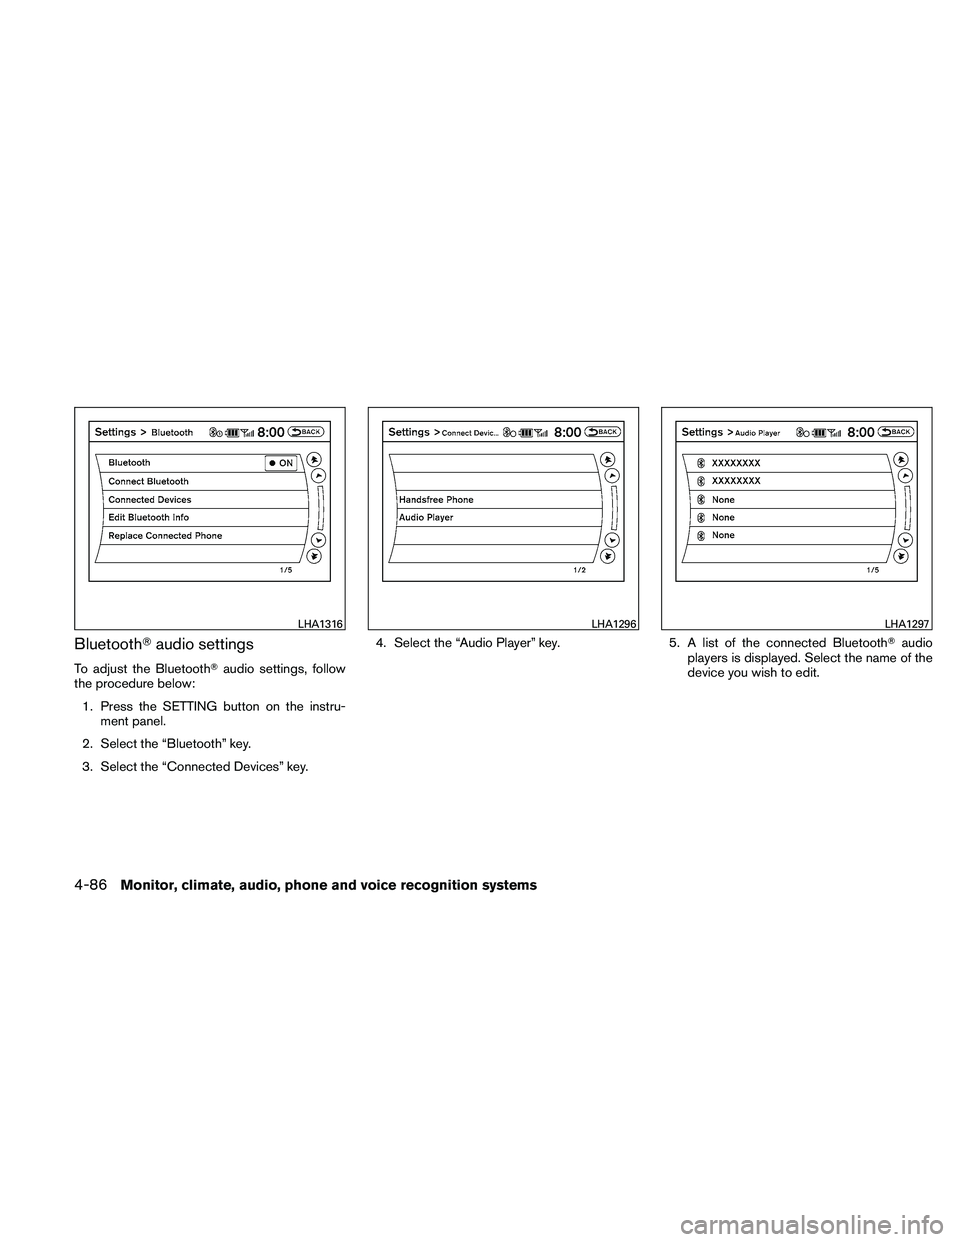
Bluetooth�audio settings
To adjust the Bluetooth� audio settings, follow
the procedure below:
1. Press the SETTING button on the instru- ment panel.
2. Select the “Bluetooth” key.
3. Select the “Connected Devices” key. 4. Select the “Audio Player” key.
5. A list of the connected Bluetooth�audio
players is displayed. Select the name of the
device you wish to edit.
Page 254 of 446
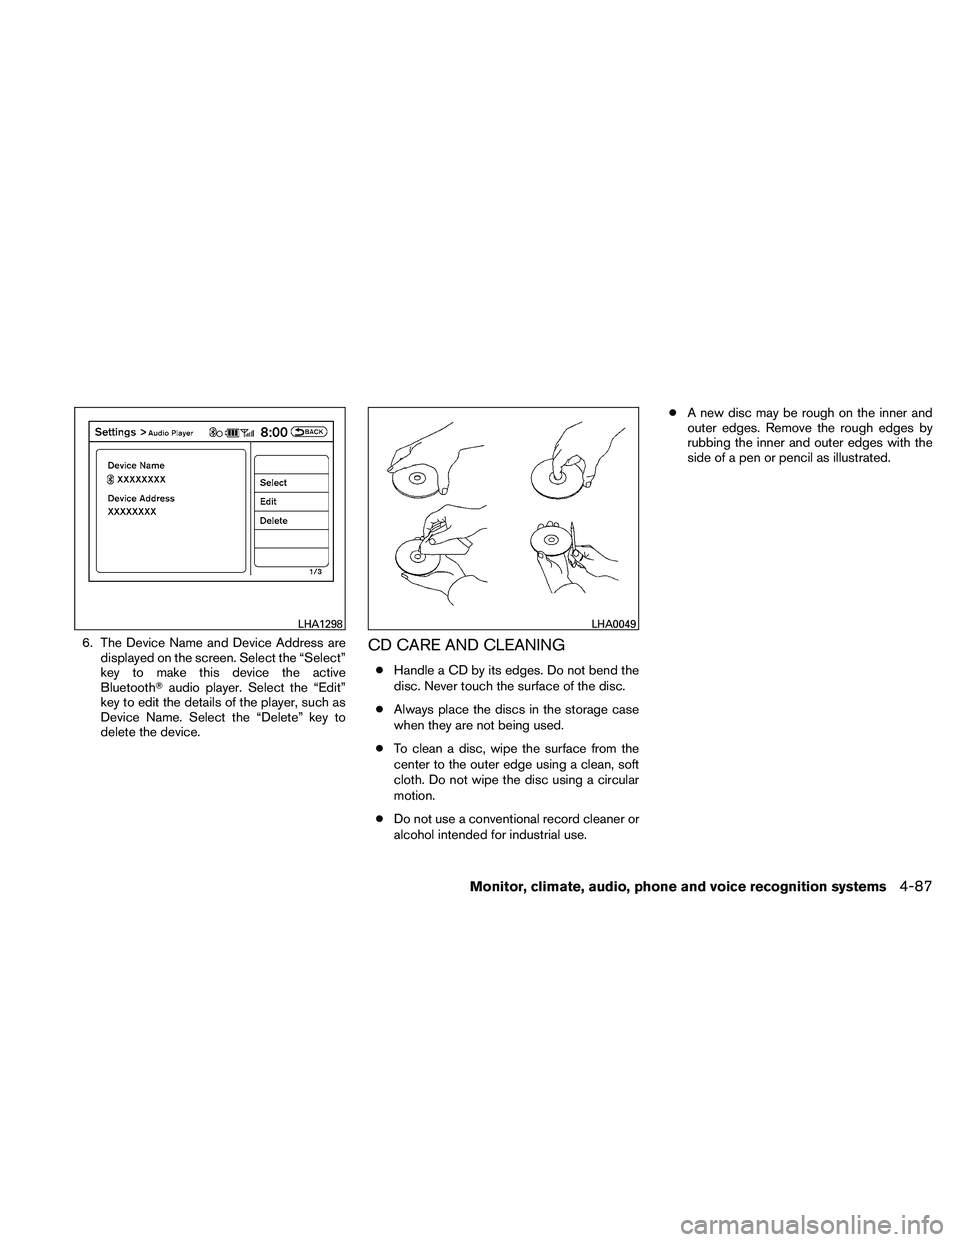
6. The Device Name and Device Address aredisplayed on the screen. Select the “Select”
key to make this device the active
Bluetooth� audio player. Select the “Edit”
key to edit the details of the player, such as
Device Name. Select the “Delete” key to
delete the device.CD CARE AND CLEANING
● Handle a CD by its edges. Do not bend the
disc. Never touch the surface of the disc.
● Always place the discs in the storage case
when they are not being used.
● To clean a disc, wipe the surface from the
center to the outer edge using a clean, soft
cloth. Do not wipe the disc using a circular
motion.
● Do not use a conventional record cleaner or
alcohol intended for industrial use. ●
A new disc may be rough on the inner and
outer edges. Remove the rough edges by
rubbing the inner and outer edges with the
side of a pen or pencil as illustrated.
Page 257 of 446
:● Tilt up/down for less than 1.5 seconds to
increase or decrease the preset station.
● Tilt up/down for more than 1.5 seconds to
go to the next or previous category.
● Press")
XM (if so equipped):● Tilt up/down for less than 1.5 seconds to
increase or decrease the preset station.
● Tilt up/down for more than 1.5 seconds to
go to the next or previous category.
● Press the ENTER button to show the XM
Menu.
iPod�: ● Tilt up/down for less than 1.5 seconds to
increase or decrease the track number.
● Press the ENTER button to show the iPod
Menu.
CD: ● Tilt up/down for less than 1.5 seconds to
increase or decrease the track number.
● Tilt up/down for more than 1.5 seconds to
increase or decrease the folder number (if
playing compressed audio files) .
● Press the ENTER button to show the CD
Menu.
DVD: ● Tilt up/down for less than 1.5 seconds to
increase or decrease the track number. ●
Tilt up/down for more than 1.5 seconds to
increase or decrease the title number.
● Press the ENTER button to select an item
from the DVD display.
● When the transparent operation menu ap-
pears, the switch will control the menu.
USB: ● Tilt up/down for less than 1.5 seconds to
increase or decrease the track number.
● Tilt up/down for more than 1.5 seconds to
increase or decrease the folder number.
● Press the ENTER button to show the USB
Menu.
Music Box: ● Tilt up/down for less than 1.5 seconds to
increase or decrease the track number.
● Tilt up/down for more than 1.5 seconds to
increase or decrease the album (folder)
number (if playing compressed audio files) .
● Press the ENTER button to show the Music
Box Menu.
Bluetooth� Audio:
● Tilt up/down for less than 1.5 seconds to
increase or decrease the track number. AUX:
● Press the ENTER button to show the AUX
Menu.
ANTENNA
Window antenna
The antenna pattern is printed inside the rear
window.
Page 259 of 446

Your NISSAN is equipped with the Bluetooth�
Hands-Free Phone System. If you have a com-
patible Bluetooth�enabled cellular phone, you
can set up the wireless connection between your
cellular phone and the in-vehicle phone module.
With Bluetooth� wireless technology, you can make or receive a hands-free telephone call with
your cellular phone in the vehicle.
Once your cellular phone is connected to the in-
vehicle phone module, no other phone connecting
procedure is required. Your phone is automatically
connected with the in-vehicle phone module when the ignition switch is placed in the ON position with
the previously connected cellular phone turned on
and carried in the vehicle.
You can connect up to 5 different Bluetooth
�
cellular phones to the in-vehicle phone module.
However, you can talk on only one cellular phone
at a time.
Before using the Bluetooth� Hands-Free Phone
System, refer to the following notes.
● Set up the wireless connection between a
compatible cellular phone and the in-vehicle
phone module before using the hands-free
phone system.
●
Some Bluetooth� enabled cellular phones may
not be recognized by the in-vehicle phone mod-
ule. Please visit www.nissanusa.com/bluetooth
for a recommended phone list and connecting
instructions.
● You will not be able to use a hands-free
phone under the following conditions:
– Your vehicle is outside of the cellular ser- vice area.
– Your vehicle is in an area where it is difficult to receive a cellular signal; such
as in a tunnel, in an underground parking
garage, near a tall building or in a moun-
tainous area.
Page 260 of 446

– Your cellular phone is locked to prevent itfrom being dialed.
● When the radio wave condition is not ideal
or ambient sound is too loud, it may be
difficult to hear the other person’s voice dur-
ing a call.
● Do not place the cellular phone in an area
surrounded by metal or far away from the
in-vehicle phone module to prevent tone
quality degradation and wireless connection
disruption.
● While a cellular phone is connected through
the Bluetooth� wireless connection, the bat-
tery power of the cellular phone may dis-
charge quicker than usual. The Bluetooth�
Hands-Free Phone System cannot charge
cellular phones.
● If the hands-free phone system seems to be
malfunctioning, see “Troubleshooting guide”
in this section. You can also visit
www.nissanusa.com/bluetooth for trouble-
shooting help.
● Some cellular phones or other devices may
cause interference or a buzzing noise to
come from the audio system speakers. Stor-
ing the device in a different location may
reduce or eliminate the noise. ●
Refer to the cellular phone Owner’s Manual
regarding the telephone charges, cellular
phone antenna and body, etc.
REGULATORY INFORMATION
FCC Regulatory information
– CAUTION: To maintain compliance with FCC’s RF exposure guidelines, use only the
supplied antenna. Unauthorized antenna,
modification, or attachments could damage
the transmitter and may violate FCC regula-
tions.
– Operation is subject to the following two con- ditions:
1. This device may not cause interference and
2. this device must accept any interference, including interference that may cause unde-
sired operation of the device.
IC Regulatory information
– Operation is subject to the following two con- ditions: (1) this device may not cause interfer-
ence, and (2) this device must accept any
interference, including interference that may
cause undesired operation of the device.
– This Class B digital apparatus meets all re- quirements of the Canadian Interference-
Causing Equipment Regulations.
Page 262 of 446

– NOT “One eight hundred six six two sixtytwo hundred,” and
– NOT “One eight oh oh six six two sixty two hundred”
● Numbers can be spoken in small groups.
The system will prompt you to continue en-
tering digits, if desired.
Example: 1-800-662-6200
– “One eight zero zero”
The system repeats the numbers and
prompts you to enter more.
– “six six two”
The system repeats the numbers and
prompts you to enter more.
– “six two zero zero”
● Say “pound” for “#”. Say “star” for “*” (avail-
able when using the “Special number” com-
mand and the “Send” command during a
call) .
See “List of voice commands” and “Special
number” in this section for more information.
Example: 1-555-1212 *123
– “One five five five one two one two star one two three” ●
Say “plus” for “+” (available only when using
the “Special Dialing” command) .
● Say “pause” for a 2-second pause (available
only when storing a phone book number) .
NOTE:
For best results, say phone numbers as
single digits.
The voice command “Help” is available at any
time. Please use the “Help” command to get
information on how to use the system.
CONTROL BUTTONS
The control buttons for the Bluetooth� Hands-
Free Phone System are located on the steering
wheel.
Page 264 of 446
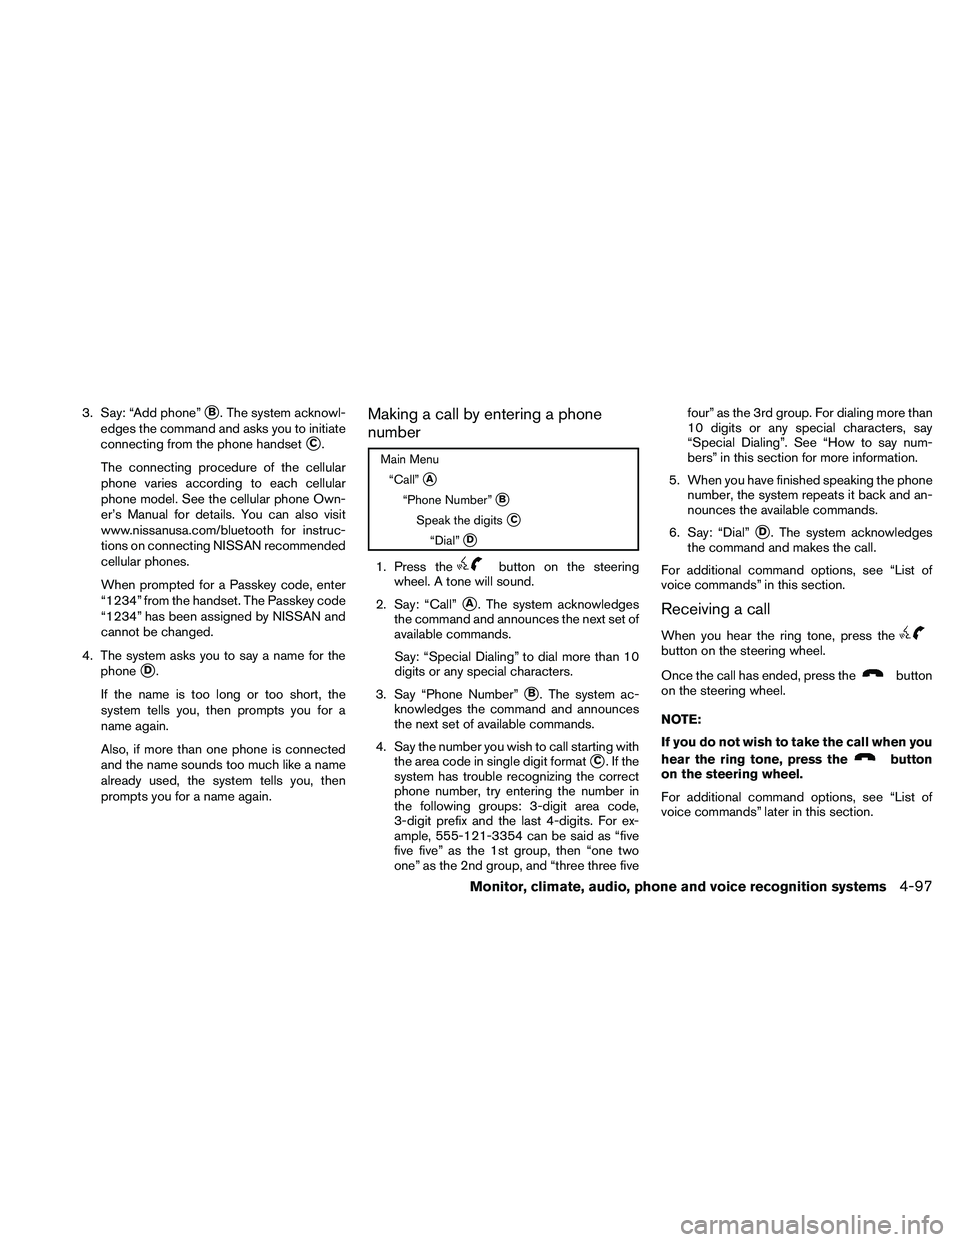
3. Say: “Add phone”�B. The system acknowl-
edges the command and asks you to initiate
connecting from the phone handset
�C.
The connecting procedure of the cellular
phone varies according to each cellular
phone model. See the cellular phone Own-
er’s Manual for details. You can also visit
www.nissanusa.com/bluetooth for instruc-
tions on connecting NISSAN recommended
cellular phones.
When prompted for a Passkey code, enter
“1234” from the handset. The Passkey code
“1234” has been assigned by NISSAN and
cannot be changed.
4. The system asks you to say a name for the phone
�D.
If the name is too long or too short, the
system tells you, then prompts you for a
name again.
Also, if more than one phone is connected
and the name sounds too much like a name
already used, the system tells you, then
prompts you for a name again.
Making a call by entering a phone
number