Page 5 of 16

3
LOOSE FUEL CAP
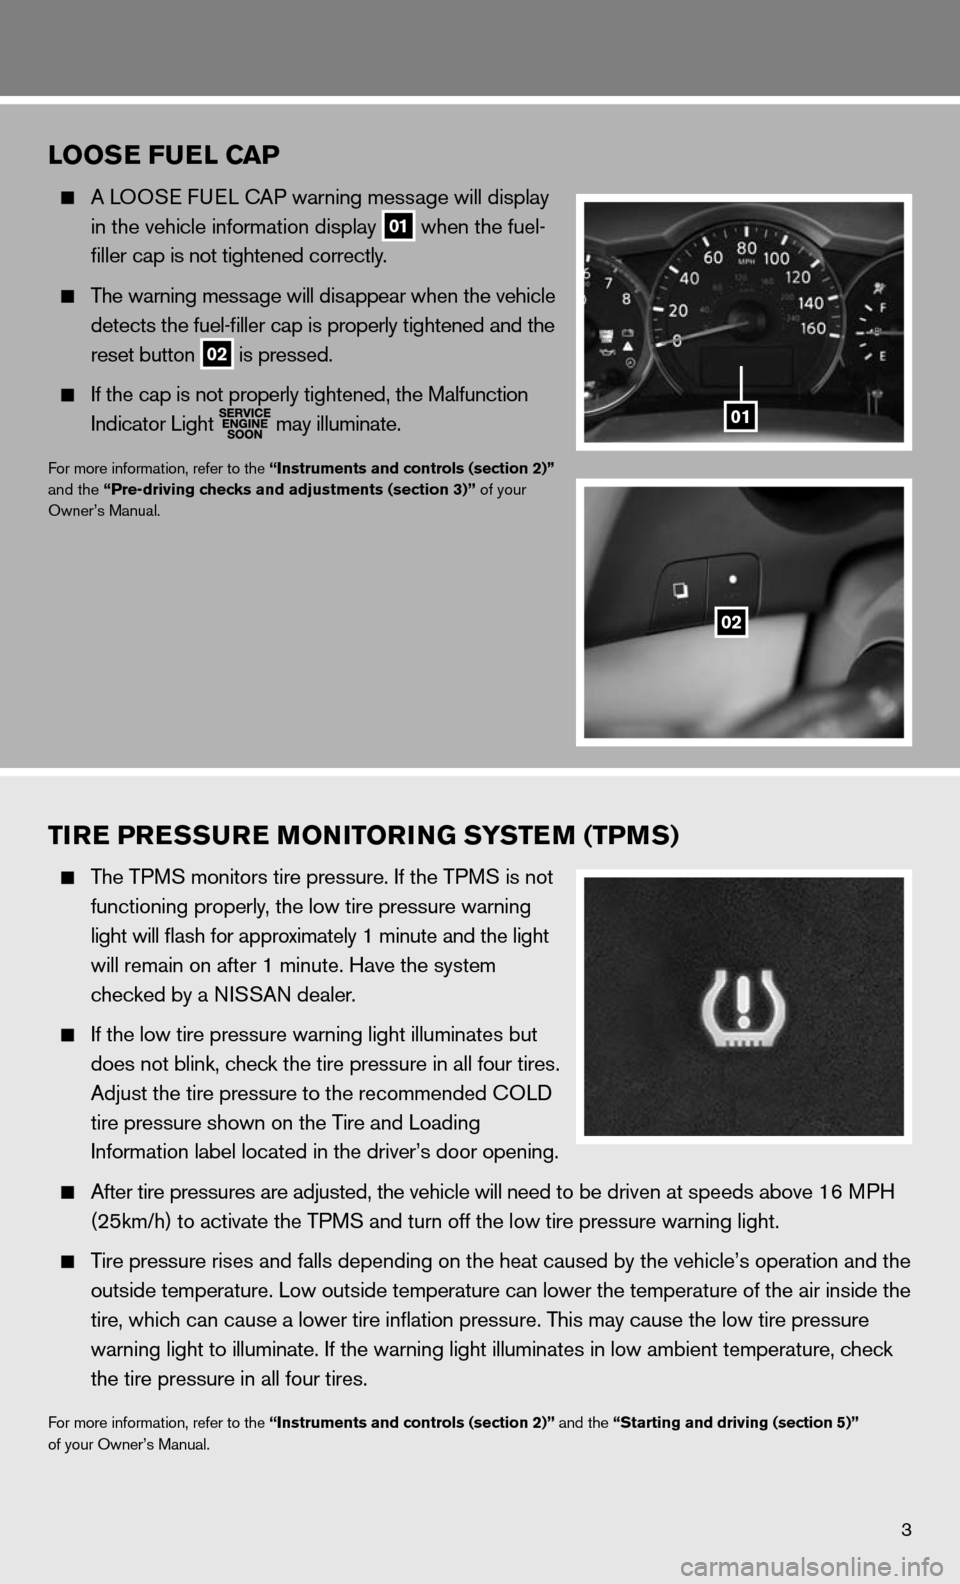
A L OOS e fueL cAP warning message will display
in the vehicle information display
01 when the fuel-
filler cap is not tightened correctly.
The warning message will disappear when the vehicle
detects the fuel-filler cap is properly tightened and the
reset button
02 is pressed.
if the cap is not properly tightened, the Malfunction
indicator Light
may illuminate.
f
or more information, refer to the “Instruments and controls (section 2)”
and the “Pre-driving checks and adjustments (section 3)” of your
Owner’s Manual.
01
TIRE PRESSURE MONITORING SYSTEM (TPMS)
The TPMS monitors tire pressure. if the TPMS is not
functioning properly, the low tire pressure warning
light will flash for approximately 1 minute and the light
will remain on after 1 minute. Have the system
checked by a ni SSAn dealer.
if the low tire pressure warning light illuminates but
does not blink, check the tire pressure in all four tires.
Adjust the tire pressure to the recommended cOL d
tire pressure shown on the Tire and Loading
information label located in the driver’s door opening.
After tire pressures are adjusted, the vehicle will need to be driven at speeds above 16 MPH
(25km/h) to activate the TPMS and turn off the low tire pressure warning light.
Tire pressure rises and falls depending on the heat caused by the vehicle\
’s operation and the
outside temperature. Low outside temperature can lower the temperature of the air inside the
tire, which can cause a lower tire inflation pressure. This may cause the low tire pressure
warning light to illuminate. if the warning light illuminates in low ambient temperature, check
the tire pressure in all four tires.
for more information, refer to the “Instruments and controls (section 2)” and the “Starting and driving (section 5)”
of your Owner’s Manual.
02
Page 9 of 16

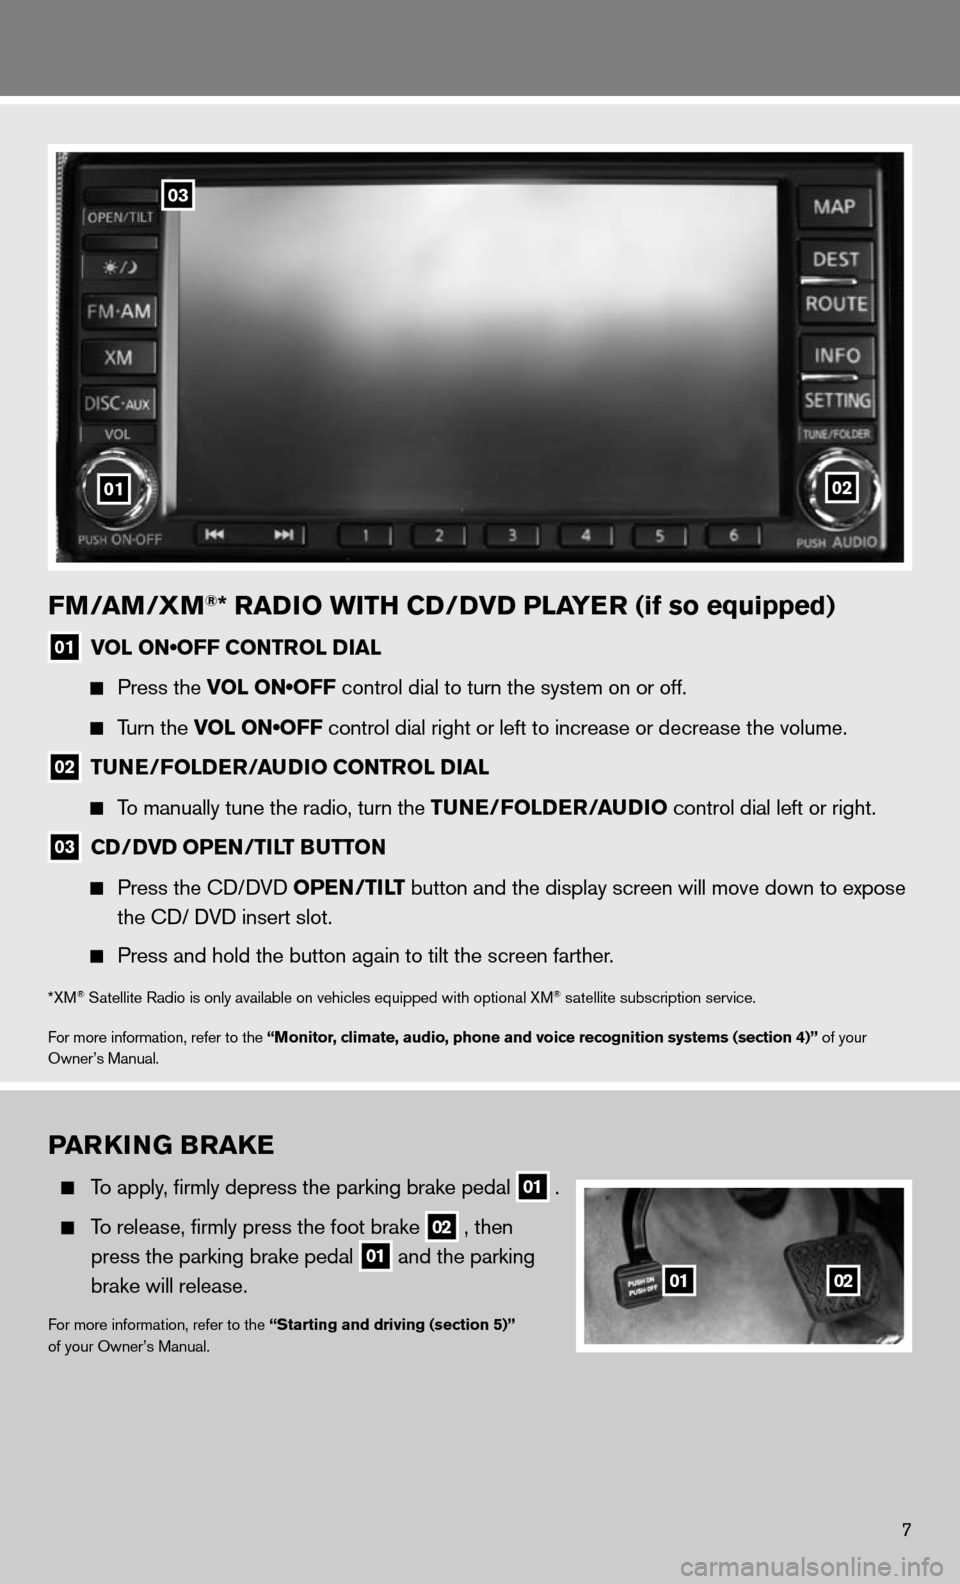
FM/AM/XM®* RADIO WITH CD/DVD PLAYER (if so equipped)
01 VOL ON•OFF CONTROL DIAL
Press the VOL ON•OFF control dial to turn the system on or off.
Turn the VOL ON•OFF control dial right or left to increase or decrease the volume.
02 TUNE/FOLDER/AUDIO CONTROL DIAL
To manually tune the radio, turn the TUNE/FOLDER/AUDIO control dial left or right.
03 CD/DVD OPEN/TILT BUTTON
Press the cd/ dVd OPEN/TILT button and the display screen will move down to expose
the cd/ d Vd insert slot.
Press and hold the button again to tilt the screen farther.
*XM® Satellite Radio is only available on vehicles equipped with optional XM® satellite subscription service.
for more information, refer to the “Monitor, climate, audio, phone and voice recognition systems (section 4)” of your
Owner’s Manual.
0201
03
PARKING BRAKE
To apply, firmly depress the parking brake pedal
01 .
To release, firmly press the foot brake
02 , then
press the parking brake pedal
01 and the parking
brake will release.
for more information, refer to the “Starting and driving (section 5)”
of your Owner’s Manual.
0102
7
Page 11 of 16

CRUISE CONTROL
The cruise control system enables you to set a
constant cruising speed.
The system will automatically maintain the set speed
until you tap the brake pedal, accelerate, cancel or
turn the system off.
for more information, refer to the “Starting and driving (section 5)”
of your Owner’s Manual.
BLUETOOTH® HANDS-FREE PHONE SYSTEM (if so equipped)
With an overhead microphone and sound
transmitted through the audio system speakers,
the Bluetooth
® Hands-free Phone System utilizes
Bluetooth wireless technology and voice recognition
to provide hands-free cellular phone communication.
for more information, refer to the “Monitor, climate, audio, phone and
voice recognition systems (section 4)” of your Owner’s Manual or
please visit www.nissanusa.com/bluetooth.
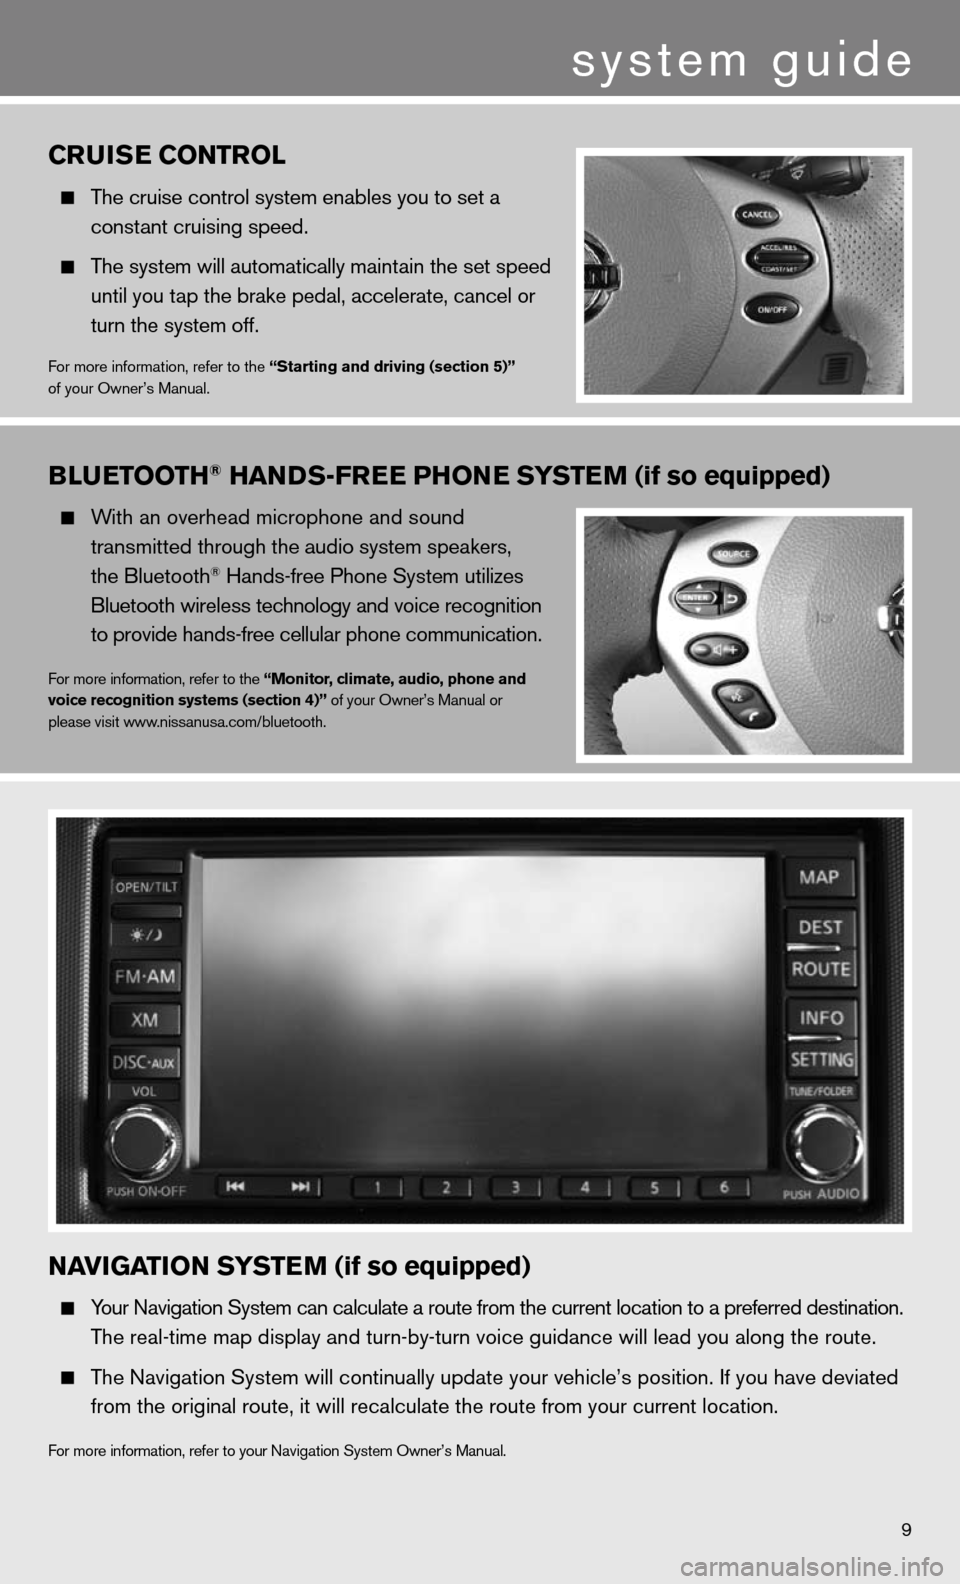
NAVIGATION SYSTEM (if so equipped)
y our navigation System can calculate a route from the current location to a pr\
eferred destination.
The real-time map display and turn-by-turn voice guidance will lead you a\
long the route.
The navigation System will continually update your vehicle’s position. if you have deviated
from the original route, it will recalculate the route from your current\
location.
for more information, refer to your navigation System Owner’s Manual.
9
system guide