2011 MITSUBISHI TRITON cooling
[x] Cancel search: coolingPage 188 of 369

CAUTION
l
Normally, use the “ ” (outside) posi-
tion to keep the
windscreen and side win-
dows clear and quickly remove fog or
frost from the windscreen.
If high cooling performance is desired, or
if the outside air is dusty or otherwise con-
taminated, use the “ ” (recirculation)
position. Set the air
selection lever to the
“ ” (outside) position periodically to in-
crease ventilation so that
the windows do
not become fogged up.
l Use of the “ ” (recirculation) position
for extended time may
cause the windows
to fog up.
Air conditioning switch* E00701500781
Push the switch, and the air conditioning compres-
sor will turn on. The
air conditioning indication
lamp (A) will come on. Push the switch again and the air conditioning com-
pressor will stop and the indication lamp goes off.
CAUTION
l
When using the air conditioning,
the
idling speed may slightly increase as the
air conditioning compressor is switched
on/off automatically. While the vehicle
with an A/T is stationary, fully depress
the brake pedal to prevent the vehicle
from creeping.
Operating the air conditioning system E00701800247
Heating
Set the mode selection dial
to the “ ” position
and set the air
selection lever to the “ ” (outside)
position. Turn the temperature control dial clockwise or anti-
clockwise to the desired temperature.
Select the de-
sired blower speed. NOTE
l For
maximum heat, set the
blower speed at
the 3 rd
position. For pleasant driving
5-05 5 LHD RHD LHD RHD
OCRE12E1
Presented by http://mmc-manuals.ru/ \251
Page 189 of 369

Cooling (vehicles with air conditioning)
E007019004241.
Set the mode selection dial
to the “ ” posi-
tion.
2. Set the air selection
lever to the “ ” (out-
side) position.
3. Push the air conditioning switch (B).
4. Change the
temperature by turning the con-
trol dial clockwise or anticlockwise.
5. Select the desired blower speed. CAUTION
l
If the outside air is
dusty or otherwise con-
taminated, or if high cooling performance
is desired, set air selection lever to the
“ ” (recirculation) position and the tem-
perature control dial all
the way to the left.
Set to the “ ” (outside) position period-
ically to increase ventilation
so that the
windows do not become fogged up.
Combination of unheated air and heated air E00702000451
Select the mode selection dial to the position
shown in the illustration and
set the air selection lev-
er to the “ ” (outside) position.
The air flow
will be
directed to the leg area and the
upper part of the passenger compartment. Select
the desired blower speed. Warm air flows to the leg area and unheated or
slightly warm air (depending
upon
temperature set-
ting) flows to the upper part of the passenger com-
partment.
Demisting of the windscreen and door windows E00702100579 CAUTION
l
For safety, make sure
you
have a clear
view through all the windows.
To remove frost or mist from the windscreen and
door windows, use
the mode
selection dial (“ ”
or “ ”).For pleasant driving
5-06
5LHD RHD LHD RHD
OCRE12E1
Presented by http://mmc-manuals.ru/ \251
Page 193 of 369

l
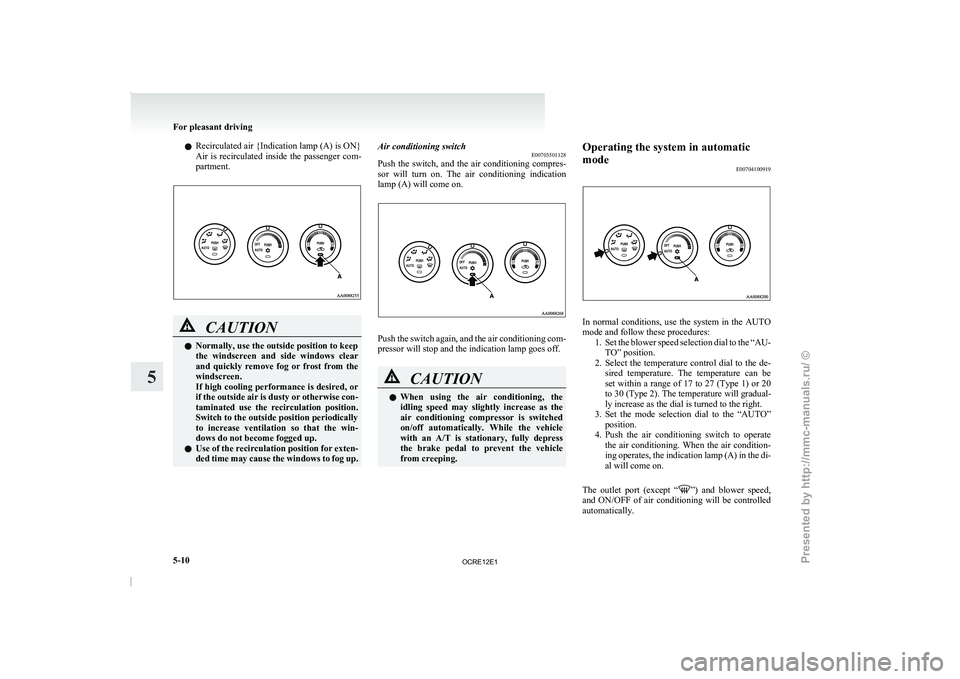
Recirculated air {Indication lamp (A) is ON}
Air is recirculated inside
the
passenger com-
partment. CAUTION
l
Normally, use the outside position to keep
the windscreen and side windows
clear
and quickly remove fog or frost from the
windscreen.
If high cooling performance is desired, or
if the outside air is dusty or otherwise con-
taminated use the recirculation position.
Switch to the outside position periodically
to increase ventilation so that the win-
dows do not become fogged up.
l Use of the recirculation position for exten-
ded time may cause the windows to fog up. Air conditioning switch
E00703501128
Push the switch, and the
air conditioning compres-
sor will turn on. The air conditioning indication
lamp (A) will come on. Push the switch again, and the air conditioning com-
pressor will stop and the indication lamp goes off.
CAUTION
l
When
using
the air
conditioning,
the
idling speed may slightly increase as the
air conditioning compressor is switched
on/off automatically. While the vehicle
with an A/T is stationary, fully depress
the brake pedal to prevent the vehicle
from creeping. Operating the system in automatic
mode
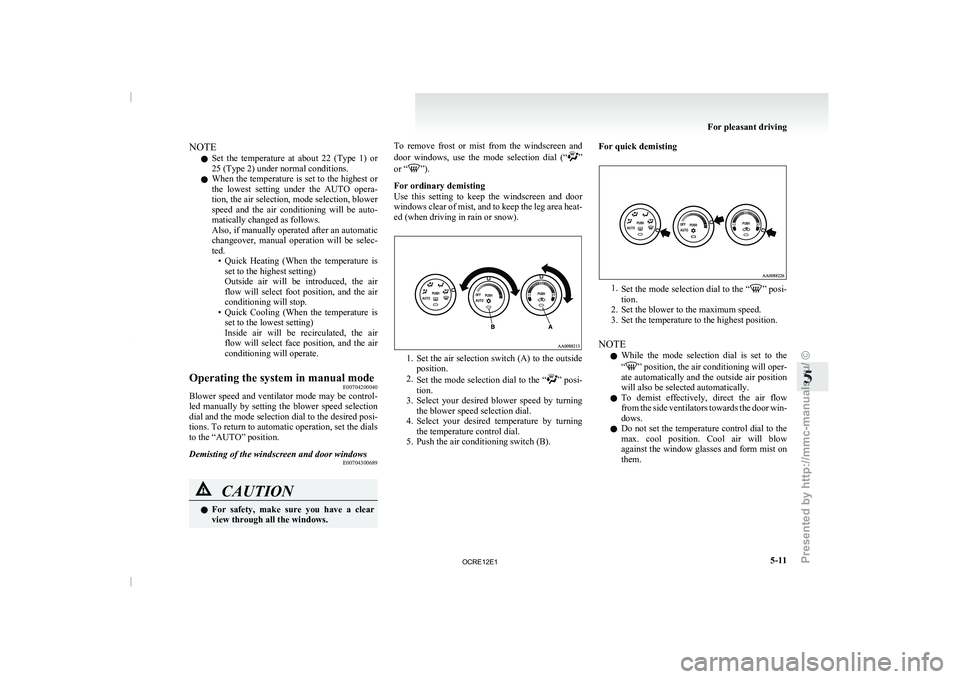
E00704100919 In normal conditions, use the system in the AUTO
mode and follow these procedures:
1. Set the blower speed selection
dial to the “AU-
TO” position.
2. Select the temperature control dial to the de- sired temperature. The temperature can be
set within a range of 17 to 27 (Type 1) or 20
to 30 (Type 2). The temperature will gradual-
ly increase as the dial is turned to the right.
3. Set the mode selection dial to the “AUTO” position.
4. Push the air conditioning switch to operate the air conditioning. When the air condition-
ing operates, the indication lamp (A) in the di-
al will come on.
The outlet port (except “ ”) and blower speed,
and ON/OFF of air
conditioning will be controlled
automatically. For pleasant driving
5-10
5
OCRE12E1
Presented by http://mmc-manuals.ru/ \251
Page 194 of 369

NOTE
l Set
the temperature at about
22 (Type 1) or
25 (Type 2) under normal conditions.
l When the temperature is set to the highest or
the lowest setting under the AUTO opera-
tion, the air selection, mode selection, blower
speed and the air conditioning will be auto-
matically changed as follows.
Also, if manually operated after an automatic
changeover, manual operation will be selec-
ted.
• Quick Heating (When the temperature isset to the highest setting)
Outside air will be introduced, the air
flow will select foot position, and the air
conditioning will stop.
• Quick Cooling (When the temperature is set to the lowest setting)
Inside air will be recirculated, the air
flow will select face position, and the air
conditioning will operate.
Operating the system in manual mode E00704200040
Blower speed and ventilator mode may be control-
led manually by setting the
blower speed selection
dial and the mode selection dial to the desired posi-
tions. To return to automatic operation, set the dials
to the “AUTO” position.
Demisting of the windscreen and door windows E00704300689CAUTION
l
For
safety, make
sure you
have a clear
view through all the windows. To remove frost or mist from the windscreen and
door
windows, use
the mode
selection dial (“ ”
or “ ”).
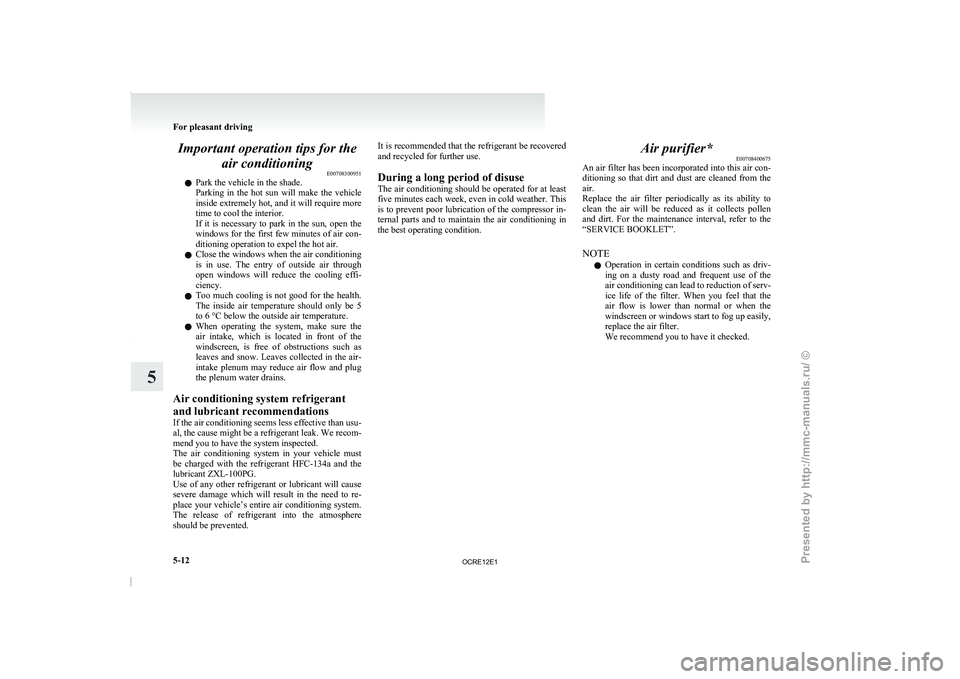
For ordinary demisting
Use this setting to keep
the windscreen and door
windows clear of mist, and to keep the leg area heat-
ed (when driving in rain or snow). 1. Set the air selection switch (A) to the outside
position.
2. Set the mode selection
dial to the “ ” posi-
tion.
3. Select your desired
blower speed by turning
the blower speed selection dial.
4. Select your desired temperature by turning the temperature control dial.
5. Push the air conditioning switch (B). For quick demisting
1.
Set the mode selection dial
to the “ ” posi-
tion.
2. Set the blower to the maximum speed. 3. Set the temperature to the highest position.
NOTE l While the
mode
selection dial is set to the
“ ” position, the air conditioning will oper-
ate automatically and the
outside air position
will also be selected automatically.
l To demist effectively, direct the air flow
from the side ventilators towards the door win-
dows.
l Do not set the temperature control dial to the
max. cool position. Cool air will blow
against the window glasses and form mist on
them. For pleasant driving
5-11 5
OCRE12E1
Presented by http://mmc-manuals.ru/ \251
Page 195 of 369

Important operation tips for the
air conditioning E00708300951
l Park the vehicle in the shade.
Parking in the hot
sun
will make the vehicle
inside extremely hot, and it will require more
time to cool the interior.
If it is necessary to park in the sun, open the
windows for the first few minutes of air con-
ditioning operation to expel the hot air.
l Close the windows when the air conditioning
is in use. The entry of outside air through
open windows will reduce the cooling effi-
ciency.
l Too much cooling is not good for the health.
The inside air temperature should only be 5
to 6 °C below the outside air temperature.
l When operating the system, make sure the
air intake, which is located in front of the
windscreen, is free of obstructions such as
leaves and snow. Leaves collected in the air-
intake plenum may reduce air flow and plug
the plenum water drains.
Air conditioning system refrigerant
and lubricant recommendations
If the air conditioning seems less effective than usu-
al, the cause might be a refrigerant leak. We recom-
mend you to have the system inspected.
The air conditioning system in your vehicle must
be charged with the refrigerant HFC-134a and the
lubricant ZXL-100PG.
Use of any other refrigerant or lubricant will cause
severe damage which will result in the need to re-
place your vehicle’s entire air conditioning system.
The release of refrigerant into the atmosphere
should be prevented. It is recommended that the refrigerant be recovered
and recycled for further use.
During a long period of disuse
The air conditioning should
be
operated for at least
five minutes each week, even in cold weather. This
is to prevent poor lubrication of the compressor in-
ternal parts and to maintain the air conditioning in
the best operating condition. Air purifier*
E00708400675
An air filter has been
incorporated into this air con-
ditioning so that dirt and dust are cleaned from the
air.
Replace the air filter periodically as its ability to
clean the air will be reduced as it collects pollen
and dirt. For the maintenance interval, refer to the
“SERVICE BOOKLET”.
NOTE
l Operation in certain conditions such as driv-
ing on a dusty road and frequent use of the
air conditioning can lead to reduction of serv-
ice life of the filter. When you feel that the
air flow is lower than normal or when the
windscreen or windows start to fog up easily,
replace the air filter.
We recommend you to have it checked. For pleasant driving
5-12
5
OCRE12E1
Presented by http://mmc-manuals.ru/ \251
Page 268 of 369

Vehicles with 1 battery
Vehicles with 2 batteries
5. Connect
one end of the other jumper cable to
the negative
(-) terminal
of the booster bat-
tery (B), and the other end to the engine
block of the vehicle with the discharged bat-
tery at the point farthest from the battery. NOTE
l Open
the cover before connecting
the jumper
cable to the positive (+) terminal of the battery.
(Refer to “Battery” on page 8-10.) WARNING
l Be sure to observe
the
connecting se-
quence of .
l Make sure that the connection is made
to the appointed position (shown
in the il-
lustration). If the connection is made di-
rectly to the negative side of the battery,
the inflammable gasses generated from
the battery might catch fire and explode.
l When connecting the jumper cables, do
not connect the positive (+) cable to the
negative (-) terminal.
Otherwise sparks might cause explosion
of the battery. CAUTION
l
Take care not to get
the jumper cable
caught in the cooling fan or other rotat-
ing part in the engine compartment.
l Use the proper cables suitable for the bat-
tery size.
Otherwise heat damage to the cables
could result.
l Check the jumper cables for damage and
corrosion before use.
6. Start the engine in the vehicle which has the
booster battery,
let the
engine idle a few mi-
nutes, then start the engine in the vehicle
with the discharged battery. CAUTION
l
Keep the engine of the
vehicle giving assis-
tance running.
7. After the engine is started, disconnect the ca-
bles in the reverse order. WARNING
l Charging the battery while it
is installed
in the vehicle might cause the battery to
catch fire and explode.
Or damage to the vehicle could result. If
it has to be charged in that condition for
unavoidable reasons, disconnect the vehi-
cle side negative (-) terminal connected to
the battery.
l Keep sparks, cigarettes and flames away
from the battery because the battery may
produce an explosion.
l Use adequate ventilation when charging
or using the battery in an enclosed space.
l Remove all the caps before charging the
battery.
l Electrolyte is corrosive diluted sulphuric
acid.
If electrolyte (battery acid) comes into con-
tact with your hands, eyes, clothes and
the painted surface of your vehicle, it
should be thoroughly flushed with water.
If electrolyte gets in your eyes, flush them
with water immediately and thoroughly,
and get prompt medical attention. For emergencies
6-03 6
OCRE12E1
Presented by http://mmc-manuals.ru/ \251
Page 269 of 369

CAUTION
l
Do not attempt to start the engine by pull-
ing or pushing the vehicle.
It could damage your vehicle.
l Always wear protective eye goggles when
working near the battery.
l Keep the battery out of the reach of chil-
dren.
NOTE l On
vehicles with anti-lock brake
system, if
the vehicle is put in motion without fully
charging the battery, it might cause the loss
of smooth engine operation and the antilock
brake warning lamp to illuminate.
Refer to “Anti-lock brake system (ABS)” on
page 4-44. Engine overheating
E00800601985
If the water temperature gauge
indication remains
in the overheating zone for a long time, the engine
may be overheating. If this occurs, take the follow-
ing corrective measures: 1. Stop the vehicle in a safe place.
2. Check whether steam is coming from the en-gine compartment.
[If steam does not come from the engine com-
partment]
With the engine still running, raise the bon-
net to ventilate the engine compartment.
[If steam is coming from the engine compart-
ment]
Stop the engine, and when the steam stops,
raise the bonnet to ventilate the engine com-
partment. Restart the engine. WARNING
l Do not open the
bonnet
while steam is com-
ing from the engine compartment. It
could cause steam or hot water to spurt
out, causing burns. Hot water could spurt
out even when there is no steam coming
out, and some parts will be very hot. Be
very careful when opening the bonnet.
l Be careful of hot steam, which could be
blowing off the reserve tank cap.
l Do not attempt to remove the radiator
cap while the engine is hot. 3. Confirm that the cooling fan is turning. If the
fan is not turning, stop the engine immediate-
ly and have it checked. A- Radiator cap
B- Cooling fan
C- Reserve tank
*: if so equipped WARNING
l Be careful not to
get your hands or
clothes caught in the cooling fan. For emergencies
6-04
6
OCRE12E1
Presented by http://mmc-manuals.ru/ \251
Page 270 of 369

4. After the engine coolant temperature has drop-
ped to the normal temperature, stop the engine.5. Check the coolant level in the reserve tank.
WARNING
l If
there
is none,
make
sure that the en-
gine has cooled down before removing
the radiator cap, because hot steam or boil-
ing water otherwise will gush from the fill-
er port and may scald you. 6. Add
coolant to the radiator and/or reserve
tank if
necessary (refer
to the “Maintenance”
section.) CAUTION
l
Do not add coolant
while
the engine is
hot. Suddenly adding cold coolant could
damage the engine. Wait for the engine to
cool down, then add coolant a little at a
time.
7. Examine the radiator hoses for coolant leak-
age and
the drive
belt for looseness or damage.
If there is anything wrong with the cooling
system or drive belt, we recommend you to
have it checked and repaired. Bleeding the fuel system
E00800700312
The fuel system should be bled to remove air as de-
scribed below if the fuel supply is exhausted during
travel.
Type 1
1. Loosen the
air plug
(A)
at the top of the fuel
filter. For emergencies
6-05 6
OCRE12E1
Presented by http://mmc-manuals.ru/ \251