Page 459 of 602
5-90 Comfort controls
5To use the external audio input function
(if
so equipped)
N00702200175
You can listen to commercially available audio equipment,
such as a portable audio system, from your vehicle’s speakers,
by connecting the audio equipment to the audio input connec-
tors, which are external input connectors (pin jacks).
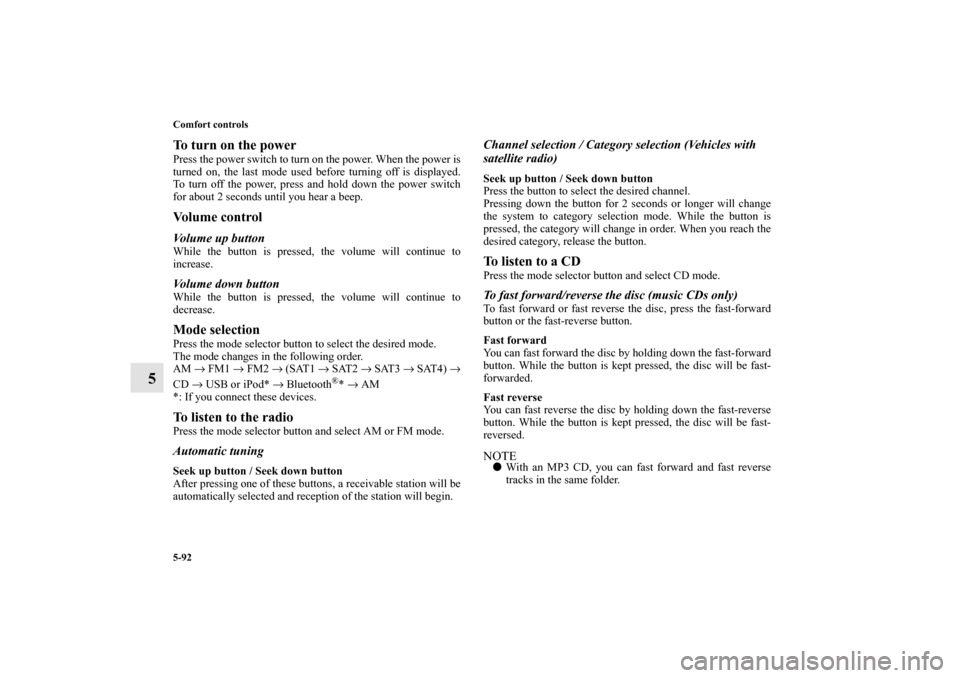
To activate the external audio input mode1. Use a commercially available audio cable to connect the
audio equipment to the internal audio input connector.
2. Press the CD button for more than 2 seconds.
The display will show “AUX” and then the external audio
input mode will be activated.
Auxiliary Audio connector (RCA)
A- Left audio input connector (white)
B- Right audio input connector (red)
Auxiliary Audio connector (RCA)
A- CD button
B- RADIO button
BK0120400US.book 90 ページ 2010年5月12日 水曜日 午前10時50分
Page 461 of 602

5-92 Comfort controls
5
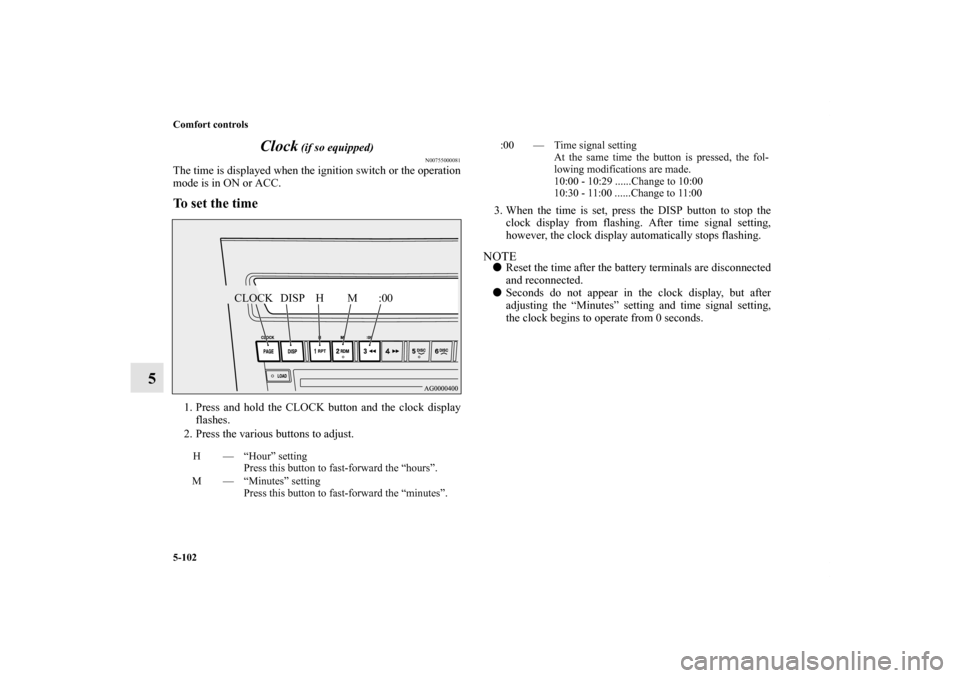
To turn on the powerPress the power switch to turn on the power. When the power is
turned on, the last mode used before turning off is displayed.
To turn off the power, press and hold down the power switch
for about 2 seconds until you hear a beep.Vo l u m e c o n t r o lVolume up buttonWhile the button is pressed, the volume will continue to
increase.Volume down buttonWhile the button is pressed, the volume will continue to
decrease.Mode selectionPress the mode selector button to select the desired mode.
The mode changes in the following order.
AM → FM1 → FM2 → (SAT1 → SAT2 → SAT3 → SAT4) →
CD → USB or iPod* → Bluetooth
®* → AM
*: If you connect these devices.
To listen to the radioPress the mode selector button and select AM or FM mode.Automatic tuningSeek up button / Seek down button
After pressing one of these buttons, a receivable station will be
automatically selected and reception of the station will begin.
Channel selection / Category selection (Vehicles with
satellite radio)Seek up button / Seek down button
Press the button to select the desired channel.
Pressing down the button for 2 seconds or longer will change
the system to category selection mode. While the button is
pressed, the category will change in order. When you reach the
desired category, release the button.To listen to a CDPress the mode selector button and select CD mode.To fast forward/reverse the disc (music CDs only)To fast forward or fast reverse the disc, press the fast-forward
button or the fast-reverse button.
Fast forward
You can fast forward the disc by holding down the fast-forward
button. While the button is kept pressed, the disc will be fast-
forwarded.
Fast reverse
You can fast reverse the disc by holding down the fast-reverse
button. While the button is kept pressed, the disc will be fast-
reversed.NOTE�With an MP3 CD, you can fast forward and fast reverse
tracks in the same folder.
BK0120400US.book 92 ページ 2010年5月12日 水曜日 午前10時50分
Page 471 of 602

5-102 Comfort controls
5Clock
(if so equipped)
N00755000081
The time is displayed when the ignition switch or the operation
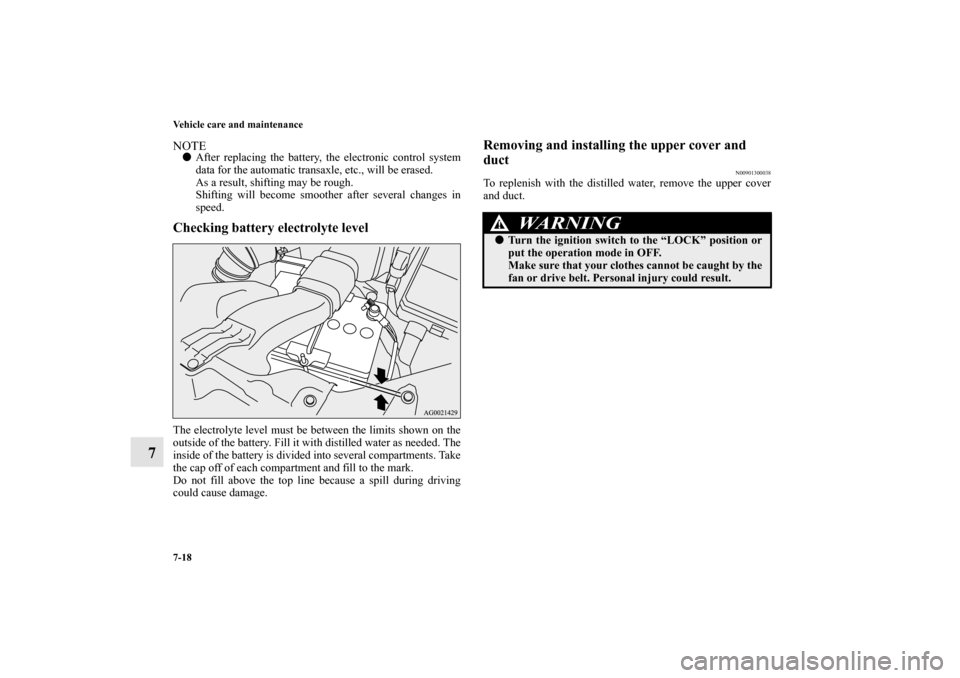
mode is in ON or ACC.To set the time1. Press and hold the CLOCK button and the clock display
flashes.
2. Press the various buttons to adjust.3. When the time is set, press the DISP button to stop the
clock display from flashing. After time signal setting,
however, the clock display automatically stops flashing.
NOTE�Reset the time after the battery terminals are disconnected
and reconnected.
�Seconds do not appear in the clock display, but after
adjusting the “Minutes” setting and time signal setting,
the clock begins to operate from 0 seconds.
H — “Hour” setting
Press this button to fast-forward the “hours”.
M — “Minutes” setting
Press this button to fast-forward the “minutes”.
CLOCK DISP H M :00
:00 — Time signal setting
At the same time the button is pressed, the fol-
lowing modifications are made.
10:00 - 10:29 ......Change to 10:00
10:30 - 11:00 ......Change to 11:00
BK0120400US.book 102 ページ 2010年5月12日 水曜日 午前10時50分
Page 519 of 602

7-18 Vehicle care and maintenance
7
NOTE�After replacing the battery, the electronic control system
data for the automatic transaxle, etc., will be erased.
As a result, shifting may be rough.
Shifting will become smoother after several changes in
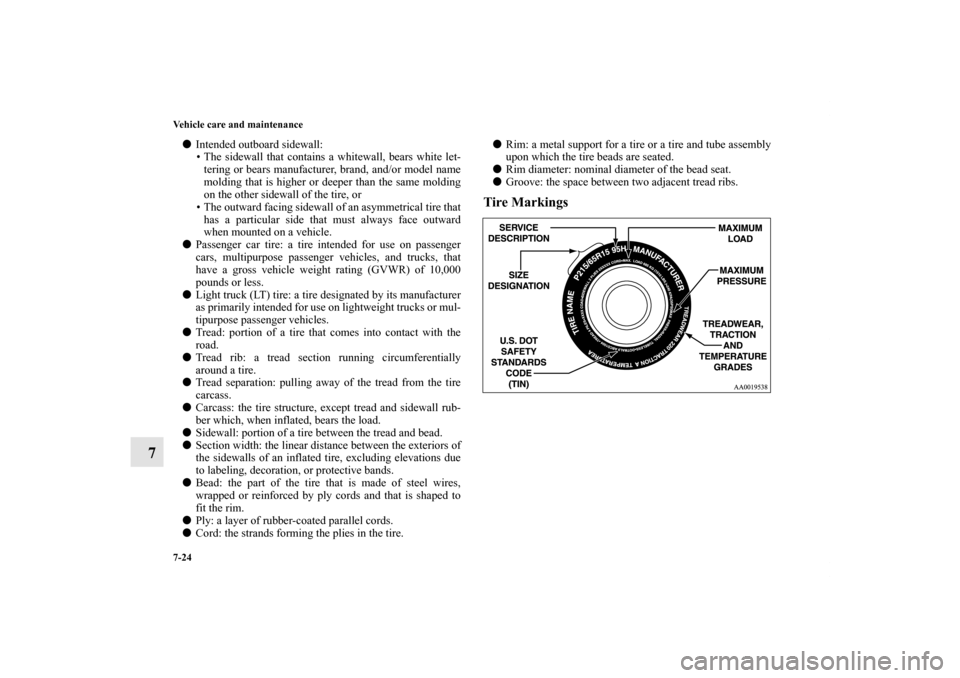
speed.Checking battery electrolyte levelThe electrolyte level must be between the limits shown on the
outside of the battery. Fill it with distilled water as needed. The
inside of the battery is divided into several compartments. Take
the cap off of each compartment and fill to the mark.
Do not fill above the top line because a spill during driving
could cause damage.
Removing and installing the upper cover and
duct
N00901300038
To replenish with the distilled water, remove the upper cover
and duct.
WA R N I N G
!�Turn the ignition switch to the “LOCK” position or
put the operation mode in OFF.
Make sure that your clothes cannot be caught by the
fan or drive belt. Personal injury could result.
BK0120400US.book 18 ページ 2010年5月12日 水曜日 午前10時50分
Page 525 of 602

7-24 Vehicle care and maintenance
7
�Intended outboard sidewall:
• The sidewall that contains a whitewall, bears white let-
tering or bears manufacturer, brand, and/or model name
molding that is higher or deeper than the same molding
on the other sidewall of the tire, or
• The outward facing sidewall of an asymmetrical tire that
has a particular side that must always face outward
when mounted on a vehicle.
�Passenger car tire: a tire intended for use on passenger
cars, multipurpose passenger vehicles, and trucks, that
have a gross vehicle weight rating (GVWR) of 10,000
pounds or less.
�Light truck (LT) tire: a tire designated by its manufacturer
as primarily intended for use on lightweight trucks or mul-
tipurpose passenger vehicles.
�Tread: portion of a tire that comes into contact with the
road.
�Tread rib: a tread section running circumferentially
around a tire.
�Tread separation: pulling away of the tread from the tire
carcass.
�Carcass: the tire structure, except tread and sidewall rub-
ber which, when inflated, bears the load.
�Sidewall: portion of a tire between the tread and bead.
�Section width: the linear distance between the exteriors of
the sidewalls of an inflated tire, excluding elevations due
to labeling, decoration, or protective bands.
�Bead: the part of the tire that is made of steel wires,
wrapped or reinforced by ply cords and that is shaped to
fit the rim.
�Ply: a layer of rubber-coated parallel cords.
�Cord: the strands forming the plies in the tire.�Rim: a metal support for a tire or a tire and tube assembly
upon which the tire beads are seated.
�Rim diameter: nominal diameter of the bead seat.
�Groove: the space between two adjacent tread ribs.
Tire Markings
BK0120400US.book 24 ページ 2010年5月12日 水曜日 午前10時50分
Page 602 of 602
NOTE
Maintenance recordName of Owner Date of Purchase
Address of Owner Model of Vehicle
Name and Address of Dealer Vehicle Identification Number
Service Performed DateKilometers
MilesInspection and Maintenance Item
11ZC(NAFTA)_Cover3.fm 1 ページ 2010年5月12日 水曜日 午前10時56分