Page 101 of 514
3-12 Features and controls
3
4. Install a new battery with the + side (A) down.
5. Close the remote control transmitter firmly.
6. Place the remote control transmitter in the remote control
transmitter case, then securely close the remote control
transmitter case.
7. Check the keyless entry system to see that it works. NOTE�You may purchase a replacement battery at an electric
appliance store.
�Your authorized Mitsubishi Motors dealer can replace the
battery for you if you prefer.
+ side
- side
Coin type battery CR1620
CAUTION
!�When the remote control transmitter case is opened,
be careful to keep water, dust, etc. out. Also, do not
touch the internal components.
BK0121600US.book 12 ページ 2010年4月12日 月曜日 午前10時39分
Page 109 of 514

3-20 Features and controls
3Theft-alarm system
N00510200114
The theft-alarm system is designed to provide protection from
unauthorized entry into the vehicle. This system is operated in
three stages: the first is the “armed” stage, the second is the
“alarm” stage, and third is the “disarmed” stage. If triggered,
the system provides both audible and visual alarm signals.Armed stage
N00510300128
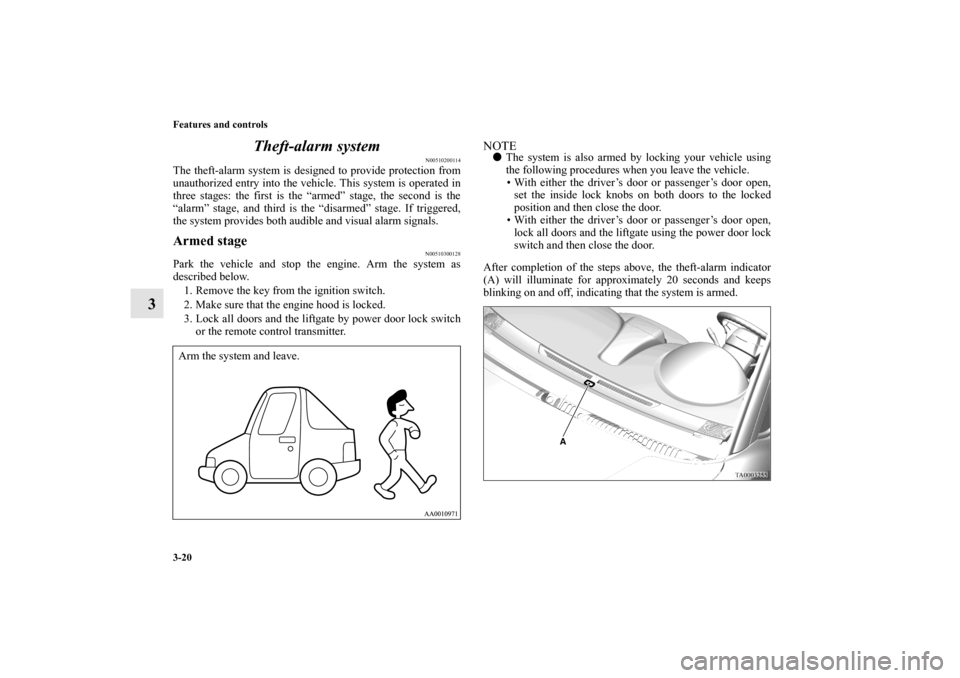
Park the vehicle and stop the engine. Arm the system as
described below.
1. Remove the key from the ignition switch.
2. Make sure that the engine hood is locked.
3. Lock all doors and the liftgate by power door lock switch
or the remote control transmitter.
NOTE�The system is also armed by locking your vehicle using
the following procedures when you leave the vehicle.
• With either the driver’s door or passenger’s door open,
set the inside lock knobs on both doors to the locked
position and then close the door.
• With either the driver’s door or passenger’s door open,
lock all doors and the liftgate using the power door lock
switch and then close the door.
After completion of the steps above, the theft-alarm indicator
(A) will illuminate for approximately 20 seconds and keeps
blinking on and off, indicating that the system is armed.
Arm the system and leave.BK0121600US.book 20 ページ 2010年4月12日 月曜日 午前10時39分
Page 110 of 514

Features and controls
3-21
3
NOTE�The system will be armed even if the engine hood is open,
but when the system is set, be sure that the engine hood is
locked.
�The system will be disarmed if, while the theft-alarm indi-
cator (located in the front center of the dashboard) is illu-
minated, all doors or the liftgate is unlocked by remote
control transmitter.
�The system will be disarmed if, while the theft-alarm indi-
cator is illuminated, the ignition key is turned to the “ON”
or “ACC”.
�The system will not be armed if a door is not completely
closed. If this happens, rearm the system as described
above.
�The driver should not arm the system until first confirm-
ing that all passengers have left the vehicle. If the driver
arms the system with passenger(s) in the vehicle, the
alarm may be activated when the passenger(s) open the
door.Alarm stage
N00510400129
The alarm will be activated if any of the following occur while
the vehicle is parked and the system is armed.
1. One of the doors or the liftgate is opened without the
remote control transmitter.
2. The engine hood is opened from the outside.
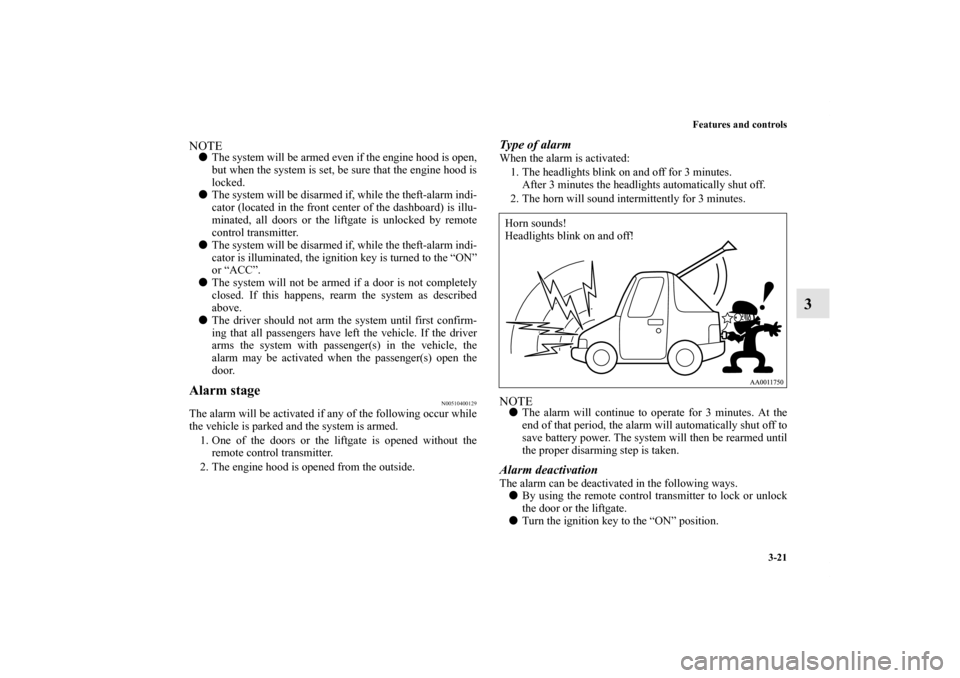
Type of alarmWhen the alarm is activated:
1. The headlights blink on and off for 3 minutes.
After 3 minutes the headlights automatically shut off.
2. The horn will sound intermittently for 3 minutes.NOTE�The alarm will continue to operate for 3 minutes. At the
end of that period, the alarm will automatically shut off to
save battery power. The system will then be rearmed until
the proper disarming step is taken.Alarm deactivationThe alarm can be deactivated in the following ways.
�By using the remote control transmitter to lock or unlock
the door or the liftgate.
�Turn the ignition key to the “ON” position.Horn sounds!
Headlights blink on and off!
BK0121600US.book 21 ページ 2010年4月12日 月曜日 午前10時39分
Page 111 of 514

3-22 Features and controls
3
Disarmed stage
N00510500117
The system will be disarmed when either of the following steps
are taken:
1. All doors or the liftgate is unlocked by the remote control
transmitter.
2. The ignition key is turned to the “ACC” or “ON” position.
3. If the UNLOCK button is pressed when all doors and the
liftgate are closed and no door is opened within approxi-
mately 30 seconds, re-arming will automatically occur.NOTE�Once the system has been disarmed, it cannot be rearmed
except by repeating the arming procedure.
Testing the theft-alarm system
N00510600075
Use the following procedure to test the system:
1. Lower the driver’s window.
2. Arm the system as explained in “Armed stage”.
3. Make sure that the theft-alarm indicator comes on and
flash in approximately 20 seconds.
4. Wait a few seconds and then unlock the driver’s side door
by using the inside door lock knob and opening the door.
5. Check to be sure that the horn sounds intermittently and
the headlights blink on and off when the door is opened.
6. Disarm the system by unlocking all doors or the liftgate
by the remote control transmitter or using the key.NOTE�To make sure the alarm sounds when the engine hood is
opened, open the engine hood by using the engine hood
release lever when the system is in the “armed” stage.
Disarm…by remote control transmitterBK0121600US.book 22 ページ 2010年4月12日 月曜日 午前10時39分
Page 239 of 514
3-150 Features and controls
3
2. The monitor will show “The setting is progressing” while
the setting change is in progress.
When the setting change has been completed successfully,
the tone will sound once and the monitor will return to the
“Door-ajar warning buzzer” display.
If the setting change is not successful, the monitor will
show “The setting failed.” then return to the “Door-ajar
warning buzzer” display.
Number of keyless entry registration
N00535200030
It is possible to confirm the number of registered remote con-
trol transmitters.
1. Display “Number of keyless entry registration” on the
monitor in accordance with “Basic operation” (see page 3-
109), align the cursor with it, and press the “SELECT”
function button.
BK0121600US.book 150 ページ 2010年4月12日 月曜日 午前10時39分
Page 240 of 514
Features and controls
3-151
3
2. If communication is successful, the monitor will show the
number of registered remote control transmitters then
return to the display in step 1 of this procedure.
If communication is not successful, the monitor will show
the number of registered remote control transmitters as
“—” then return to the display in step 1 of this procedure.
Defaults
N00535100055
The default function returns all customized settings to their ini-
tial conditions.
1. Display “Defaults” on the monitor in accordance with
“Basic operation” (see page 3-109), align the cursor with
it, and press the “SELECT” function button.
BK0121600US.book 151 ページ 2010年4月12日 月曜日 午前10時39分
Page 288 of 514

Features and controls
3-199
3
NOTE�With the switches on the rear personal lights
and luggage room light in the “OFF” position,
the rear personal lights and luggage room light
stay off when the interior light switch is in the
“DOOR” position and a door or the liftgate is
opened.
When all the doors and the liftgate are closed, the
interior lights are dimmed gradually for 30 seconds
then go off. However, the lights go off immediately
without being dimmed if:
�The ignition switch is turned to the “ON”
position.
�All the doors and the liftgate are locked using
the lock knobs of the front doors, the power
door lock switch, or the remote control switch
from the keyless entry system.NOTE�If the ignition key is removed with the doors
and the liftgate closed, the interior lights come
on for 30 seconds period then go off.
�When the switches of the reading lights, rear
personal lights and luggage room light are in
the “ON” position, these lights do not go off
when all the doors and the liftgate are closed.
�In a vehicles with multi center display, the
multi center display can be used to change the
dimming period of interior lights.
For details, refer to “Setting and customiza-
tion” on page 3-108.3 (OFF) - It is possible to turn off all of the interior lights
{dome light, reading lights, rear personal lights,
luggage room light and door lights} by placing the
interior light switch in the “OFF” position.
NOTE�When the switches of the reading lights, rear
personal lights and luggage room light are in
the “ON” position, these lights do not go off
when the interior light switch is placed to the
“OFF” position.
BK0121600US.book 199 ページ 2010年4月12日 月曜日 午前10時39分
Page 320 of 514

5
Comfort controls
Vents. . . . . . . . . . . . . . . . . . . . . . . . . . . . . . . . . . . .5- 2
Manual air conditioning (if so equipped). . . . . . . .5- 6
Automatic air conditioning (if so equipped) . . . . .5- 14
Rear cooler (For vehicles with automatic air condition-
ing) . . . . . . . . . . . . . . . . . . . . . . . . . . . . . . . . . . .5- 25
Important air conditioning operating tips . . . . . . .5- 26
Audio system . . . . . . . . . . . . . . . . . . . . . . . . . . . . .5- 28
AM/FM electronically tuned radio with
CD player-Type 1 (if so equipped) . . . . . . . . . . .5- 30
AM/FM electronically tuned radio with CD
autochanger-Type 2 (if so equipped)
AM/FM/Satellite electronically tuned radio
with CD autochanger-Type 3 (if so equipped) . .5- 43
Steering wheel remote control switch
(if so equipped) . . . . . . . . . . . . . . . . . . . . . . . . . .5- 68
Error codes . . . . . . . . . . . . . . . . . . . . . . . . . . . . . . .5- 70
Error codes (SIRIUS Satellite Radio) . . . . . . . . . .5- 72
Handling of compact discs . . . . . . . . . . . . . . . . . . .5- 74
Antenna . . . . . . . . . . . . . . . . . . . . . . . . . . . . . . . . .5- 77
General information about your radio . . . . . . . . . .5- 78
BK0121600US.book 1 ページ 2010年4月12日 月曜日 午前10時39分