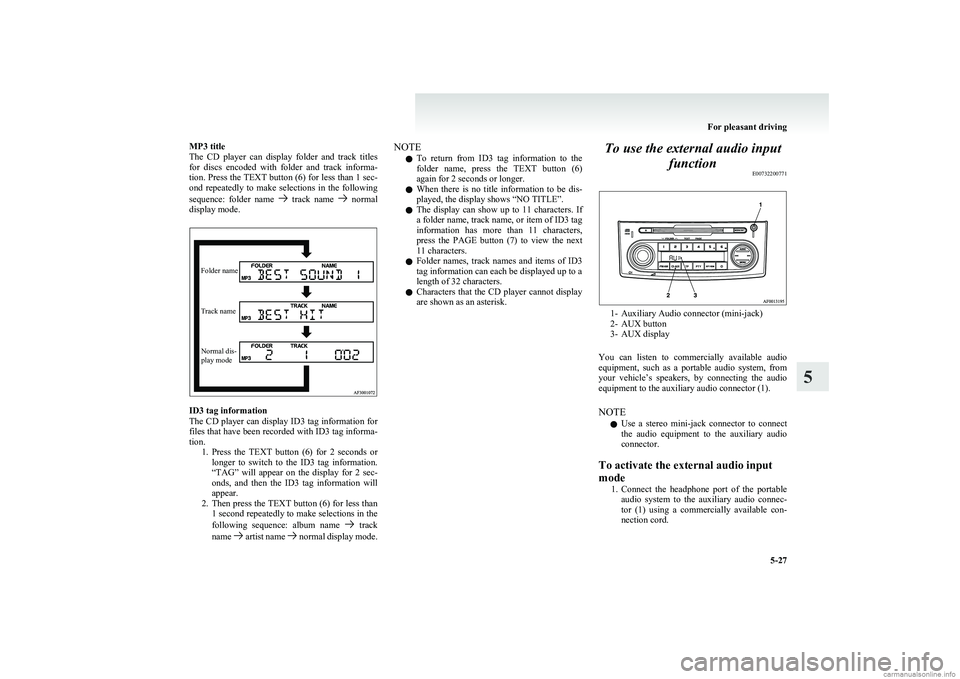
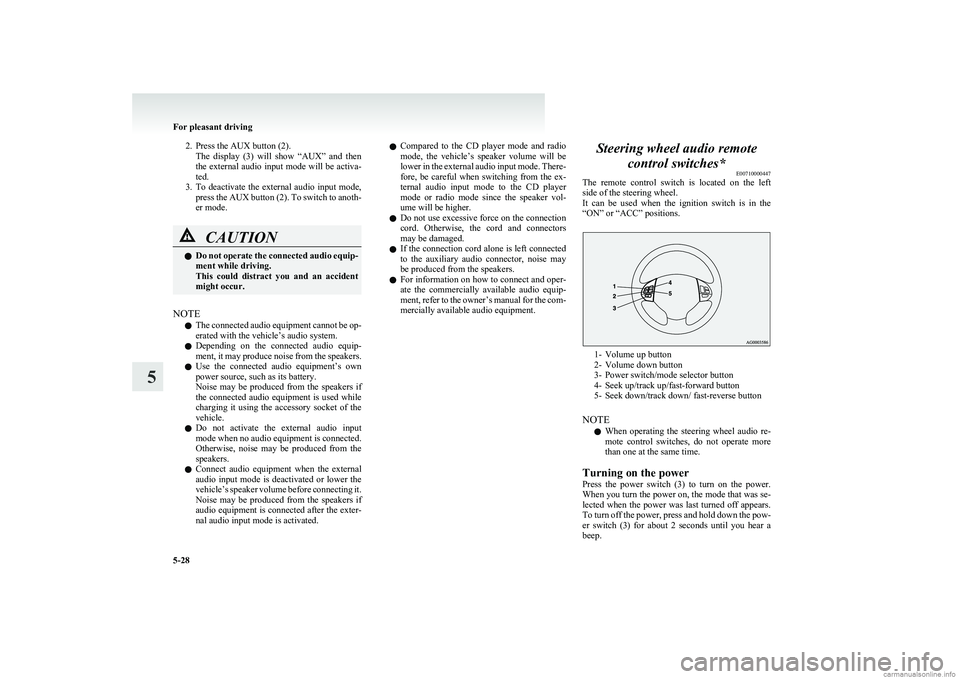
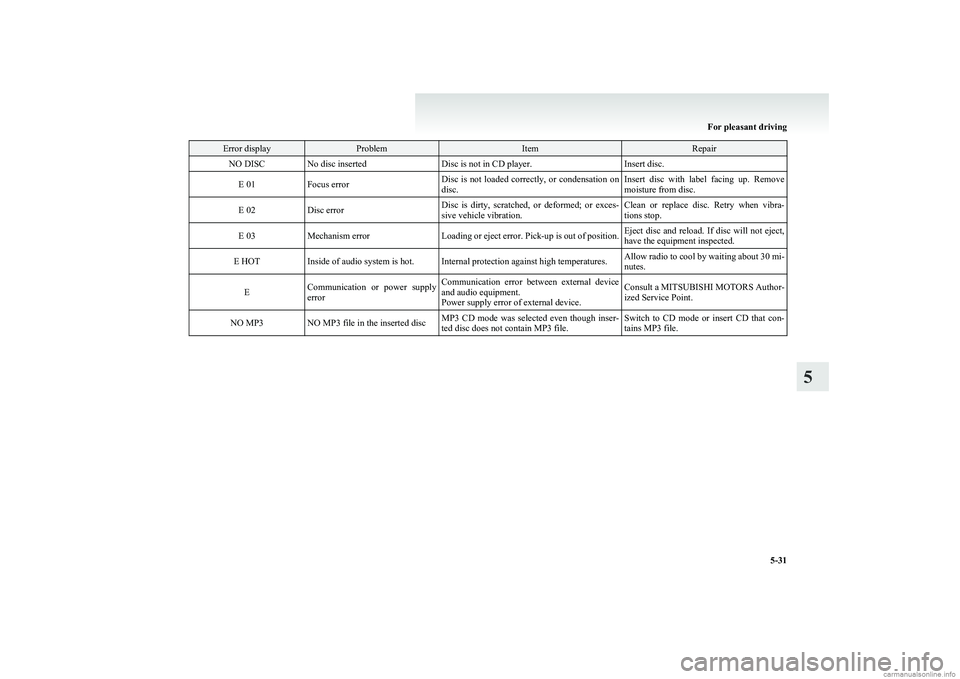
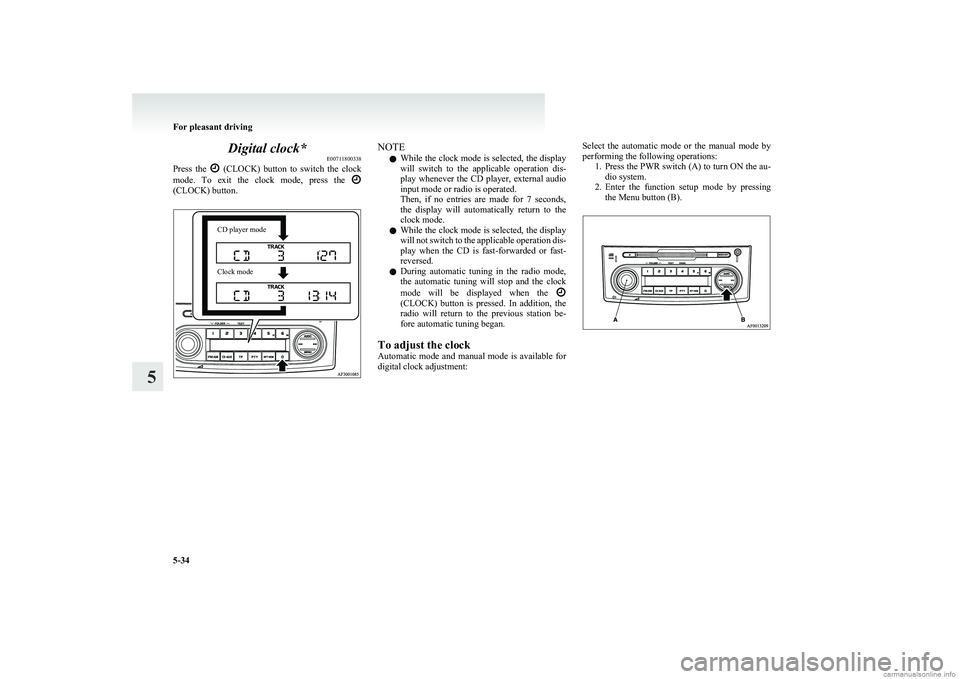
2011 MITSUBISHI COLT ECO mode
[x] Cancel search: ECO modePage 166 of 274

To listen to a CDE00709601554
1. Insert disc with label facing up.
When a disc is inserted, the CD player will
begin playing even if the radio is being used.
The CD player will also start playback when
the CD button (9) is pressed with a disc in
the player even if the radio is being used.
2. To stop the CD, turn off the power by press-
ing the PWR switch (1), or change over to
the radio mode by pressing the FM/AM but-
ton (8), or change over to the external audio
input mode by pressing the CD button (9), or
eject the disc by pressing the eject button (2).
NOTE l To adjust the volume and tone, refer to
“To
adjust the volume” on page 5-13 and “To ad-
just the tone” on page 5-13.
l When an 8 cm compact disc is used, the adapt-
er is not used for playback. Insert the disc in
the centre of the disc-loading slot.
l For information concerning the handling of
compact discs, refer to “Handling of compact
discs” on page 5-32.
To fast-forward/reverse the disc
To fast-forward or reverse the disc, use the
TRACK buttons (11).
Fast-forward
You can fast-forward by holding down the
side
of the TRACK button (11) for more than about 1
second.
Fast-reverse
You can fast-reverse by holding down the
side
of the TRACK button (11) for more than about 1
second.
NOTE
l When you have fast-forwarded/fast-reversed
the disc, the playing-time may be shown
with deviation.
To listen to an MP3 CD
This CD player allows you to play MP3 (MPEG Au-
dio Layer-3) files recorded on CD-ROMs, CD-Rs
(recordable CDs), and CD-RWs (rewritable CDs)
in ISO9660 Level 1/Level 2, Joliet, and Romeo for-
mats. Each disc may have a maximum of 100 trees,
100 folders, and 255 files per disc. During MP3
playback, the unit can display ID3 tag information.
For information concerning ID3 tag, refer to “CD
text and MP3 title display” on page 5-26.
1. Insert a disc containing MP3 files into the slot.
When a disc is inserted, the CD player will
begin playing even if the radio is being used.
The CD player will also start playback when
the CD button (9) is pressed with a disc in
the player even if the radio is being used.
2. Press the CD button (9) for 2 seconds or lon-
ger to switch to MP3 CD mode from normal
music CD mode. The display shows “READ-
ING”, then playback will begin. The folder
number and the track number will appear on
the display.
NOTE l While listening to a disc on which
CD-DA
(CD-Digital Audio) and MP3 files have both
been recorded, you can switch between read-
ing of the CD-DA, and reading of the MP3
files by pressing the CD button (9) for 2 sec-
onds or longer (until you hear a beep).
l Lightly press the CD button (9) to switch the
external audio input mode.
l With a disc that contains both
CD-DA and
MP3 files, the CD-DA files are automatical-
ly played first.
l The playback sound quality differs depend-
ing on the encoding software and the bit rate.
For details, refer to the user manual of your
encoding software.
l Depending on file/folder configurations on a
disc, it may take some time before playback
starts.
l MP3 encoding software and writing software
are not supplied with this unit.
l You may encounter trouble in playing an
MP3 or displaying the information of MP3
files recorded with certain writing software
or CD recorders (CD-R/RW drivers).
l If you record too many folders or files other
than MP3 onto a disc, it may take some time
before playback starts.
l This unit does not record MP3 files.
For pleasant driving
5-24
5
Page 169 of 274

MP3 title
The CD player can display folder and track titles
for discs encoded with folder and track informa-
tion. Press the TEXT button (6) for less than 1 sec-
ond repeatedly to make selections in the following
sequence: folder name
track name normal
display mode.
Folder nameTrack nameNormal dis-
play mode
ID3 tag information
The CD player can display ID3 tag information for
files that have been recorded with ID3 tag informa-
tion. 1.Press the TEXT button (6) for 2 seconds or
longer to switch to the ID3 tag information.
“TAG” will appear on the display for 2 sec-
onds, and then the ID3 tag information will
appear.
2. Then press the TEXT button (6) for less than
1 second repeatedly to make selections in the
following sequence: album name
track
name artist name normal display mode.
NOTE
l To return from ID3 tag information to the
folder name, press the TEXT button (6)
again for 2 seconds or longer.
l When there is no title information to be dis-
played, the display shows “NO TITLE”.
l The display can show up to 11 characters. If
a folder name, track name, or item of ID3 tag
information has more than 11 characters,
press the PAGE button (7) to view the next
11 characters.
l Folder names, track names and items of ID3
tag information can each be displayed up to a
length of 32 characters.
l Characters that the CD player cannot display
are shown as an asterisk.To use the external audio input
function E00732200771
1- Auxiliary Audio connector (mini-jack)
2- AUX button
3- AUX display
You can listen to commercially available audio
equipment, such as a portable audio system, from
your vehicle’s speakers, by connecting the audio
equipment to the auxiliary audio connector (1).
NOTE l Use a stereo mini-jack connector to connect
the audio equipment to the auxiliary audio
connector.
To activate the external audio input
mode 1.Connect the headphone port of the portable
audio system to the auxiliary audio connec-
tor (1) using a commercially available con-
nection cord.
For pleasant driving
5-27
5
Page 170 of 274

2. Press the AUX button (2).The display (3) will show “AUX” and then
the external audio input mode will be activa-
ted.
3. To deactivate the external audio input mode,
press the AUX button (2). To switch to anoth-
er mode.CAUTIONl Do not operate the connected audio equip-
ment while driving.
This could distract you and an accident
might occur.
NOTE
l The connected audio equipment cannot be op-
erated with the vehicle’s audio system.
l Depending on the connected audio equip-
ment, it may produce noise from the speakers.
l Use the connected audio equipment’s own
power source, such as its battery.
Noise may be produced from the speakers if
the connected audio equipment is used while
charging it using the accessory socket of the
vehicle.
l Do not activate the external audio input
mode when no audio equipment is connected.
Otherwise, noise may be produced from the
speakers.
l Connect audio equipment when the external
audio input mode is deactivated or lower the
vehicle’s speaker volume before connecting it.
Noise may be produced from the speakers if
audio equipment is connected after the exter-
nal audio input mode is activated.
l Compared to the CD player mode and radio
mode, the vehicle’s speaker volume will be
lower in the external audio input mode. There-
fore, be careful when switching from the ex-
ternal audio input mode to the CD player
mode or radio mode since the speaker vol-
ume will be higher.
l Do not use excessive force on the connection
cord. Otherwise, the cord and connectors
may be damaged.
l If the connection cord alone is left connected
to the auxiliary audio connector, noise may
be produced from the speakers.
l For information on how to connect and oper-
ate the commercially available audio equip-
ment, refer to the owner’s manual for the com-
mercially available audio equipment.Steering wheel audio remote
control switches* E00710000447
The remote control switch is located on the left
side of the steering wheel.
It can be used when the ignition switch is in the
“ON” or “ACC” positions.
1- Volume up button
2- Volume down button
3- Power switch/mode selector button
4- Seek up/track up/fast-forward button
5- Seek down/track down/ fast-reverse button
NOTE l When operating the steering wheel audio re-
mote control switches, do not operate more
than one at the same time.
Turning on the power
Press the power switch (3) to turn on the power.
When you turn the power on, the mode that was se-
lected when the power was last turned off appears.
To turn off the power, press and hold down the pow-
er switch (3) for about 2 seconds until you hear a
beep.
For pleasant driving
5-28
5
Page 173 of 274

Error displayProblemItemRepairNO DISCNo disc insertedDisc is not in CD player.Insert disc.E 01Focus errorDisc is not loaded correctly, or condensation on
disc.Insert disc with label facing up. Remove
moisture from disc.E 02Disc errorDisc is dirty, scratched, or deformed; or exces-
sive vehicle vibration.Clean or replace disc. Retry when vibra-
tions stop.E 03Mechanism errorLoading or eject error. Pick-up is out of position.Eject disc and reload. If disc will not eject,
have the equipment inspected.E HOTInside of audio system is hot.Internal protection against high temperatures.Allow radio to cool by waiting about 30 mi-
nutes.ECommunication or power supply
errorCommunication error between external device
and audio equipment.
Power supply error of external device.Consult a MITSUBISHI MOTORS Author-
ized Service Point.NO MP3NO MP3 file in the inserted discMP3 CD mode was selected even though inser-
ted disc does not contain MP3 file.Switch to CD mode or insert CD that con-
tains MP3 file.
For pleasant driving
5-31
5
Page 176 of 274

Digital clock*E00711800338
Press the
(CLOCK) button to switch the clock
mode. To exit the clock mode, press the
(CLOCK) button.
CD player modeClock modeNOTE
l While the clock mode is selected, the display
will switch to the applicable operation dis-
play whenever the CD player, external audio
input mode or radio is operated.
Then, if no entries are made for 7 seconds,
the display will automatically return to the
clock mode.
l While the clock mode is selected, the display
will not switch to the applicable operation dis-
play when the CD is fast-forwarded or fast-
reversed.
l During automatic tuning in the radio mode,
the automatic tuning will stop and the clock
mode will be displayed when the
(CLOCK) button is pressed. In addition, the
radio will return to the previous station be-
fore automatic tuning began.
To adjust the clock
Automatic mode and manual mode is available for
digital clock adjustment:
Select the automatic mode or the manual mode by
performing the following operations: 1.Press the PWR switch (A) to turn ON the au-
dio system.
2. Enter the function setup mode by pressing
the Menu button (B).
For pleasant driving
5-34
5
Page 177 of 274

3.Press the Menu button (B) repeatedly to se-
lect the CT (Clock Time) mode.
The order is: AF
CT REG TP-S PI-S PHONE IN (PH) MUTE Language of PTY display Function setup
mode OFF
( Refer to “Function setup mode” on page
5-20.)
NOTE l Although “PHONE IN (PH)” and “MUTE”
appear on the display, the PHONE IN and
MUTE function is inoperative.
l “
MUTE” will appear only if the PHONE IN
function is set to “PH ON”.
4. Select the desired setting for each mode to be turned ON and OFF.
CT ON- Automatic mode
CT OFF- Manual mode
NOTE
l After selecting a mode, you can leave the func-
tion setup mode by taking either of the fol-
lowing steps: •Press the Menu button (B) for at least 2
seconds.
• Make no entry for 7 seconds.
For pleasant driving
5-35
5
Page 178 of 274

Automatic mode
The automatic mode can set the local time automat-
ically by using the signal from the local RDS sta-
tions. Refer to “Radio data system (RDS)” on page
5-17.
Manual mode
The manual mode is also available in case the “Au-
tomatic mode” shows the incorrect time when the
adjacent local RDS stations are located in a differ-
ent time zone. Refer to “Radio data system (RDS)”
on page 5-17.
HMCLOCKSet the time by pressing the various buttons as de-
scribed below. 1. 1. Keep the
(CLOCK) button pressed un-
til the time display flashes.
2. Press the appropriate buttons to adjust the
time.
“H” button - To adjust the hour
“M” button - To adjust the minutes
3. To exit the adjust mode, press the
(CLOCK) button.
NOTE l When using the manual mode to adjust the
clock, set the “CT” function to “OFF”. If the
“CT” function is set to “ON”, the time will
automatically be corrected using the signals
from the local RDS stations even if it was set
manually.
l If the battery cables are disconnected during
repairs or for any other reason, reset the
clock to the correct time after they are recon-
nected.
l The digital clock does not have a second dis-
play. When the “minute” display is adjusted
and reset to zero, the clock begins at zero sec-
onds for the selected minute.
Sun visors E00711201010
1- To eliminate front glare
2- To eliminate side glare
For pleasant driving
5-36
5
Page 180 of 274

Interior lampsE00712000799
The interior lamps go on when a door or tailgate is
opened.
When all doors and tailgate are closed, the interior
lamps are illuminated and dimmed gradually for 15
seconds then go out.
However, the interior lamps go out immediately
without being dimmed in the following cases:
l The ignition switch is turned “ON”.
l All doors and tailgate are locked using the
key mechanism of the driver’s door, the lock
knob of the driver’s door, or the remote con-
trol switch of the keyless entry system.
NOTE l The dimming period is adjustable.
For further information, we recommend you
to consult a MITSUBISHI MOTORS Author-
ized Service Point.
l If you leave the lamps on without running
the engine, you will run down the battery. Be-
fore you leave the vehicle, make sure that all
the lamps are off.Room lamp with map lamps E00724300018
Room lamp
Opening a door or the tailgate makes the room
lamp come on.
Closing it makes the room lamp go off.
Map lamps
Push the map lamp cover to turn on the lamp. Push
it again to turn it off.
Luggage compartment lamp E00712700480
The luggage compartment lamp (A) is located on
left-hand side (3-door models) or the right-hand
side (5-door models) of the luggage compartment.
Opening a door or the tailgate makes the luggage
compartment lamp come on. Closing it makes the
luggage compartment lamp go off.3-door models5-door models
For pleasant driving
5-38
5