2011 MERCEDES-BENZ SLS change wheel
[x] Cancel search: change wheelPage 329 of 436

sharply reduced at tread depths of less
than 1
/ 8 in (3 mm).
R When replacing individual tires, you should
mount new tires on the front wheels first
(on vehicles with same-sized wheels all
around).
Recommended tire inflation pressure
GWarning!
Follow recommended tire inflation pressures.
Do not underinflate tires. Underinflated tires
wear excessively and/or unevenly, adversely
affect handling and fuel economy, and are
more likely to fail from being overheated.
Do not overinflate tires. Overinflated tires can
adversely affect handling and ride comfort,
wear unevenly, increase stopping distance,
and result in sudden deflation (blowout)
because they are more likely to become
punctured or damaged by road debris,
potholes etc.
Do not overload the tires by exceeding the
specified load limit as indicated on the Tire
and Loading Information placard on the
driver’s door B-pillar. Overloading the tires
can overheat them, possibly causing a
blowout. Overloading the tires can also result
in handling or steering problems, or brake
failure.
Your vehicle is equipped with the Tire and
Loading Information placard located on the
driver’s door B-pillar ( Y page 334).
The tire inflation pressure should be checked
regularly. Only adjust the tire inflation
pressure on cold tires. The tires can be
considered cold if the vehicle has been
parked for at least 3 hours or driven less than
1 mile (1.6 km). Depending on the ambient
temperature, the driving speed and the tire
load, the tire temperature changes. When the
tire temperature changes by 18 ‡ (10†), the
tire inflation pressure will change by
approximately 10 kPa (0.1 bar, 1.5 psi). Keep
this in mind when checking tire inflation
pressure on warm tires and adjust the tire
pressure only if the tire inflation pressure is
too low for the current operating conditions.
If you check the tire inflation pressure when
the tires are warm, the reading will be higher
than the cold reading. This is normal. Do not
let air out to match the specified cold tire
inflation pressure. Otherwise, the tire will be
underinflated.
Follow recommended cold tire inflation
pressures listed on Tire and Loading
Information placard on the driver’s door
B-pillar.
Keeping the tires properly inflated provides
the best handling, tread life and riding
comfort.
In addition to the Tire and Loading
Information placard on the driver’s door
B-pillar, also consult the tire inflation
pressure label on the inside of the filler flap
for any additional information pertaining to
special driving situations. For more
information, see “Important notes on tire
inflation pressure” ( Y page 328).
i Data shown on Tire and Loading
Information placard example are for
illustration purposes only. Tire data are
specific to each vehicle and may vary from
data shown in the following illustration.
Refer to Tire and Loading Information
placard on vehicle for actual data specific
to your vehicle.
The Tire and Loading Information placard lists
the recommended cold tire inflation
pressures : for maximum loaded vehicle
Tires and wheels327OperationBA 197 USA, CA Edition A 2011; 1; 27, en-UShereepeVersion: 3.0.3.52010-03-24T15:31:10+01:00 - Seite 327Z
Page 334 of 436

Restarting Advanced TPMSGWarning!
It is the driver’s responsibility to set the tire
inflation pressure to the recommended cold
tire inflation pressure. Underinflated tires
affect the ability to steer or brake the vehicle.
You might lose control over the vehicle.
When you restart the TPMS, the system sets
new reference values for each tire.
The TPMS must be restarted when you have
adjusted the tire inflation pressure to a new
level (e.g. because of different load or driving
conditions). The TPMS is then recalibrated to
the current tire inflation pressures.
i Canada only:
The TPMS usually recognizes tire pressure
adjustments and sets new reference values
automatically. You can, however, restart
the TPMS manually as described.
Restart the TPMS after adjusting the tire
inflation pressure to the inflation pressure
recommended for the vehicle operating
condition. Tire inflation pressure should only
be adjusted on cold tires. Observe the
recommended tire inflation pressure on the
Tire and Loading Information placard on the
driver’s door B-pillar. Some vehicles may have
supplemental tire inflation pressure
information for driving at high speeds or for
vehicle loads less than the maximum loaded
vehicle condition. If such information is
provided, it can be found on the inside of the
fuel filler flap.
XUsing the Tire and Loading Information
placard on the driver’s door B-pillar
( Y page 334) or the supplemental tire
inflation pressure information on the inside
of the fuel filler flap, make sure the tire
inflation pressure of all four tires is correct.XSwitch on the ignition.XPress button = or ; on the
multifunction steering wheel to select the
Service menu.XPress button 9 or : on the
multifunction steering wheel to select
Tire Pressure .XPress button a.
The current inflation pressure for each tire
appears in the multifunction display or the
following message appears in the
multifunction display:
Tire pressures
will be displayed
after driving
a few minutesXPress button :.
The following message appears in the
multifunction display:
Use Current
Pressures as New
Reference Values
Press 'OK' to ConfirmXPress button a.
The following message appears in the
multifunction display:
Tire Press. Monitor
Restarted
After driving a few minutes the system
verifies that the current tire inflation
pressures are within the system’s specified
range. Afterwards the current tire inflation
pressures are accepted as reference values
and then monitored.XIf you wish to cancel: Press button %.
or
XPress button 9 to exit the menu screen.
i
When the wheel positions have been
changed, the inflation pressure of a tire
may be displayed for the wrong position
temporarily. After driving for a few minutes,
the inflation pressure will be shown for the
correct position.
332Tires and wheelsOperation
BA 197 USA, CA Edition A 2011; 1; 27, en-UShereepeVersion: 3.0.3.52010-03-24T15:31:10+01:00 - Seite 332
Page 342 of 436
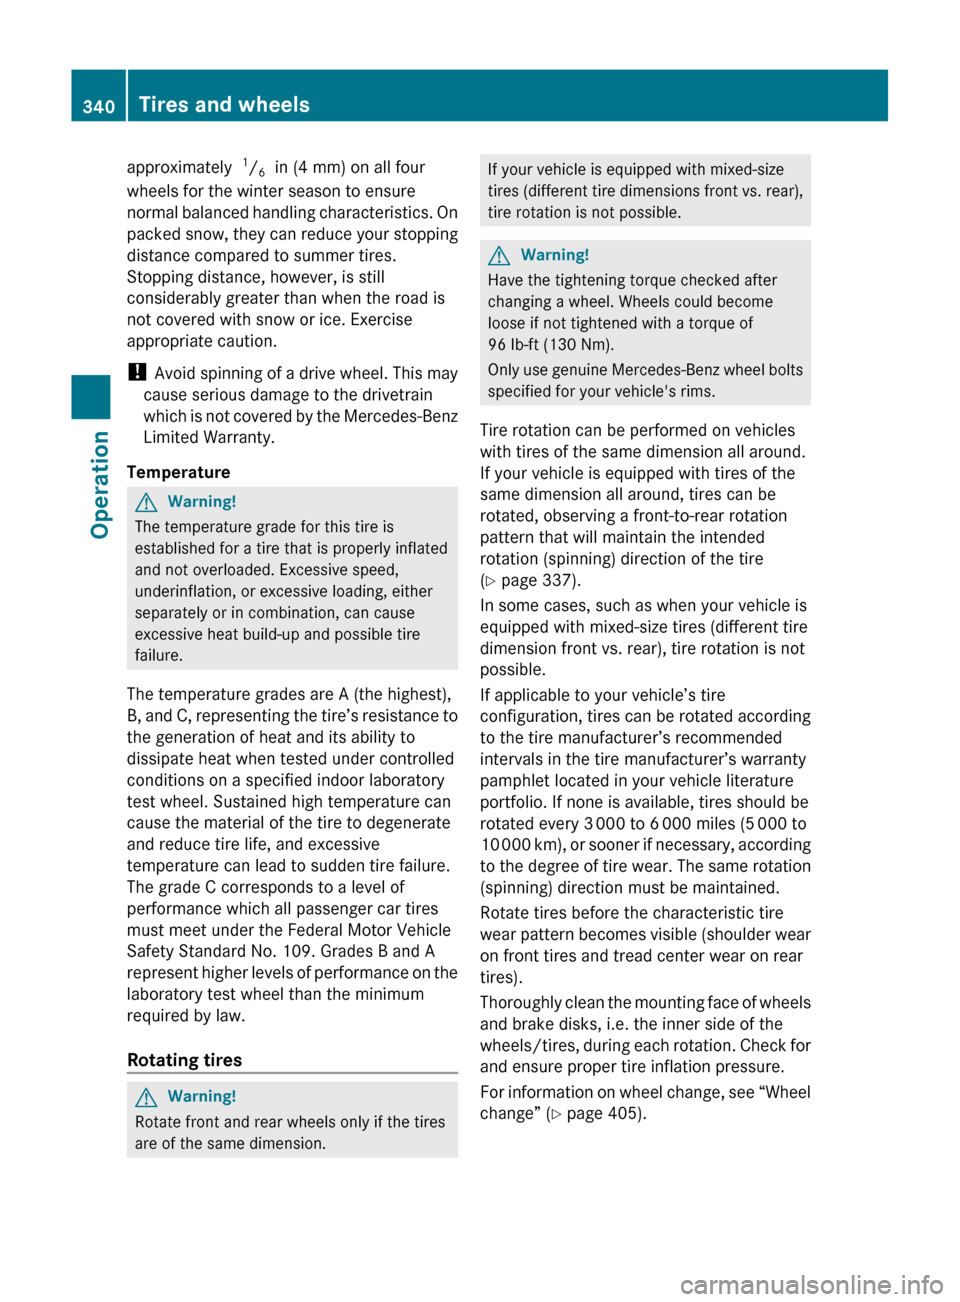
approximately 1
/ 6 in (4 mm) on all four
wheels for the winter season to ensure
normal balanced handling characteristics. On
packed snow, they can reduce your stopping
distance compared to summer tires.
Stopping distance, however, is still
considerably greater than when the road is
not covered with snow or ice. Exercise
appropriate caution.
! Avoid spinning of a drive wheel. This may
cause serious damage to the drivetrain
which is not covered by the Mercedes-Benz
Limited Warranty.
Temperature GWarning!
The temperature grade for this tire is
established for a tire that is properly inflated
and not overloaded. Excessive speed,
underinflation, or excessive loading, either
separately or in combination, can cause
excessive heat build-up and possible tire
failure.
The temperature grades are A (the highest),
B, and C, representing the tire’s resistance to
the generation of heat and its ability to
dissipate heat when tested under controlled
conditions on a specified indoor laboratory
test wheel. Sustained high temperature can
cause the material of the tire to degenerate
and reduce tire life, and excessive
temperature can lead to sudden tire failure.
The grade C corresponds to a level of
performance which all passenger car tires
must meet under the Federal Motor Vehicle
Safety Standard No. 109. Grades B and A
represent higher levels of performance on the
laboratory test wheel than the minimum
required by law.
Rotating tires
GWarning!
Rotate front and rear wheels only if the tires
are of the same dimension.
If your vehicle is equipped with mixed-size
tires (different tire dimensions front vs. rear),
tire rotation is not possible.GWarning!
Have the tightening torque checked after
changing a wheel. Wheels could become
loose if not tightened with a torque of
96 lb-ft (130 Nm).
Only use genuine Mercedes-Benz wheel bolts
specified for your vehicle's rims.
Tire rotation can be performed on vehicles
with tires of the same dimension all around.
If your vehicle is equipped with tires of the
same dimension all around, tires can be
rotated, observing a front-to-rear rotation
pattern that will maintain the intended
rotation (spinning) direction of the tire
( Y page 337).
In some cases, such as when your vehicle is
equipped with mixed-size tires (different tire
dimension front vs. rear), tire rotation is not
possible.
If applicable to your vehicle’s tire
configuration, tires can be rotated according
to the tire manufacturer’s recommended
intervals in the tire manufacturer’s warranty
pamphlet located in your vehicle literature
portfolio. If none is available, tires should be
rotated every 3 000 to 6 000 miles (5 000 to
10 000 km), or sooner if necessary, according
to the degree of tire wear. The same rotation
(spinning) direction must be maintained.
Rotate tires before the characteristic tire
wear pattern becomes visible (shoulder wear
on front tires and tread center wear on rear
tires).
Thoroughly clean the mounting face of wheels
and brake disks, i.e. the inner side of the
wheels/tires, during each rotation. Check for
and ensure proper tire inflation pressure.
For information on wheel change, see “Wheel
change” ( Y page 405).
340Tires and wheelsOperation
BA 197 USA, CA Edition A 2011; 1; 27, en-UShereepeVersion: 3.0.3.52010-03-24T15:31:10+01:00 - Seite 340
Page 361 of 436
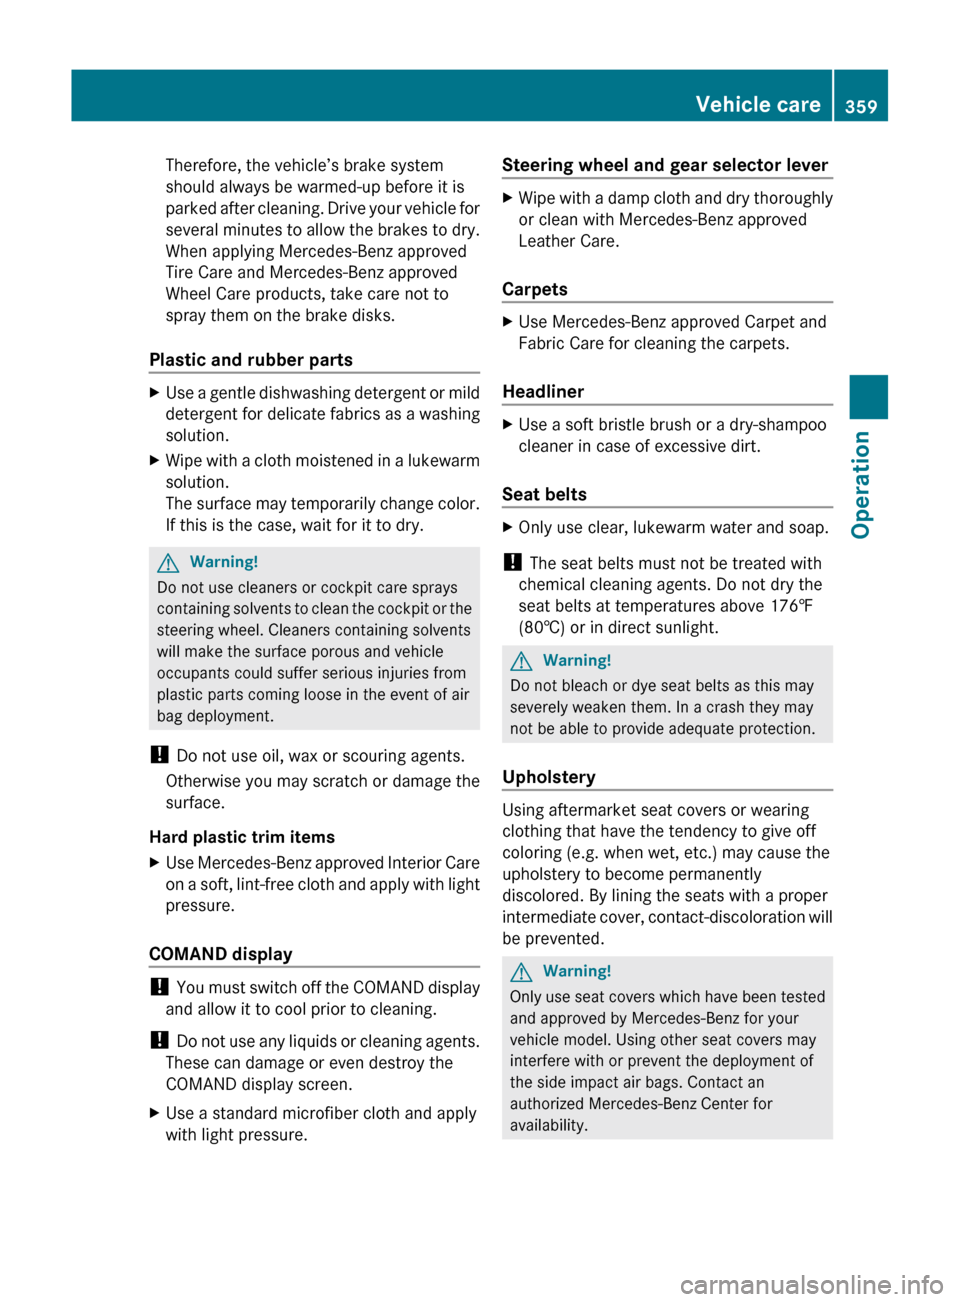
Therefore, the vehicle’s brake system
should always be warmed-up before it is
parked after cleaning. Drive your vehicle for
several minutes to allow the brakes to dry.
When applying Mercedes-Benz approved
Tire Care and Mercedes-Benz approved
Wheel Care products, take care not to
spray them on the brake disks.
Plastic and rubber partsXUse a gentle dishwashing detergent or mild
detergent for delicate fabrics as a washing
solution.XWipe with a cloth moistened in a lukewarm
solution.
The surface may temporarily change color.
If this is the case, wait for it to dry.GWarning!
Do not use cleaners or cockpit care sprays
containing solvents to clean the cockpit or the
steering wheel. Cleaners containing solvents
will make the surface porous and vehicle
occupants could suffer serious injuries from
plastic parts coming loose in the event of air
bag deployment.
! Do not use oil, wax or scouring agents.
Otherwise you may scratch or damage the
surface.
Hard plastic trim items
XUse Mercedes-Benz approved Interior Care
on a soft, lint-free cloth and apply with light
pressure.
COMAND display
! You must switch off the COMAND display
and allow it to cool prior to cleaning.
! Do not use any liquids or cleaning agents.
These can damage or even destroy the
COMAND display screen.
XUse a standard microfiber cloth and apply
with light pressure.Steering wheel and gear selector leverXWipe with a damp cloth and dry thoroughly
or clean with Mercedes-Benz approved
Leather Care.
Carpets
XUse Mercedes-Benz approved Carpet and
Fabric Care for cleaning the carpets.
Headliner
XUse a soft bristle brush or a dry-shampoo
cleaner in case of excessive dirt.
Seat belts
XOnly use clear, lukewarm water and soap.
! The seat belts must not be treated with
chemical cleaning agents. Do not dry the
seat belts at temperatures above 176‡
(80†) or in direct sunlight.
GWarning!
Do not bleach or dye seat belts as this may
severely weaken them. In a crash they may
not be able to provide adequate protection.
Upholstery
Using aftermarket seat covers or wearing
clothing that have the tendency to give off
coloring (e.g. when wet, etc.) may cause the
upholstery to become permanently
discolored. By lining the seats with a proper
intermediate cover, contact-discoloration will
be prevented.
GWarning!
Only use seat covers which have been tested
and approved by Mercedes-Benz for your
vehicle model. Using other seat covers may
interfere with or prevent the deployment of
the side impact air bags. Contact an
authorized Mercedes-Benz Center for
availability.
Vehicle care359OperationBA 197 USA, CA Edition A 2011; 1; 27, en-UShereepeVersion: 3.0.3.52010-03-24T15:31:10+01:00 - Seite 359Z
Page 363 of 436
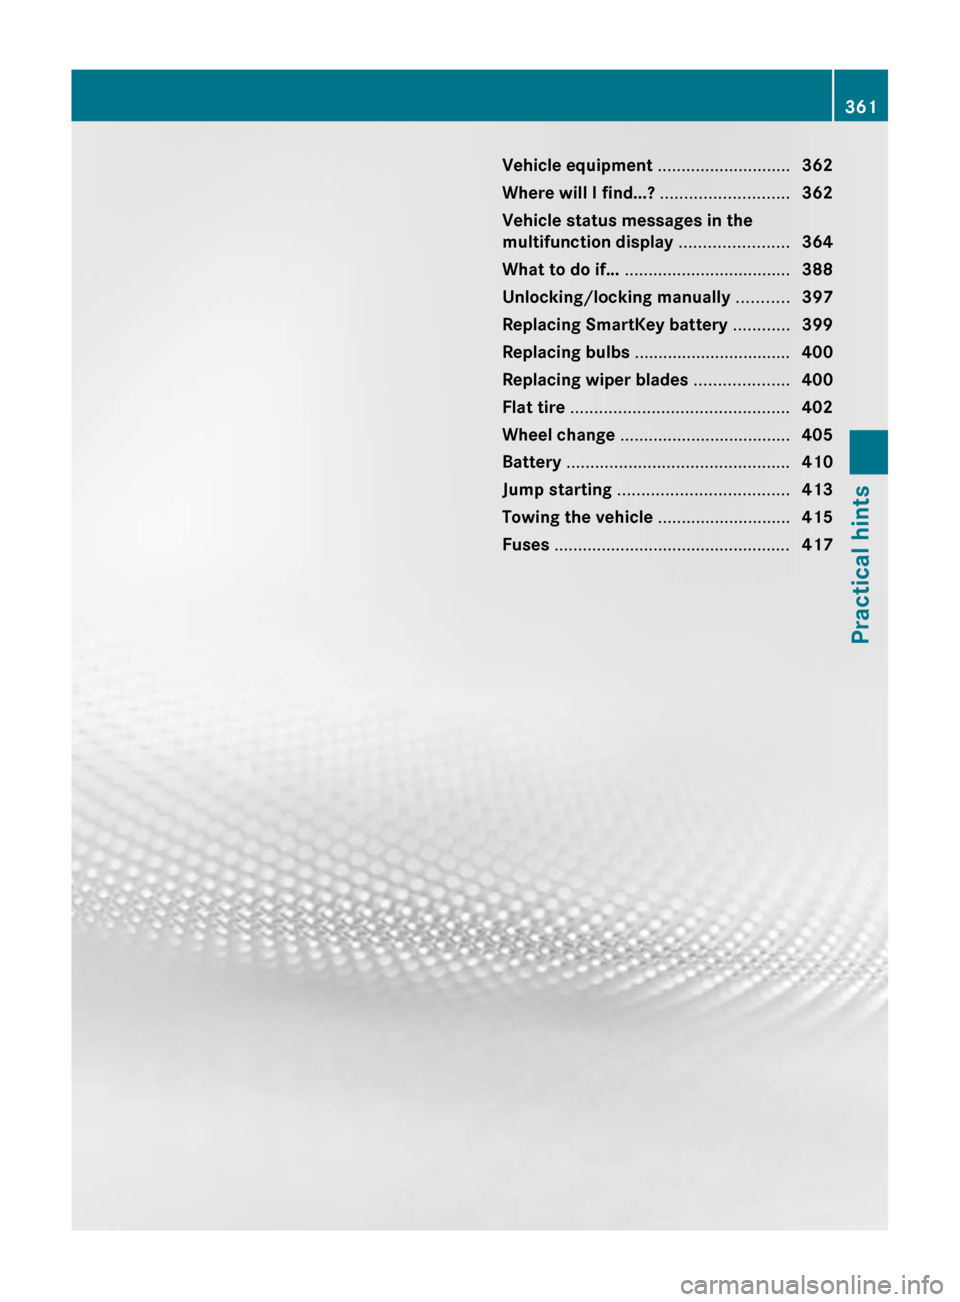
Vehicle equipment ............................362
Where will I find...? ...........................362
Vehicle status messages in the
multifunction display .......................364
What to do if... ................................... 388
Unlocking/locking manually ...........397
Replacing SmartKey battery ............399
Replacing bulbs ................................. 400
Replacing wiper blades ....................400
Flat tire .............................................. 402
Wheel change .................................... 405
Battery ............................................... 410
Jump starting .................................... 413
Towing the vehicle ............................415
Fuses .................................................. 417361Practical hintsBA 197 USA, CA Edition A 2011; 1; 27, en-UShereepeVersion: 3.0.3.52010-03-24T15:31:10+01:00 - Seite 361
Page 365 of 436

XTo remove jack C from storage well casing
E, loosen hook and loop fastener D.
XRemove jack C with storage well casing
E.
FFuse chartGWheel wrenchHTowing eye bolt
Collapsible wheel chock
The collapsible wheel chock serves to secure
the vehicle, e.g. while changing a wheel.
XTake the collapsible wheel chock from the
vehicle tool kit (Y page 362).
XSetting up: Tilt both plates upward :.XFold the lower plate outward ;.XGuide the tabs of the lower plate all the way
into the openings of base plate =.
For information on where to place wheel
chocks when changing a wheel, see
“Preparing the vehicle” (Y page 405).
Jack GWarning!
Only use the jack supplied with your vehicle
to lift the vehicle briefly for wheel changes. If
you use the jack for any other purpose, you or
others could be injured, as the jack is
designed only for the purpose of changing a
wheel.
When using the jack, observe the safety notes
in the “Removing the wheel” section and the
notes on the jack.
XTake the jack from the vehicle tool kit
(Y page 362).
Storage position
XTurn the crank handle in the direction of
arrow as far as it will go.
Operational position
XTurn the crank handle clockwise.Where will I find...?363Practical hintsBA 197 USA, CA Edition A 2011; 1; 27, en-UShereepeVersion: 3.0.3.52010-03-24T15:31:10+01:00 - Seite 363Z
Page 371 of 436
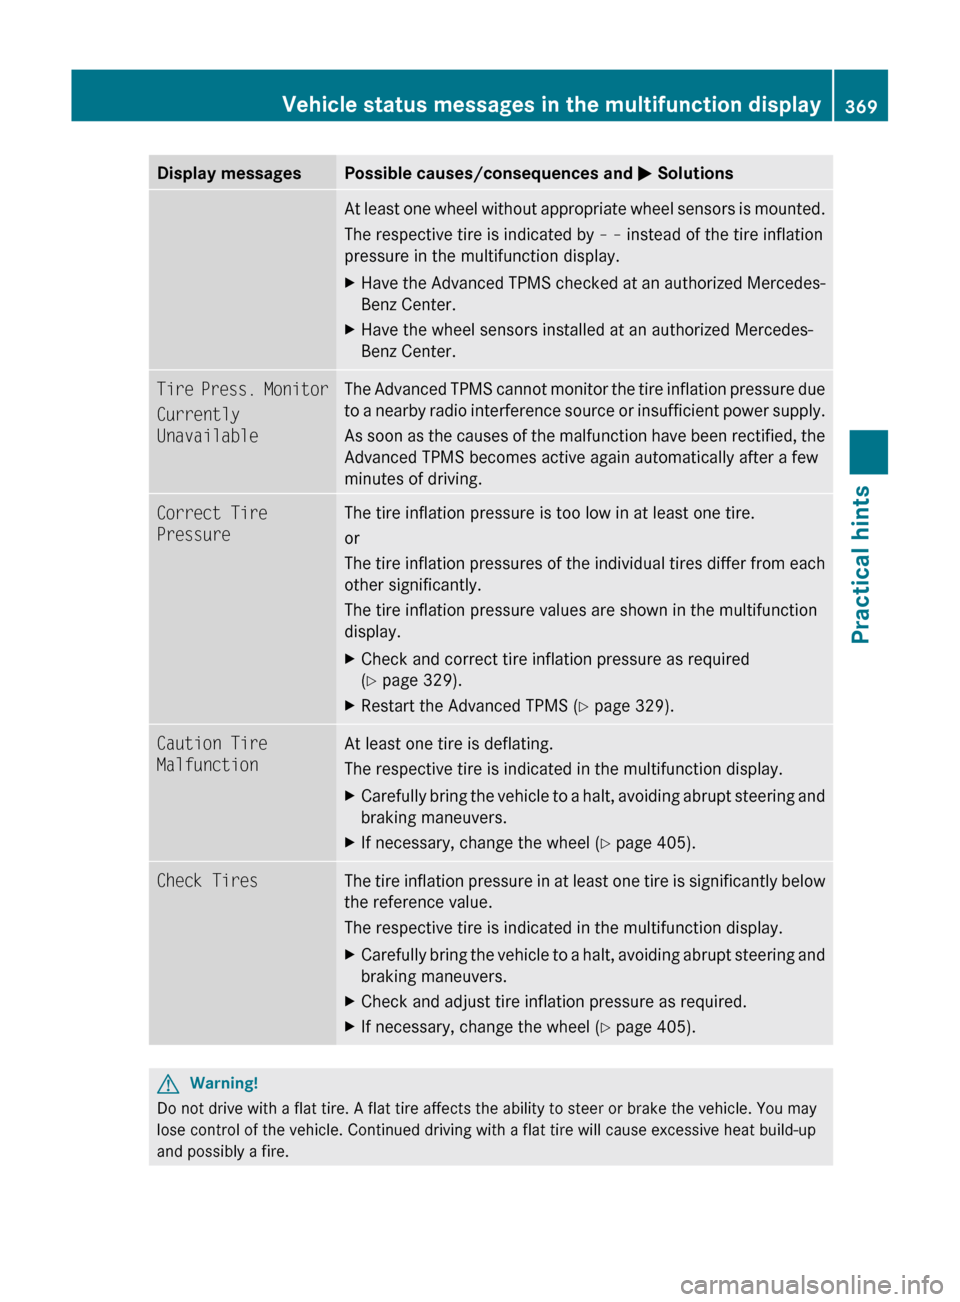
Display messagesPossible causes/consequences and M SolutionsAt least one wheel without appropriate wheel sensors is mounted.
The respective tire is indicated by – – instead of the tire inflation
pressure in the multifunction display.XHave the Advanced TPMS checked at an authorized Mercedes-
Benz Center.XHave the wheel sensors installed at an authorized Mercedes-
Benz Center.Tire Press. Monitor
Currently
UnavailableThe Advanced TPMS cannot monitor the tire inflation pressure due
to a nearby radio interference source or insufficient power supply.
As soon as the causes of the malfunction have been rectified, the
Advanced TPMS becomes active again automatically after a few
minutes of driving.Correct Tire
PressureThe tire inflation pressure is too low in at least one tire.
or
The tire inflation pressures of the individual tires differ from each
other significantly.
The tire inflation pressure values are shown in the multifunction
display.XCheck and correct tire inflation pressure as required
( Y page 329).XRestart the Advanced TPMS ( Y page 329).Caution Tire
MalfunctionAt least one tire is deflating.
The respective tire is indicated in the multifunction display.XCarefully bring the vehicle to a halt, avoiding abrupt steering and
braking maneuvers.XIf necessary, change the wheel ( Y page 405).Check TiresThe tire inflation pressure in at least one tire is significantly below
the reference value.
The respective tire is indicated in the multifunction display.XCarefully bring the vehicle to a halt, avoiding abrupt steering and
braking maneuvers.XCheck and adjust tire inflation pressure as required.XIf necessary, change the wheel ( Y page 405).GWarning!
Do not drive with a flat tire. A flat tire affects the ability to steer or brake the vehicle. You may
lose control of the vehicle. Continued driving with a flat tire will cause excessive heat build-up
and possibly a fire.
Vehicle status messages in the multifunction display369Practical hintsBA 197 USA, CA Edition A 2011; 1; 27, en-UShereepeVersion: 3.0.3.52010-03-24T15:31:10+01:00 - Seite 369Z
Page 389 of 436
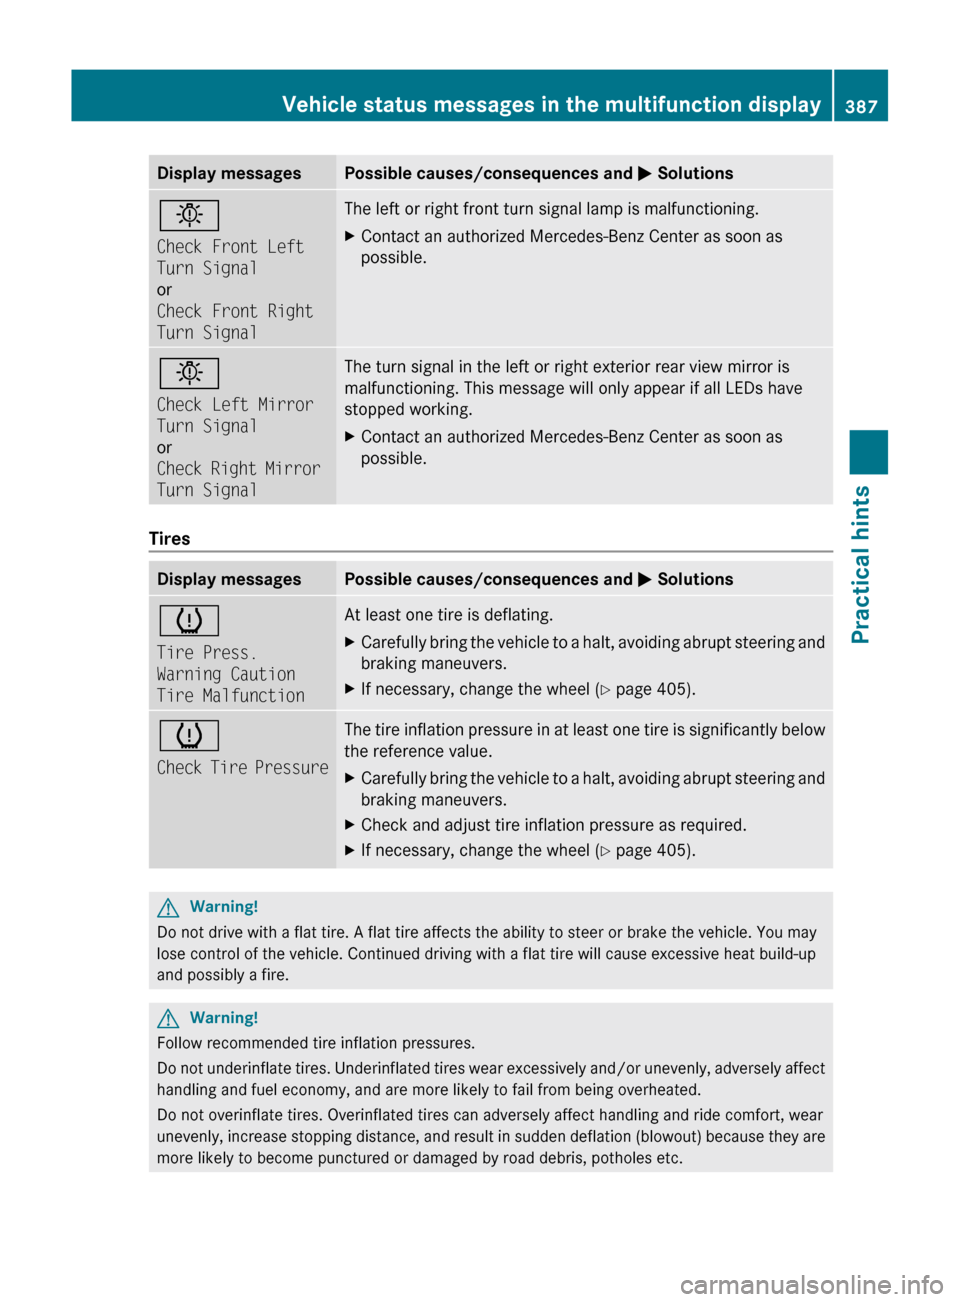
Display messagesPossible causes/consequences and M Solutionsb
Check Front Left
Turn Signal
or
Check Front Right
Turn SignalThe left or right front turn signal lamp is malfunctioning. XContact an authorized Mercedes-Benz Center as soon as
possible.b
Check Left Mirror
Turn Signal
or
Check Right Mirror
Turn SignalThe turn signal in the left or right exterior rear view mirror is
malfunctioning. This message will only appear if all LEDs have
stopped working.XContact an authorized Mercedes-Benz Center as soon as
possible.
Tires
Display messagesPossible causes/consequences and M Solutionsh
Tire Press.
Warning Caution
Tire MalfunctionAt least one tire is deflating.XCarefully bring the vehicle to a halt, avoiding abrupt steering and
braking maneuvers.XIf necessary, change the wheel ( Y page 405).h
Check Tire PressureThe tire inflation pressure in at least one tire is significantly below
the reference value.XCarefully bring the vehicle to a halt, avoiding abrupt steering and
braking maneuvers.XCheck and adjust tire inflation pressure as required.XIf necessary, change the wheel ( Y page 405).GWarning!
Do not drive with a flat tire. A flat tire affects the ability to steer or brake the vehicle. You may
lose control of the vehicle. Continued driving with a flat tire will cause excessive heat build-up
and possibly a fire.
GWarning!
Follow recommended tire inflation pressures.
Do not underinflate tires. Underinflated tires wear excessively and/or unevenly, adversely affect
handling and fuel economy, and are more likely to fail from being overheated.
Do not overinflate tires. Overinflated tires can adversely affect handling and ride comfort, wear
unevenly, increase stopping distance, and result in sudden deflation (blowout) because they are
more likely to become punctured or damaged by road debris, potholes etc.
Vehicle status messages in the multifunction display387Practical hintsBA 197 USA, CA Edition A 2011; 1; 27, en-UShereepeVersion: 3.0.3.52010-03-24T15:31:10+01:00 - Seite 387Z