2011 MERCEDES-BENZ SLK55AMG reset
[x] Cancel search: resetPage 152 of 312
i
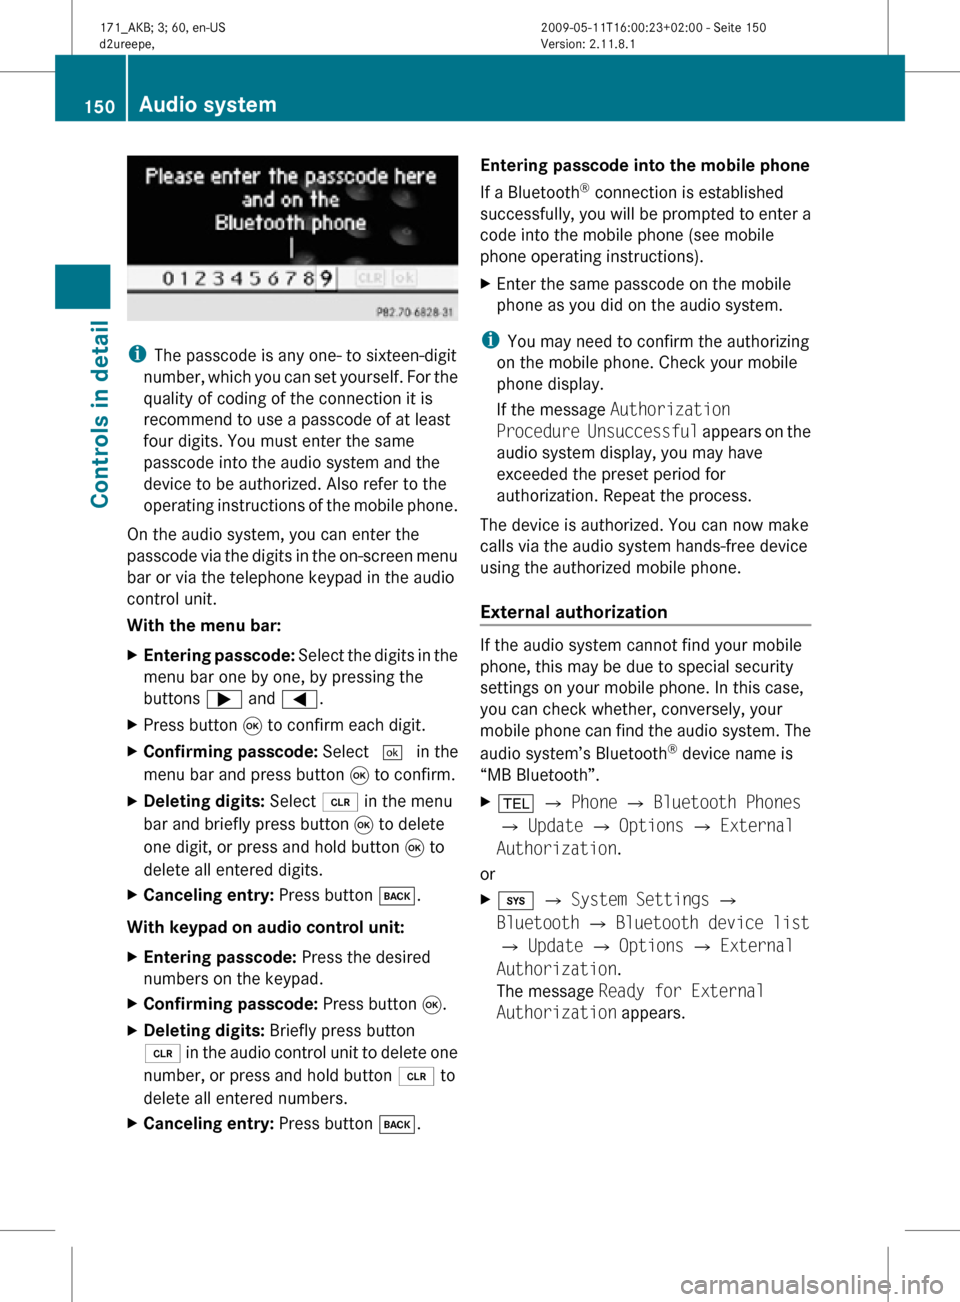
The passcode is any one- to sixteen-digit
number, which you can set yourself. For the
quality of coding of the connection it is
recommend to use a passcode of at least
four digits. You must enter the same
passcode into the audio system and the
device to be authorized. Also refer to the
operating instructions of the mobile phone.
On the audio system, you can enter the
passcode via the digits in the on-screen menu
bar or via the telephone keypad in the audio
control unit.
With the menu bar:
X Entering passcode: Select the digits in the
menu bar one by one, by pressing the
buttons ; and =.
X Press button 9 to confirm each digit.
X Confirming passcode: Select ¬ in the
menu bar and press button 9 to confirm.
X Deleting digits: Select 2 in the menu
bar and briefly press button 9 to delete
one digit, or press and hold button 9 to
delete all entered digits.
X Canceling entry: Press button k.
With keypad on audio control unit:
X Entering passcode: Press the desired
numbers on the keypad.
X Confirming passcode: Press button 9.
X Deleting digits: Briefly press button
2 in the audio control unit to delete one
number, or press and hold button 2 to
delete all entered numbers.
X Canceling entry: Press button k. Entering passcode into the mobile phone
If a Bluetooth
®
connection is established
successfully, you will be prompted to enter a
code into the mobile phone (see mobile
phone operating instructions).
X Enter the same passcode on the mobile
phone as you did on the audio system.
i You may need to confirm the authorizing
on the mobile phone. Check your mobile
phone display.
If the message Authorization
Procedure Unsuccessful appears on the
audio system display, you may have
exceeded the preset period for
authorization. Repeat the process.
The device is authorized. You can now make
calls via the audio system hands-free device
using the authorized mobile phone.
External authorization If the audio system cannot find your mobile
phone, this may be due to special security
settings on your mobile phone. In this case,
you can check whether, conversely, your
mobile phone can find the audio system. The
audio system’s Bluetooth
®
device name is
“MB Bluetooth”.
X % Q Phone Q Bluetooth Phones
Q Update Q Options Q External
Authorization.
or
X i Q System Settings Q
Bluetooth Q Bluetooth device list
Q Update Q Options Q External
Authorization.
The message Ready for External
Authorization appears. 150
Audio systemControls in detail
171_AKB; 3; 60, en-US
d2ureepe,
Version: 2.11.8.1 2009-05-11T16:00:23+02:00 - Seite 150
Page 160 of 312
X
Selecting a call: Press button 9
or : until the desired entry is
highlighted.
X Initiating call: Press button 9 or 6.
Aborting dial or ending a call X
% Q ¢ and press button 9.
or
X Press button ~ on the audio control unit
or on the multifunction steering wheel.
Rejecting or accepting calls You will be notified of an incoming call by the
ringing tone and a message on the display.
i
Depending on the mobile phone you are
using, the audio system’s ringing tone may
differ from the one you have set on your
mobile phone. You may hear
R the ringing tone set on the mobile phone
R the audio system’s preset ringing tone
R the audio system’s preset ringing tone
and the ringing tone set on the mobile
phone
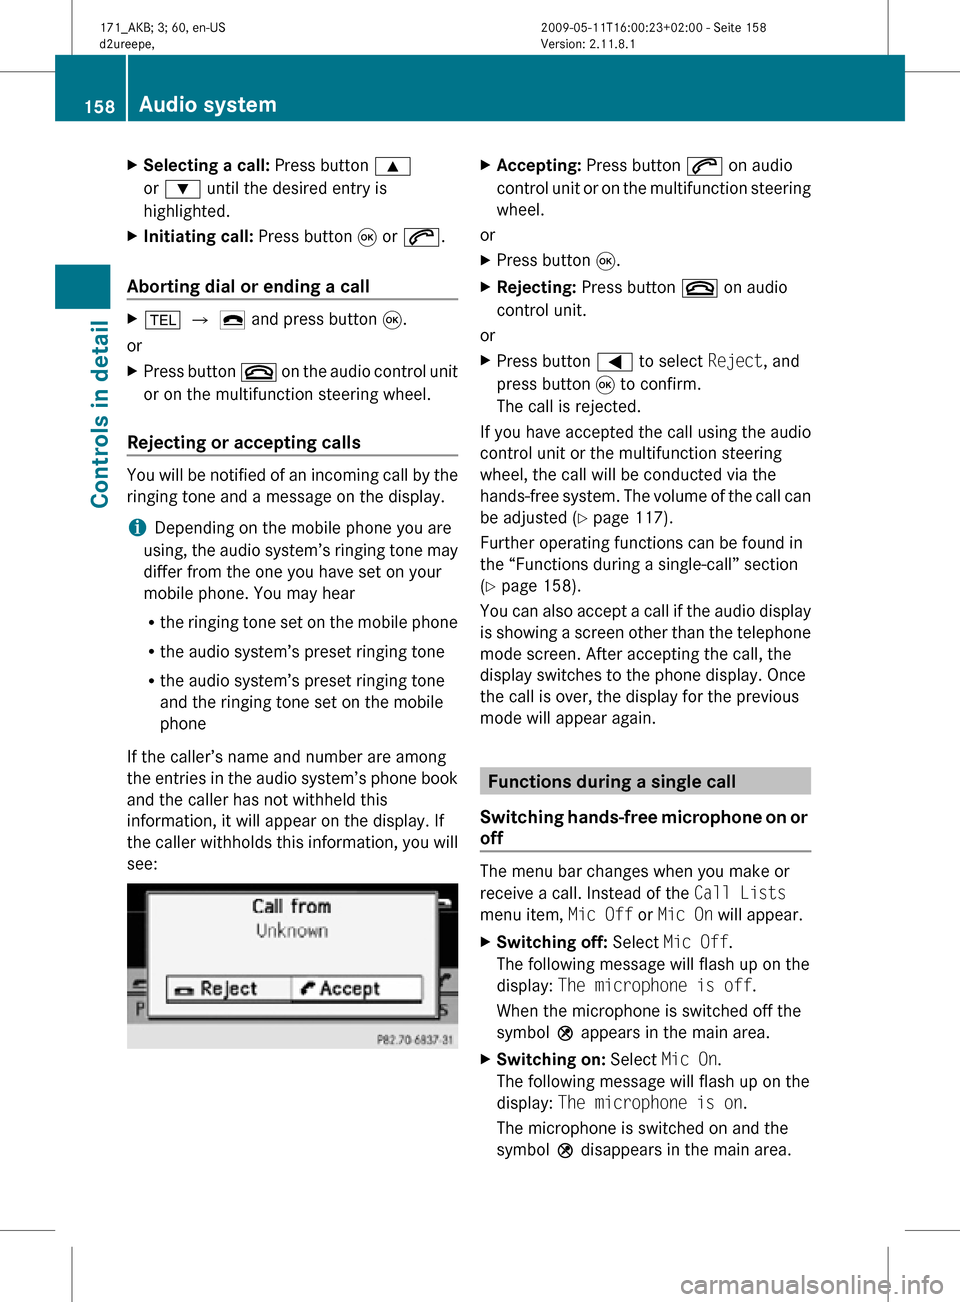
If the caller’s name and number are among
the entries in the audio system’s phone book
and the caller has not withheld this
information, it will appear on the display. If
the caller withholds this information, you will
see: X
Accepting: Press button 6 on audio
control unit or on the multifunction steering
wheel.
or
X Press button 9.
X Rejecting: Press button ~ on audio
control unit.
or
X Press button = to select Reject, and
press button 9 to confirm.
The call is rejected.
If you have accepted the call using the audio
control unit or the multifunction steering
wheel, the call will be conducted via the
hands-free system. The volume of the call can
be adjusted ( Y page 117).
Further operating functions can be found in
the “Functions during a single-call” section
(Y page 158).
You can also accept a call if the audio display
is showing a screen other than the telephone
mode screen. After accepting the call, the
display switches to the phone display. Once
the call is over, the display for the previous
mode will appear again. Functions during a single call
Switching hands-free microphone on or
off The menu bar changes when you make or
receive a call. Instead of the Call Lists
menu item, Mic Off or Mic On will appear.
X
Switching off: Select Mic Off.
The following message will flash up on the
display: The microphone is off.
When the microphone is switched off the
symbol Q appears in the main area.
X Switching on: Select Mic On.
The following message will flash up on the
display: The microphone is on.
The microphone is switched on and the
symbol Q disappears in the main area. 158
Audio systemControls in detail
171_AKB; 3; 60, en-US
d2ureepe,
Version: 2.11.8.1 2009-05-11T16:00:23+02:00 - Seite 158
Page 161 of 312
i
You can also switch the microphone on or
off by pressing button 8.
Sending DTMF tones i
This function is not possible with all
mobile phones.
Answering
machines or other devices can be
controlled via DTMF tones, e.g. for remote
query functions.
X Transmitting individual characters:
During a call select the required
characters.
or
X Press the corresponding button on the
audio control unit.
Every selected character is transmitted
immediately.
X Transmitting a phone number of a
phone book entry as a sequence of
characters: Select Name.
X Select the desired phone book entry.
The entry is transmitted immediately as a
sequence of characters.
X Switching back to call display: Select
Back. Driving systems
Introduction
The
cruise control driving system is described
on the following pages.
The driving safety systems ABS, BAS and
ESP ®
are described in the “Safety and
security” section (Y page 47). Cruise control
The cruise control maintains the speed you
set for your vehicle automatically.
The
use of the cruise control is recommended
for driving at a constant speed for extended
periods of time. The currently set speed or last set speed
(“Resume” function) appears in the status
indicator of the multifunction display:
R
USA only: e.g. CRUISE 55 Miles
R Canada only: e.g. ¯ 90 Km/h G
Warning!
The cruise control is a convenience system
designed to assist the driver during vehicle
operation. The driver is and must always
remain responsible for the vehicle’s speed
and for safe brake operation.
Only
use the cruise control if the road, traffic,
and weather conditions make it advisable to
travel at a constant speed.
R The use of the cruise control can be
dangerous on winding roads or in heavy
traffic because conditions do not allow safe
driving at a constant speed.
R The use of the cruise control can be
dangerous on slippery roads. Rapid
changes in tire traction can result in wheel
spin and loss of control.
R Deactivate the cruise control when driving
in fog.
The “Resume” function should only be
operated if the driver is fully aware of the
previously set speed and wishes to resume
this particular preset speed. G
Warning!
When the cruise control is braking, the brake
pedal is retracted (i.e. depressed
automatically). The pedals’ range of motion
must not be impeded by any obstacles:
R Do not place any objects in the footwell.
R Make sure that the floormats and carpets
are securely in place.
R Do
not rest your foot underneath the brake
pedal, as it could otherwise be trapped.
You could otherwise cause an accident and
injure yourself and/or others. Driving systems
159
Controls in detail
171_AKB; 3; 60, en-US
d2ureepe, Version: 2.11.8.1 2009-05-11T16:00:23+02:00 - Seite 159 Z
Page 163 of 312
R
Vehicles with manual transmission: you
engage a gear too high for the current
speed
and thus the engine speed is too low
R Vehicles with automatic transmission: you
shift the automatic transmission into
neutral position N while driving
Depressing the accelerator pedal does not
deactivate the cruise control. After a brief
acceleration (e.g. for passing), the cruise
control will resume the last set speed.
Changing the set speed G
Warning!
Keep in mind that it may take a brief moment
until the vehicle has made the necessary
adjustments.
Increase
or decrease the set vehicle speed to
a value that the prevailing road conditions and
legal speed limits permit. Otherwise, sudden
and unexpected acceleration or deceleration
of the vehicle could cause an accident and/
or serious injury to you and others.
When you use the cruise control lever to
decelerate, the brake system will brake the
vehicle automatically if the engine’s braking
power does not brake the vehicle sufficiently.
X Increasing: Lift the cruise control lever in
direction of arrow : and hold it up until
the desired speed is reached.
X Decreasing:
Press the cruise control lever
in direction of arrow ; and hold it down
until the desired speed is reached.
X Release the cruise control lever.
The new speed is set and the vehicle will
accelerate or decelerate. Fine adjustment in 1 mph (Canada:
1 km/h) increments
X
Increasing: Briefly tip the cruise control
lever in direction of arrow :.
X Decreasing: Briefly tip the cruise control
lever in direction of arrow ;.
Setting stored speed (Resume
function) G
Warning!
The set speed stored in memory should only
be set again if prevailing road conditions and
legal speed limits permit. Possible
acceleration or deceleration differences
arising from returning to the preset speed
could
cause an accident and/or serious injury
to you and others.
X Briefly pull the cruise control lever in
direction of arrow ?.
X Remove your foot from the accelerator
pedal.
The last stored speed is deleted from memory
when the engine is turned off. Driving systems
161
Controls in detail
171_AKB; 3; 60, en-US
d2ureepe, Version: 2.11.8.1 2009-05-11T16:00:23+02:00 - Seite 161 Z
Page 206 of 312
Restart the TPMS after adjusting the tire
inflation pressure to the inflation pressure
recommended for the vehicle operating
condition. Tire inflation pressure should only
be adjusted on cold tires. Observe the
recommended tire inflation pressure on the
Tire and Loading Information placard on the
driver’s door B-pillar. Some vehicles may have
supplemental tire inflation pressure
information for driving at high speeds or for
vehicle loads less than the maximum loaded
vehicle condition. If such information is
provided, it can be found on the inside of the
fuel filler flap.
X
Using the Tire and Loading Information
placard on the driver’s door B-pillar
(Y page 205) or the supplemental tire
inflation pressure information on the inside
of the fuel filler flap, make sure the tire
inflation pressure of all four tires is correct.
X Switch on the ignition.
X Press button V or U on the
multifunction steering wheel repeatedly
until the standard display appears in the
multifunction display ( Y page 96).
X Press button & or * repeatedly until
you see the current inflation pressures for
each tire appear in the display or the
following message appears in the
multifunction display:
Tire pressure is
only displayed
after driving for
a few minutes.
X Press the reset button (Y page 92).
The following message will appear in the
multifunction display:
Restart tire
pressure monitor?
X If you wish to confirm: Press button
W.
The following message will appear in the
multifunction display:
Tire Pressure Monitor
Restarted After driving a few minutes the system
verifies that the current tire inflation
pressures are within the system’s specified
range. Afterwards the current tire inflation
pressures are accepted as reference values
and then monitored.
X If you wish to cancel: Press button X.
i When the wheel positions have been
changed, the inflation pressure of a tire
may be displayed for the wrong position
temporarily. After driving for a few minutes,
the inflation pressure will be shown for the
correct position. Maximum tire inflation pressure
G
Warning!
Never exceed the maximum tire inflation
pressure. Follow recommended tire inflation
pressures.
Do not underinflate tires. Underinflated tires
wear excessively and/or unevenly, adversely
affect handling and fuel economy, and are
more likely to fail from being overheated.
Do not overinflate tires. Overinflated tires can
adversely affect handling and ride comfort,
wear unevenly, increase stopping distance,
and result in sudden deflation (blowout)
because they are more likely to become
punctured or damaged by road debris,
potholes etc. i
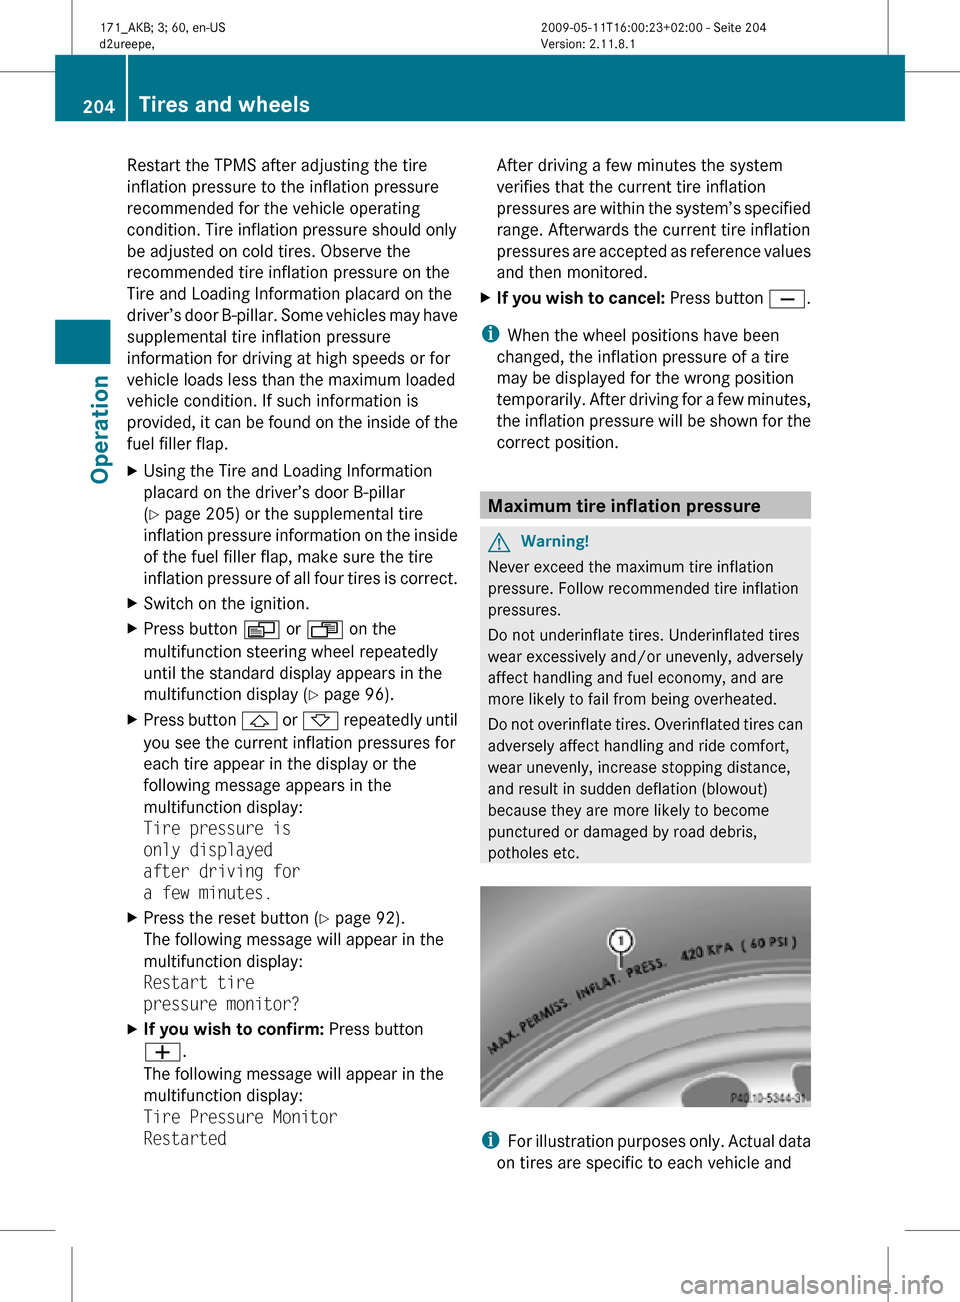
For illustration purposes only. Actual data
on tires are specific to each vehicle and 204
Tires and wheelsOperation
171_AKB; 3; 60, en-US
d2ureepe,
Version: 2.11.8.1 2009-05-11T16:00:23+02:00 - Seite 204
Page 228 of 312
Clearing the maintenance service
indicator message
The maintenance service indicator message
is cleared automatically
R
after approximately 10 seconds when you
switch on the ignition
R after approximately 10 seconds when
reaching
the service threshold while driving
R after approximately 30 seconds, once the
suggested maintenance service term has
passed
X Clearing the maintenance service
indicator
message manually: Press reset
button . on the instrument cluster.
The standard display appears in the
multifunction display.
Maintenance service term exceeded If you have exceeded the suggested
maintenance service term, you will see the
following message in the multifunction
display:
Service A Exceeded By XXXXX Miles
(Km)
Service A Exceeded By XXX Days
Service A Exceeded By X Day
In addition, a signal sounds when the
message appears.
Any authorized Mercedes-Benz Center will
reset the maintenance service indicator
following a completed maintenance service.
Calling up the maintenance service
indicator display
i The menu overview can be found on
(Y page 96).
You can call up the maintenance service
indicator display at any time to check when
the next maintenance service is required. X
Switch on the ignition.
X Press button V or U on the
multifunction steering wheel repeatedly
until the standard display
(Y page 96)
appears in the multifunction display.
X Press button * or & on the
multifunction steering wheel until the
maintenance
service indicator display with
the service symbol ¯ and the
maintenance service deadline appears in
the multifunction display.
i If
the battery was disconnected, the days
of disconnection will not be included in the
count shown by the maintenance service
indicator. To arrive at the true maintenance
service deadline, you will need to subtract
these days from the days shown in the
maintenance service indicator message or
maintenance service indicator display.
Do not confuse the maintenance service
indicator with the engine oil level indicator
4. Resetting the maintenance service
indicator
In
the event that the maintenance service on
your vehicle is not carried out at an authorized
Mercedes-Benz Center, you can have the
maintenance service indicator reset.
The automotive maintenance facility carrying
out the maintenance service will find the
information for resetting the maintenance
service indicator in the maintenance-relevant
literature for your vehicle.
Such literature is available at any authorized
Mercedes-Benz Center or directly from
Mercedes-Benz.
! If the maintenance service indicator was
reset inadvertently, have an authorized
Mercedes-Benz Center correct it.
Only reset the maintenance service
indicator if the proper maintenance service
has been performed. Not following the
proper maintenance service as described 226
Maintenance
Operation
171_AKB; 3; 60, en-US
d2ureepe,
Version: 2.11.8.1 2009-05-11T16:00:23+02:00 - Seite 226
Page 238 of 312
The spare wheel bolts are located under a
plastic cover on the outside of the spare
wheel rim.
X
Take off the spare wheel bolts.
For information on mounting the spare wheel,
see “Flat tire” ( Y page 273).
Storing the spare wheel after use If you wish to store the spare wheel after use,
carry out the following steps. Otherwise, the
spare wheel may not fit into the spare wheel
well.
!
Make sure the spare wheel is dry before
storing it.
X Take the valve extractor from the vehicle
tool kit ( Y page 234).
X Unscrew the valve cap from the valve of the
collapsible tire.
X Use the valve extractor to unscrew the
valve insert from the valve.
X Allow the air to escape.
i It may take a few minutes for the
collapsible tire to deflate completely.
X Use the valve extractor to screw the valve
insert back into the valve.
X Screw the valve cap back onto the valve.
X Place the valve extractor back into the
vehicle tool kit.
X Take the protective wrap from the vehicle
tool kit.
X Pull the protective wrap over the spare
wheel.
X Place the spare wheel into the spare wheel
well.
X Pierce the protective wrap with retaining
screw ;.
X Secure the spare wheel by turning retaining
screw ; clockwise. Vehicle status messages in the
multifunction display
Notes
Warning and malfunction messages appear in
the multifunction display located in the
instrument cluster.
Certain warning and malfunction messages
are accompanied by an audible signal.
Address these messages accordingly and
follow the additional instructions given in this
Operator’s Manual.
Selecting the Vehicle status message
memory menu in the control system
(Y page 101) displays both cleared and
uncleared messages.
High-priority messages appear in the
multifunction display in red color.
Certain messages of high priority cannot be
cleared from the multifunction display using
the reset button . (Y page 92) or button
&, *, U or V on the
multifunction steering wheel.
Other messages of high priority and
messages of less immediate priority can be
cleared from the multifunction display using
the reset button . or button &, *,
U or V on the multifunction steering
wheel. They are then stored in the Vehicle
status message memory menu
(Y page 101). Remember that clearing a
message will only make the message
disappear. Clearing a message will not
correct the condition that caused the
message to appear. G
Warning!
All categories of messages contain important
information which should be taken note of
and, where a malfunction is indicated,
addressed as soon as possible at an
authorized Mercedes-Benz Center.
Failure to repair the condition noted may
cause
damage not covered by the Mercedes- 236
Vehicle status messages in the multifunction display
Practical hints
171_AKB; 3; 60, en-US
d2ureepe,
Version: 2.11.8.1 2009-05-11T16:00:23+02:00 - Seite 236
Page 263 of 312
Problem
Possible causes/consequences and
X Solutionsd
The yellow ESP ®
warning lamp
flashes while
driving. The ESP
®
or the Electronic Traction System (ETS) has come into
operation because of detected traction loss in at least one tire.
X When driving off, apply as little throttle as possible.
X While driving, ease up on the accelerator pedal.
X Adapt your speed and driving to the prevailing road and weather
conditions.
X Do not deactivate the ESP ®
.
Exceptions: (Y page 50).
Failure to follow these instructions increases the risk of an
accident. Vehicle
Problem
Possible causes/consequences and
X Solutions8
The yellow fuel
tank reserve
warning lamp
comes on when
the engine is
running.
In addition the
message
Reserve Fuel
appears in the
multifunction
display. The fuel level has gone below the reserve mark.
X
Refuel at the next gas station.
After refueling you will see the message 1 Message in the
multifunction display.
X Press reset button . to confirm the message ( Y page 92).8
The yellow fuel
tank reserve
warning lamp
comes on when
the engine is
running. The fuel cap is not closed properly.
X
Close the fuel cap. What to do if …
261
Practical hints
171_AKB; 3; 60, en-US
d2ureepe, Version: 2.11.8.1 2009-05-11T16:00:23+02:00 - Seite 261 Z