2011 MERCEDES-BENZ S-Class Hidden menu
[x] Cancel search: Hidden menuPage 204 of 524

Phone book/address book basic display
:ListÇ Entry with navigable data\ Entry with voice tag; see the
separate operating instructions for Voice
Control System*
Æ Address book entryà Mobile phone entry0 SIM card entry® Entry imported via Bluetooth®¯ Entry imported via memory cardG Entry with multiple phone numbers;Two-line character barB To change the language of the
characters
p To select the character setF To delete your selection¬ To confirm your selection% Back
Calling up contacts from a list
XPhone book: select Name in the telephone
basic menu by sliding VÆ and turning
cVd the COMAND controller and press
W to confirm.
XAddress book: select Data/connections
in the telephone basic menu by sliding
VÆ and turning cVd the COMAND
controller and press W to confirm.
XSelect Address book and press W to
confirm.
XTo switch from the character bar to the
list: slide ZV the COMAND controller until
the character bar is hidden.
or
XSelect ¬.XTo call a contact: select by sliding ZVÆ
or turning cVd the COMAND controller
and press W to confirm.
iThe phone book is also available via the
on-board computer (Y page 374).
Calling up contacts using the character
bar
XPhone book: select Name in the telephone
basic menu by sliding VÆ and turning
cVd the COMAND controller and press
W to confirm.
XAddress book: select Data/connections
in the telephone basic menu by sliding
VÆ and turning cVd the COMAND
controller and press W to confirm.
XSelect Address book and press W to
confirm.
XTo switch from the list to the character
bar: select Back from the list.
or
XPress the % back button on the center
console.
XTo select a character: select by sliding
ZVÆ or XVY the COMAND controller and
press W to confirm. Repeat this procedure
until COMAND automatically switches over
to the list.
The first character entered defines the first
letter of the entry you are searching for. If
there are similar entries, the next character
which is different will be displayed and
offered for selection.
iYou can also use the telephone number
keypad to enter characters.
202TelephoneCOMAND* optional
Page 205 of 524

Displaying contact detailsXSelect Options by sliding VÆ and turning
cVd the COMAND controller and press
W to confirm.
XSelect Details and press W to confirm.
The detailed view appears.
XTo return to the list: select List by sliding
XVY the COMAND controller and press
W to confirm.
Creating new contacts/changing
contacts
Automatically imported contacts cannot be
edited. These have to be copied to the
COMAND address book first by saving.
iIn certain countries, these functions are
not available from speeds above
approximately 3 mph (5 km/h). As soon as
the speed falls below approximately 2 mph
(3 km/h), the function is available again.
iYou can enter address data directly into
the address book. If you store telephone
numbers in the phone book, these are
saved in the address book. If you store a
navigation destination, COMAND creates
an address book entry which includes the
complete navigable address data.
iAutomatically imported contacts cannot
be edited. They have to be saved first, to be
copied to the COMAND address book.
XCall up the contact (Y page 201)13.XSelect Options by sliding VÆ and turning
cVd the COMAND controller and press
W to confirm.
XSelect New entry or Edit and press W to
confirm.
The input menu with data fields appears.
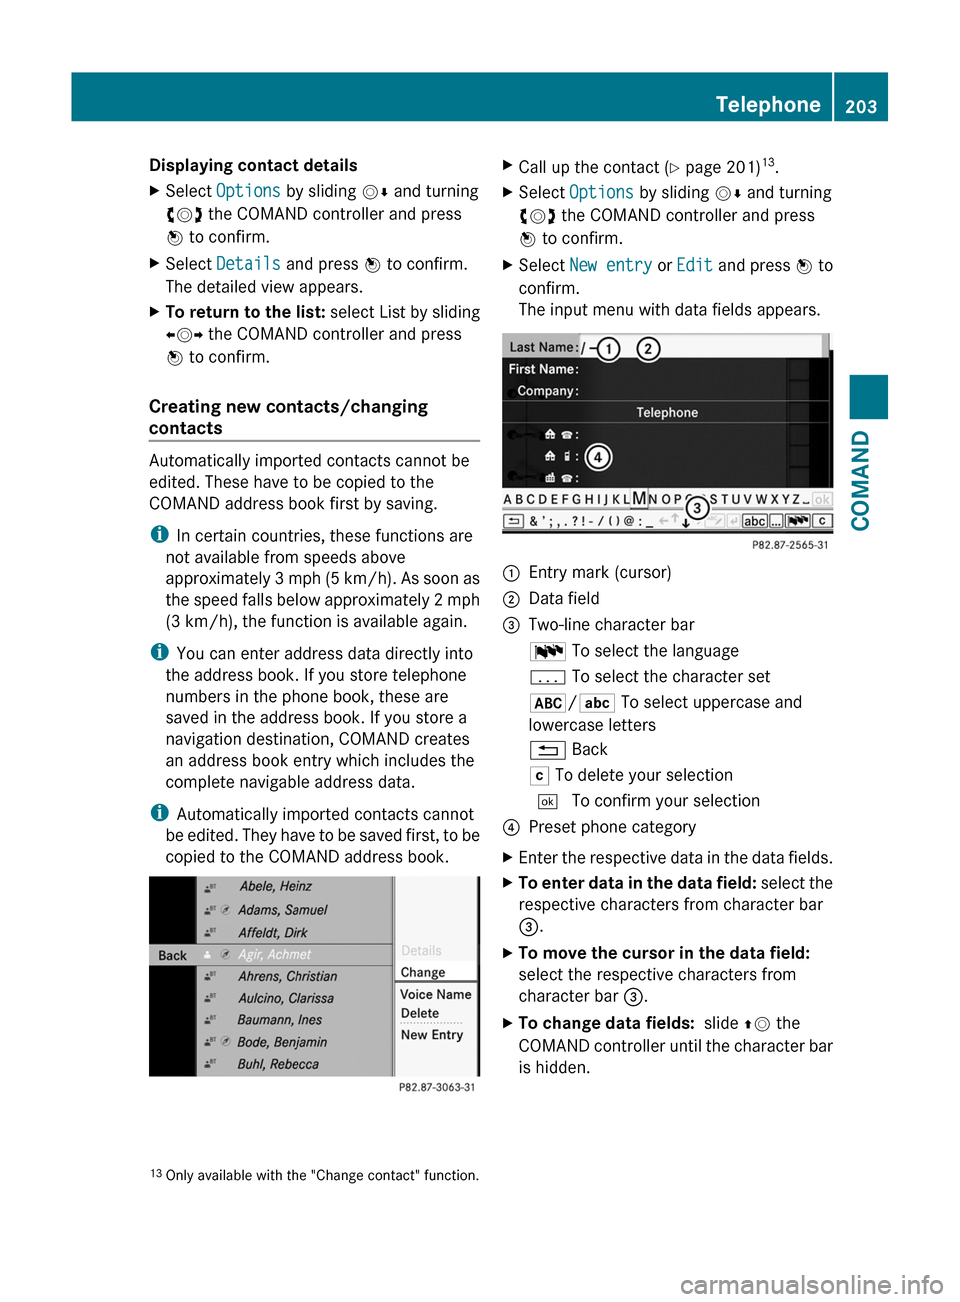
:Entry mark (cursor);Data field=Two-line character barB To select the languagep To select the character set*/E To select uppercase and
lowercase letters
% BackF To delete your selection¬ To confirm your selection?Preset phone categoryXEnter the respective data in the data fields.XTo enter data in the data field: select the
respective characters from character bar
=.
XTo move the cursor in the data field:
select the respective characters from
character bar =.
XTo change data fields: slide ZV the
COMAND controller until the character bar
is hidden.
13Only available with the "Change contact" function.Telephone203COMANDZ
Page 241 of 524

Stop functionXPress W the COMAND controller to show
the menu.
XTo interrupt playback: select ± by
turning cVd the COMAND controller and
press W to confirm.
The « display changes to M. The video
image is hidden.
XTo continue playback: select M and press
W to confirm.
Playback continues from the point where it
was interrupted.
XTo stop playback: while playback is
interrupted, select ± again and press W
to confirm.
or
XDuring playback, confirm ± by pressing
W twice in quick succession.
M is selected.
XTo restart playback: confirm M by
pressing W.
Playback restarts from the beginning.
Pause function
XPress W the COMAND controller to show
the menu.
XTo pause: select « by turning cVd the
COMAND controller and press W to
confirm.
The « display changes to M.
XTo continue playback: select M and press
W to confirm.
The menu is hidden.
Selecting a scene/chapter
If the film is divided into scenes or chapters,
you can select them directly while the film is
running, or skip forwards step-by-step. Some
DVDs do not permit this at certain points (e.g.
during the opening credits).
It may also be possible to select the scene/
chapter from within the menu stored on the
DVD.
XTo skip forwards or back: turn cVd or
slide XVY the COMAND controller.
The navigation menu (Y page 237) appears
for approximately eight seconds.
XOn the multifunction steering wheel:
switch on video DVD mode in COMAND
(Y page 237).
XUse the = or ; button to select the
Audio menu.
XPress 9 or : to select a scene/
chapter.
If you press and hold 9 or : for an
extended period, rapid scroll begins.
Selecting a film/title
This function is only available if the DVD is
divided into several films/tracks. If the DVD
contains several films, these can be selected
directly. A film can be selected either when
the DVD is being played back or when it is
stopped.
The film can also be selected from the menu
on the DVD itself.
XPress W the COMAND controller to show
the menu.
XSelect DVD-V by turning cVd the COMAND
controller and press W to confirm.
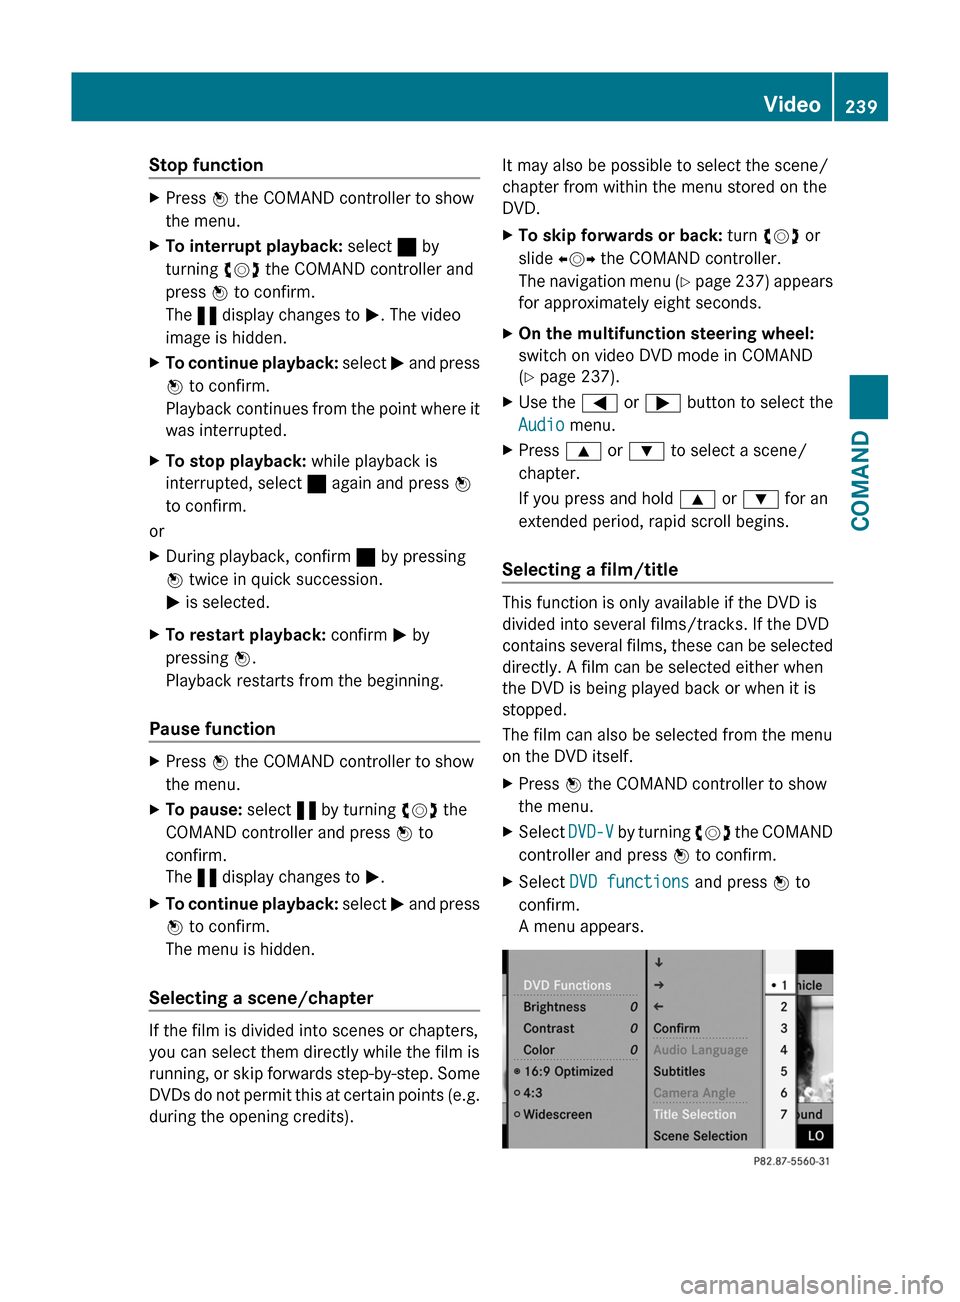
XSelect DVD functions and press W to
confirm.
A menu appears.
Video239COMANDZ
Page 249 of 524

Setting the picture brightnessXSelect Settings using the : button
and press the 9 button to confirm.
XSelect Brightness using the 9:
buttons and press the 9 button to confirm.
A scale appears.
XAdjust the brightness using the 9:
buttons and press the 9 button to confirm.
The brightness bar moves up or down. The
picture becomes lighter or darker in
accordance with the scale.
Showing/hiding the picture
XTo hide the picture: select Display off
in the system menu using the :;
buttons on the remote control and press
the 9 button to confirm.
The picture is hidden.
XTo display the picture: press the 9
button.
Audio CD/DVD and MP3 mode
Safety note
GWarning
The RSE CD/DVD player is a Class 1 laser
product. There is a danger of invisible laser
radiation when you open or damage the cover.
Do not remove the cover. The RSE CD/DVD
player does not contain any parts which can
be serviced by the user. For safety reasons,
have any necessary service work performed
by qualified personnel.
General notes
You will find information on the following
topics in the Audio section:
Rnotes on CDs/DVDs (Y page 225)
Rnotes on MP3 mode (Y page 224)
Rnotes on copyright (Y page 225)
Inserting a CD/DVD
The CD/DVD drive is located in the center
behind the front seats.
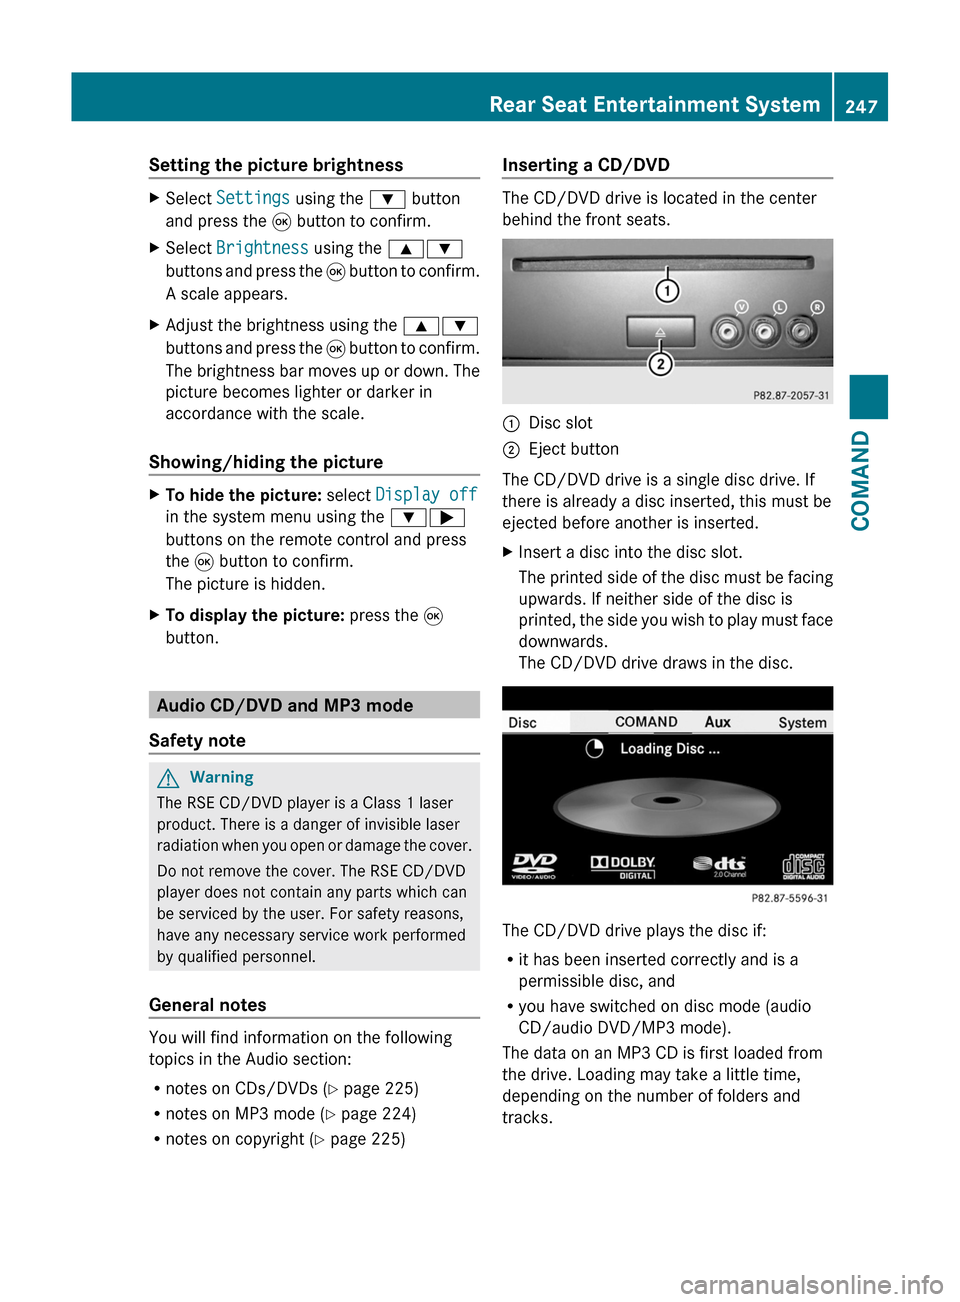
:Disc slot;Eject button
The CD/DVD drive is a single disc drive. If
there is already a disc inserted, this must be
ejected before another is inserted.
XInsert a disc into the disc slot.
The printed side of the disc must be facing
upwards. If neither side of the disc is
printed, the side you wish to play must face
downwards.
The CD/DVD drive draws in the disc.
The CD/DVD drive plays the disc if:
Rit has been inserted correctly and is a
permissible disc, and
Ryou have switched on disc mode (audio
CD/audio DVD/MP3 mode).
The data on an MP3 CD is first loaded from
the drive. Loading may take a little time,
depending on the number of folders and
tracks.
Rear Seat Entertainment System247COMANDZ
Page 254 of 524

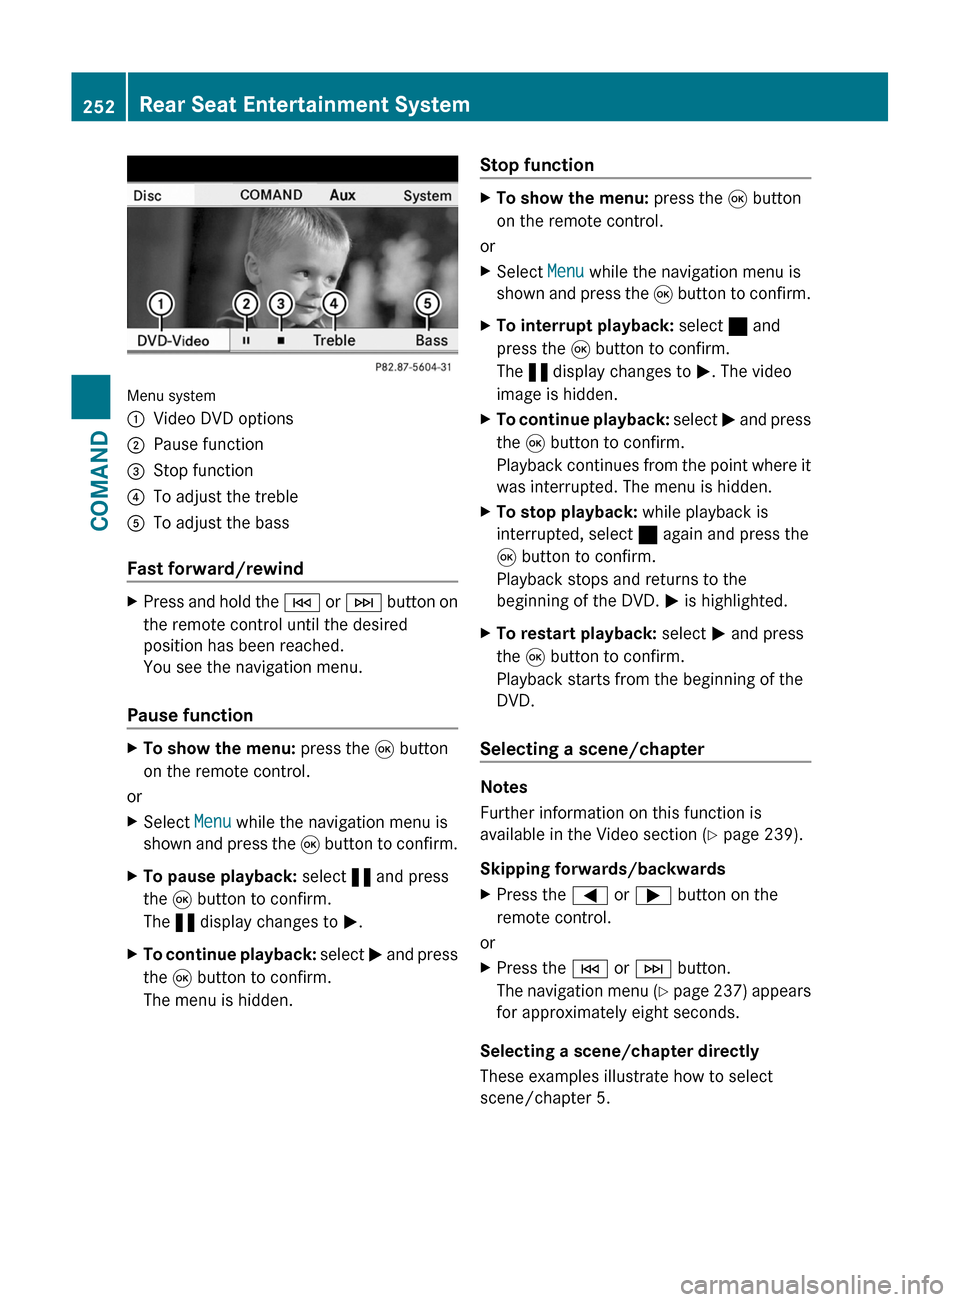
Menu system
:Video DVD options;Pause function=Stop function?To adjust the trebleATo adjust the bass
Fast forward/rewind
XPress and hold the E or F button on
the remote control until the desired
position has been reached.
You see the navigation menu.
Pause function
XTo show the menu: press the 9 button
on the remote control.
or
XSelect Menu while the navigation menu is
shown and press the 9 button to confirm.
XTo pause playback: select « and press
the 9 button to confirm.
The « display changes to M.
XTo continue playback: select M and press
the 9 button to confirm.
The menu is hidden.
Stop functionXTo show the menu: press the 9 button
on the remote control.
or
XSelect Menu while the navigation menu is
shown and press the 9 button to confirm.
XTo interrupt playback: select ± and
press the 9 button to confirm.
The « display changes to M. The video
image is hidden.
XTo continue playback: select M and press
the 9 button to confirm.
Playback continues from the point where it
was interrupted. The menu is hidden.
XTo stop playback: while playback is
interrupted, select ± again and press the
9 button to confirm.
Playback stops and returns to the
beginning of the DVD. M is highlighted.
XTo restart playback: select M and press
the 9 button to confirm.
Playback starts from the beginning of the
DVD.
Selecting a scene/chapter
Notes
Further information on this function is
available in the Video section (Y page 239).
Skipping forwards/backwards
XPress the = or ; button on the
remote control.
or
XPress the E or F button.
The navigation menu (Y page 237) appears
for approximately eight seconds.
Selecting a scene/chapter directly
These examples illustrate how to select
scene/chapter 5.
252Rear Seat Entertainment SystemCOMAND