2011 MERCEDES-BENZ R-Class buttons
[x] Cancel search: buttonsPage 154 of 214
Vehi
cle equi pmen t
i TheseOpe rating Instru ctionsdescri beall
sta nda rdand optio nal equipme ntava ilab le
for your veh icleat the time ofpurcha se.
Pl ea se note thatyour vehicle maynotbe
equipped withallfeatures described. General
information Automa
ticpictur eshutoff
The video picture isonly shown ifthe selector
lever isset to"P".
As soon asthe selector leverisset toa
position otherthan"P",theInorder not to
distract youfrom thetraffic situation, the picture is faded out
while
thevehicle isinmotion. message
isdisplay ed.
If you return theselector levertoposition "P",
the video picture isshown oncemore. Basic
settings Picture
settings
Adjust ingthe brightness, contrastor
colo r The
following describes thevideo DVDand
video AUXmodes.
X Press the9button invideo DVDmode and
show themenu.
X Select DVD-Video or
AUX using
the :=; buttonsand press the
9 button toconf irm.
Am enu appears.
X Select Brightn ess ,
Contras t or
Color using
the9: buttonsand press the
9 button tocon firm.
X Select asett ingusing the9:
button sand press the9button tocon firm. Changing
thepictu reform at The
following describes thevideo DVDand
video AUXmodes.
X Press the9button invideo DVDmode and
show themenu.
X Select DVD-Vid eo or
AUX using
the :=; buttonsand press the
9 button tocon firm.
Am enu appears.
X Select 16:9Optimiz ed ,
4:3 or
Widescr een using
the9: buttons
and press the9button tocon firm.
The äicon indicat esthe format currently
select ed. Sound
settings
The sound settings canbeselect edtosuit a
variety ofdifferen tvideo sourc es.You cancall
up the respe ctive soun dmen ufro mt hemenu
of the desired mode(Ypage 28). Video
DVDmode Safety
notes G
Warning!
COMAND isclassified asaClass 1laser
prod uct.You must notopen thecasing. Ifyou
open thecasing, orifthe casing isfaulty or
damaged, thereisarisk ofexposure to
invisible laserradiation. Thismay damage
your eyes, orthose ofothers.
COMAND doesnotcont ainany parts thatcan
be serviced bythe user. Forsafety reasons,
all mainten ancework must becarried outby
quali fiedaftersales technicians. G
War
ning!
Only when thevehicle isstation aryshould
you:
R load adisc
R eject adisc 152
Video
DVDmodeVideo
Page 156 of 214
COMA
NDaccessesalldisc sin theDV D
ch ang er.
If th evide oDV Dfun ction was selected
pre viously, itwill nowbe act ive.
If you have another disc modeact ivat ed:
X Se lec tMed ia .
The med ialist appear s.
X Se lec ta vide oDV D(Y page 134).
Op tion3 X
Sh ow themen u(Y page 154).
X Se lec tVid eo in
themain function bar usin g
th e9=; buttons and pressthe
9 buttonto confirm .
If vide oDV Dm ode was thelast mode
selected, itwill now beactive.
If another videosource isswitched on,you
can now switch toDVD mode inthe video
menu.
X Select Video using
the9 button and
press the9button toconf irm.
The video menu appears.
X Select DVD-Video and
press the9button
to conf irm. Showing/hiding
thenavigation menu
X To show: pressthe9 or: button .
i This funct ionisnot availa blewhile the
DVD 'sown menu (Ypage 156)isbeing
display ed.
X To hide: press the9 or: button .
or
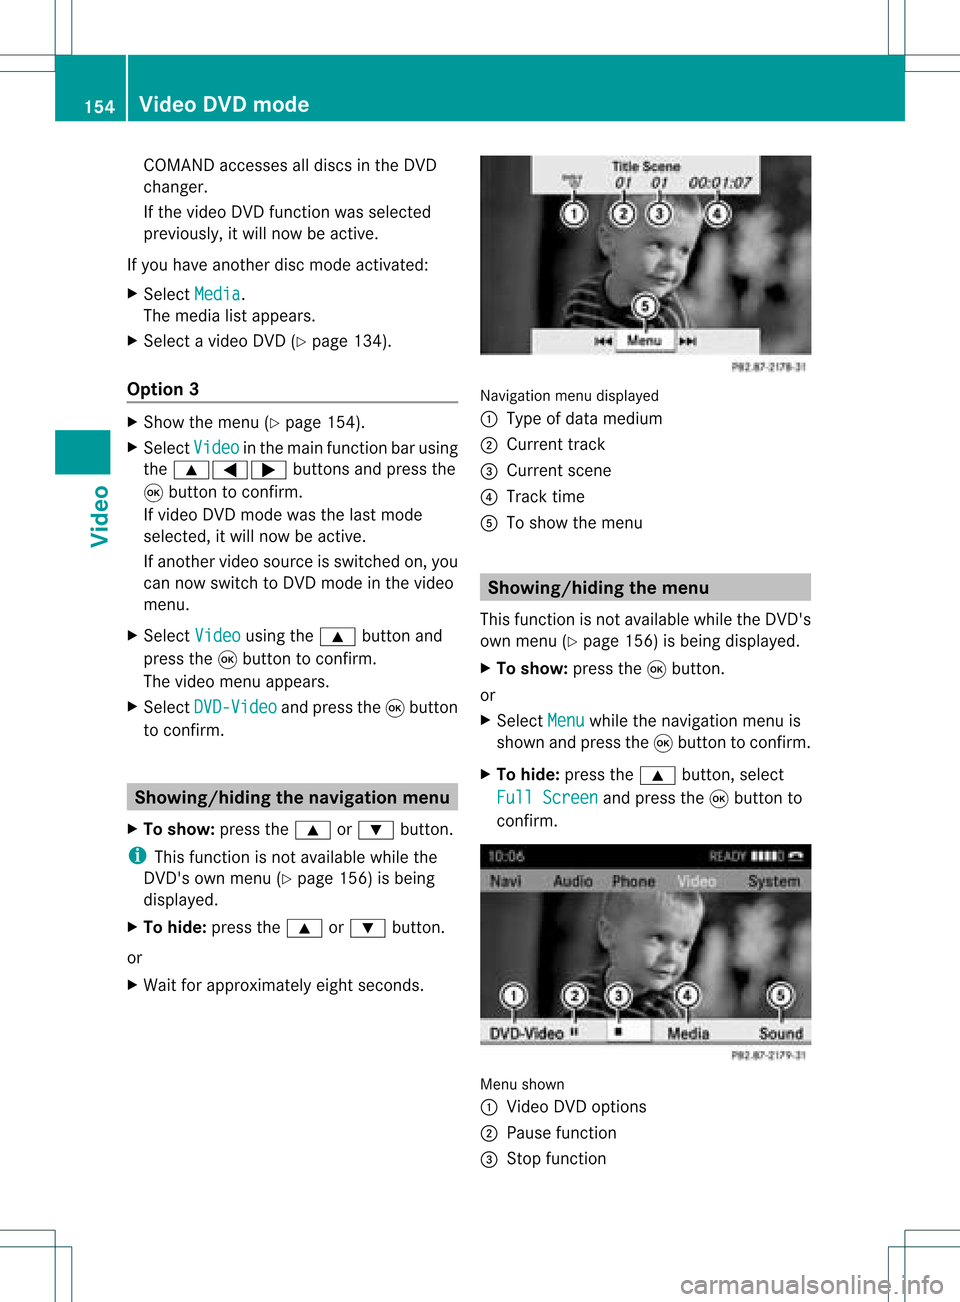
X Wait forapproximately eightseconds. Navigation
menudisplaye d
: Type ofdata medium
; Current track
= Current scene
? Track time
A Toshow themenu Showing/
hidingthemenu
This funct ionisnot availa blewhile theDVD 's
own menu (Ypage 156)isbeing display ed.
X To show: pressthe9button .
or
X Select Menu while
thenavigation menuis
shown andpress the9button toconf irm.
X To hide: press the9 button ,select
Full Screen and
press the9button to
conf irm. Menu
shown
: Video DVDoptions
; Pause function
= Stop function 154
Video
DVDmodeVideo
Page 158 of 214
X
To skipfo rwa rds orbac kwards: press
the = or; button.
or
X Pre ssthe E orF button onthe
contro lpa nel .
The navigati on menu (Ypage 154) appe ars
for appro xima telyei ght second s. Se
lecti ng afilm/t itle
This function isonly available ifthe DVD is
divided intosever alfilms /titles .
If the DVD contain ssever alfilms ,the secan
be selec teddirec tly.Film selec tionispossible
both while theDVD issto pped andwhile itis
playing.
Film selec tionmay alsobepossible fromthe
DVD menuon the DVD itself.
X Show themen u(Y page 154).
X Selec tDVD- Video in
the men uusing
the :=; buttons and press the
9 butt ontocon firm .
X Selec tDVD Functions and
press the9
butt ontocon firm .
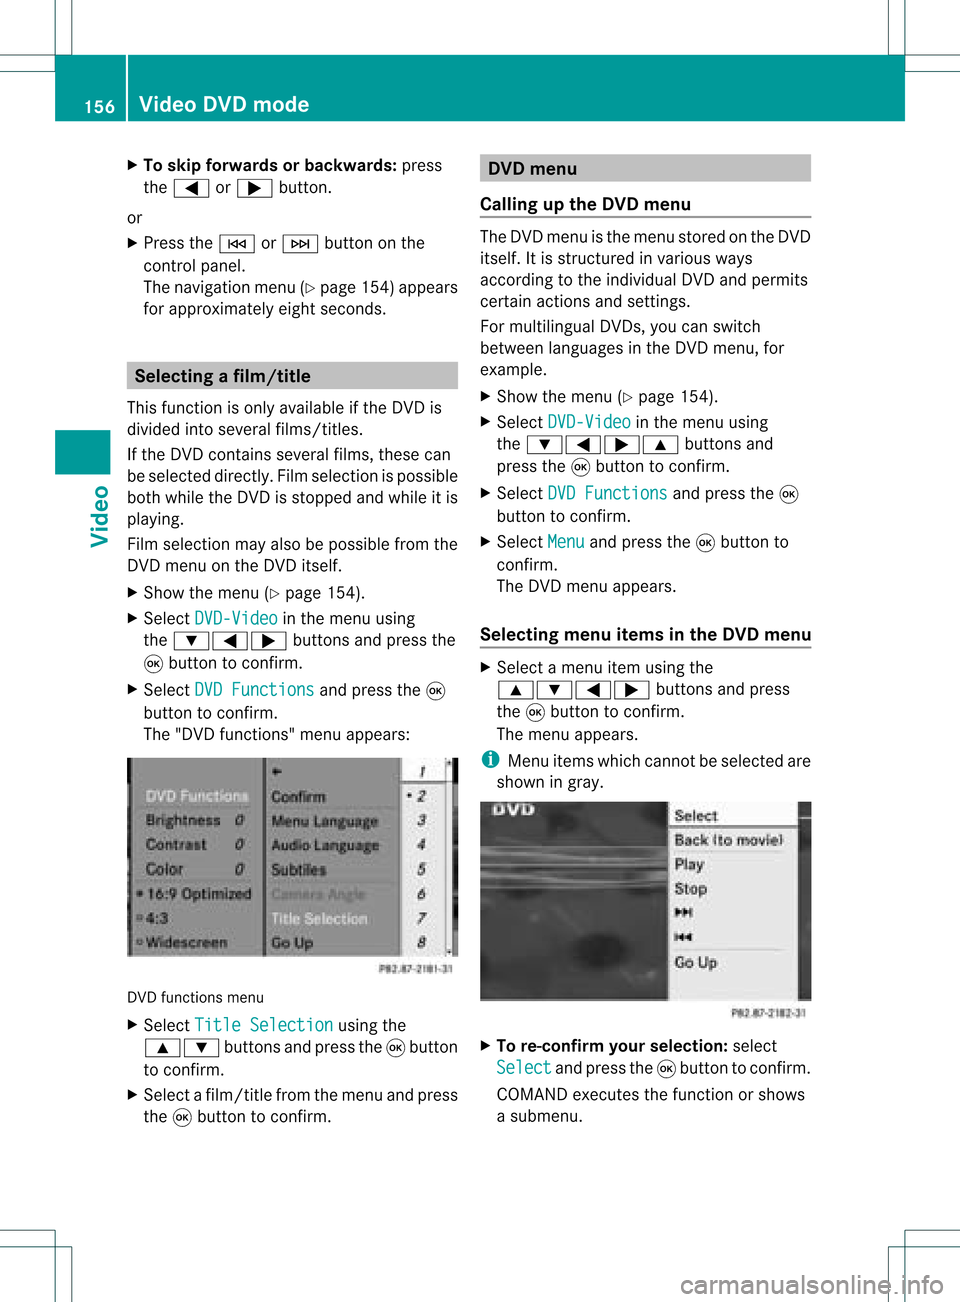
The "DVD functions"men uappears: DVD
functionsmen u
X Selec tTitl eSele ction using
the
9: buttonsand press the9butt on
to con firm .
X Selec tafilm/title fromthemenu andpress
the 9button toconfirm. DVD
menu
Call ingupthe DVD menu The
DVD menu isthe menu stored onthe DVD
itsel f.It is structure dinv arious ways
acc ording totheind ividual DVDa ndpermi ts
certa inacti ons and setti ngs.
For multilingu alDVDs, youcan switch
be twe enlangu ages inthe DVD menu ,for
exa mpl e.
X Show themenu (Ypage 154) .
X Sel ect DVD-Video in
the menu using
the :=; 9buttons and
pre ssthe 9button toconfi rm.
X Sel ect DVD Functions and
pressthe 9
bu tton toconfi rm.
X Sel ect Menu and
pressthe 9button to
confi rm.
The DVD menu appe ars.
Se lecti ng men uitems inthe DVD menu X
Sel ect amenu itemusing the
9:= ;buttons andpress
the 9button toconfi rm.
The menu appe ars.
i Menuitems which canno tbeselect edare
shown ingray. X
To re-confir myour selecti on:selec t
Sel ect and
pres sth e9 butt ontocon firm.
COMA NDexecutesthefun ction orshows
a subme nu. 156
Vid
eoDVD modeVideo
Page 159 of 214
There
maybefurther options tochoose
from.
COMAND thenswitches backtothe DVD
menu.
i Dependin gon the DVD ,the menu items
Back (tomovie) ,
Play ,
Stop ,
., /orGo Up only
work at
cert ainpoints inthe DVD menu ordo not
work atall. You willsee theKicon inthe
display asan indicator .
or
X Show thenavigation menuwhileinvideo
DVD mode, ifnecess ary.
X Select Menu using
the=;
9: buttonsand press the9button
to conf irm.
X Select DVD-Video in
the menu usingthe
=;9: buttonsand press
the 9button toconf irm.
X Select DVDFunctions and
press the9
button toconf irm.
X Navigate withintheDVD menu usingthe
arrow keys.
Stopp ingafilm orskipping tothe
beginning orend ofas cene X
Se lec tany men uitem fromthe DVD menu .
Th emenu appe ars.
X To sto pthe film: select the Stop menu
ite ma ndpre ssthe 9button toconfi rm.
X To skipto the endof asc en e:sel ect
the / menu itema ndpre ssthe 9
bu tton toconfi rm.
X To skiptoth ebeginnin gof as cene:
selec tthe . menu itemandpress the
9 button toconfirm .
Moving upone level inthe DVD menu X
Press thek button.
or X
Select thecorresponding menuiteminthe
DVD menu andpress the9button to
confirm .
or
X Select anymenu itemfrom theDVD menu.
X Select DVD-Video in
the menu usingthe
=;9: buttonsandpress
the 9button toconfirm .
X Select DVDFunctions and
press the9
button toconfirm .
X Select GoUp and
press the9button to
confirm .
Going backtothe movie X
Press the% button repeatedly untilyou
see thefilm.
or
X Select thecorresponding menuiteminthe
DVD menu.
X Select theBack (to movie) menu
itemin
the menu andpress the9button to
confirm . Setting
thelanguage andaudio
forma t
This funct ionisnot availa bleonallDVD s.Ifit
is availa ble,youcan setthe DVD menu
language ,the audi olanguage orthe audi o
format. Thenumber ofsettin gsisdetermined
by the DVD content. Itis possible thatthe
settin gsmay alsobeaccessed inthe DVD
menu (Ypage 156).
X Show themenu (Ypage 154).
X Select DVD-Video in
the menu using
the :=; buttonsandpress the
9 button toconfirm .
X Select DVDFunctions and
press the9
button toconfirm . Video
DVDmode
157Video Z
Page 160 of 214
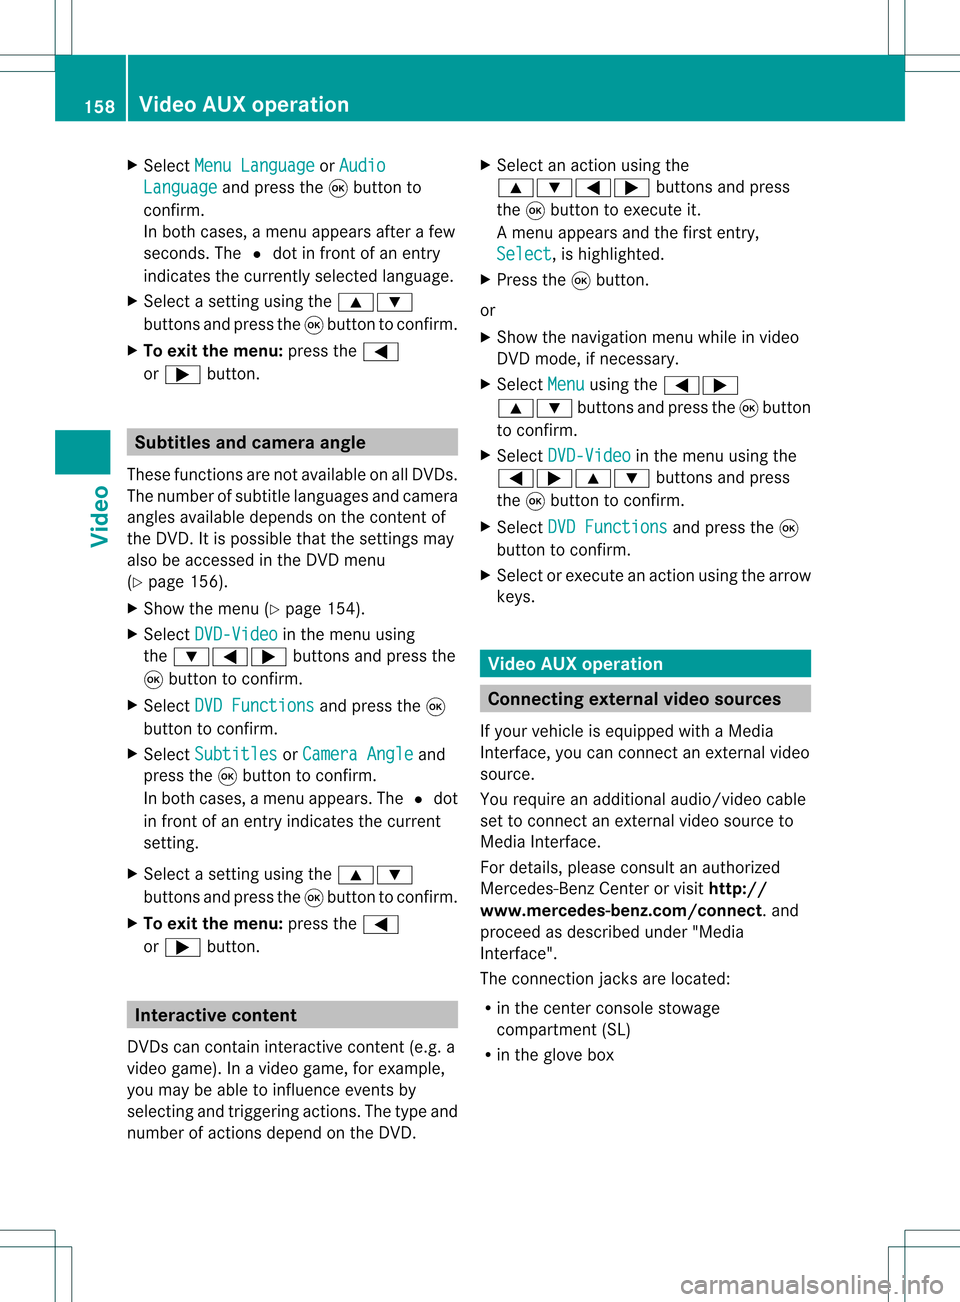
X
Sel ect MenuLan guage or
Aud io Lan
guage and
pressthe 9button to
confi rm.
In both cases, amenu appe ars afte rafew
seconds. The#dot infront ofan entry
indi cates thecurrently selected langua ge.
X Select asetting using the 9:
buttons andpress the9button toconfirm.
X To exitthe menu: pressthe=
or ; button. Subtitle
sand camera angle
These functions arenot available onallDVDs.
The numbe rofsubt itle lang uages andcam era
ang lesavailab ledepe ndson theco nten to f
the DVD. Itis po ssi ble tha tthe settin gsmay
also beaccessed inthe DVD menu
(Y page 156).
X Show themenu (Ypage 154).
X Select DVD-Video in
the menu using
the :=; buttonsandpress the
9 button toconfirm .
X Select DVDFunctions and
press the9
button toconfirm .
X Select Subtitles or
Camera Angle and
press the9button toconfirm .
In both cases, amenu appears.The #dot
in front ofan entr yindicates thecurrent
settin g.
X Select asettin gusing the9:
buttons andpress the9button toconfirm .
X To exit themenu: pressthe=
or ; button. Interactive
content
DVD scan cont aininteract ivecont ent(e.g. a
video game). Inavideo game, forexample,
you may beable toinfluence eventsby
selecting andtriggering actions.Thetype and
number ofactions depend onthe DVD . X
Select anaction usingthe
9:=; buttonsandpress
the 9button toexecute it.
A menu appearsand thefirst entry,
Select ,
is highlighted.
X Press the9button.
or
X Show thenavigation menuwhileinvideo
DVD mode, ifnecessary.
X Select Menu using
the=;
9: buttonsandpress the9button
to confirm .
X Select DVD-Video in
the menu usingthe
=;9: buttonsandpress
the 9button toconfirm .
X Select DVDFunctions and
press the9
button toconfirm .
X Select orexecute anaction usingthearrow
keys. Video
AUXoperation Conne
ctingexternal videosources
If your vehicle isequipp edwith aMedia
Int erface, youcan conn ectanextern alvideo
source.
You require anadditional audio/video cable
set toconn ectanextern alvideo source to
Media Interface.
For details, pleaseconsult anauthorized
Mercedes-Ben zCenter orvisit http://
www .mer<00030005000400050013002500020005000E001D00210003000F000D00220003
000FF nnect.and
proceed asdescribed under"Media
Int erface".
The conn ection jacksarelocated:
R in the cent erconsole stowage
compartmen t(SL)
R in the glove box 158
Video
AUXoperat ionVideo
Page 161 of 214

Aud
io/vid eosocke t
: Videopor t(V)
; Audio port(L)
= Audio port(R)
i Tofacilitate correctplayback, itmay be
necessary toset asuitab levideo standard
in the external videosource.
X Connect theexternal deviceto
corresponding port:,;or=.
COMAND activatesthedevice. Switchi
ngon video AUXmode
X Select Video in
the main function barusing
the 9=; buttonsandpress the
9 button toconfirm.
If video AUXmode wasthelast mode
selected, itwill now beactive.
If another videosource isswitched on,you
can now switch tovideo AUXmode inthe
video menu.
X Select Video and
press the9button to
confirm.
X Select Aux and
press the9button to
confirm.
The video AUXmenu appears.You willhear
and seetheconten tof the external video
source ifthis isconnect edand switched to
play back. Video
AUXmode
For detail son how tooperate theexternal
video source, seetherespective device's
operating instructions.
Ext ernal video sources mayhave different
aud iooutput volume. Youcanselect two
different inputvolume levelsforthe AUX
connect ion:
R Standard Ext
ernal sources withamediu mtohigh
audio output volume.
R Boost Ex
tern alsources withalow audio output
volume. X
Setting thedesired inputvolume:
Select Volume using
the
9:=; buttonsand press
the 9button toconf irm.
X Select Standard or
Boost and
press the
9 button toconf irm. Video
AUXoperat ion
159Video Z
Page 165 of 214

X
Insert newbatteries. Observethepola rity
marking onthe batteries andinthe battery
compartment whendoing so.
Left-hand battery:thepositive pole(+)
must faceupwards.
Rig ht-hand battery: thepositive pole(+)
must facedownwa rds.
X To clo sethe battery compartment: first
pla cebattery compartment cover=into
the battery compartment withretaining
lug s? and allow lug ;toclip into place.
In the wirel essheadphones The
battery compartment coverislocated on
the left head phone. :
Battery compartment cover
The wirel esshead phones contain 2type AAA
1. 5V bat terie s.
X To ope nth ebat tery com partme nt:fo ld
th ebat tery compar tmentco ver :
upwar ds.Whe ndoing so,hold theleft
headphone asshown toprevent the
insert edbatteries fromfalling out.
X Remove thedischarged batteriesfromthe
compart ment.
X Insert newbatteries. Observethepolarity
marking onthe batteries andinthe battery
compart mentwhen doing so.
Left- hand battery: thepositive pole(+)
must faceupwards. Right-hand
battery:thepositive pole(+)
must facedownwards.
X To close thebatt erycompar tment:
press thebattery compartm entlid
downwards untilitclips intoplace.
If the batteries havebeen insert ed
correc tly,the indicator lampwilllight up
green whentheheadphones areswitched
on. Basic
functions Using
headphones
You canusethewireless headphones
supplied and/oruptotwo sets ofwired
headphones connected tothe correspon ding
jack ofthe rear-com partmentscreen s
(Y page 30).
Infor mation on:
R switching thewireless headphones on/off
R adjusting thevolume ofthe headphones
R selecting ascreen forthe headphones
can befound inthe "Wireless headphones"
section (Ypage 33). Using
themain loudspeaker s
You canusethevehicle loudspeakers to
listen toadisc insert edinthe rear-
compart mentdrive. Todo so, atleast oneof
the rear-com partmentscree nsmus tbeset to
disc mode.
X Sett ingusing COMAND: press,for
example, the$ function button to
switch onanaudio mode.
X Select Audio using
the9 button and
press the9button tocon firm.
The audio menu (Ypage 21)appears.
X Select Rear using
the9: buttons
and press the9button tocon firm.
i The headphones' volumesettingdoes not
affect themain loudspeakers. Ba
sic functions
163RearSeatEntert ainment Z
Page 166 of 214
Adj
usting thesoun dsettings
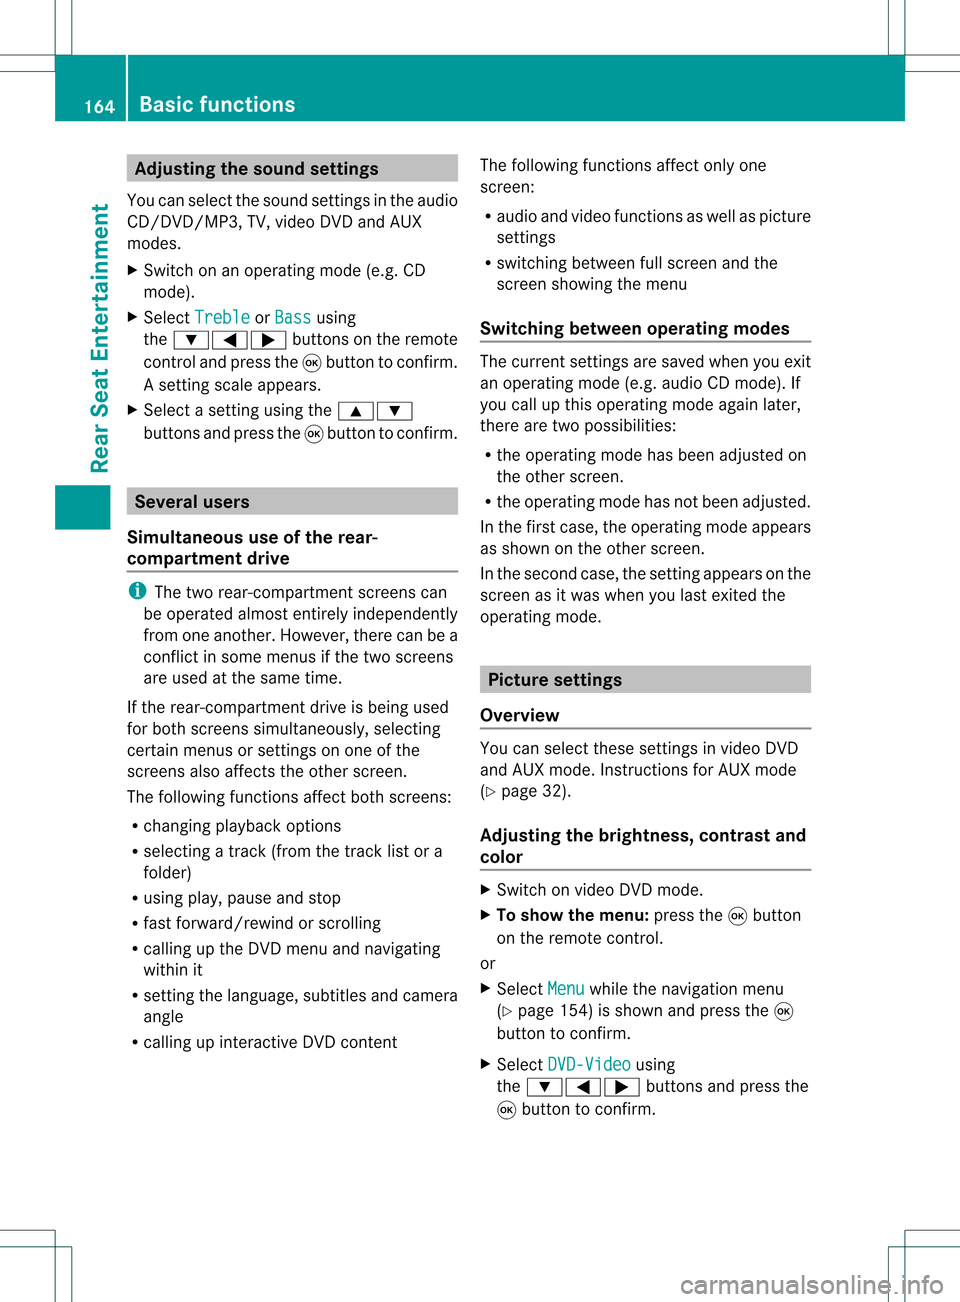
You canselec tthe sound settingsinthe audi o
CD/DV D/MP3, TV,video DVDandAUX
modes.
X Switch onanoperating mode(e.g.CD
mode).
X Select Treble or
Bass using
the :=; buttonsonthe remote
cont roland press the9button toconfirm .
As etting scale appears.
X Select asett ingusing the9:
button sand press the9button tocon firm. Several
users
Simult aneous useofthe rear -
compa rtment drive i
The two rear-c ompartm entscreen scan
be operated almostentirely independen tly
from oneanoth er.However, therecan bea
con flict insome menus ifthe two screen s
are used atthe same time.
If the rear-c ompartm entdrive isbeing used
for both screen ssimultaneously, selecting
cert ainmenus orsett ings onone ofthe
screen salso affect sthe other screen .
The following functionsaffect bothscreen s:
R changin gplayback options
R select ingatrac k(from thetrac klist ora
folder)
R using play,pause andstop
R fast forward/r ewindorscrollin g
R calling upthe DVD menu andnavigatin g
within it
R sett ingthe language, subtitlesandcamera
angle
R calling upinteract iveDVD content The
following functionsaffect onlyone
screen :
R audio andvideo functionsas well aspicture
sett ings
R switch ingbetween fullscreen andthe
screen showing themenu
Switching betweenoperatingmodes The
curren tsett ings aresaved whenyouexit
an operatin gmode (e.g.audio CDmode). If
you callupthis operatin gmode againlater,
ther eare two possibilities:
R the operatin gmode hasbeen adjusted on
the other screen .
R the operatin gmode hasnotbeen adjusted.
In the first case, theoperatin gmode appears
as shown onthe other screen .
In the secon dcase, thesett ingappears onthe
screen asitwas when youlast exitedthe
operatin gmode. Pictur
esettings
Overview You
canselect thesesettings invideo DVD
and AUX mode. Instruct ions forAUX mode
(Y page 32).
Adju sting thebright ness,contra stand
color X
Switc hon video DVDmode.
X To show themenu: pressthe9button
on the remot econ trol.
or
X Select Menu while
thenavigation menu
(Y page 154)is shown andpress the9
button tocon firm.
X Select DVD-Vid eo using
the :=; buttonsand press the
9 button tocon firm. 164
Ba
sic functionsRear SeatEntert ainment