2011 MERCEDES-BENZ GL350 BlueTEC steering wheel adjustment
[x] Cancel search: steering wheel adjustmentPage 196 of 376

:To raise the level;To lower the level=Indicator lampsXStart the engine.
If one or more indicator lamps = are on:
XTurn the selector wheel
counterclockwise ; until all indicator
lamps = that are lit start to flash.
The vehicle is lowered to highway level. As
soon as the next lowest level is reached,
the indicator lamp stops flashing and goes
out.
While the adjustment is taking place, a
message appears in the multifunction
display, e.g.:
If you press the V, U , & or *
button on the multifunction steering wheel,
the message will disappear.
Once highway level has been reached, all
indicator lamps = go out. You will see a
message in the multifunction display, for
example:
If you have not previously selected the off-
road menu ( Y page 220) in the on-board
computer, the message disappears after
about five seconds.
The vehicle automatically selects highway
level if you are driving faster than 60 mph
(115 km/h). Depending on the ADS setting
( Y page 194), the vehicle is lowered to high-
speed level at higher speeds.
i If you are towing a trailer, the vehicle is
not lowered to high-speed level.
ADS (Adaptive Damping System)
General notes
ADS is continuously electronically controlled.
It adapts the damping characteristics to the
current operating and driving situation.
Damping is controlled separately for each
wheel. This increases driving safety and tire
comfort.
This depends on:
R your driving style
R the road surface conditions
R the ADS setting
R the vehicle level setting
Your selection remains stored even if you
remove the key from the ignition lock.
194Driving systemsDriving and parking
BA 164.8 USA, CA Edition B 2011; 1; 2, en-USd2sboikeVersion: 3.0.3.52010-04-21T15:08:44+02:00 - Seite 194
Page 227 of 376

iUSA only: This device has been approved
by the FCC as a “Vehicular Radar System”.
The radar sensor is intended for use in an
automotive radar system only. Removal,
tampering, or altering of the device will void
any warranties, and is not permitted by the
FCC. Do not tamper with, alter, or use in
any non-approved way.
Any unauthorized modification to this
device could void the user’s authority to
operate the equipment.
i Canada only:
This device complies with RSS-210 of
Industry Canada. Operation is subject to
the following two conditions:
1. This device may not cause interference,
and
2. This device must accept any interference
received, including interference that may
cause undesired operation of the device.
Any unauthorized modification to this
device could void the user’s authority to
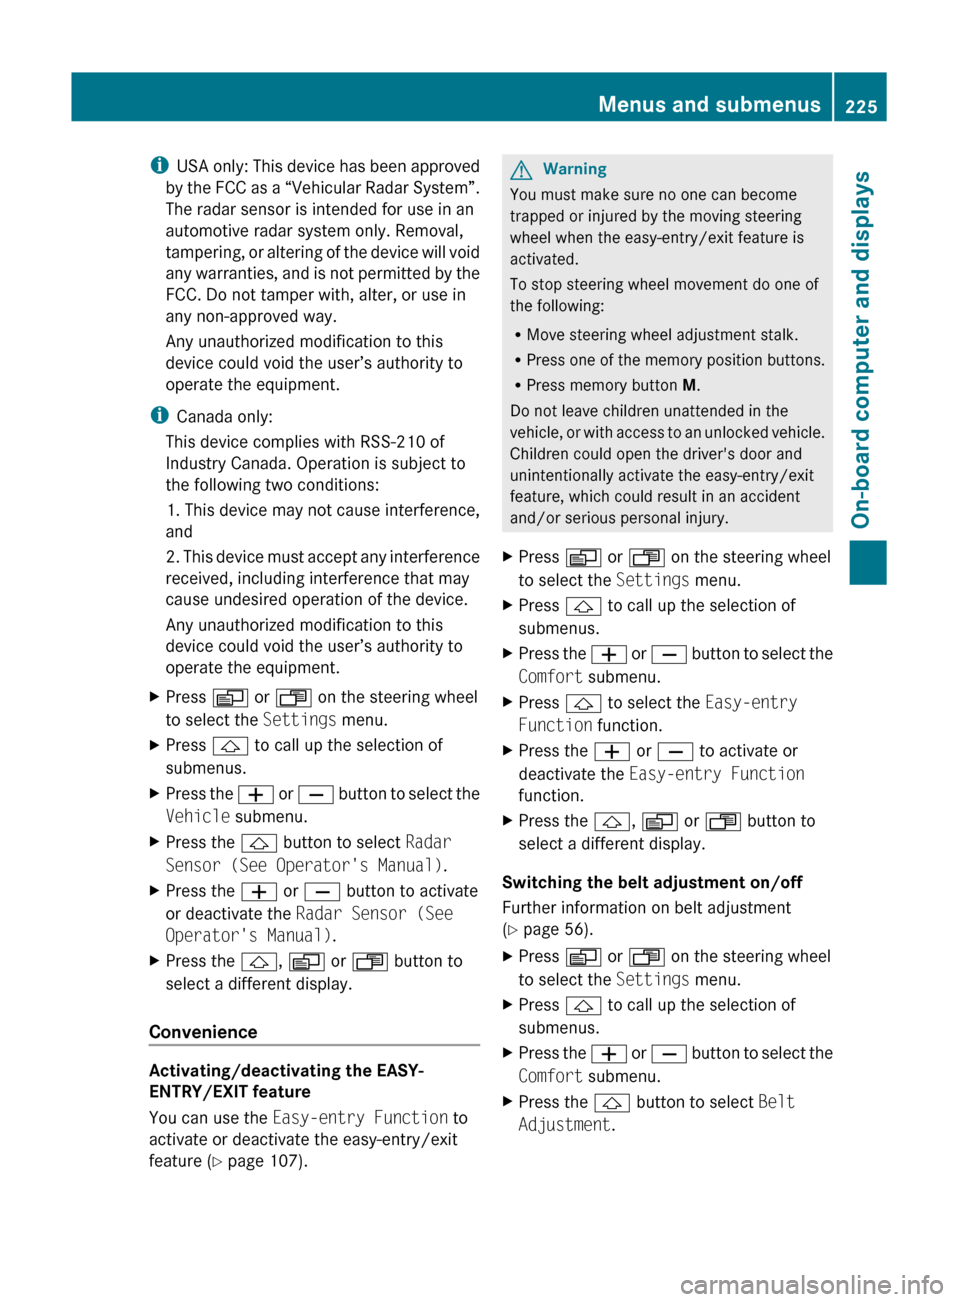
operate the equipment.XPress V or U on the steering wheel
to select the Settings menu.XPress & to call up the selection of
submenus.XPress the W or X button to select the
Vehicle submenu.XPress the & button to select Radar
Sensor (See Operator's Manual) .XPress the W or X button to activate
or deactivate the Radar Sensor (See
Operator's Manual) .XPress the &, V or U button to
select a different display.
Convenience
Activating/deactivating the EASY-
ENTRY/EXIT feature
You can use the Easy-entry Function to
activate or deactivate the easy-entry/exit
feature ( Y page 107).
GWarning
You must make sure no one can become
trapped or injured by the moving steering
wheel when the easy-entry/exit feature is
activated.
To stop steering wheel movement do one of
the following:
R Move steering wheel adjustment stalk.
R Press one of the memory position buttons.
R Press memory button M.
Do not leave children unattended in the
vehicle, or with access to an unlocked vehicle.
Children could open the driver's door and
unintentionally activate the easy-entry/exit
feature, which could result in an accident
and/or serious personal injury.
XPress V or U on the steering wheel
to select the Settings menu.XPress & to call up the selection of
submenus.XPress the W or X button to select the
Comfort submenu.XPress & to select the Easy-entry
Function function.XPress the W or X to activate or
deactivate the Easy-entry Function
function.XPress the &, V or U button to
select a different display.
Switching the belt adjustment on/off
Further information on belt adjustment
( Y page 56).
XPress V or U on the steering wheel
to select the Settings menu.XPress & to call up the selection of
submenus.XPress the W or X button to select the
Comfort submenu.XPress the & button to select Belt
Adjustment .Menus and submenus225On-board computer and displaysBA 164.8 USA, CA Edition B 2011; 1; 2, en-USd2sboikeVersion: 3.0.3.52010-04-21T15:08:44+02:00 - Seite 225Z
Page 228 of 376

XPress the W or X button to activate
or deactivate Belt Adjustment .XPress the &, V or U button to
select a different display.
Switching the fold in mirrors when
locking function on/off
When you activate the Fold In Mirrors
When Locking function, the exterior mirrors
are folded in when the vehicle is locked. When
you switch on the ignition, the exterior
mirrors fold out again.
If you have switched the function on and you
fold the exterior mirrors in using the button
on the door ( Y page 108), they will not fold
out automatically. The exterior mirrors can
then only be folded out using the button on
the door.
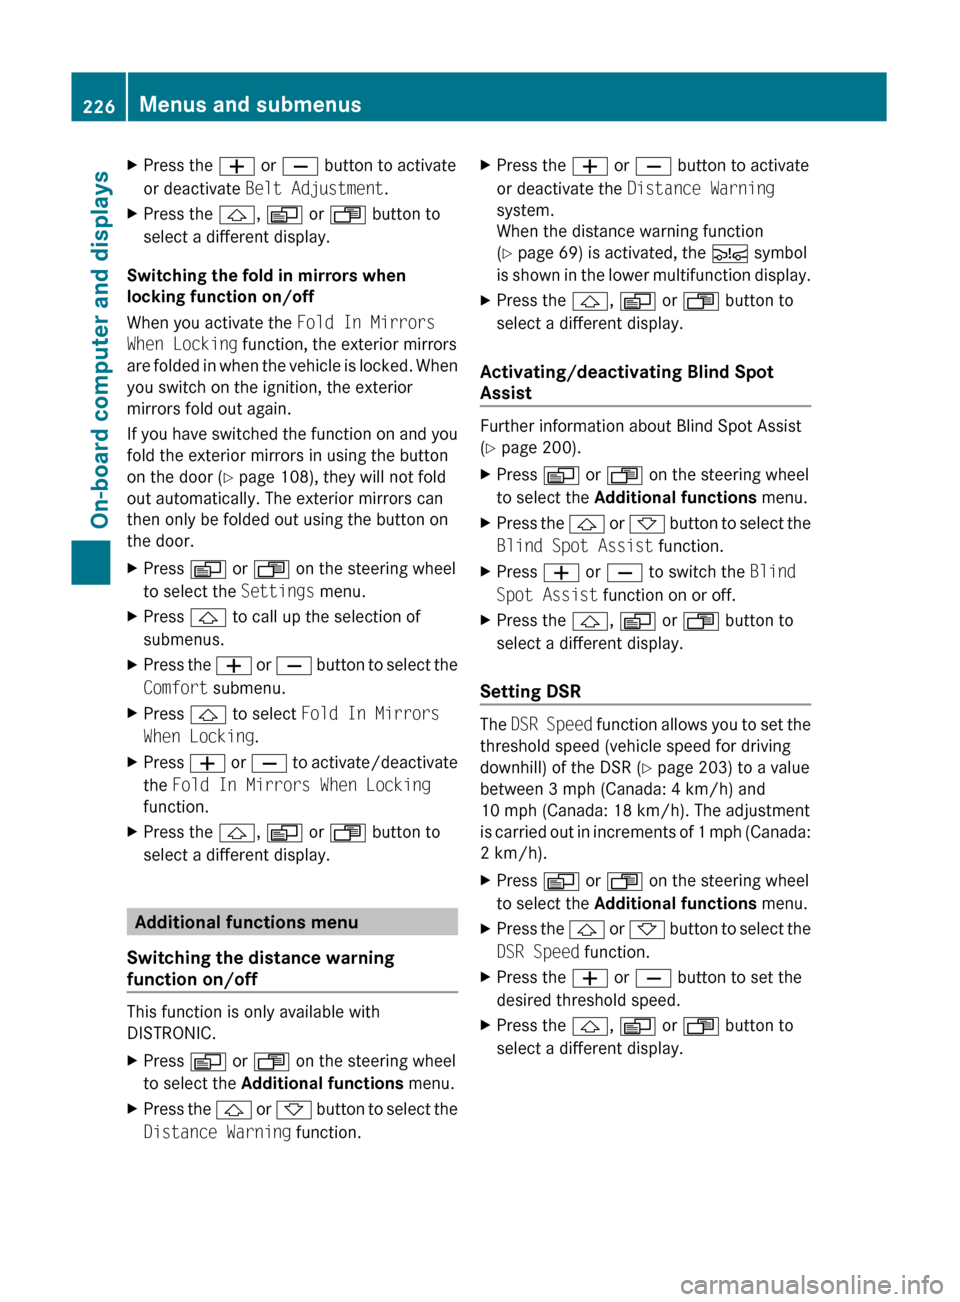
XPress V or U on the steering wheel
to select the Settings menu.XPress & to call up the selection of
submenus.XPress the W or X button to select the
Comfort submenu.XPress & to select Fold In Mirrors
When Locking .XPress W or X to activate/deactivate
the Fold In Mirrors When Locking
function.XPress the &, V or U button to
select a different display.
Additional functions menu
Switching the distance warning
function on/off
This function is only available with
DISTRONIC.
XPress V or U on the steering wheel
to select the Additional functions menu.XPress the & or * button to select the
Distance Warning function.XPress the W or X button to activate
or deactivate the Distance Warning
system.
When the distance warning function
( Y page 69) is activated, the Ä symbol
is shown in the lower multifunction display.XPress the &, V or U button to
select a different display.
Activating/deactivating Blind Spot
Assist
Further information about Blind Spot Assist
( Y page 200).
XPress V or U on the steering wheel
to select the Additional functions menu.XPress the & or * button to select the
Blind Spot Assist function.XPress W or X to switch the Blind
Spot Assist function on or off.XPress the &, V or U button to
select a different display.
Setting DSR
The DSR Speed function allows you to set the
threshold speed (vehicle speed for driving
downhill) of the DSR ( Y page 203) to a value
between 3 mph (Canada: 4 km/h) and
10 mph (Canada: 18 km/h). The adjustment
is carried out in increments of 1 mph (Canada:
2 km/h).
XPress V or U on the steering wheel
to select the Additional functions menu.XPress the & or * button to select the
DSR Speed function.XPress the W or X button to set the
desired threshold speed.XPress the &, V or U button to
select a different display.226Menus and submenusOn-board computer and displays
BA 164.8 USA, CA Edition B 2011; 1; 2, en-USd2sboikeVersion: 3.0.3.52010-04-21T15:08:44+02:00 - Seite 226
Page 282 of 376

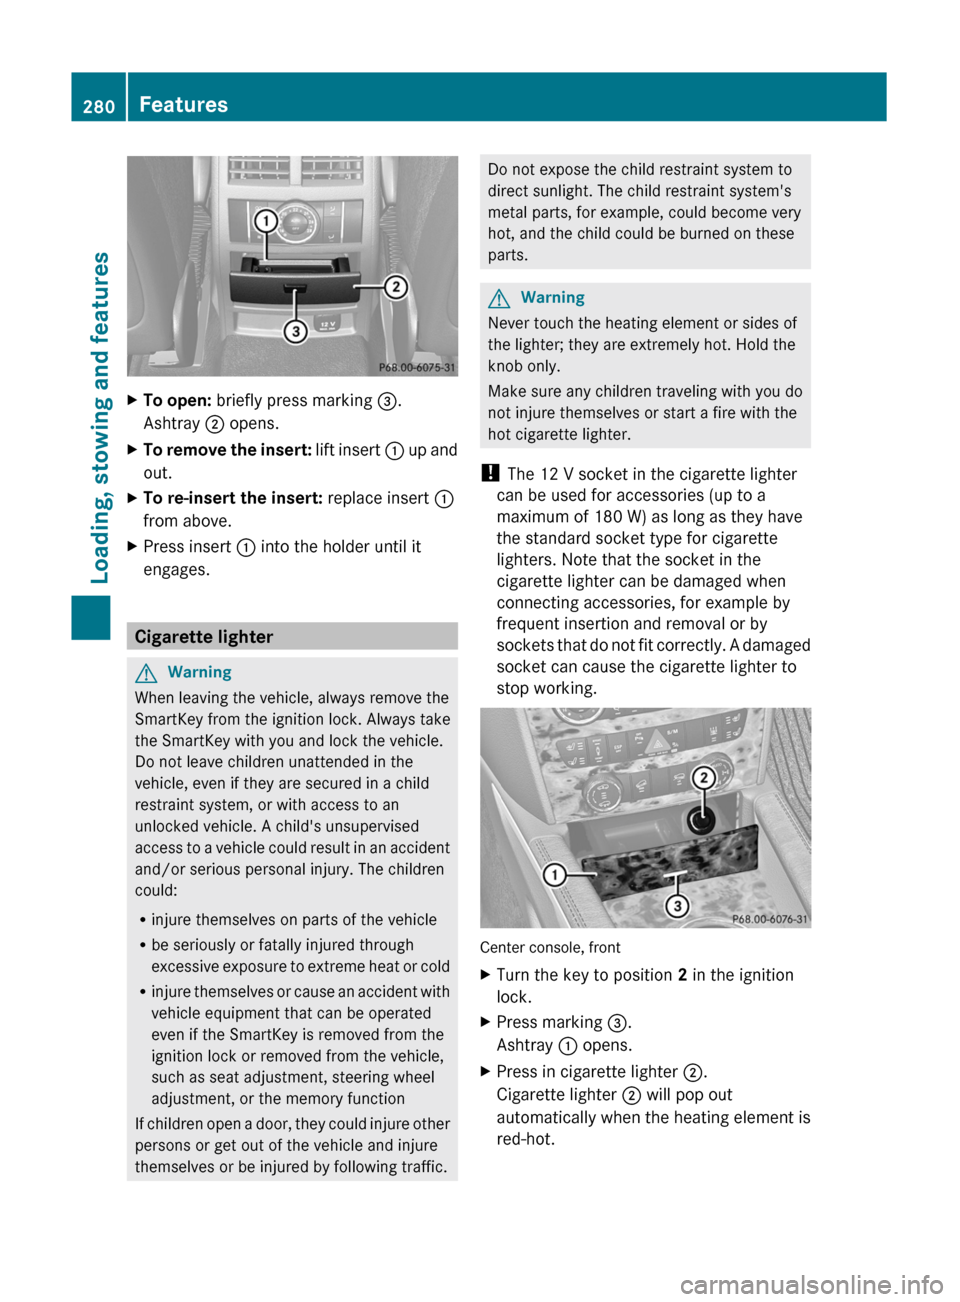
XTo open: briefly press marking =.
Ashtray ; opens.XTo remove the insert: lift insert : up and
out.XTo re-insert the insert: replace insert :
from above.XPress insert : into the holder until it
engages.
Cigarette lighter
GWarning
When leaving the vehicle, always remove the
SmartKey from the ignition lock. Always take
the SmartKey with you and lock the vehicle.
Do not leave children unattended in the
vehicle, even if they are secured in a child
restraint system, or with access to an
unlocked vehicle. A child's unsupervised
access to a vehicle could result in an accident
and/or serious personal injury. The children
could:
R injure themselves on parts of the vehicle
R be seriously or fatally injured through
excessive exposure to extreme heat or cold
R injure themselves or cause an accident with
vehicle equipment that can be operated
even if the SmartKey is removed from the
ignition lock or removed from the vehicle,
such as seat adjustment, steering wheel
adjustment, or the memory function
If children open a door, they could injure other
persons or get out of the vehicle and injure
themselves or be injured by following traffic.
Do not expose the child restraint system to
direct sunlight. The child restraint system's
metal parts, for example, could become very
hot, and the child could be burned on these
parts.GWarning
Never touch the heating element or sides of
the lighter; they are extremely hot. Hold the
knob only.
Make sure any children traveling with you do
not injure themselves or start a fire with the
hot cigarette lighter.
! The 12 V socket in the cigarette lighter
can be used for accessories (up to a
maximum of 180 W) as long as they have
the standard socket type for cigarette
lighters. Note that the socket in the
cigarette lighter can be damaged when
connecting accessories, for example by
frequent insertion and removal or by
sockets that do not fit correctly. A damaged
socket can cause the cigarette lighter to
stop working.
Center console, front
XTurn the key to position 2 in the ignition
lock.XPress marking =.
Ashtray : opens.XPress in cigarette lighter ;.
Cigarette lighter ; will pop out
automatically when the heating element is
red-hot.280FeaturesLoading, stowing and features
BA 164.8 USA, CA Edition B 2011; 1; 2, en-USd2sboikeVersion: 3.0.3.52010-04-21T15:08:44+02:00 - Seite 280