2011 MERCEDES-BENZ GL steering
[x] Cancel search: steeringPage 217 of 376
Speedometer with segments
The segments in the speedometer indicate
which speed range is available.
DISTRONIC mode:
One or two segments around the stored
speed light up.
Operating the on-board computer
The on-board computer is activated as soon
as you turn the SmartKey to position 1 in the
ignition lock.
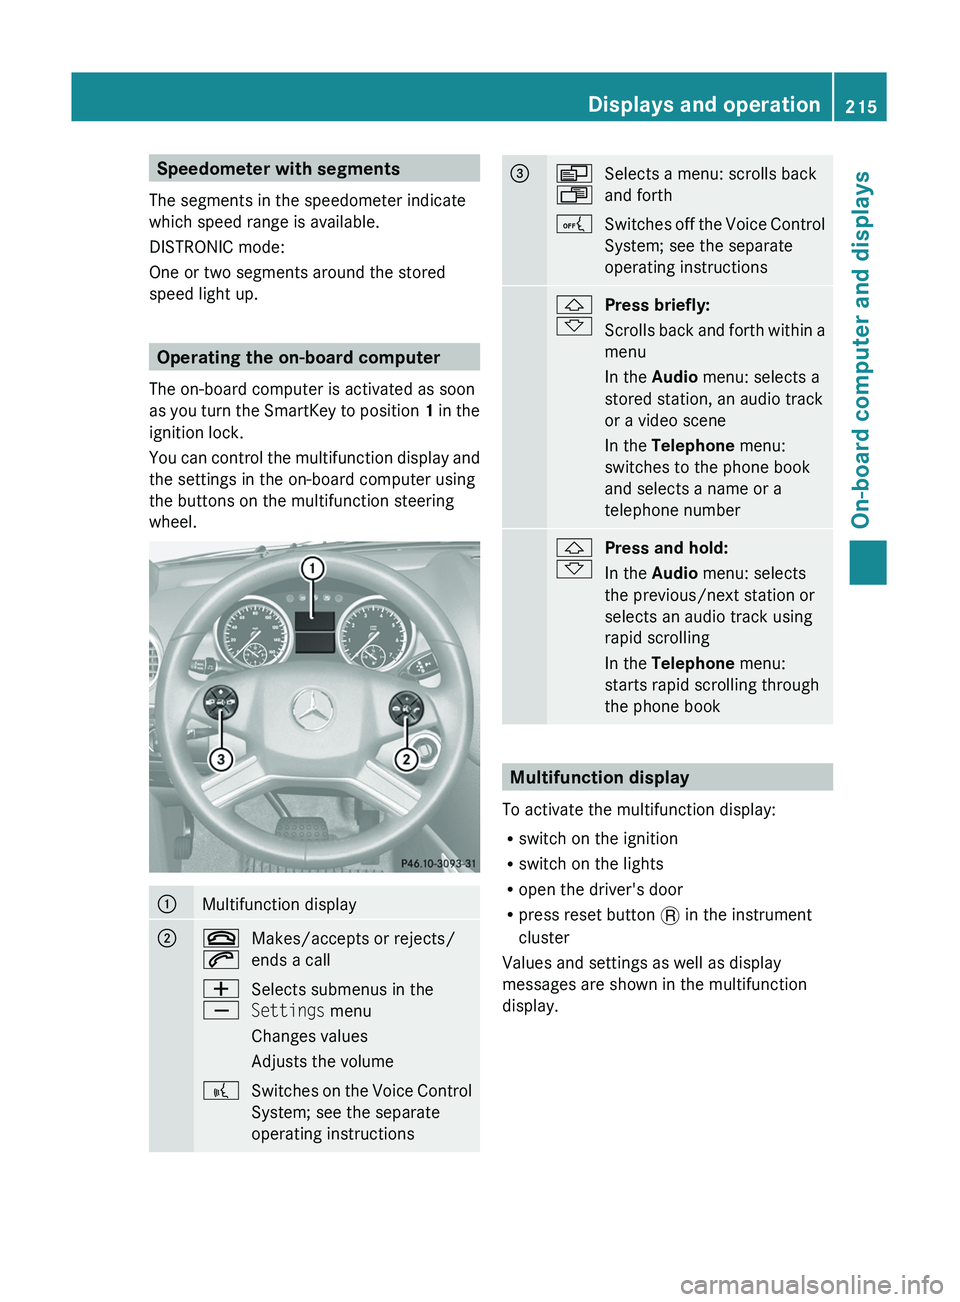
You can control the multifunction display and
the settings in the on-board computer using
the buttons on the multifunction steering
wheel.
:Multifunction display;~
6Makes/accepts or rejects/
ends a callW
XSelects submenus in the
Settings menu
Changes values
Adjusts the volume?Switches on the Voice Control
System; see the separate
operating instructions=V
USelects a menu: scrolls back
and forthASwitches off the Voice Control
System; see the separate
operating instructions&
*Press briefly:
Scrolls back and forth within a
menu
In the Audio menu: selects a
stored station, an audio track
or a video scene
In the Telephone menu:
switches to the phone book
and selects a name or a
telephone number&
*Press and hold:
In the Audio menu: selects
the previous/next station or
selects an audio track using
rapid scrolling
In the Telephone menu:
starts rapid scrolling through
the phone book
Multifunction display
To activate the multifunction display:
R switch on the ignition
R switch on the lights
R open the driver's door
R press reset button . in the instrument
cluster
Values and settings as well as display
messages are shown in the multifunction
display.
Displays and operation215On-board computer and displaysBA 164.8 USA, CA Edition B 2011; 1; 2, en-USd2sboikeVersion: 3.0.3.52010-04-21T15:08:44+02:00 - Seite 215Z
Page 220 of 376
FunctionETrip computer menu (Y page 227)FTelephone menu (Y page 227)Standard display menu
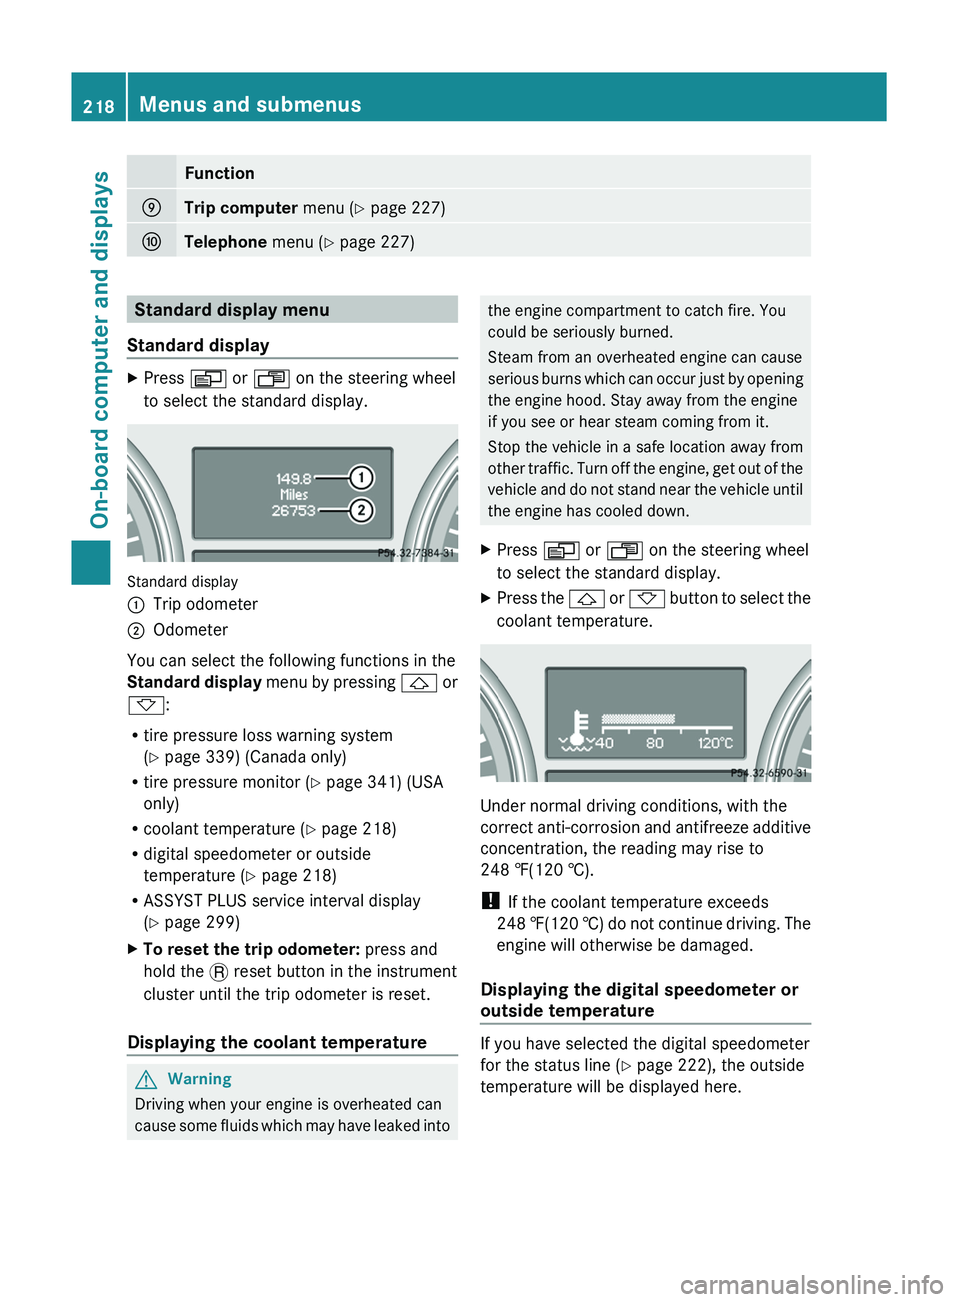
Standard displayXPress V or U on the steering wheel
to select the standard display.
Standard display
:Trip odometer;Odometer
You can select the following functions in the
Standard display menu by pressing & or
* :
R tire pressure loss warning system
( Y page 339) (Canada only)
R tire pressure monitor ( Y page 341) (USA
only)
R coolant temperature ( Y page 218)
R digital speedometer or outside
temperature ( Y page 218)
R ASSYST PLUS service interval display
( Y page 299)
XTo reset the trip odometer: press and
hold the . reset button in the instrument
cluster until the trip odometer is reset.
Displaying the coolant temperature
GWarning
Driving when your engine is overheated can
cause some fluids which may have leaked into
the engine compartment to catch fire. You
could be seriously burned.
Steam from an overheated engine can cause
serious burns which can occur just by opening
the engine hood. Stay away from the engine
if you see or hear steam coming from it.
Stop the vehicle in a safe location away from
other traffic. Turn off the engine, get out of the
vehicle and do not stand near the vehicle until
the engine has cooled down.XPress V or U on the steering wheel
to select the standard display.XPress the & or * button to select the
coolant temperature.
Under normal driving conditions, with the
correct anti-corrosion and antifreeze additive
concentration, the reading may rise to
248 ‡(120 †).
! If the coolant temperature exceeds
248 ‡(120 †) do not continue driving. The
engine will otherwise be damaged.
Displaying the digital speedometer or
outside temperature
If you have selected the digital speedometer
for the status line ( Y page 222), the outside
temperature will be displayed here.
218Menus and submenusOn-board computer and displays
BA 164.8 USA, CA Edition B 2011; 1; 2, en-USd2sboikeVersion: 3.0.3.52010-04-21T15:08:44+02:00 - Seite 218
Page 221 of 376
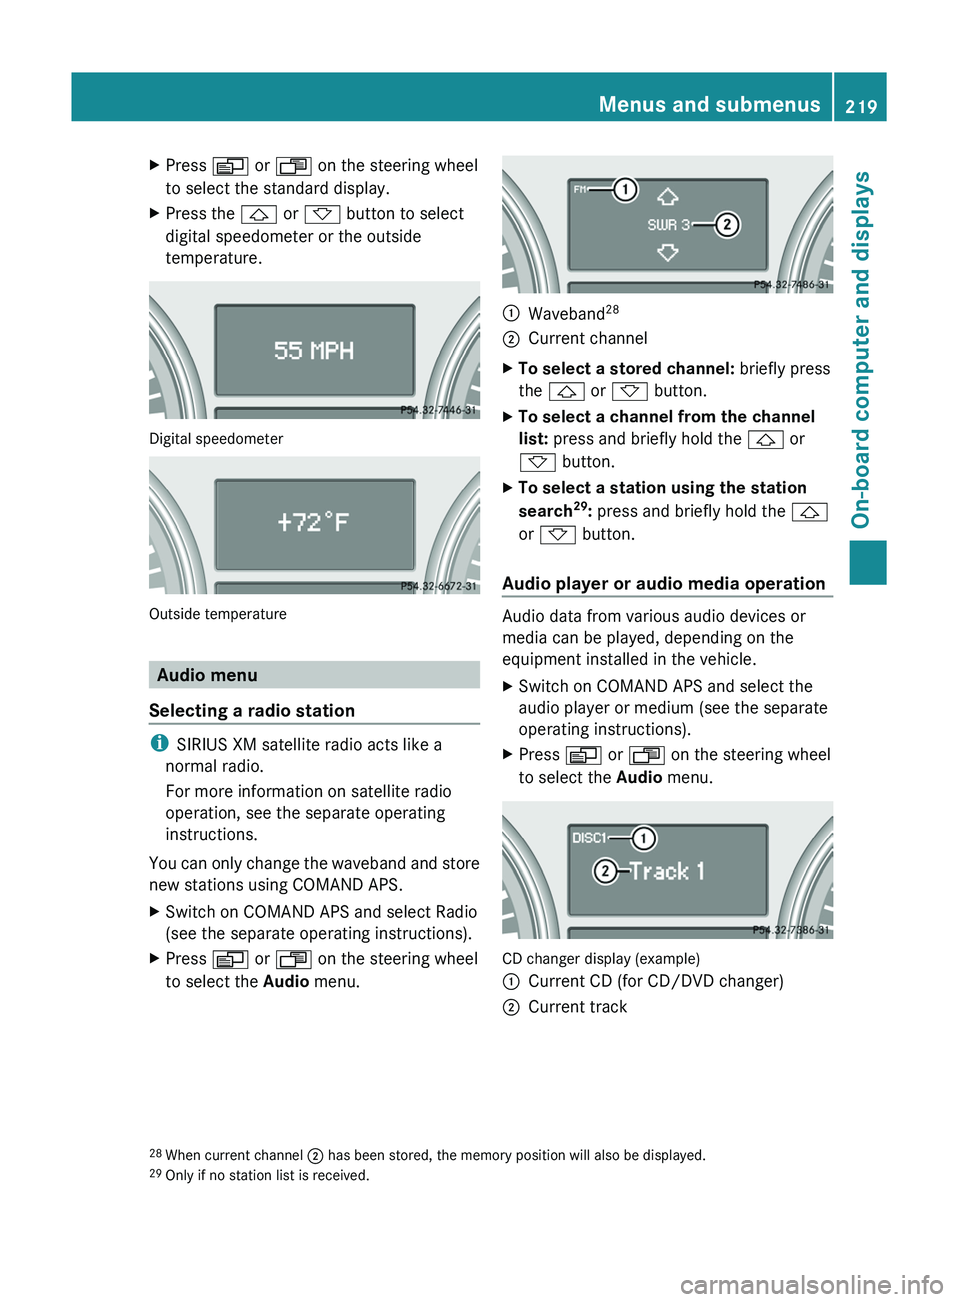
XPress V or U on the steering wheel
to select the standard display.XPress the & or * button to select
digital speedometer or the outside
temperature.
Digital speedometer
Outside temperature
Audio menu
Selecting a radio station
i SIRIUS XM satellite radio acts like a
normal radio.
For more information on satellite radio
operation, see the separate operating
instructions.
You can only change the waveband and store
new stations using COMAND APS.
XSwitch on COMAND APS and select Radio
(see the separate operating instructions).XPress V or U on the steering wheel
to select the Audio menu.:Waveband 28;Current channelXTo select a stored channel:
briefly press
the & or * button.XTo select a channel from the channel
list: press and briefly hold the & or
* button.XTo select a station using the station
search 29
: press and briefly hold the &
or * button.
Audio player or audio media operation
Audio data from various audio devices or
media can be played, depending on the
equipment installed in the vehicle.
XSwitch on COMAND APS and select the
audio player or medium (see the separate
operating instructions).XPress V or U on the steering wheel
to select the Audio menu.
CD changer display (example)
:Current CD (for CD/DVD changer);Current track28
When current channel ; has been stored, the memory position will also be displayed.
29 Only if no station list is received.Menus and submenus219On-board computer and displaysBA 164.8 USA, CA Edition B 2011; 1; 2, en-USd2sboikeVersion: 3.0.3.52010-04-21T15:08:44+02:00 - Seite 219Z
Page 222 of 376
XTo select the next/previous track:
briefly press the & or * button.XTo select a track from the track list
(rapid scrolling): press and briefly hold the
& or * button.
The current track will not be displayed in
audio AUX mode ( Auxiliary audio mode:
external audio source connected).
Video DVD operation
XSwitch on COMAND APS and select video
DVD (see the separate operating
instructions).XPress V or U on the steering wheel
to select the Audio menu.
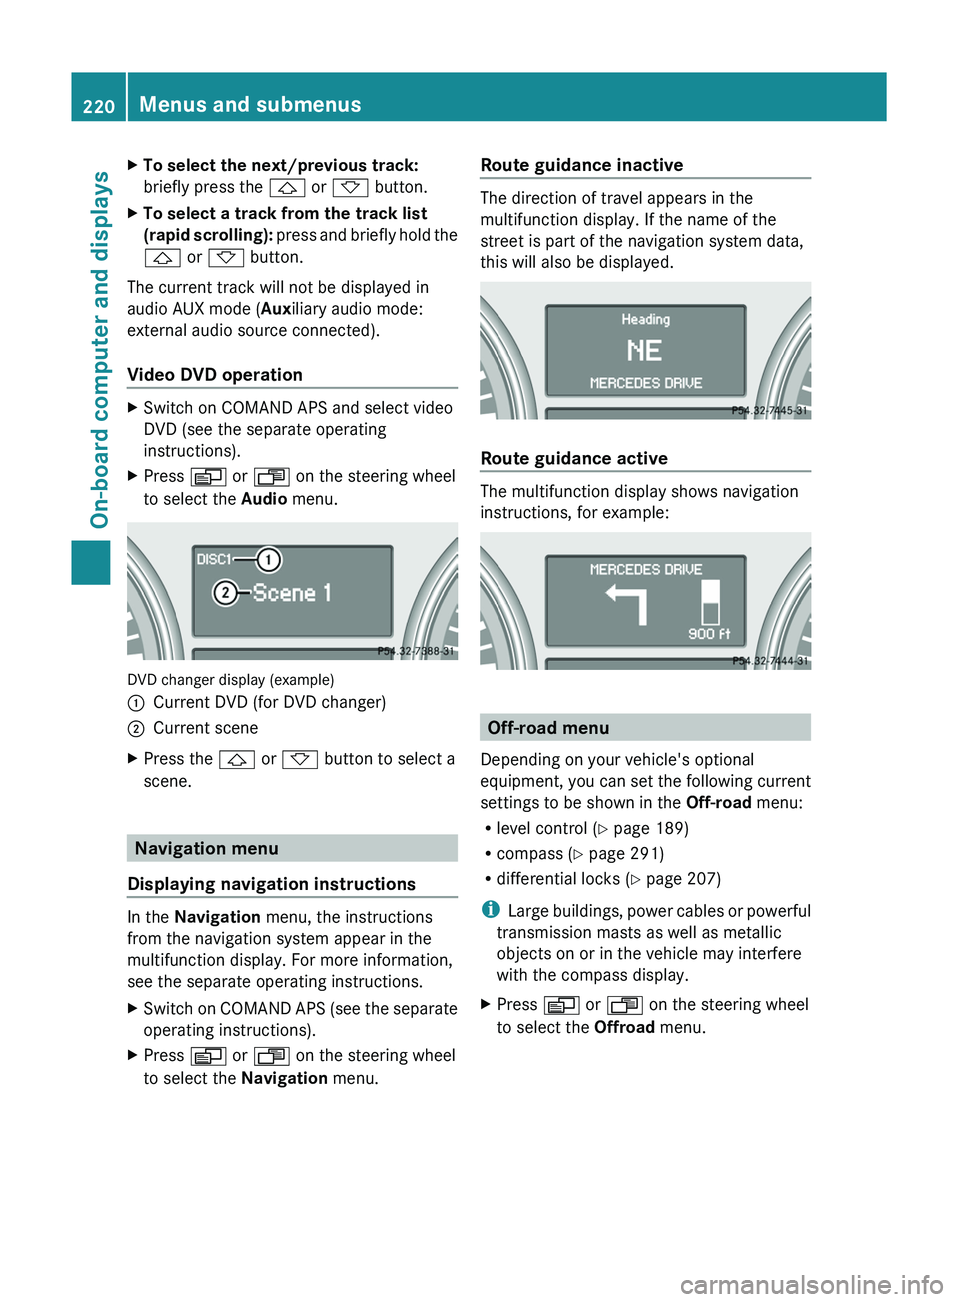
DVD changer display (example)
:Current DVD (for DVD changer);Current sceneXPress the & or * button to select a
scene.
Navigation menu
Displaying navigation instructions
In the Navigation menu, the instructions
from the navigation system appear in the
multifunction display. For more information,
see the separate operating instructions.
XSwitch on COMAND APS (see the separate
operating instructions).XPress V or U on the steering wheel
to select the Navigation menu.Route guidance inactive
The direction of travel appears in the
multifunction display. If the name of the
street is part of the navigation system data,
this will also be displayed.
Route guidance active
The multifunction display shows navigation
instructions, for example:
Off-road menu
Depending on your vehicle's optional
equipment, you can set the following current
settings to be shown in the Off-road menu:
R level control ( Y page 189)
R compass ( Y page 291)
R differential locks ( Y page 207)
i Large buildings, power cables or powerful
transmission masts as well as metallic
objects on or in the vehicle may interfere
with the compass display.
XPress V or U on the steering wheel
to select the Offroad menu.220Menus and submenusOn-board computer and displays
BA 164.8 USA, CA Edition B 2011; 1; 2, en-USd2sboikeVersion: 3.0.3.52010-04-21T15:08:44+02:00 - Seite 220
Page 223 of 376
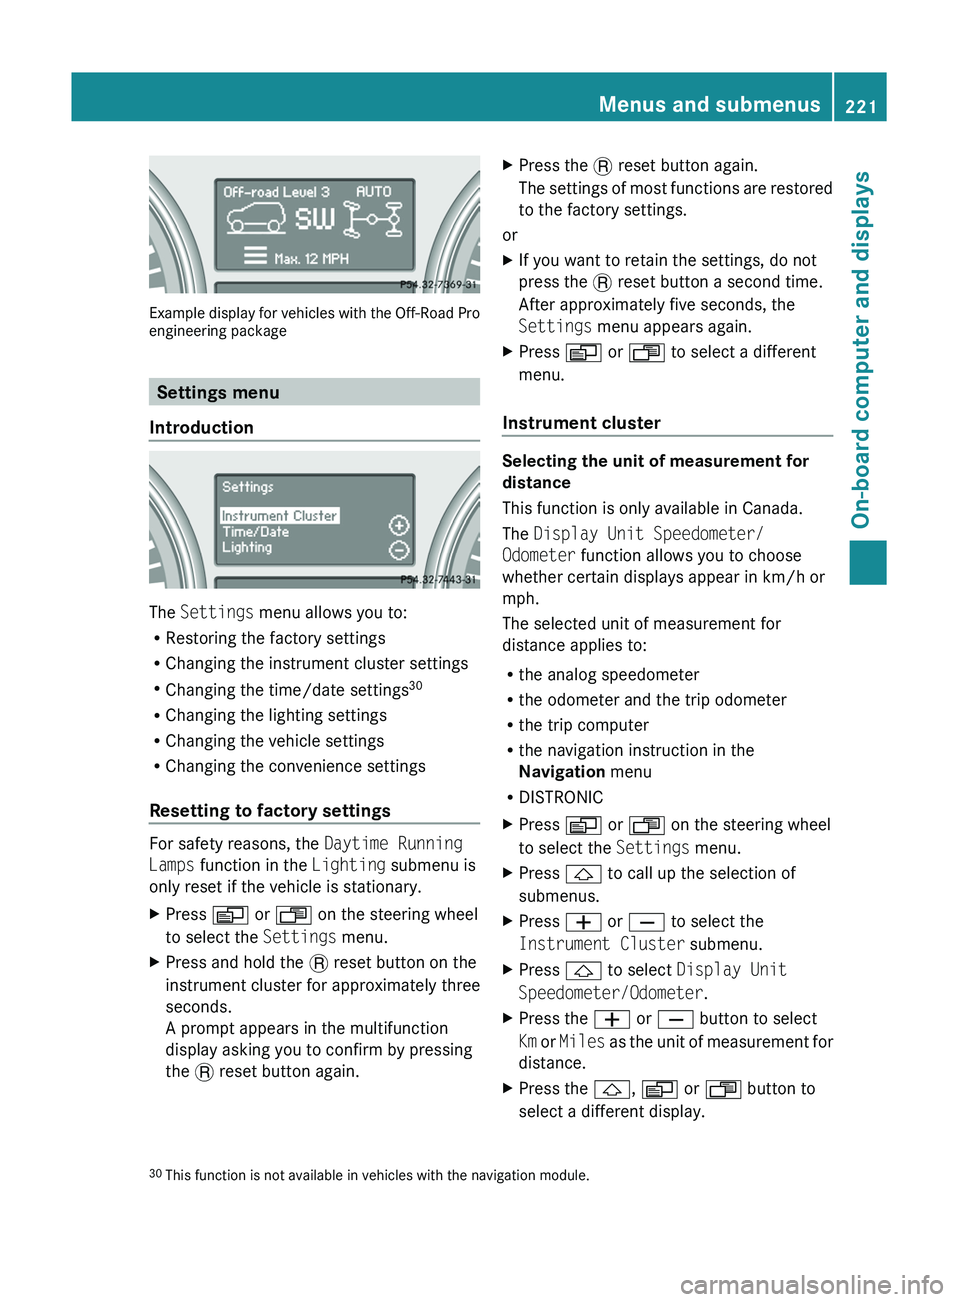
Example display for vehicles with the Off-Road Pro
engineering package
Settings menu
Introduction
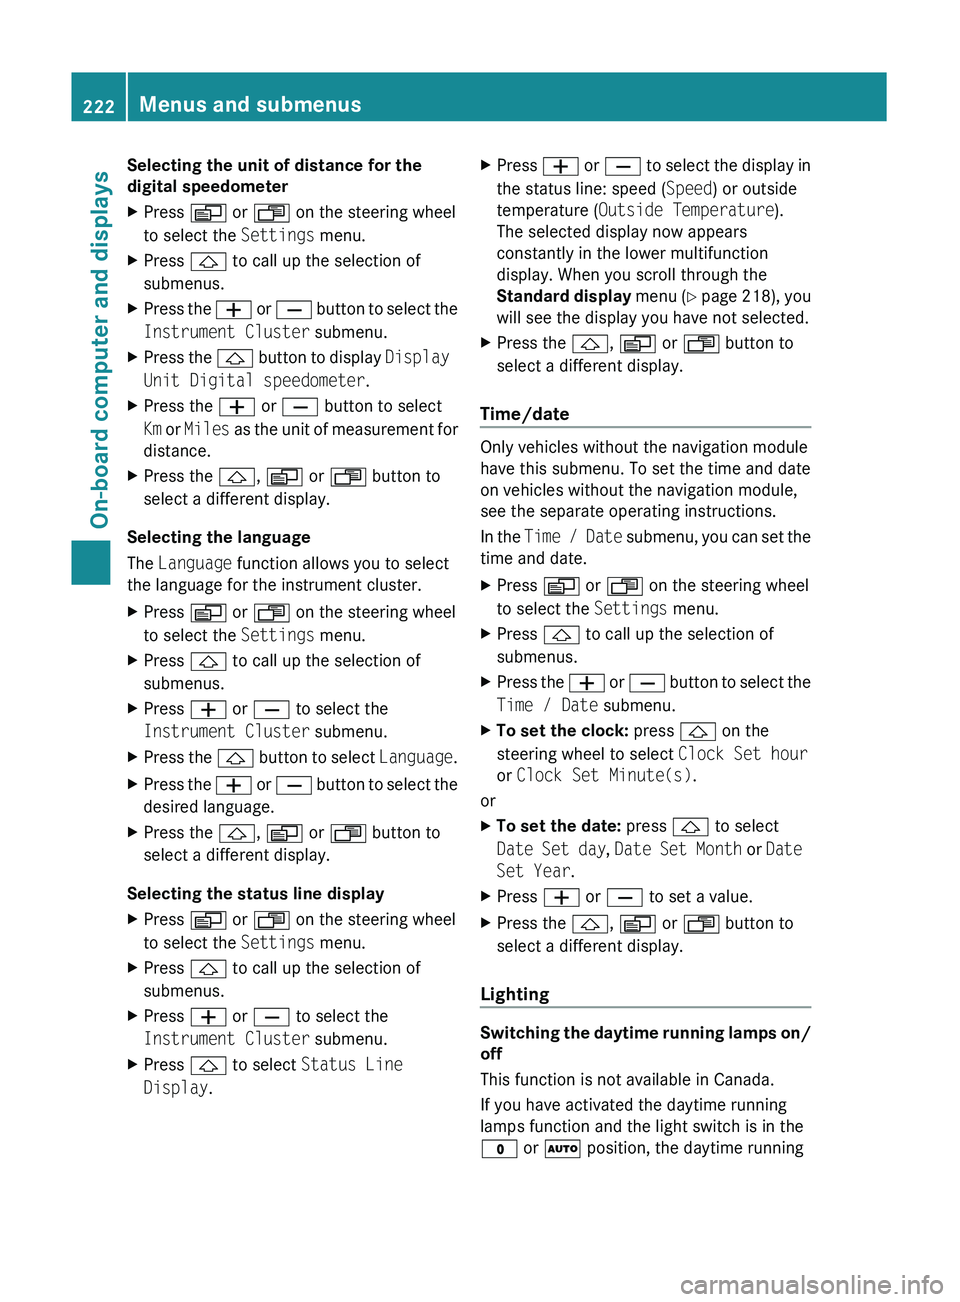
The Settings menu allows you to:
R Restoring the factory settings
R Changing the instrument cluster settings
R Changing the time/date settings 30
R Changing the lighting settings
R Changing the vehicle settings
R Changing the convenience settings
Resetting to factory settings
For safety reasons, the Daytime Running
Lamps function in the Lighting submenu is
only reset if the vehicle is stationary.
XPress V or U on the steering wheel
to select the Settings menu.XPress and hold the . reset button on the
instrument cluster for approximately three
seconds.
A prompt appears in the multifunction
display asking you to confirm by pressing
the . reset button again.XPress the . reset button again.
The settings of most functions are restored
to the factory settings.
or
XIf you want to retain the settings, do not
press the . reset button a second time.
After approximately five seconds, the
Settings menu appears again.XPress V or U to select a different
menu.
Instrument cluster
Selecting the unit of measurement for
distance
This function is only available in Canada.
The Display Unit Speedometer/
Odometer function allows you to choose
whether certain displays appear in km/h or
mph.
The selected unit of measurement for
distance applies to:
R the analog speedometer
R the odometer and the trip odometer
R the trip computer
R the navigation instruction in the
Navigation menu
R DISTRONIC
XPress V or U on the steering wheel
to select the Settings menu.XPress & to call up the selection of
submenus.XPress W or X to select the
Instrument Cluster submenu.XPress & to select Display Unit
Speedometer/Odometer .XPress the W or X button to select
Km or Miles as the unit of measurement for
distance.XPress the &, V or U button to
select a different display.30 This function is not available in vehicles with the navigation module.Menus and submenus221On-board computer and displaysBA 164.8 USA, CA Edition B 2011; 1; 2, en-USd2sboikeVersion: 3.0.3.52010-04-21T15:08:44+02:00 - Seite 221Z
Page 224 of 376
Selecting the unit of distance for the
digital speedometerXPress V or U on the steering wheel
to select the Settings menu.XPress & to call up the selection of
submenus.XPress the W or X button to select the
Instrument Cluster submenu.XPress the & button to display Display
Unit Digital speedometer .XPress the W or X button to select
Km or Miles as the unit of measurement for
distance.XPress the &, V or U button to
select a different display.
Selecting the language
The Language function allows you to select
the language for the instrument cluster.
XPress V or U on the steering wheel
to select the Settings menu.XPress & to call up the selection of
submenus.XPress W or X to select the
Instrument Cluster submenu.XPress the & button to select Language.XPress the W or X button to select the
desired language.XPress the &, V or U button to
select a different display.
Selecting the status line display
XPress V or U on the steering wheel
to select the Settings menu.XPress & to call up the selection of
submenus.XPress W or X to select the
Instrument Cluster submenu.XPress & to select Status Line
Display .XPress W or X to select the display in
the status line: speed ( Speed) or outside
temperature ( Outside Temperature ).
The selected display now appears
constantly in the lower multifunction
display. When you scroll through the
Standard display menu (Y page 218), you
will see the display you have not selected.XPress the &, V or U button to
select a different display.
Time/date
Only vehicles without the navigation module
have this submenu. To set the time and date
on vehicles without the navigation module,
see the separate operating instructions.
In the Time / Date submenu, you can set the
time and date.
XPress V or U on the steering wheel
to select the Settings menu.XPress & to call up the selection of
submenus.XPress the W or X button to select the
Time / Date submenu.XTo set the clock: press & on the
steering wheel to select Clock Set hour
or Clock Set Minute(s) .
or
XTo set the date: press & to select
Date Set day , Date Set Month or Date
Set Year .XPress W or X to set a value.XPress the &, V or U button to
select a different display.
Lighting
Switching the daytime running lamps on/
off
This function is not available in Canada.
If you have activated the daytime running
lamps function and the light switch is in the
$ or à position, the daytime running
222Menus and submenusOn-board computer and displays
BA 164.8 USA, CA Edition B 2011; 1; 2, en-USd2sboikeVersion: 3.0.3.52010-04-21T15:08:44+02:00 - Seite 222
Page 225 of 376
lamps are switched on automatically when
the engine is running.
In the dark, the following also light up:
R the low-beam headlamps
R the parking lamps
R the tail lamps
R the license plate lamp
R the side marker lampsXPress V or U on the steering wheel
to select the Settings menu.XPress & to call up the selection of
submenus.XPress the W or X button to select the
Lighting submenu.XPress & to select Daytime Running
Lamps .XPress W or X to set daytime running
lamps to On or Off .XPress the &, V or U button to
select a different display.
Switching the surround lighting on/off
If you activate the surround lighting function
and the light switch is set to Ã, the
following will light up if it is dark and you
unlock the vehicle using the SmartKey:
R the parking lamps
R the license plate lamp
R the tail lamps
R the fog lamps 31
R the low-beam headlamps 32
R the side marker lamps
The surround lighting switches off
automatically after 40 seconds or when the
driver's door is opened.
XPress V or U on the steering wheel
to select the Settings menu.XPress & to call up the selection of
submenus.XPress the W or X button to select the
Lighting submenu.XPress & to select Surround Lighting
Function .XPress the W or X button to activate
or deactivate the Surround Lighting
function.XWhen leaving the vehicle, turn the light
switch to position Ã.
The surround lighting is activated.XPress the &, V or U button to
select a different display.
Setting the ambient lighting
XPress V or U on the steering wheel
to select the Settings menu.XPress & to call up the selection of
submenus.XPress the W or X button to select the
Lighting submenu.XPress the & button to select Ambient
Light .XPress W or X to adjust the
brightness to any level from Level 0 (off)
to Level 5 (bright).XPress the &, V or U button to
select a different display.
Activating/deactivating the exterior
lighting delayed switch-off
When you activate the Headlamp Delayed
Shut-off function and the light switch is set
to à , the exterior lighting remains on for
another 15 seconds after closing the doors
when it is dark.
If the engine is switched off and then none of
the doors are opened, or if an open door is
not closed, the exterior lighting goes out after
60 seconds.
If you have activated the delayed switch-off
function, the light switch is set to à and
31
Only for vehicles with front fog lamps.
32 Only for vehicles without front fog lamps.Menus and submenus223On-board computer and displaysBA 164.8 USA, CA Edition B 2011; 1; 2, en-USd2sboikeVersion: 3.0.3.52010-04-21T15:08:44+02:00 - Seite 223Z
Page 226 of 376
you switch off the engine, the following
remain lit:
R the parking lamps
R the license plate lamp
R the tail lamps
R the fog lamps 33
R the low-beam headlamps 34
R the side marker lampsXPress V or U on the steering wheel
to select the Settings menu.XPress & to call up the selection of
submenus.XPress the W or X button to select the
Lighting submenu.XPress the & button to select Headlamp
Delayed Shut-off .XPress the W or X button to activate
or deactivate the Headlamp Delayed
Shut-off function.XBefore switching off the engine, turn the
light switch to position Ã.
The exterior lighting delayed shut-off is
activated.XPress the &, V or U button to
select a different display.
To deactivate the delayed shut-off
temporarily:
XBefore leaving the vehicle, turn the
SmartKey to position 0 in the ignition lock.XTurn the SmartKey to position 2 in the
ignition lock and back to position 0.
The delayed shut-off is deactivated.
The delayed shut-off is reactivated the next
time you start the engine.
Activating/deactivating the interior
lighting delayed switch-off
When you activate the Interior Lighting
Delayed Shut-off function and remove the
SmartKey from the ignition lock, the interior
lighting remains on for 10 seconds.
XPress V or U on the steering wheel
to select the Settings menu.XPress & to call up the selection of
submenus.XPress the W or X button to select the
Lighting submenu.XPress the & button to select Interior
Lighting Delayed Shut-off .XPress the W or X button to activate
or deactivate the Interior Lighting
Delayed Shut-off function.XPress the &, V or U button to
select a different display.
Vehicle
Activating/deactivating the automatic
locking feature
When you activate the Automatic Door
Locking function, your vehicle will be
centrally locked above a speed of
approximately 9 mph (15 km/h).
i Further information on the automatic
locking feature ( Y page 79).
XPress V or U on the steering wheel
to select the Settings menu.XPress & to call up the selection of
submenus.XPress the W or X button to select the
Vehicle submenu.XPress & to select Automatic Door
Locking .XPress W or X to switch Automatic
Door Locking on or off.XPress the &, V or U button to
select a different display.
Activating/deactivating the radar sensor
system
If the radar sensor system is switched off,
Blind Spot Assist (Y page 200) is deactivated.
33
Only for vehicles with front fog lamps.
34 Only for vehicles without front fog lamps.224Menus and submenusOn-board computer and displays
BA 164.8 USA, CA Edition B 2011; 1; 2, en-USd2sboikeVersion: 3.0.3.52010-04-21T15:08:44+02:00 - Seite 224