2011 MERCEDES-BENZ E-CLASS ESTATE audio
[x] Cancel search: audioPage 246 of 409

Settings menu
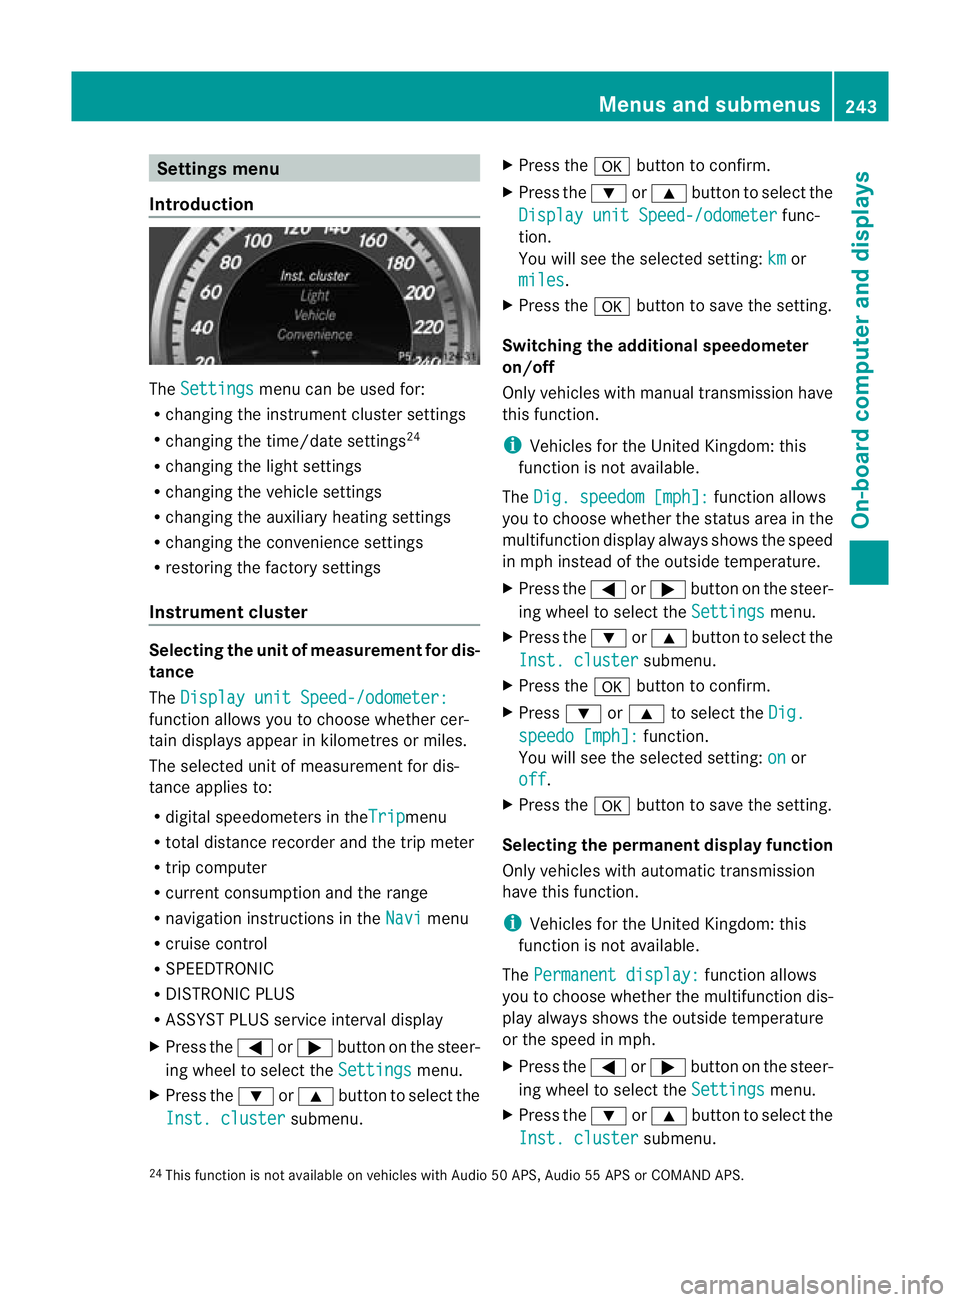
Introduction The
Settings menu can be used for:
R changing the instrument cluster settings
R changing the time/date settings 24
R changing the light settings
R changing the vehicle settings
R changing the auxiliary heating settings
R changing the convenience settings
R restoring the factory settings
Instrument cluster Selecting the unit of measurement for dis-
tance
The
Display unit Speed-/odometer: function allows you to choose whether cer-
tain displays appear in kilometres or miles.
The selected unit of measurement for dis-
tance applies to:
R digital speedometers in the Trip menu
R total distance recorder and the trip meter
R trip computer
R current consumption and the range
R navigation instructions in the Navi menu
R cruise control
R SPEEDTRONIC
R DISTRONIC PLUS
R ASSYST PLUS service interval display
X Press the =or; button on the steer-
ing wheel to select the Settings menu.
X Press the :or9 button to select the
Inst. cluster submenu.X
Press the abutton to confirm.
X Press the :or9 button to select the
Display unit Speed-/odometer func-
tion.
You will see the selected setting: km or
miles .
X Press the abutton to save the setting.
Switching the additional speedometer
on/off
Only vehicles with manual transmission have
this function.
i Vehicles for the United Kingdom: this
function is not available.
The Dig. speedom [mph]: function allows
you to choose whether the status area in the
multifunction display always shows the speed
in mph instead of the outside temperature.
X Press the =or; button on the steer-
ing wheel to select the Settings menu.
X Press the :or9 button to select the
Inst. cluster submenu.
X Press the abutton to confirm.
X Press :or9 to select the Dig. speedo [mph]: function.
You will see the selected setting: on or
off .
X Press the abutton to save the setting.
Selecting the permanent display function
Only vehicles with automatic transmission
have this function.
i Vehicles for the United Kingdom: this
function is not available.
The Permanent display: function allows
you to choose whether the multifunction dis-
play always shows the outside temperature
or the speed in mph.
X Press the =or; button on the steer-
ing wheel to select the Settings menu.
X Press the :or9 button to select the
Inst. cluster submenu.
24 This function is not available on vehicles with Audio 50 APS, Audio 55 APS or COMAND APS. Menus and submenus
243On-board computer and displays Z
Page 247 of 409
![MERCEDES-BENZ E-CLASS ESTATE 2011 Owners Manual X
Press the abutton to confirm.
X Press :or9 to select the Perma‐ nent display function.
You will see the selected setting: outsidetemperature or
Dig. speedom [mph] .
X Press the abutton to save the MERCEDES-BENZ E-CLASS ESTATE 2011 Owners Manual X
Press the abutton to confirm.
X Press :or9 to select the Perma‐ nent display function.
You will see the selected setting: outsidetemperature or
Dig. speedom [mph] .
X Press the abutton to save the](/manual-img/4/55509/w960_55509-246.png)
X
Press the abutton to confirm.
X Press :or9 to select the Perma‐ nent display function.
You will see the selected setting: outsidetemperature or
Dig. speedom [mph] .
X Press the abutton to save the setting.
Time/date This submenu is only available on vehicles
with Audio 20.
In the
Time/date submenu, you can set the
time and date.
Your vehicle may have the following audio
equipment:
A: Audio 20
B: Audio 50 APS
C: COMAND APS
X Refer to the separate operating instruc-
tions to find out which audio system is fit-
ted in your vehicle.
Depending on the audio system, the time and
date are received from GPS satellites and
cannot be set using the on-board computer
(see the following table). A B C
Setting using the on-board com-
puter X
Automatic GPS satellite recep-
tion X X
Setting the time zone once; see
the separate operating instruc-
tions X X
X
Press the =or; button on the steer-
ing wheel to select the Settings menu.
X Press the :or9 button to select the
Time/Date submenu.
X Press the abutton to confirm.
X Press the :or9 button to select
Time: or
Date: .
The curren ttime or date set is displayed. X
Press ato change the setting.
X Press the =or; button to selec tthe
display you want to change: hour, minute,
day, month, year.
X Press the :or9 button to set the
selected display.
X Press the abutton to store the entry.
Lights Switching the daytime driving lights on/
off
If you have activated the
Day lights function
and the light switch is in the Ãposition,
the daytime driving lights are automatically
switched on when the engine is running.
Depending on light conditions, the side lamps
and the dipped-beamh eadlamps will addi-
tionally light up.
X Switch off the engine.
X Press the =or; button on the steer-
ing wheel to select the Settings menu.
X Press the :or9 button to select the
Light submenu.
X Press the abutton to confirm.
X Press the :or9 button to select the
Day lights function.
If the Day lights have been switched on,
the cone of light and the Wsymbol in
the multifunction display are shown in red.
X Press the abutton to save the setting.
Switching the Intelligent Light System
on/off
If you activate the Intell. Light Sys. function, you activate the following functions:
R motorway mode
R active light function
R cornering light function
R extended range foglamps 244
Menus and submenusOn-board computer and displays
Page 316 of 409

Mercedes-Ben
zrecommends the use of an
approved exterior aerial. This ensures:
R optimal mobile phone reception quality in
the vehicle
R mutual influences between the vehicle
electronics and mobile phones are mini-
mised
An exterior aerial has the following advan-
tages:
R it conducts the electromagnetic fields gen-
erated by a wireless device to the exterior.
R the field strength in the vehicle interior is
lower than in a vehicle that does not have
an exterior aerial.
i There are various mobile phone brackets
that may be fitted in your vehicle; in some
cases, these are country-specific.
i You can connect a Bluetooth ®
-capable
mobile phone with Audio 20 or COMAND
APS via the Bluetooth ®
interface. This is
also the case if your vehicle is equipped
with convenience telephony.
More information on suitable mobile phones,
mobile phone brackets and on connecting
Bluetooth ®
-capable mobile phones with
Audio 20 or COMAND APS can be obtained:
R at your Mercedes-Benz Service Centre
R on the Internet at http://www.mercedes-
benz.com/connect
i The functions and services available when
you use the phone depend on your mobile
phone model and service provider.
Inserting the mobile phone X
Open the telephone compartment
(Y page 292).
X Vehicles with automatic transmission
without the DIRECT SELECT lever: con-
nectt he mobile phone bracket to the pre-
installed bracket (see the separate mobile
phone bracket fitting instructions).
Vehicles with automatic transmission
with the DIRECTS ELECT lever:install the sliding adapter depending on the model of
the mobile phone bracket (Y
page 314).
X Inser tthe mobile phone into the mobile
phone bracket (see the separate installa-
tion instructions for the mobile phone fit-
ting).
If the mobile phone is inserted in the mobile
phone bracket, you can speak to the person
you are calling using the hands-free system.
i On some mobile phone brackets, you first
have to connect the mobile phone via Blue-
tooth ®
to the mobile phone bracket (see
the separate operating instructions for the
mobile phone bracket).
If this is the case, the mobile phone does
not have to be inserted into the bracket for
you to be able to use the telephone func-
tions. However, the charging function and
aerial function are not available.
Operating the mobile phone You can operate the telephone using the
6
and~ buttons on the multifunction
steering wheel. You can operate other mobile
phone functions via the on-board computer
(Y page 239).
When you remove the key from the ignition
lock, the mobile phone stays switched on.
However, you can no longer use the hands-
free system.
If you have an active call and would like to
take the key out of the ignition lock, first
remove the mobile phone from the bracket.
Otherwise, the call is ended.
i When using a bracket connected to the
mobile phone via Bluetooth ®
:ify ou wish to
continue a call in private mode, you will
need to perform the necessary steps on the
mobile phone. Information can be found in
the separate mobile phone operating
instructions. Features
313Stowing and features Z
Page 383 of 409

Useful information
i This Owner's Manual describes all models
and all standard and optional equipment
available to your vehicle at the time of pub-
lication of the Owner's Manual. Country-
specific deviations are possible. Please
note that your vehicle may not be equipped
with all features described. This also
applies to safety-relevan tsystems and
functions.
i Please read the information on qualified
specialist workshops (Y page 25).Notes on the technical data
You can find technical data on the Internet at:
http://www.mercedes-benz.com
i The technical data was determined in
accordance with EC Directives. All data
applies to the vehicle's standard equip-
ment. It may therefore differ for vehicles
with optional equipment. You can obtain
further information from a Mercedes-Benz
Service Centre. Genuine Mercedes-Benz parts
Mercedes-Ben ztests genuine parts and con-
version parts and accessories which have
been specifically approved for your vehicle for
their reliability, safety and suitability. Despite
ongoing market research, Mercedes-Benzis
unable to evaluate other parts. Mercedes-
Ben ztherefore accepts no responsibility for
the use of such parts in Mercedes-Ben zvehi-
cles, even if they have been independently or
officially approved.
In Germany and some other countries, certain
parts are only officially approved for installa-
tion or modification if they comply with legal
requirements. All genuine Mercedes-Benz
parts meet this requirement .The use of non- approved parts may invalidate the vehicle's
general operating permit. This is the case if:
R
they cause a change of the vehicle type
from that for which the vehicle's general
operating permit was granted.
R other road users could be endangered.
R the emission or noise levels are adversely
affected. G
WARNING
Driving safety may be impaired if non-
approved parts, tyres and wheels or safety-
relevant accessories are used.
This could lead to malfunctions in safety-rel-
evant systems, e.g. the brake system. This
could cause you to lose control of your vehicle
and cause an accident.
For this reason, Mercedes-Ben zrecommends
that you use genuine Mercedes-Benz parts or
parts of equal quality. Only use tyres, wheels
and accessories that have been specifically
approved for your vehicle.
! Airbags and seat belt tensioners, as well
as control units and sensors for these
restraint systems may be installed in the
following areas of your vehicle:
R doors
R door pillars
R door sills
R seats
R dashboard
R instrument cluster
R centre console
Do not install accessories such as audio
systems in these areas. Do not carry out
repairs or welding. You could impair the
operating efficiency of the restraint sys-
tems.
Have aftermarket accessories installed at
a qualified specialist workshop. Mercedes-
Benz recommends that you use a
Mercedes-Benz Service Centre for this pur-
pose. 380
Genuine Mercedes-Benz partsTechnical data