2011 MERCEDES-BENZ E-CLASS CABRIOLET change time
[x] Cancel search: change timePage 229 of 353
Time/date
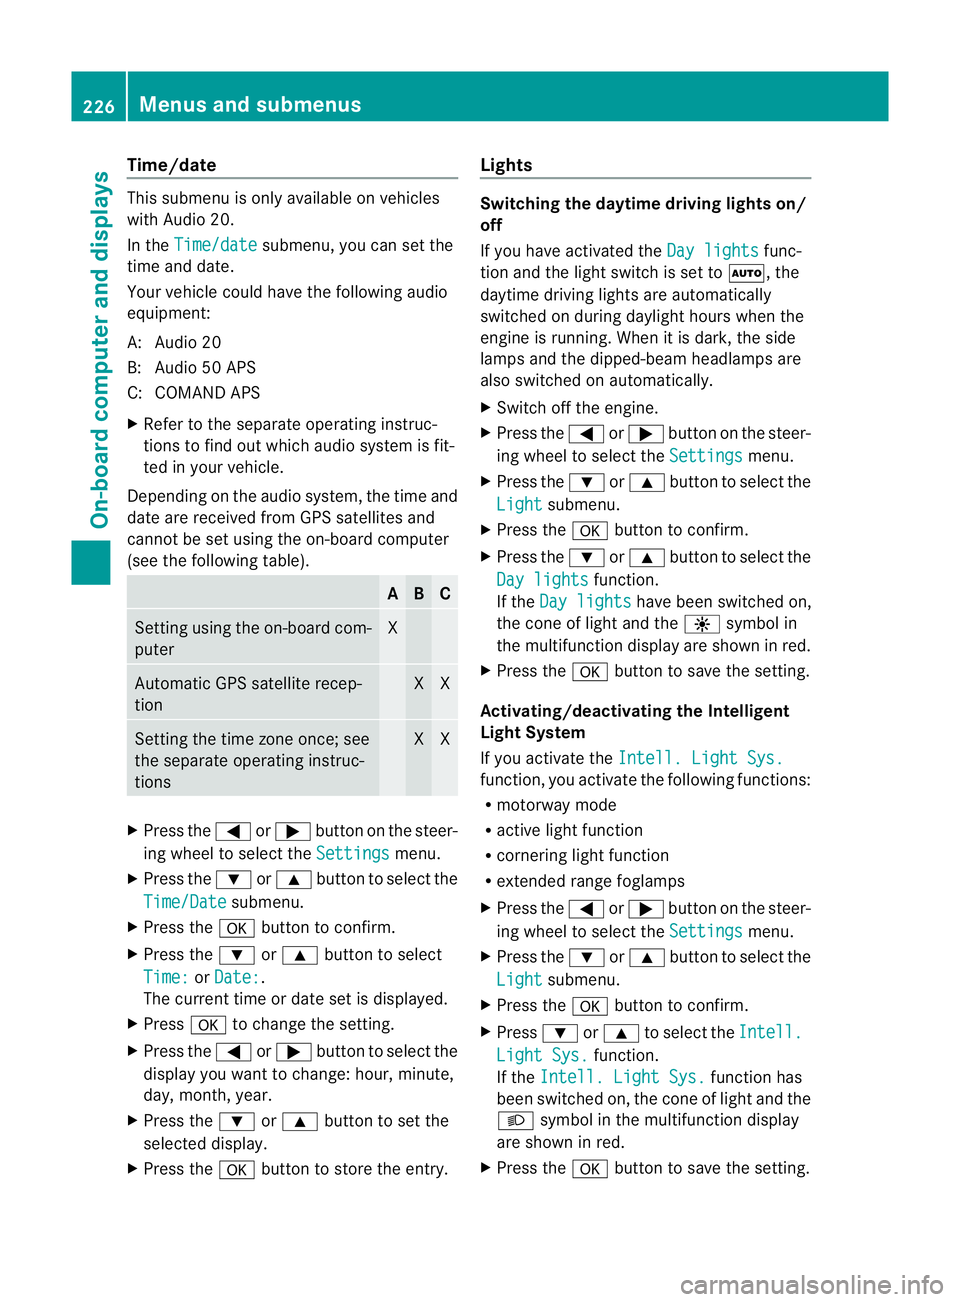
Thi
ssubmenu is onl yavailable on vehicles
with Audio 20.
In the Time/date submenu, yo
ucan se tthe
time and date.
Your vehicle could have the following audio
equipment:
A: Audio 20
B: Audio 50 APS
C: COMAND APS
X Refer to the separate operating instruc-
tions to find out which audios ystem is fit-
ted in your vehicle.
Depending on the audios ystem, the time and
date are received from GPS satellites and
cannot be set using the on-board computer
(see the following table). A B C
Setting using the on-board com-
puter X
Automatic GPS satellite recep-
tion X X
Setting the time zone once; see
the separate operating instruc-
tions X X
X
Press the =or; button on the steer-
ing wheel to select the Settings menu.
X Press the :or9 button to select the
Time/Date submenu.
X Press the abutton to confirm.
X Press the :or9 button to select
Time: or
Date: .
The current time or date set is displayed.
X Press ato change the setting.
X Press the =or; button to select the
displayy ou want to change: hour, minute,
day, month, year.
X Press the :or9 button to set the
selected display.
X Press the abutton to store the entry. Lights Switching the daytime driving lights on/
off
If you have activated the
Day lights func-
tion and the light switch is set to Ã,the
daytime driving lights are automatically
switched on during daylight hours when the
engine is running. When it is dark, the side
lamps and the dipped-beamh eadlamps are
also switched on automatically.
X Switc hoff the engine.
X Press the =or; button on the steer-
ing wheel to select the Settings menu.
X Press the :or9 button to select the
Light submenu.
X Press the abutton to confirm.
X Press the :or9 button to select the
Day lights function.
If the Day lights have been switched on,
the coneofl ight and the Wsymbol in
the multifunction display are shown in red.
X Press the abutton to save the setting.
Activating/deactivating the Intelligent
Light System
If you activat ethe Intell. Light Sys. function
,you activat ethe following functions:
R motorway mode
R activ elight function
R cornering light function
R extended range foglamps
X Press the =or; button on the steer-
ing wheel to select the Settings menu.
X Press the :or9 button to select the
Light submenu.
X Press the abutton to confirm.
X Press :or9 to select the Intell. Light Sys. function.
If the Intell. Light Sys. function has
been switched on, the coneofl ight and the
L symbol in the multifunction display
are shown in red.
X Press the abutton to save the setting. 226
Menus and submenusOn-boar
dcomputer and displays
Page 230 of 353

If you set the dipped-bea
mheadlamps for
driving on the right/left (Y page 227), the
multifunction display shows the Systeminoperative display message under the
image of the vehicle for the Intell. Light
Sys. function in the
Light submenu.
Setting the dipped-beam headlampsf or
driving on the right/left
This function is only available on vehicles with
the Intelligent Light System.
You can use this function to switch between
symmetrical beam and asymmetrical dipped
beam (Y page 114).
If you set the dipped-beam headlamps for
driving on the right/left, then motorway
mode and the extended range foglamps are
not available.
X Press the =or; button on the steer-
ing wheel to select the Settings menu.
X Press the :or9 button to select the
Light submenu.
X Press the abutton to confirm.
X Press :or9 to select the Dipped beams Setting for: function.
You will see the selected setting: Right-side traffic or
Left-side traffic .
X Press the abutton to save the setting.
When you change the setting, conversion
does not take place until the nextt ime the
vehicle is stationary.
You can also have the dipped-beam head-
lamps set for drivin gonthe right/lef tata
qualified specialist workshop, e.g. a
Mercedes-Ben zServic eCentre.
Switching Adaptive Highbeam Assist on/
off
X Press the =or; button on the steer-
ing wheel to selec tthe Settings menu.
X Press the :or9 button to select the
Light submenu.
X Press the abutton to confirm. X
Press :or9 to select the Adapt. main beam function.
If the Adapt. main beam function has
been switched on, the cone of light and the
_ symbol in the multifunction display
are shown in red.
X Press the abutton to save the setting.
Activating/deactivating the surround
lighting and exterior lighting delayed
switch-off
If you have activated the Surround light‐ ing function and the light switch is in the
à position,
R the exterior lighting remains on for another
40 seconds after you unlock the vehicle
using the key.
The exterior lighting switches off when you
open the driver’s door.
R the exterior lighting remains on for another
15 seconds after closing the doors when it
is dark.
If the engine is switched off and then none
of the doors are opened, or if an open door
is not closed, the exterior lighting goes out
after 60 seconds.
If you activate the Surround lighting func-
tion, the following light up depending on the
vehicle's equipment:
R the side lamps
R the foglamps
R the daytime driving lights
R the surround lighting in the exterior mirrors
X Press the =or; button on the steer-
ing wheel to select the Settings menu.
X Press the :or9 button to select the
Light submenu.
X Press the abutton to confirm.
X Press the :or9 button to select the
Surround lighting function.
When the Surround lighting function is
activated, the light cone and the area Menus and submenus
227On-board computer and displays Z
Page 232 of 353

X
Press the :or9 button to select the
Acoustic Lock function.
If the Acoustic Lock function is activated,
the & symbol in the multifunction dis-
play lights up red.
X Press the abutton to save the setting.
Activating/deactivating the radar sensor
system
i You must deactivate the radar sensor sys-
tem in certain countries and near radio
telescope facilities. For further informa-
tion, see (Y page 345).
Vehicles with anavigation system: the radar
sensor system is deactivated automatically if
you are close to radio telescope facilities.
The following systems are switched off when
the radar sensor system is deactivated:
R DISTRONIC PLUS (Y page 171)
R BAS PLUS (Y page 62)
R PRE-SAFE ®
Brake (Y page 66)
R Blind Spot Assist (Y page 196)
R Active Blind Spot Assist (Y page 199)
X Press the =or; button on the steer-
ing wheel to select the Settings menu.
X Press the :or9 button to select the
Vehicle submenu.
X Press the abutton to confirm.
X Press the 9or: button to select
Radar sensor (See Owner's Man.): .
You will see the selected setting: on or
off .
X Press the abutton to save the setting.
Heating menu Auxiliary heating departuret
ime
This function is only availabl eonvehicles with
auxiliary heating (Y page 137).
In the Heating submenu, you can select a
stored departure time or change adeparture
time. The auxiliary heating timer function calcu-
lates the switch-on time accordin
gtothe out-
side temperature so that the vehicle is pre-
heated by the departure time. When the
departure time is reached, the auxiliary heat-
ing continues to heat for afurther five
minutes and then switches off. The auxiliary
heating adopts the THERMATIC or
THERMOTRONIC temperature setting.
You can switch off the auxiliary heating by
using the remot econtrol or the auxiliary heat-
ing button on the centre console. G
WARNING
Exhaust fumes are produced when the auxili-
ary heating is in operation. Inhaling these
exhaust fumes can be poisonous. You should
therefore switch off the auxiliary heating in
confined spaces without an extraction sys-
tem, e.g. agarage. G
WARNING
When operating the auxiliary heating parts of
the vehicle can get very hot. Make sure that
the exhaust system does not under any cir-
cumstances come into contact with easily
ignitable material such as dry grass or fuels.
The material could otherwise ignite and set
the vehicle alight. Choose your parking spot
accordingly.
Operating the auxiliary heating is thus pro-
hibited at filling station sorwhen your vehicle
is being refuelled. You must therefore switch
off the auxiliary heating at filling stations.
! Operating the auxiliary heating/ventila-
tion draws on the vehicle battery. After you
have heated or ventilated the vehicle a
maximum of two times, drive for alonger
distance.
i Switc hthe auxiliary heating on regularly
once amonthfor about 10 minutes. Menus and submenus
229On-board computer and displays Z
Page 233 of 353
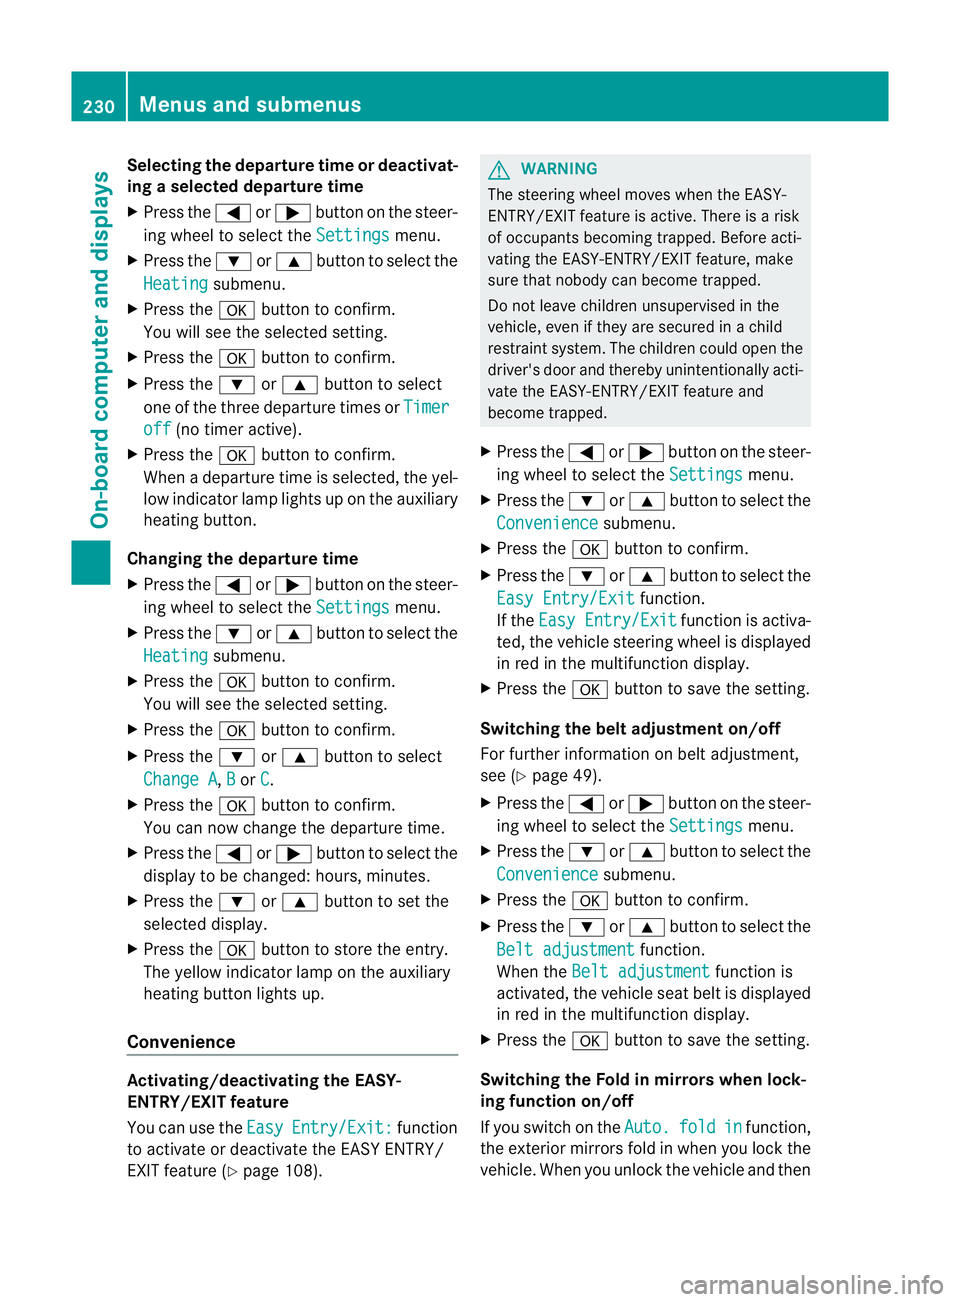
Selecting the departuret
ime or deactivat-
ing aselected departuret ime
X Press the =or; button on the steer-
ing wheel to select the Settings menu.
X Press the :or9 button to select the
Heating submenu.
X Press the abutton to confirm.
You will see the selected setting.
X Press the abutton to confirm.
X Press the :or9 button to select
one of the three departure times or Timeroff (no timer active).
X Press the abutton to confirm.
When adeparture time is selected, the yel-
low indicator lamp lights up on the auxiliary
heating button.
Changing the departuret ime
X Press the =or; button on the steer-
ing wheel to select the Settings menu.
X Press the :or9 button to select the
Heating submenu.
X Press the abutton to confirm.
You will see the selected setting.
X Press the abutton to confirm.
X Press the :or9 button to select
Change A ,
B or
C .
X Press the abutton to confirm.
You can now change the departure time.
X Press the =or; button to select the
display to be changed: hours, minutes.
X Press the :or9 button to set the
selected display.
X Press the abutton to store the entry.
The yellowi ndicator lamp on the auxiliary
heating button lights up.
Convenience Activating/deactivating the EASY-
ENTRY/EXIT feature
You can use the Easy Entry/Exit: function
to activate or deactivate the EASYE NTRY/
EXIT feature (Y page 108). G
WARNING
The steering wheel moves when the EASY-
ENTRY/EXIT feature is active. There is arisk
of occupants becoming trapped. Before acti-
vating the EASY-ENTRY/EXIT feature, make
sure that nobody can become trapped.
Do not leave children unsupervised in the
vehicle, even if they are secured in achild
restraint system. The children could open the
driver's door and thereby unintentionally acti-
vate the EASY-ENTRY/EXIT feature and
become trapped.
X Press the =or; button on the steer-
ing wheel to select the Settings menu.
X Press the :or9 button to select the
Convenience submenu.
X Press the abutton to confirm.
X Press the :or9 button to select the
Easy Entry/Exit function.
If the Easy Entry/Exit function is activa-
ted, the vehicle steering wheel is displayed
in red in the multifunction display.
X Press the abutton to save the setting.
Switching the belt adjustment on/off
For further information on belt adjustment,
see (Y page 49).
X Press the =or; button on the steer-
ing wheel to select the Settings menu.
X Press the :or9 button to select the
Convenience submenu.
X Press the abutton to confirm.
X Press the :or9 button to select the
Belt adjustment function.
When the Belt adjustment function is
activated, the vehicle seat belt is displayed
in red in the multifunction display.
X Press the abutton to save the setting.
Switching the Fold in mirrors when lock-
ing function on/off
If you switch on the Auto. fold in function,
the exterior mirrors fold in when you lock the
vehicle. When you unlock the vehicle and then 230
Menus and submenusOn-board computer and displays
Page 243 of 353

Display messages Possible causes/consequences and
M Solutions
b
Lef
tm ainb eam or
Right mai nbeam The lef
torright-han dhigh beam is faulty.
X Check whether you are permitted to change the bulb yourself
(Y page 121).
or
X Visit aqualified specialist workshop. b
Left
licence plate
lamp orRight
licence plat
elamp The left or right-han
dlicence plate lamp is faulty.
X Check whether you are permitted to change the bulb yourself
(Y page 121).
or
X Visit aqualified specialist workshop. b
Left fog lamp
or
Righ tfog lamp The left-han
dorright-han dfront foglam pisfaulty.
X Check whether you are permitted to change the bulb yourself
(Y page 121).
or
X Visit aqualified specialist workshop. b
Rear fog lamp The rear foglam
pisfaulty.
X Check whether you are permitted to change the bulb yourself
(Y page 121).
or
X Visit aqualified specialist workshop. b
Front
left parking
lamp or
Front righ
tparking lamp The front left or front right parking lamp is faulty.
X
Check whether you are permitted to change the bulb yourself
(Y page 121).
or
X Visit aqualified specialist workshop. b
Left revers. lamp
or
Righ trevers. lamp The left or right-han
dreversin glamp is faulty.
X Check whether you are permitted to change the bulb yourself
(Y page 121).
or
X Visit aqualified specialist workshop. b
Left daytime driv‐
ing lamp or
Right daytime driving
lamp The left or right-han
ddaytime drivin glamp is defective.
X Check whether you are permitted to change the bulb yourself
(Y page 121).
or
X Visit aqualified specialist workshop. 240
Display messagesOn-board computer and displays
Page 256 of 353
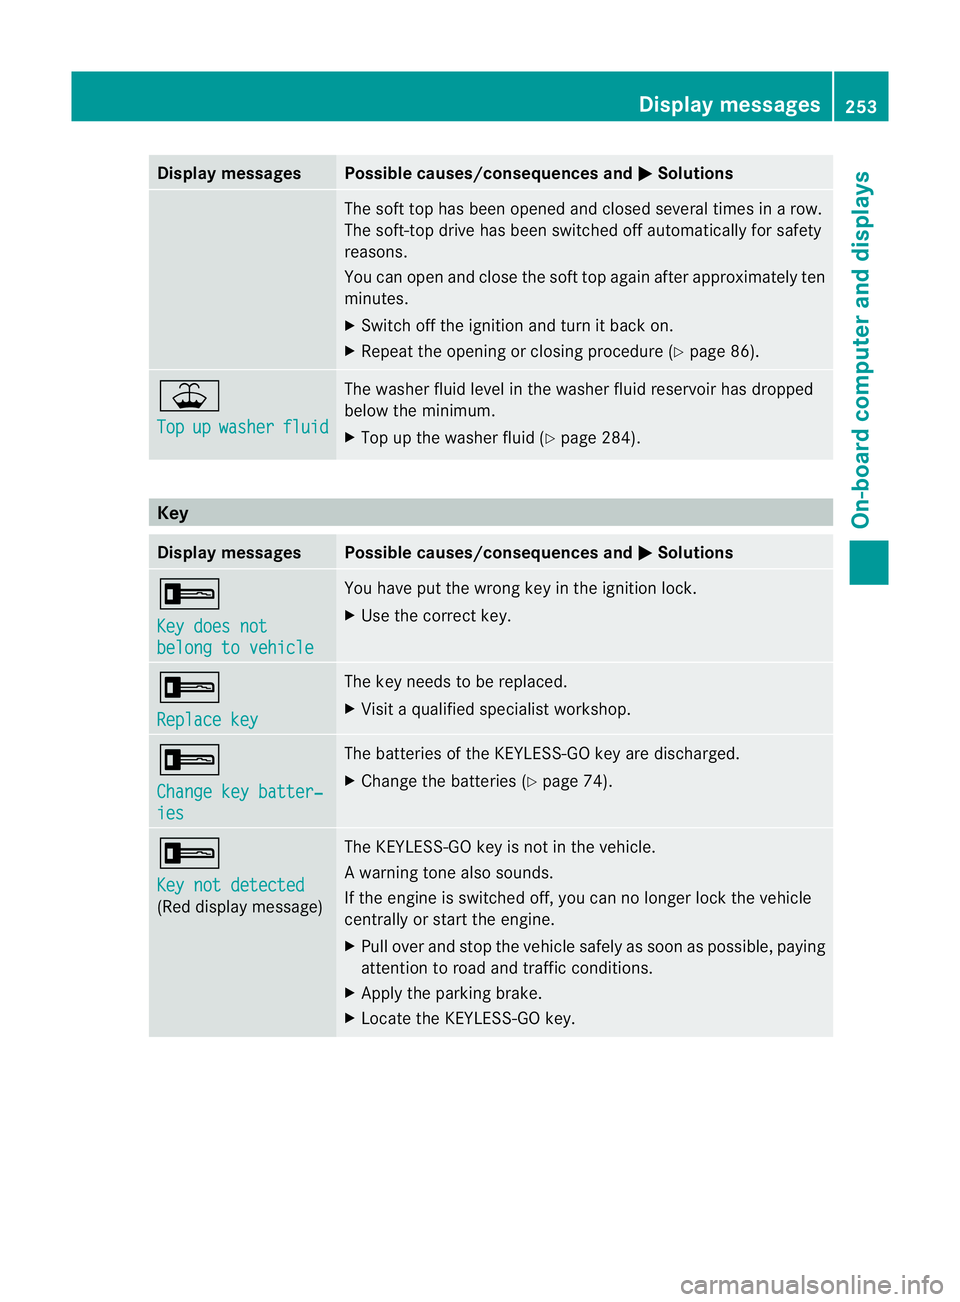
Display messages Possible causes/consequences and
M Solutions
The sof
ttop has been opened and closed several times in arow.
The soft-top drive has been switched off automatically for safety
reasons.
You can open and close the soft top again after approximately ten
minutes.
X Switch off the ignition and turn it back on.
X Repeat the opening or closing procedure (Y page 86).¥
Top
up washer fluid The washer fluid level in the washer fluid reservoir has dropped
below the minimum.
X
Top up the washer fluid (Y page 284).Key
Display messages Possible causes/consequences and
M Solutions
+
Key does not
belong to vehicle You have put the wrong key in the ignition lock.
X
Use the correc tkey. +
Replace key The key needs to be replaced.
X
Visit aqualified specialist workshop. +
Change key batter‐
ies The batteries of the KEYLESS-GO key are discharged.
X
Change the batteries (Y page 74).+
Key not detected
(Red display message) The KEYLESS-GO key is not in the vehicle.
Aw
arning tone also sounds.
If th eengineiss witched off ,you can no longer loc kthe vehicle
centrally or start the engine.
X Pull over and stop the vehicle safely as soon as possible, paying
attention to road and traffic conditions.
X Apply the parking brake.
X Locate the KEYLESS-GO key. Display messages
253On-board computer and displays Z
Page 267 of 353
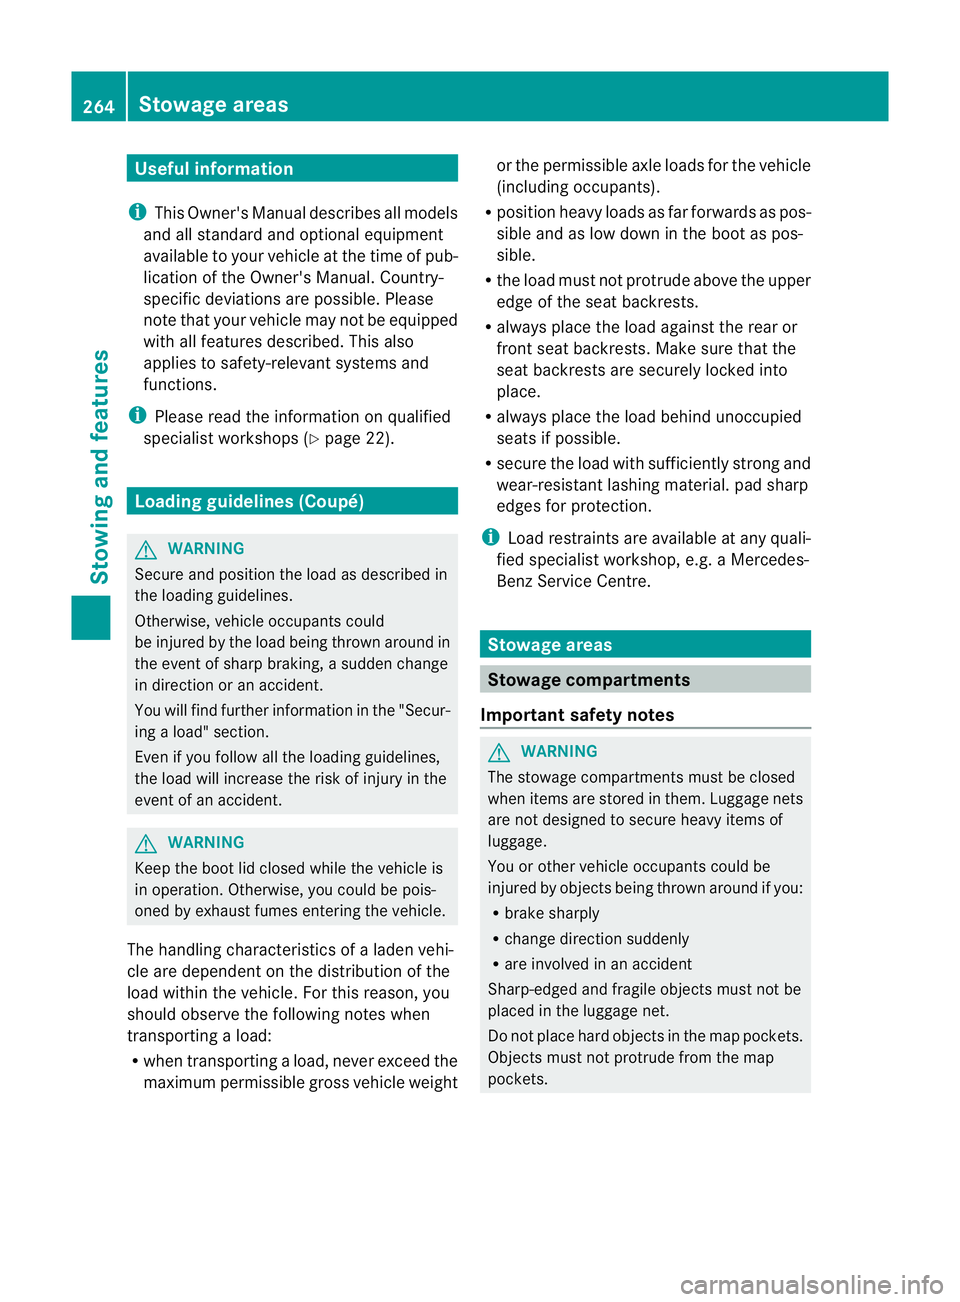
Useful information
i This Owner's Manual describes all models
and all standard and optional equipment
available to your vehicle at the time of pub-
lication of the Owner's Manual. Country-
specific deviation sare possible. Please
not ethat your vehicle may not be equipped
with all feature sdescribed. This also
applies to safety-relevan tsystems and
functions.
i Pleas ereadt he information on qualified
specialist workshop s(Ypage 22). Loading guidelines (Coupé)
G
WARNING
Secur eand position th eload as described in
th el oadin gguidelines.
Otherwise ,vehicl eoccupant scould
be injured by th eload bein gthrow na round in
the event of sharp braking, asudden change
in directio noranaccident.
You willf ind further informatio ninthe "Secur-
ing aload" section.
Even if you follow all the loading guidelines,
the load will increase the risk of injury in the
event of an accident. G
WARNING
Keep the boot lid closed while the vehicle is
in operation. Otherwise, you could be pois-
oned by exhaust fumes enteringt he vehicle.
The handling characteristics of aladen vehi-
cle are dependent on the distribution of the
load within the vehicle. For this reason, you
should observe the following notes when
transporting aload:
R when transporting aload, never exceed the
maximum permissible gross vehicle weight or the permissible axle loads for the vehicle
(including occupants).
R position heavy loads as far forwards as pos-
sible and as low down in the boot as pos-
sible.
R the load must not protrude above the upper
edge of the seat backrests.
R always place the load against the rear or
front seat backrests. Make sure that the
seat backrests are securely locked into
place.
R always place the load behind unoccupied
seats if possible.
R secure the load with sufficiently stronga nd
wear-resistant lashing material. pad sharp
edges for protection.
i Load restraintsa re available at any quali-
fied specialist workshop, e.g. aMercedes-
Benz Service Centre. Stowage areas
Stowage compartments
Important safety notes G
WARNING
The stowage compartments must be closed
when items are stored in them. Luggage nets
are not designed to secure heavy items of
luggage.
You or other vehicle occupants could be
injured by objectsb eing thrown around if you:
R brake sharply
R change direction suddenly
R are involved in an accident
Sharp-edged and fragile objectsm ust not be
placed in the luggagen et.
Do not place hard objectsint he map pockets.
Objectsm ust not protrude from the map
pockets. 264
Stowage areasStowing and features
Page 295 of 353
!
Do not allowc osmetics, insect repellent
or sunscreen to come in contact with the
plastic trim. This maintains the high-quality
look of the surfaces.
X Wipe the plastic trim with adamp, lint-free
cloth, e.g. amicrofibre cloth.
X Heavy soiling: use car care and cleaning
products recommended and approved by
Mercedes-Benz.
The surface may change colour tempora-
rily. Wait until the surface is dry again.
Cleaning wooden trim and trim pieces X
Wipe the wooden trim and trim pieces with
ad amp, lint-free cloth, e.g. amicrofibre
cloth.
X Heavy soiling: use car care and cleaning
products recommended and approved by
Mercedes-Benz.
! Do not use solvent-based cleaning agents
such as tar remover, wheel cleaners, pol-
ishes or waxes. There is otherwise arisk of
damaging the surface.
Cleaning the seat covers !
Do not use microfibre cloths to clean gen-
uine leather, artificial leather or
Alcantara® covers. If used often, these can
damage the cover.
! Observe the following when cleaning:
R clean genuine leather covers carefully
with adamp cloth and then wipe the cov-
ers down with adry cloth. Make sure that
the leather does not become soaked. It
may otherwise become rough and
cracked. Only use leather care agents
that have been tested and approved by
Mercedes-Benz.Y ou can obtain these
from aqualified specialist workshop, e.g.
aM ercedes-Benz Servic ecentre.
R clean artificial leather covers with acloth
moistened with asolution containing 1%
detergent (e.g. washing-up liquid). R
clean cloth covers with amicrofibre cloth
moistened with asolution containing 1%
detergent (e.g. washing-up liquid). Rub
carefully and always wipe entire seat sec-
tions to avoid leaving visible lines. Leave
the seat to dry afterwards. Cleaning
results depend on the type of dirt and
how long it has been there.
R clean Alcantara® covers with adamp
cloth. Make sure you wipe entires eat
section stoavoid leaving visible lines.
i Note that regular care is essential to
ensure that the appearance and comfor tof
the covers is retaine dovertime.
Cleaning th eseat belts X
Use clean ,lukewarm water and soap solu-
tion.
! Do not clean the seat belts using chemical
cleaning agents. Do not dry the seatbelts
at temperatures above 80 †orbyexposing
them to direc tsunlight. 292
CareMaintenance and care