Page 98 of 353
Fitting
X
Keepin gthe AIRCAP draught stop horizon-
tal ,guide it int othe slot between th ehead
restraint sinthedirection of th earrow with
bot hracks straight down.
X Push th eAIRCAP draught stop down until
th eb oltsa re at th esame height as the
brackets on th ehead restraints.
X Inser tthe bolt sintot he brackets on both
sides.
X Tighte nthe bolts with the 4mmhex-socket
wrenc huntil they engage.
The markings on the bolts are vertical. Soft top (Cabriolet)
95Opening and closing Z
Page 106 of 353

position if it was previously in an unfavour-
able position.
i You can stor ethe seat settings using the
memor yfunction (Y page 112).
i Vehicles with the through-loading feature
and memor yfunction :ifyou fold down a
rear seat backrest, the respective front
seat is moved forwards slightly if neces-
sary.
i Vehicles with memor yfunction :when the
seat is moved forwards or backwards, the
headrest is moved up or down automati-
cally. Adjusting the head restraints
Adjusting the head restraints manually Adjusting the head restraint height
X
To raise: pull the head restraint up to the
desired position.
X To lower: press release catch :and push
the head restraint down to the desired posi-
tion.
Adjusting the head restraints electri-
cally X
To adjust the head restraint height: slide
the switch for head restraint adjustment
(Y page 102) up or down in the direction of
the arrow. Rear seat head restraints Lowering and extending the rear seat
head restraints from the front (Cabriolet)
X
Make sure that the key is in position 2in
the ignition lock.
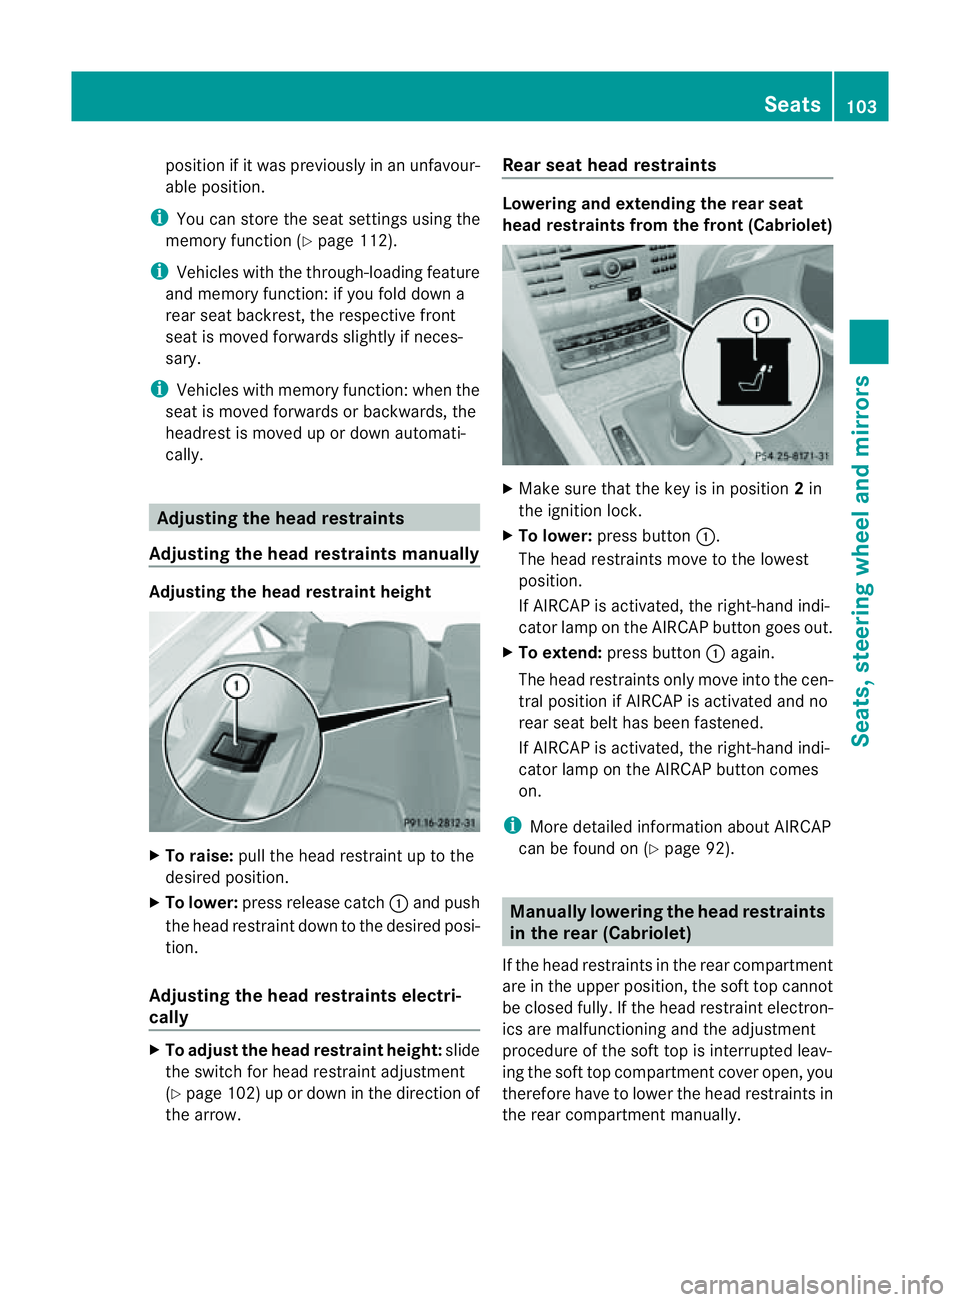
X To lower: press button :.
The head restraintsm ove to the lowest
position.
If AIRCAP is activated, the right-hand indi-
cator lamp on the AIRCAP button goes out.
X To extend: press button :again.
The head restraintso nly move into the cen-
tral position if AIRCAP is activated and no
rear seat belt has been fastened.
If AIRCAP is activated, the right-hand indi-
cator lamp on the AIRCAP button comes
on.
i More detailed information about AIRCAP
can be found on (Y page 92). Manually lowering the head restraints
in the rear (Cabriolet)
If the head restraintsint he rear compartment
are in the upper position, the soft top cannot
be closed fully.Ift he head restraint electron-
ics are malfunctionin gand the adjustment
procedure of the soft top is interrupted leav-
ing the soft top compartmentc over open, you
therefor ehave to lower the head restraints in
the rear compartment manually. Seats
103Seats, steering wheel and mirrors Z
Page 291 of 353

!
The following may cause the paint to
become shiny and thus reduce the matt
effect:
R Vigorous rubbing with unsuitablem ate-
rials.
R Frequent use of car washes.
R Washing the vehicle in direct sunlight.
! Never use paint cleaner, buffing or pol-
ishing products, or gloss preserver, e.g.
wax. These products are only suitablef or
high-gloss surfaces. Their use on vehicles
with matt finish leadstoc onsiderable sur-
face damage (shiny, spotted areas).
Alwaysh ave paintwork repairs performed
at aq ualified specialist workshop, e.g. a
Mercedes-Benz Service Centre.
! Do not use wash programs with ahot wax
treatment under any circumstances.
i The vehicle should preferably be washed
by hand using asoft sponge, car shampoo
and plenty of water.
i Use only insect remover and car shampoo
from the range of recommended and
approved Mercedes-Benz care products.
Cleaning the Cabriolets oft topX
Light soiling: you can clean th esoftt op
while it is dry or rinse it with clear water.
X Norma ltoheavy soiling: clean theroof
with abrush and clear water .Clean stains
and other dirt with abrush and aMercedes-
Ben zrecommended and approved cleaning
agent. Always brush from fron ttoback in
the direction of the fabric.
! Never use any of the following to clean the
soft top:
R petrol
R thinner
R tar or stain remover
R other organic solvents
! Remove bird droppings immediately as
they are corrosive and, therefore, can make the soft-top fabric leak. Do not use high-
pressure cleanin
gequipment to clean the
vehicle. Do not use sharp-edged equipment
to remove ice and snow.
Frequent cleanin greduces the resistance to
dirt of the soft top.
To restore this resistance to dirt, clean the
soft top using soft top cleanin gagents that
have been recommended and approved by
Mercedes-Benz.
Incorrec tcleanin gand care ,aswell as ageing,
can cause the soft top seams to leak. Have
the soft-top seams sealed at aqualified spe-
cialist workshop, e.g. at aMercedes-Benz
Servic eCentre.
i Cover the soft top with asuitable cover if
you plan to leave the vehicle outside for a
long period of time.
Cleaning AIRCAP Cleaning th
ewind deflector
Clean the wind deflector on the windscreen
with the soft top closed.
X Apply the parking brak efirmly.
X Vehicles with key: turnthe key to position
2 (Y page 147) in the ignition lock.
X Vehicles with KEYLESS-GO: press the
Start/Stop button twice (Y page 147).
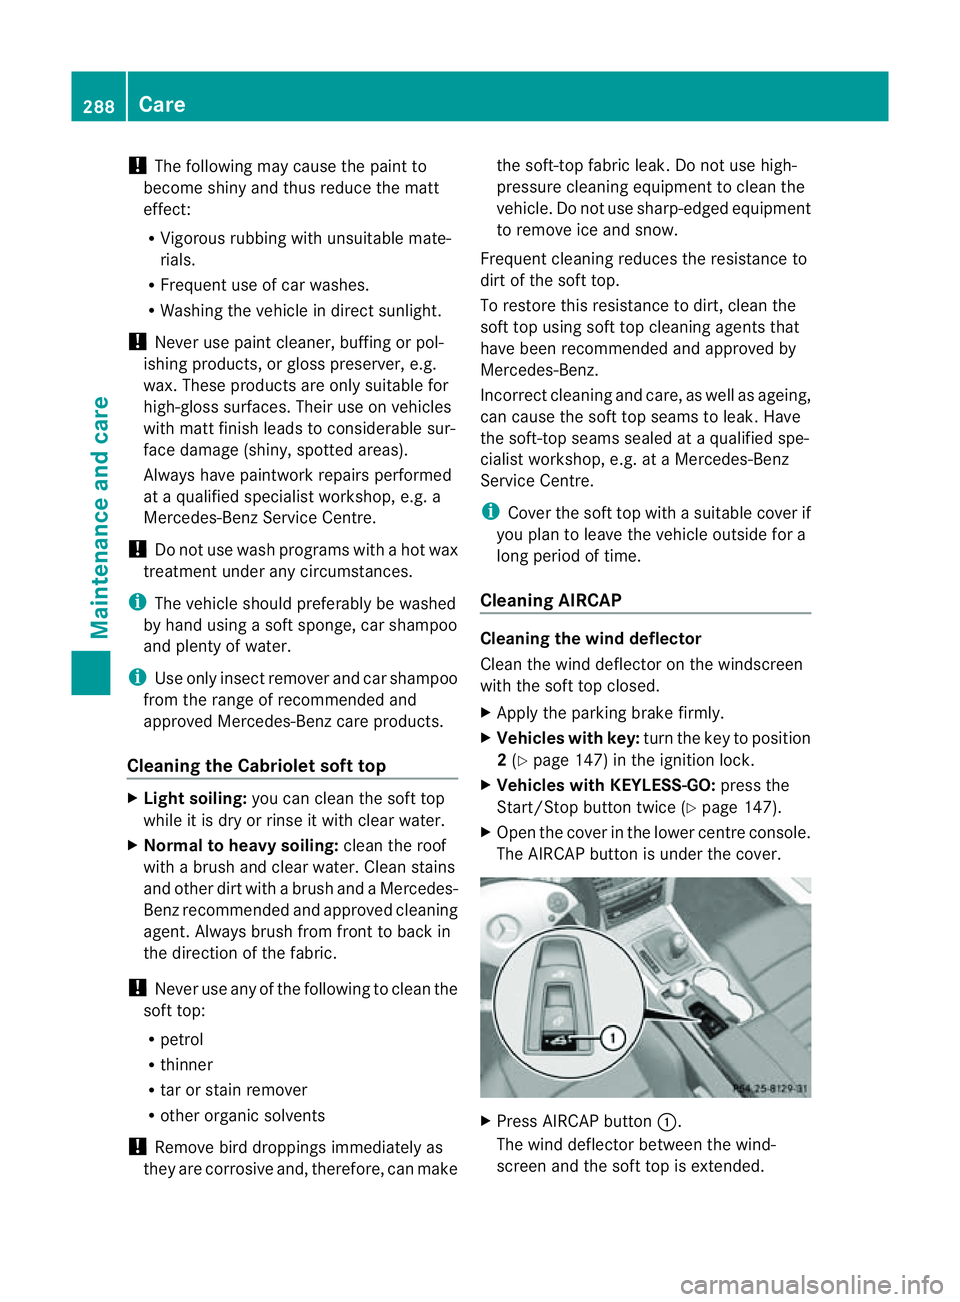
X Open the cover in the lower centre console.
The AIRCAP button is under the cover. X
Press AIRCAP button :.
The wind deflector between the wind-
screen and the soft top is extended. 288
CareMaintenance and care
Page 292 of 353

X
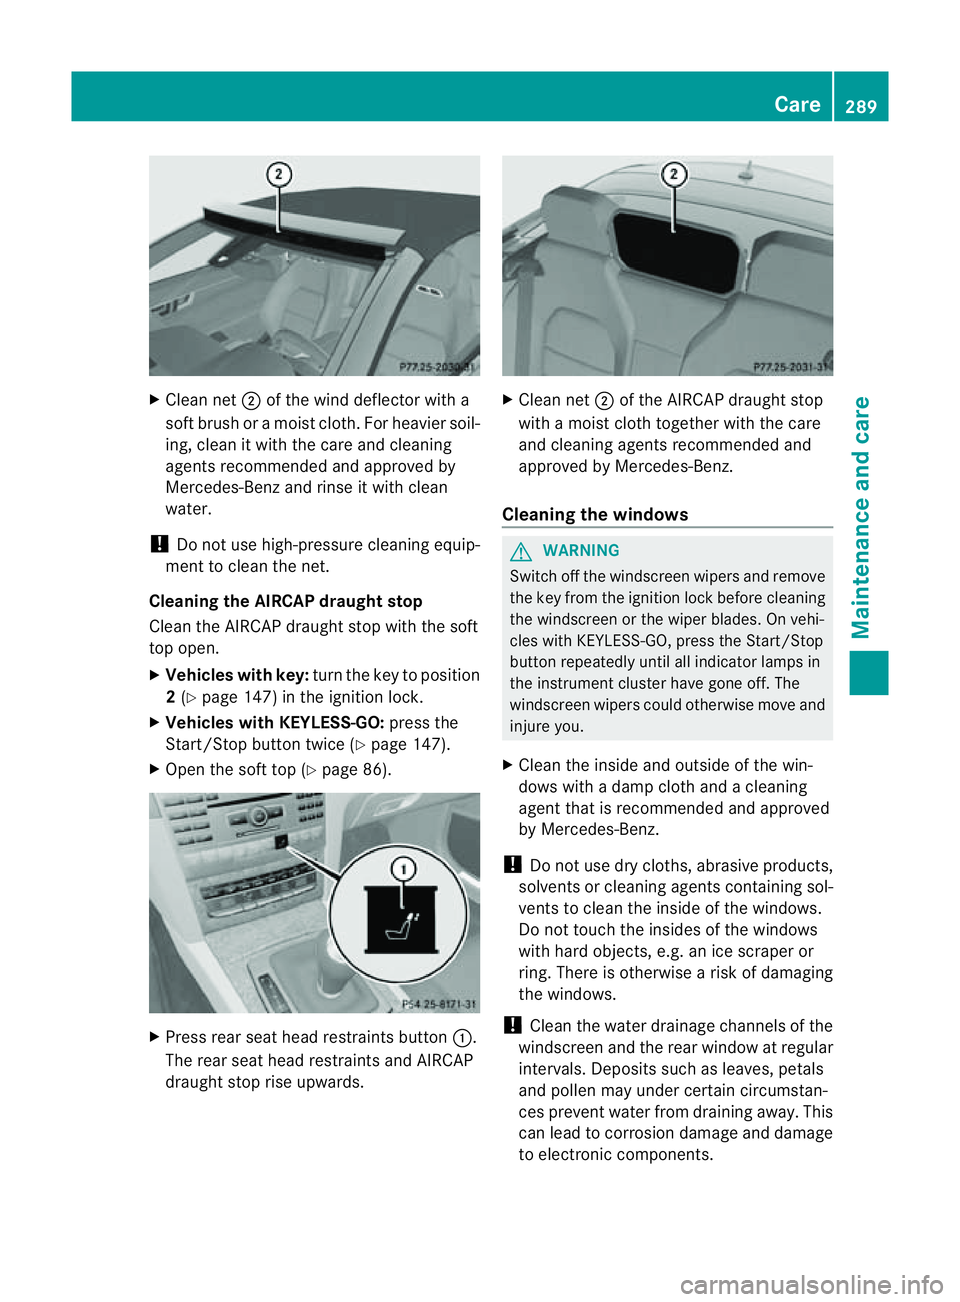
Clean net ;of th ewindd eflecto rwith a
soft brush or amoist cloth. For heavier soil-
ing, clean it with the care and cleaning
agent srecommende dand approved by
Mercedes-Ben zand rins eitwithc lean
water.
! Do not us ehigh-pressure cleaning equip-
ment to clean the net.
Cleanin gthe AIRCA Pdraught stop
Clea nthe AIRCAP draught stop with the soft
top open.
X Vehicles with key: turn the key to position
2 (Y page 147) in the ignition lock.
X Vehicles with KEYLESS-GO: press the
Start/Stop button twice (Y page 147).
X Open the soft top (Y page 86).X
Press rear seat head restraintsb utton:.
The rear seat head restraintsa nd AIRCAP
draught stop rise upwards. X
Cleann et; of the AIRCAP draught stop
with amoist clot htogether with the care
and cleanin gagents recommended and
approved by Mercedes-Benz.
Cleaning the windows G
WARNING
Switc hoff the windscreen wipers and remove
the key from the ignition lock before cleaning
the windscreen or the wiper blades. On vehi-
cles with KEYLESS-GO, press the Start/Stop
button repeatedly until all indicator lamps in
the instrument cluster have gone off. The
windscreen wipers could otherwise move and
injur eyou.
X Clean the inside and outside of the win-
dows with adamp cloth and acleaning
agent that is recommended and approved
by Mercedes-Benz.
! Do not use dry cloths, abrasive products,
solvent sorcleanin gagents containin gsol-
vent stoc lean the inside of the windows.
Do not touch the insides of the windows
with hard objects, e.g. an ice scraper or
ring. There is otherwise arisk of damaging
the windows.
! Clean the water drainage channels of the
windscreen and the rear window at regular
intervals. Deposit ssuch as leaves, petals
and pollen may under certain circumstan-
ces preven twate rfrom draining away.T his
can lead to corrosion damage and damage
to electronic components. Care
289Maintenance and care Z