Page 13 of 306

WARNING:Under engine misfire conditions, excessive exhaust
temperatures could damage the catalytic converter, the fuel
system, interior floor coverings or other vehicle components, possibly
causing a fire.
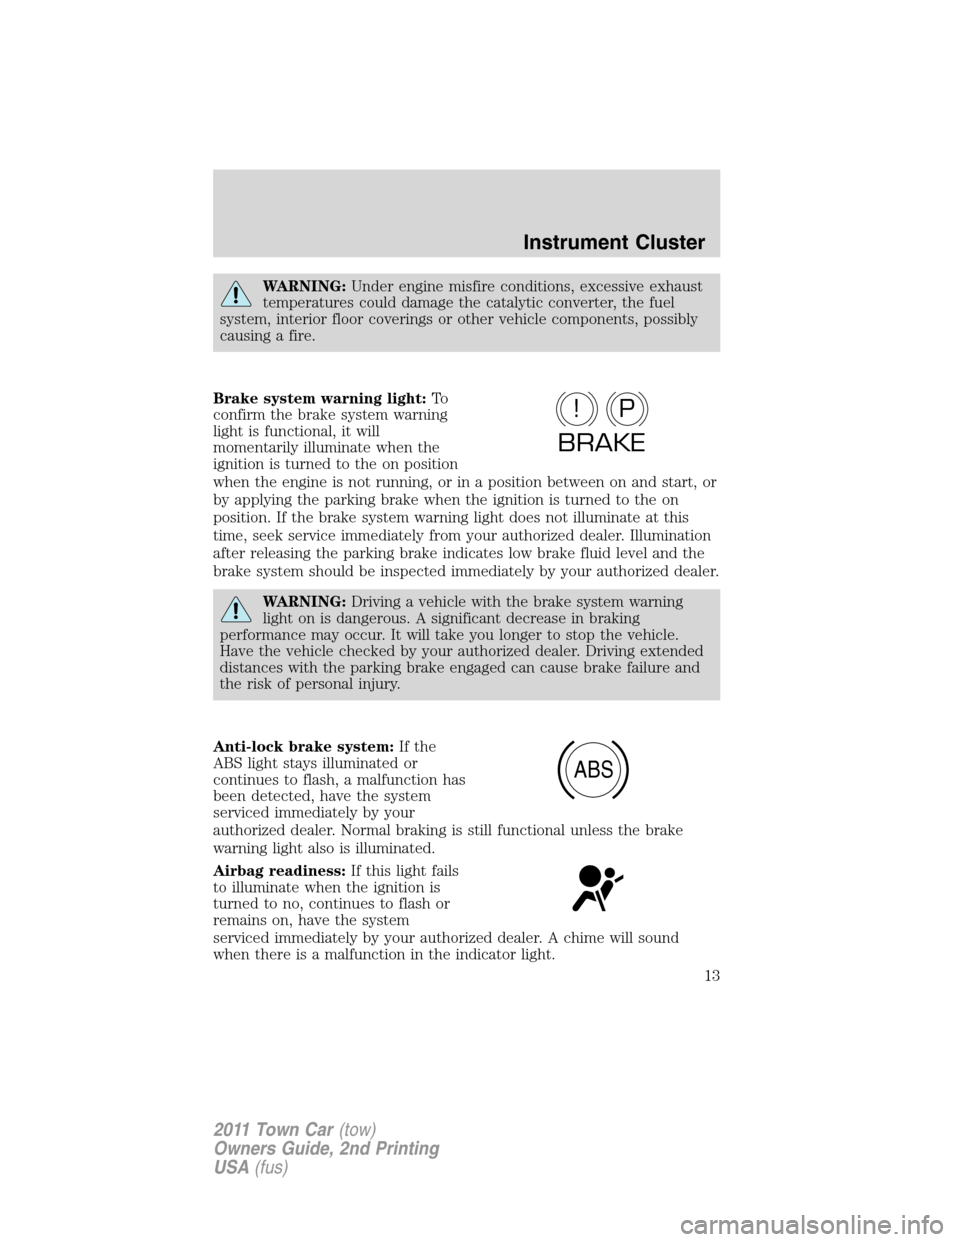
Brake system warning light:To
confirm the brake system warning
light is functional, it will
momentarily illuminate when the
ignition is turned to the on position
when the engine is not running, or in a position between on and start, or
by applying the parking brake when the ignition is turned to the on
position. If the brake system warning light does not illuminate at this
time, seek service immediately from your authorized dealer. Illumination
after releasing the parking brake indicates low brake fluid level and the
brake system should be inspected immediately by your authorized dealer.
WARNING:Driving a vehicle with the brake system warning
light on is dangerous. A significant decrease in braking
performance may occur. It will take you longer to stop the vehicle.
Have the vehicle checked by your authorized dealer. Driving extended
distances with the parking brake engaged can cause brake failure and
the risk of personal injury.
Anti-lock brake system:If the
ABS light stays illuminated or
continues to flash, a malfunction has
been detected, have the system
serviced immediately by your
authorized dealer. Normal braking is still functional unless the brake
warning light also is illuminated.
Airbag readiness:If this light fails
to illuminate when the ignition is
turned to no, continues to flash or
remains on, have the system
serviced immediately by your authorized dealer. A chime will sound
when there is a malfunction in the indicator light.
P!
BRAKE
ABS
Instrument Cluster
13
2011 Town Car(tow)
Owners Guide, 2nd Printing
USA(fus)
Page 18 of 306

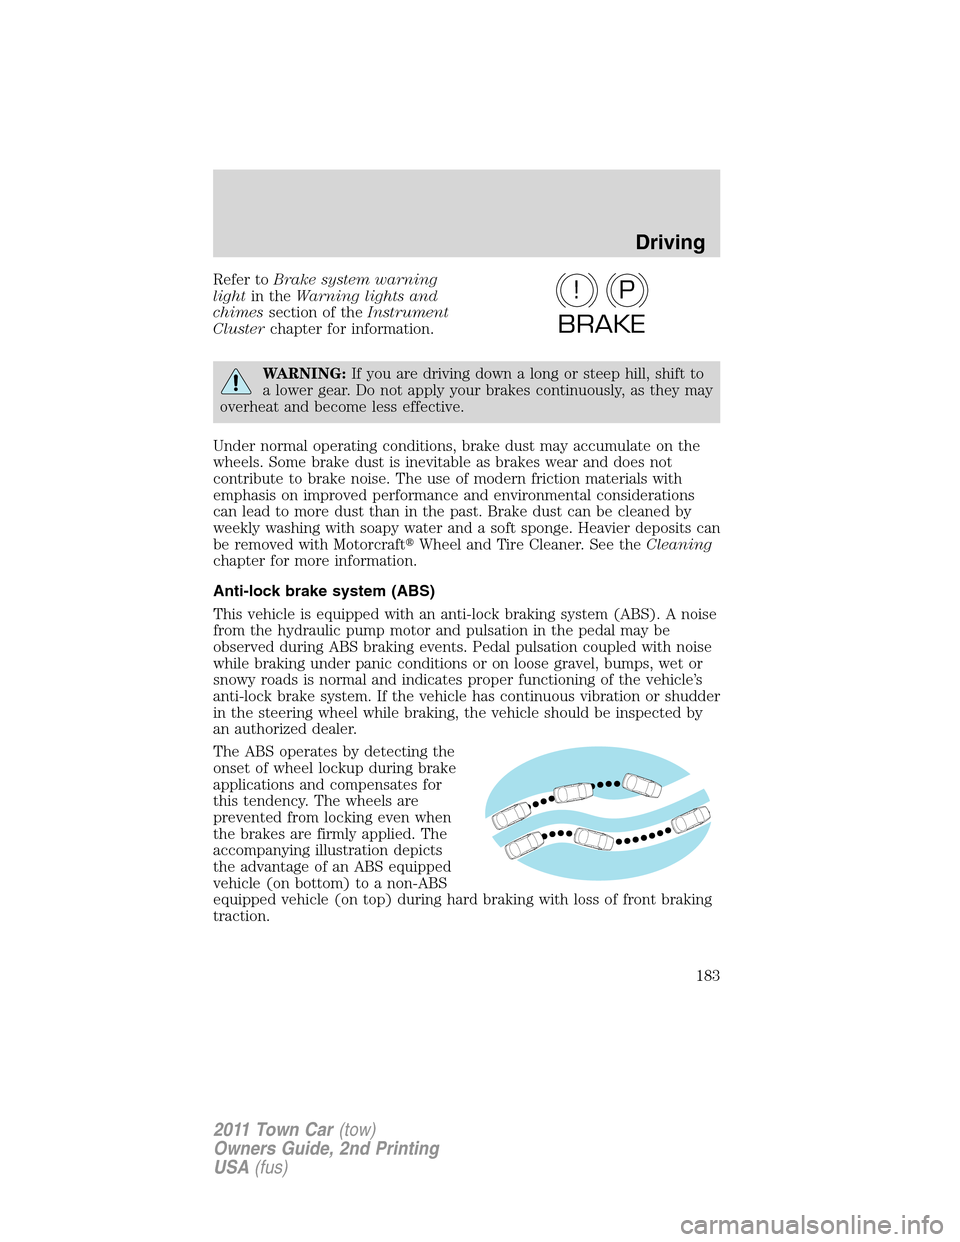
Fuel gauge:Indicates
approximately how much fuel is left
in the fuel tank (when the ignition
is in the on position). The fuel
gauge may vary slightly when the
vehicle is in motion or on a grade.
The arrow near the fuel pump icon
indicates which side of the vehicle
the fuel filler door is located.
Refer toFilling the tankin theMaintenance and Specifications
chapter for more information.
MESSAGE CENTER
With the ignition in the on position,
the message center, located on your
instrument cluster, displays
important vehicle information
through a constant monitor of
vehicle systems.You may select
display features on the message
center for a display of status. The
system will also notify you of potential vehicle problems with a display of
system warnings followed by a long indicator chime.
Your display can show up to three reconfigurable telltales at one time.
What ever is displayed in the top left corner has the highest priority.
Premium Display Severity Indicator (located under the message center):
Indicates severity of the information being displayed on the premium
display. Red for high severity, amber for medium severity, and non-lit for
information only. For example, a door ajar warning would be
accompanied by a red indicator, low fuel by an amber indicator, and fuel
economy by an absence of the indicator. The indicator always illuminates
with the highest severity rating of the warnings displayed.
Instrument Cluster
18
2011 Town Car(tow)
Owners Guide, 2nd Printing
USA(fus)
Page 53 of 306
Replacing high-mount brake lamp assembly
To change the high-mount brake
lamp assembly:
1. Remove the high-mount brake
lamp assembly from the headliner
by pulling downward on the
assembly.
2. Disconnect the electrical
connector and remove the assembly.
3. Install the new assembly by aligning the tabs and pushing upward until
it snaps in place.
Lights
53
2011 Town Car(tow)
Owners Guide, 2nd Printing
USA(fus)
Page 91 of 306
SEATING
Adjustable head restraints
Your vehicle is equipped with front row outboard head restraints that are
vertically adjustable.
WARNING:To minimize the risk of neck injury in the event of a
crash, the driver and passenger occupants should not sit in
and/or operate the vehicle, until the head restraint is placed in its
proper position. The driver should never adjust the head restraint
while the vehicle is in motion.
The adjustable head restraints
consist of:
•a trimmed energy absorbing foam
and structure (1),
•two steel stems (2),
•a guide sleeve adjust/release
button (3),
•and a guide sleeve unlock/remove
button (4).
To adjust the head restraint, do the following:
1. Adjust the seatback to an upright driving/riding position.
2. Raise the head restraint by
pulling up on the head restraint.
Seating and Safety Restraints
91
2011 Town Car(tow)
Owners Guide, 2nd Printing
USA(fus)
Page 183 of 306

Refer toBrake system warning
lightin theWarning lights and
chimessection of theInstrument
Clusterchapter for information.
WARNING:If you are driving down a long or steep hill, shift to
a lower gear. Do not apply your brakes continuously, as they may
overheat and become less effective.
Under normal operating conditions, brake dust may accumulate on the
wheels. Some brake dust is inevitable as brakes wear and does not
contribute to brake noise. The use of modern friction materials with
emphasis on improved performance and environmental considerations
can lead to more dust than in the past. Brake dust can be cleaned by
weekly washing with soapy water and a soft sponge. Heavier deposits can
be removed with Motorcraft�Wheel and Tire Cleaner. See theCleaning
chapter for more information.
Anti-lock brake system (ABS)
This vehicle is equipped with an anti-lock braking system (ABS). A noise
from the hydraulic pump motor and pulsation in the pedal may be
observed during ABS braking events. Pedal pulsation coupled with noise
while braking under panic conditions or on loose gravel, bumps, wet or
snowy roads is normal and indicates proper functioning of the vehicle’s
anti-lock brake system. If the vehicle has continuous vibration or shudder
in the steering wheel while braking, the vehicle should be inspected by
an authorized dealer.
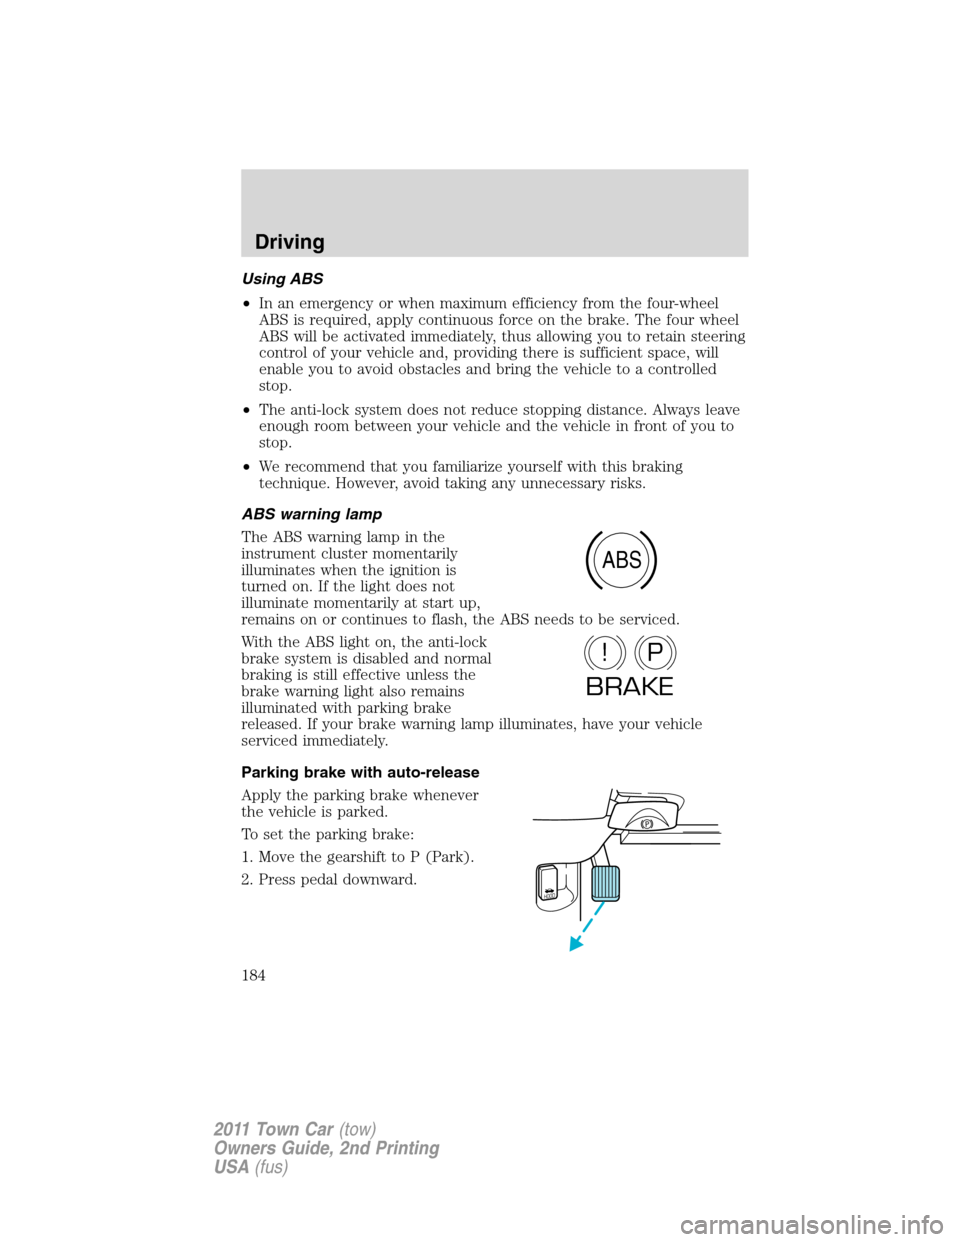
The ABS operates by detecting the
onset of wheel lockup during brake
applications and compensates for
this tendency. The wheels are
prevented from locking even when
the brakes are firmly applied. The
accompanying illustration depicts
the advantage of an ABS equipped
vehicle (on bottom) to a non-ABS
equipped vehicle (on top) during hard braking with loss of front braking
traction.
P!
BRAKE
Driving
183
2011 Town Car(tow)
Owners Guide, 2nd Printing
USA(fus)
Page 184 of 306

Using ABS
•In an emergency or when maximum efficiency from the four-wheel
ABS is required, apply continuous force on the brake. The four wheel
ABS will be activated immediately, thus allowing you to retain steering
control of your vehicle and, providing there is sufficient space, will
enable you to avoid obstacles and bring the vehicle to a controlled
stop.
•The anti-lock system does not reduce stopping distance. Always leave
enough room between your vehicle and the vehicle in front of you to
stop.
•We recommend that you familiarize yourself with this braking
technique. However, avoid taking any unnecessary risks.
ABS warning lamp
The ABS warning lamp in the
instrument cluster momentarily
illuminates when the ignition is
turned on. If the light does not
illuminate momentarily at start up,
remains on or continues to flash, the ABS needs to be serviced.
With the ABS light on, the anti-lock
brake system is disabled and normal
braking is still effective unless the
brake warning light also remains
illuminated with parking brake
released. If your brake warning lamp illuminates, have your vehicle
serviced immediately.
Parking brake with auto-release
Apply the parking brake whenever
the vehicle is parked.
To set the parking brake:
1. Move the gearshift to P (Park).
2. Press pedal downward.
ABS
P!
BRAKE
HOOD
Driving
184
2011 Town Car(tow)
Owners Guide, 2nd Printing
USA(fus)
Page 197 of 306
The fuses are coded as follows.
Fuse/Relay
LocationFuse Amp
RatingProtected Circuits
1 10A Starter relay coil
2 10A Restraint control module (RCM),
Occupant classification sensor
(OCS), Passenger airbag
deactivation indicator (PADI)
3 5A Audio
4 10A Back-up lamps, Anti-lock brake
system (ABS)
5 7.5A Lighting control module (LCM)
6 10A Passive anti-theft system (PATS),
Powertrain control module (PCM)
relay coil, Ignition relay coil, Fuel
relay coil
7 10A Wiper module
Roadside Emergencies
197
2011 Town Car(tow)
Owners Guide, 2nd Printing
USA(fus)
Page 199 of 306
Fuse/Relay
LocationFuse Amp
RatingProtected Circuits
26 15A LCM (Park lamps, cornering
lamps, license lamps)
27 — Not used
28 7.5A Brake signal, LCM (BTSI), ABS
29 — Not used
30 — Not used
31 5A LCM (Key in)
32 7.5A Delay accessory (audio)
33 — Not used
K101 — Delayed accessory
Power distribution box
The power distribution box is located in the engine compartment. The
power distribution box contains high-current fuses that protect your
vehicle’s main electrical systems from overloads.
WARNING:Always disconnect the battery before servicing high
current fuses.
WARNING:To reduce risk of electrical shock, always replace
the cover to the power distribution box before reconnecting the
battery or refilling fluid reservoirs.
If the battery has been disconnected and reconnected, refer to the
Batterysection of theMaintenance and Specificationschapter.
Roadside Emergencies
199
2011 Town Car(tow)
Owners Guide, 2nd Printing
USA(fus)